Uploads by Lukas
From CoMakingSpace Wiki
This special page shows all uploaded files.
| Date | Name | Thumbnail | Size | Description | Versions |
|---|---|---|---|---|---|
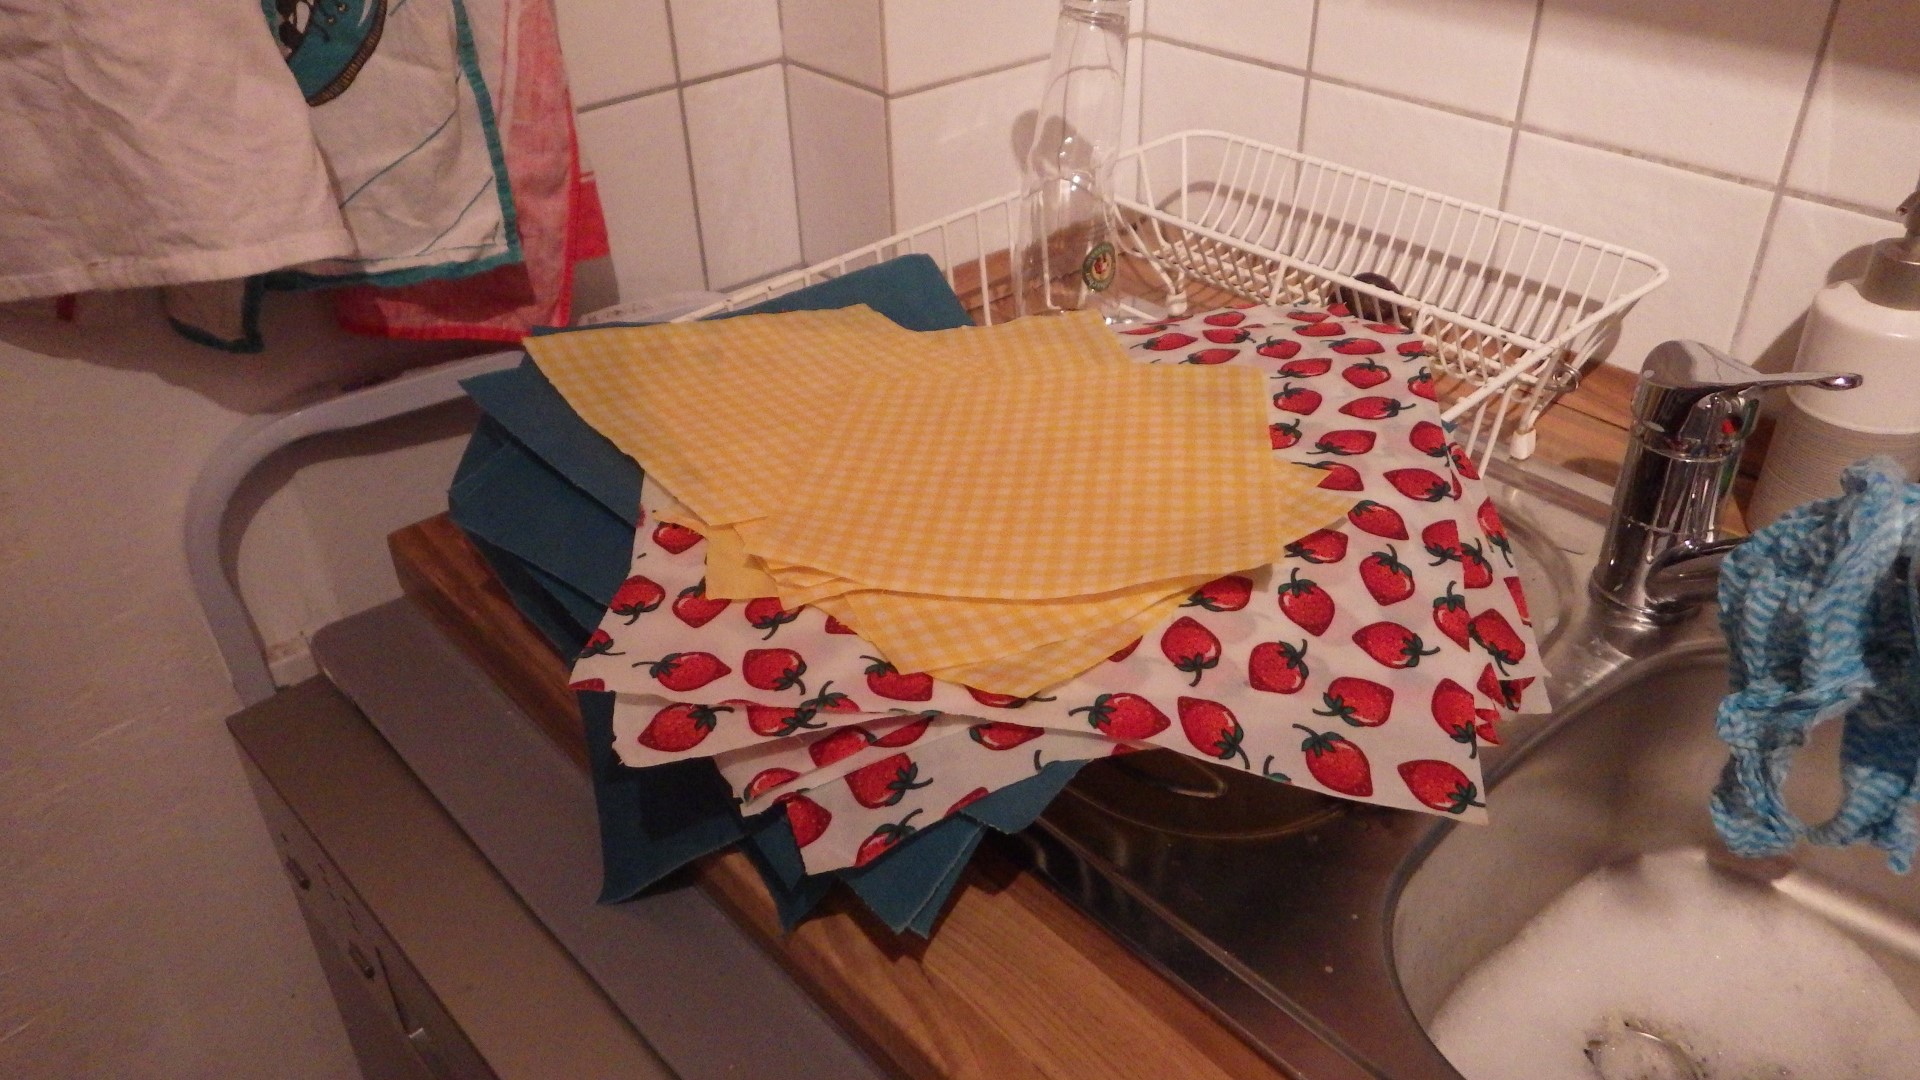
| 15:01, 17 April 2019 | Waxwrap5.JPG (file) |  |
509 KB | Project:Beeswax Wrap the finished beeswax wrap can be cleaned with soapy water (not too hot!) | 1 |
| 14:57, 17 April 2019 | Waxwrap4.JPG (file) |  |
564 KB | Project:Beeswax Wrap The warmth of your hands should now be sufficient to shape your beeswax wrap around pretty much anything! If it doesn't keep its shape, add more wax. | 1 |
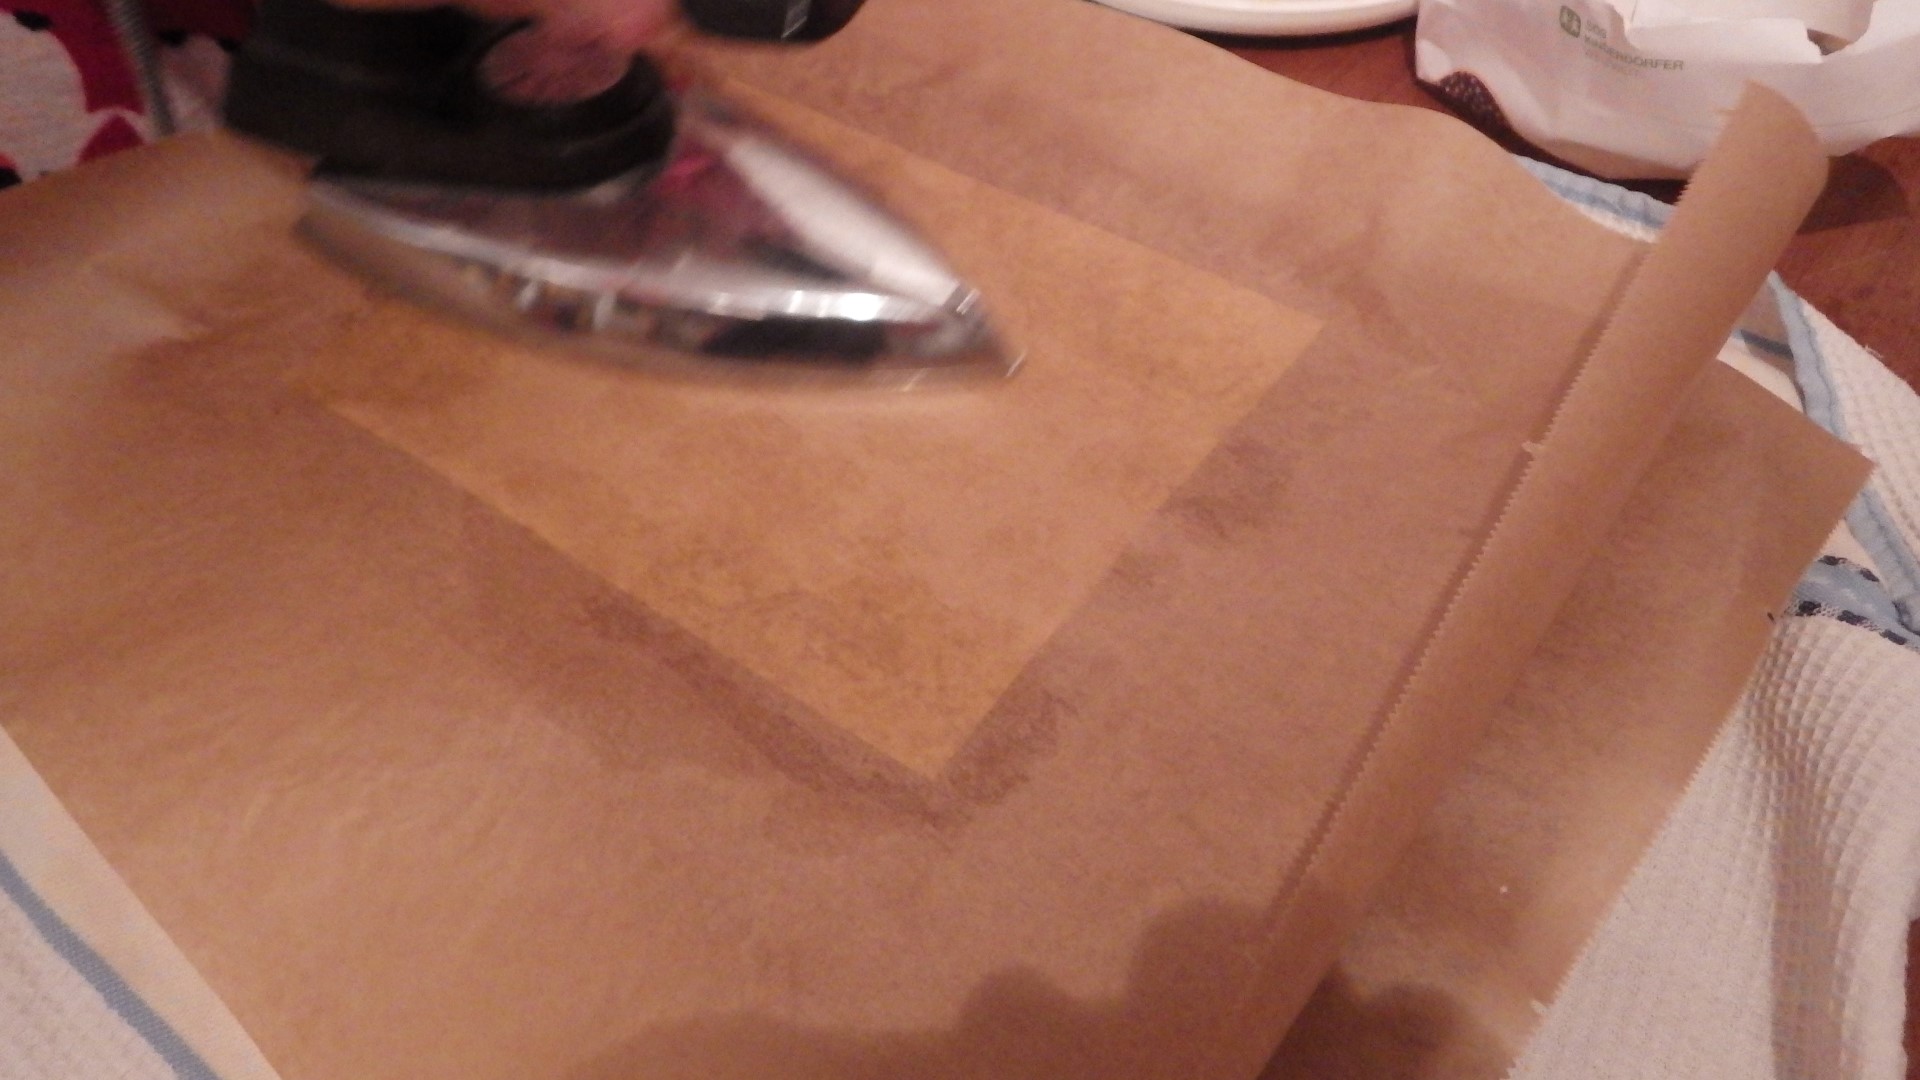
| 14:54, 17 April 2019 | Waxwrap3.JPG (file) |  |
349 KB | Project:Beeswax Wrap place the beeswax-covered fabric between to sheets of baking paper and use a flatiron to melt the wax into it | 1 |
| 14:31, 17 April 2019 | Waxwrap2.JPG (file) |  |
440 KB | Project:Beeswax Wrap spread the beeswax flakes onto a piece of cotton fabric | 1 |
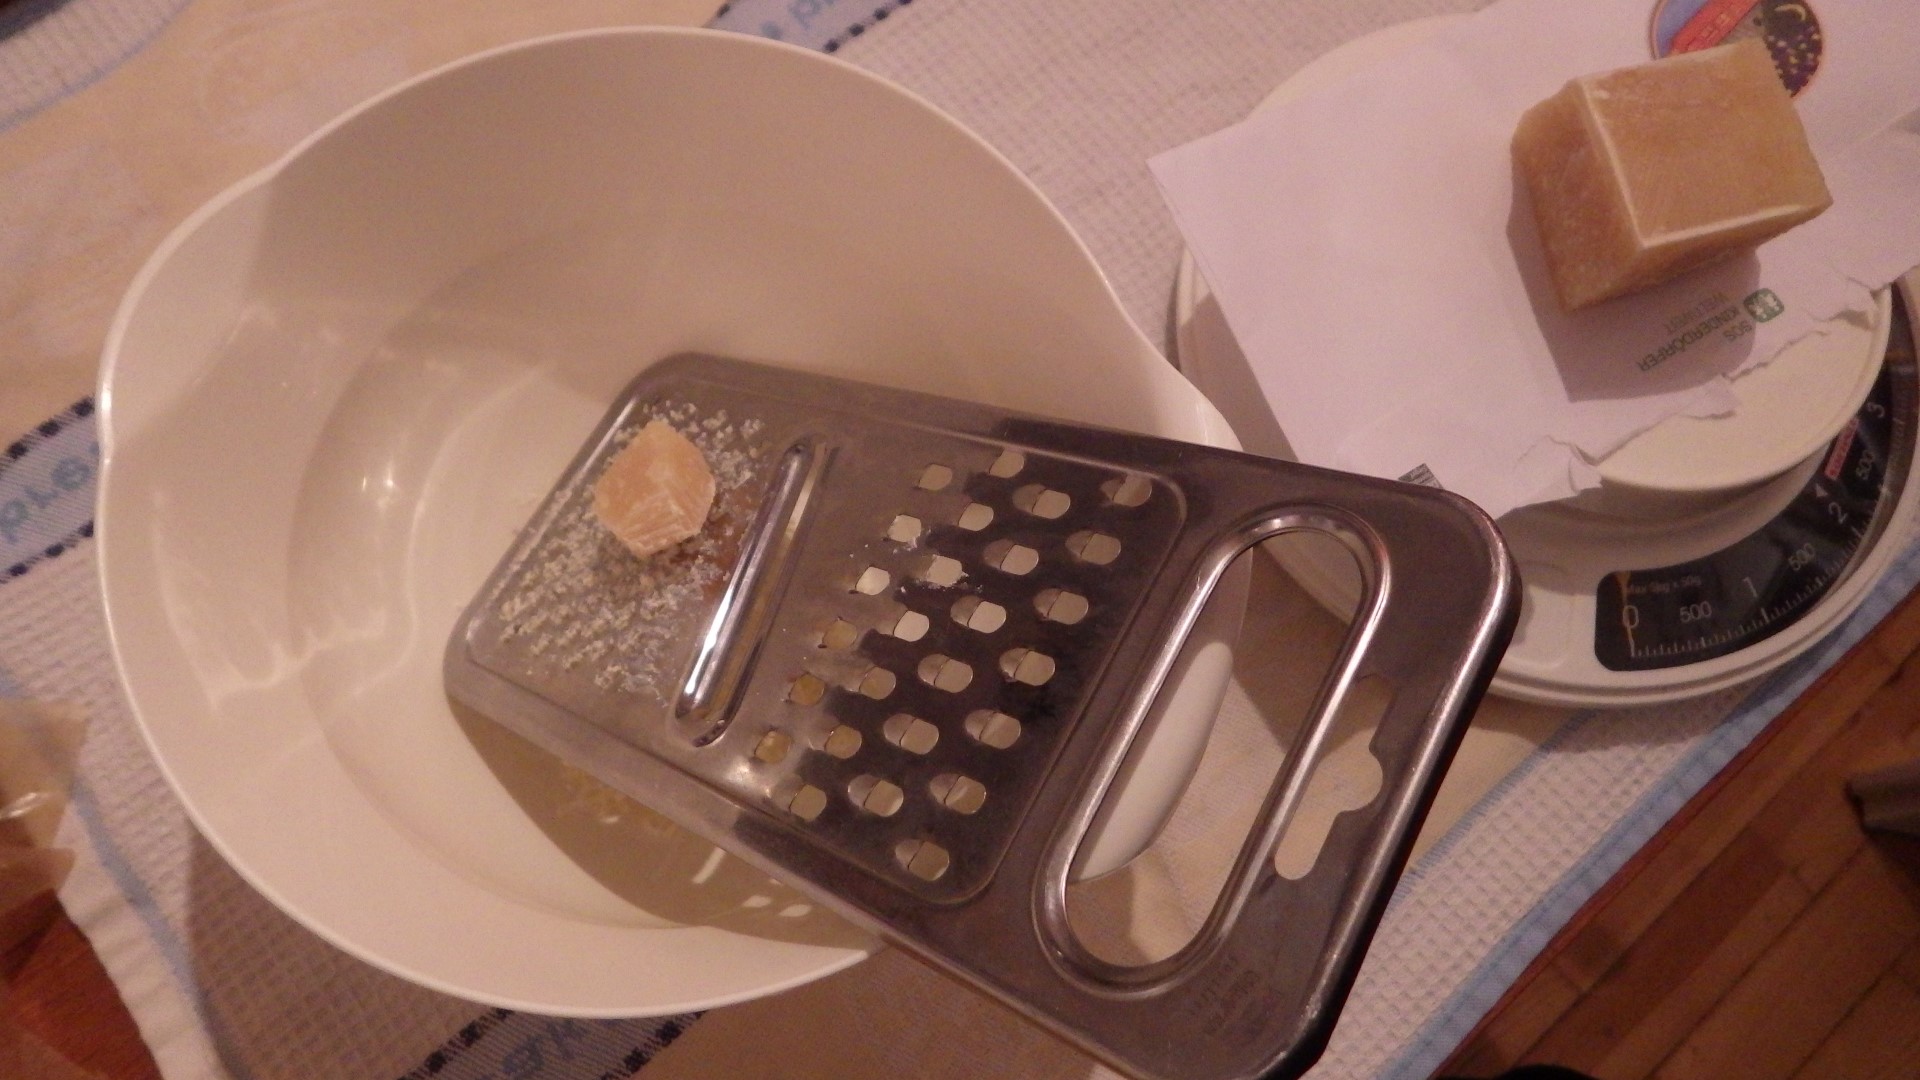
| 14:28, 17 April 2019 | Waxwrap1.JPG (file) |  |
405 KB | Project:Beeswax Wrap first of all, the beeswax needed to be shredded into workable pieces | 1 |
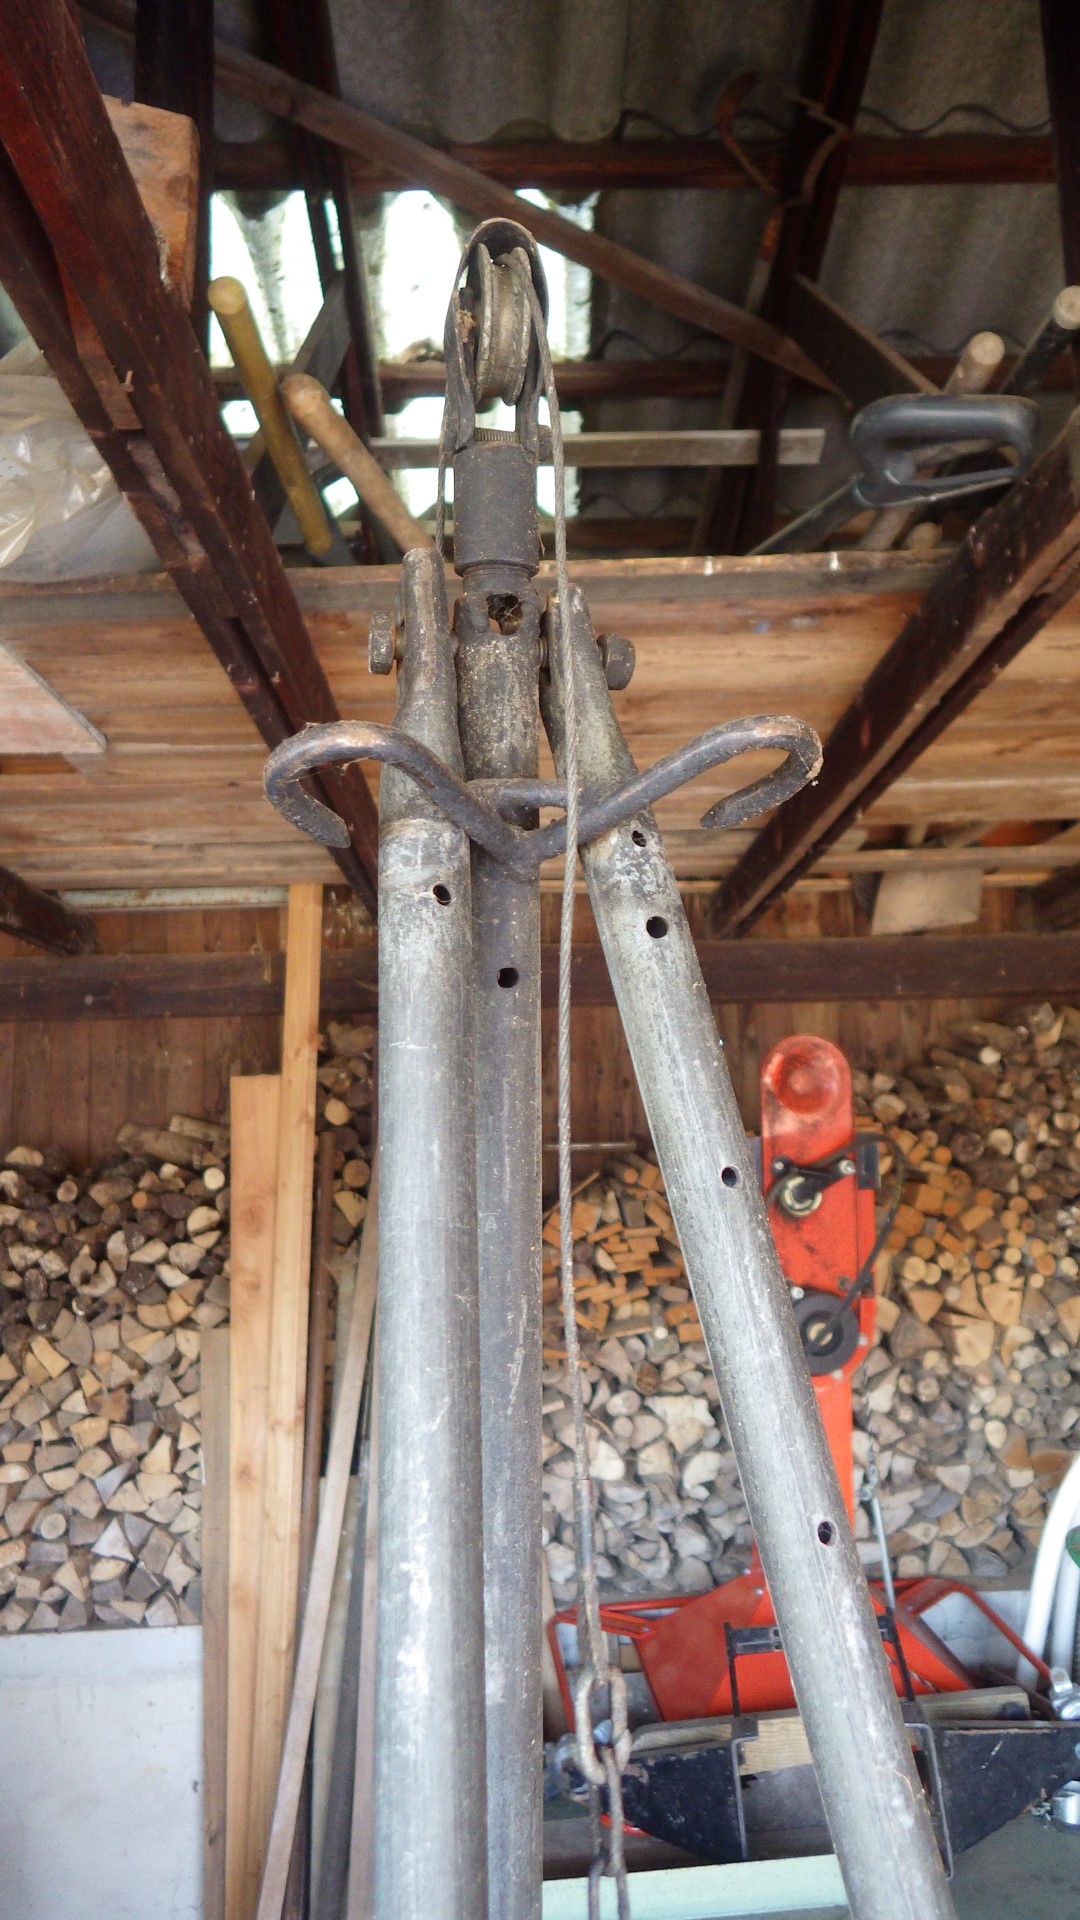
| 01:15, 14 March 2019 | Schwenkgrill Vorbild.JPG (file) |  |
540 KB | Project:Schwenkgrill Opas selbstgebauter Schwenkgrill, den ich in einigen Punkten kopieren möchte! | 1 |
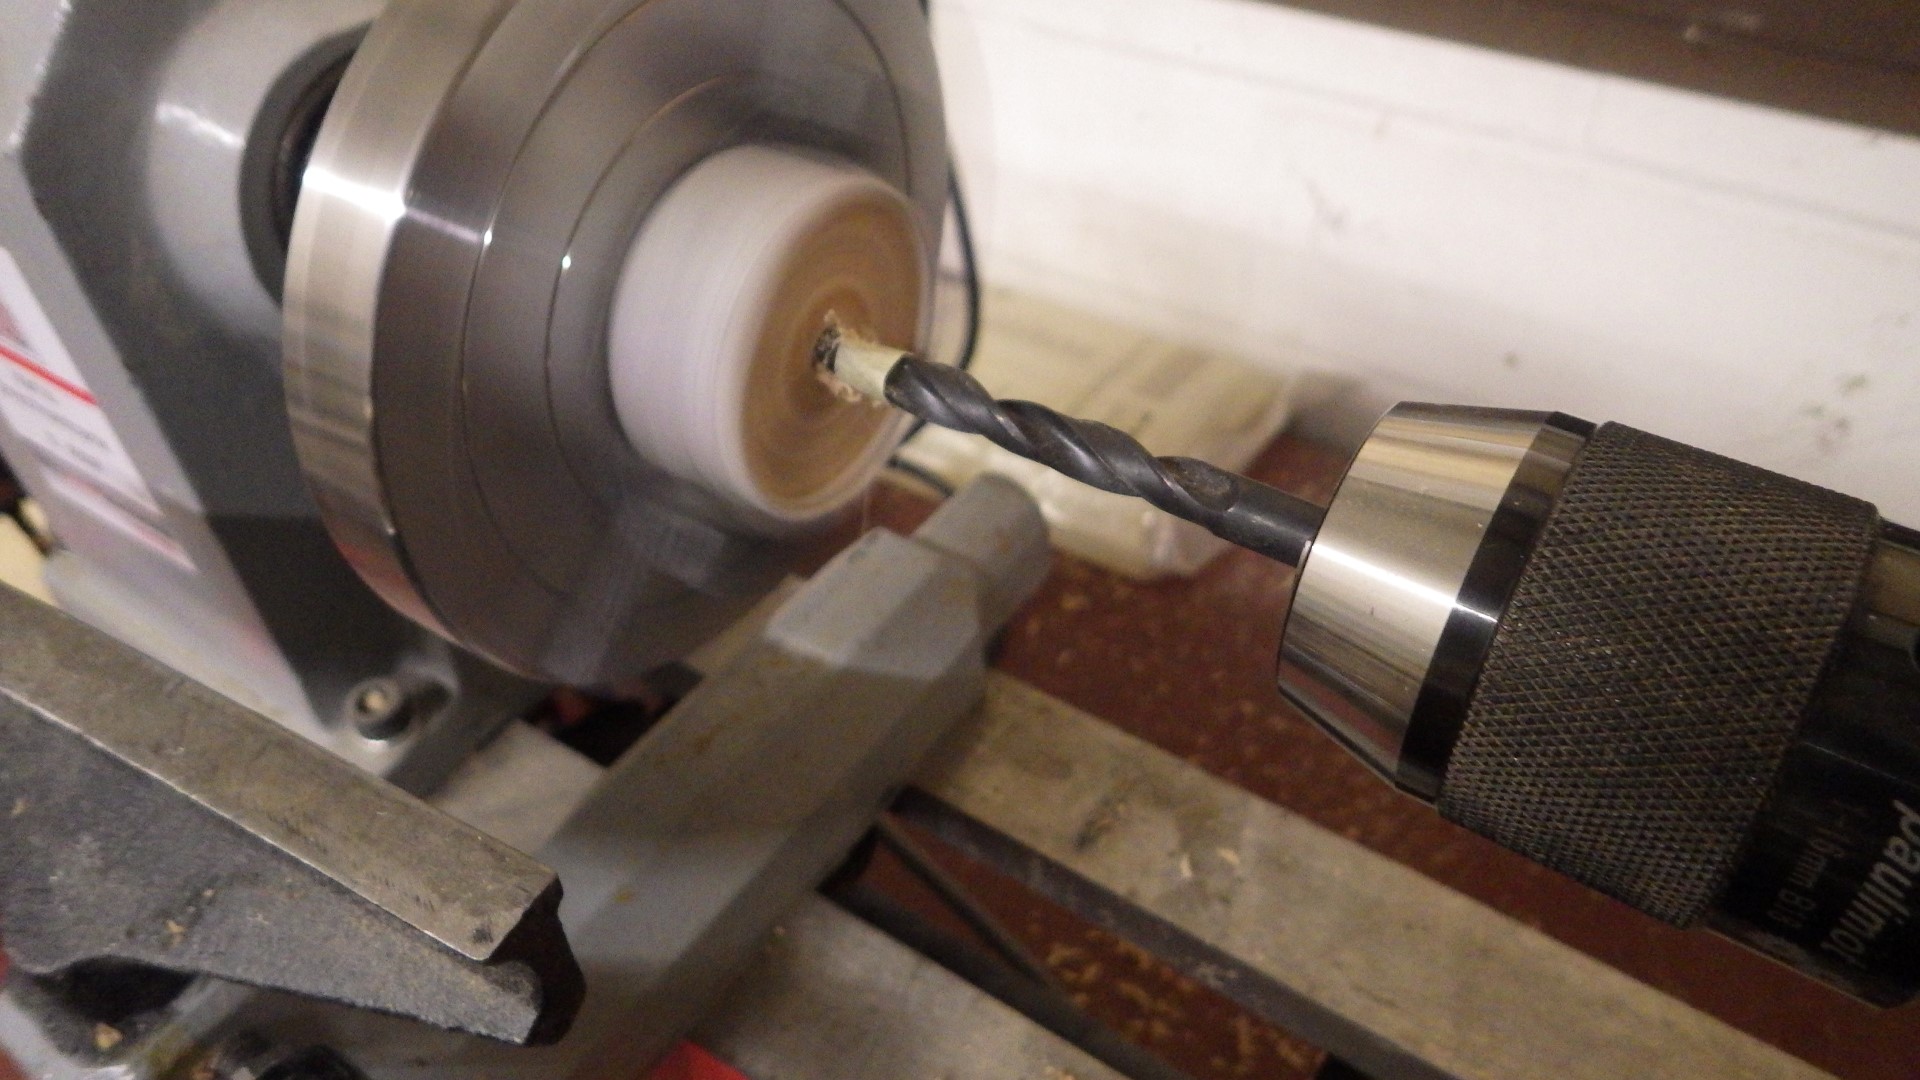
| 00:22, 9 March 2019 | Toy wheel turning 6.JPG (file) |  |
436 KB | turning wheels for a toy (Project:Tigerente) step 6: drill a perfectly centered hole using a drill chuck on the wood lathe! | 1 |
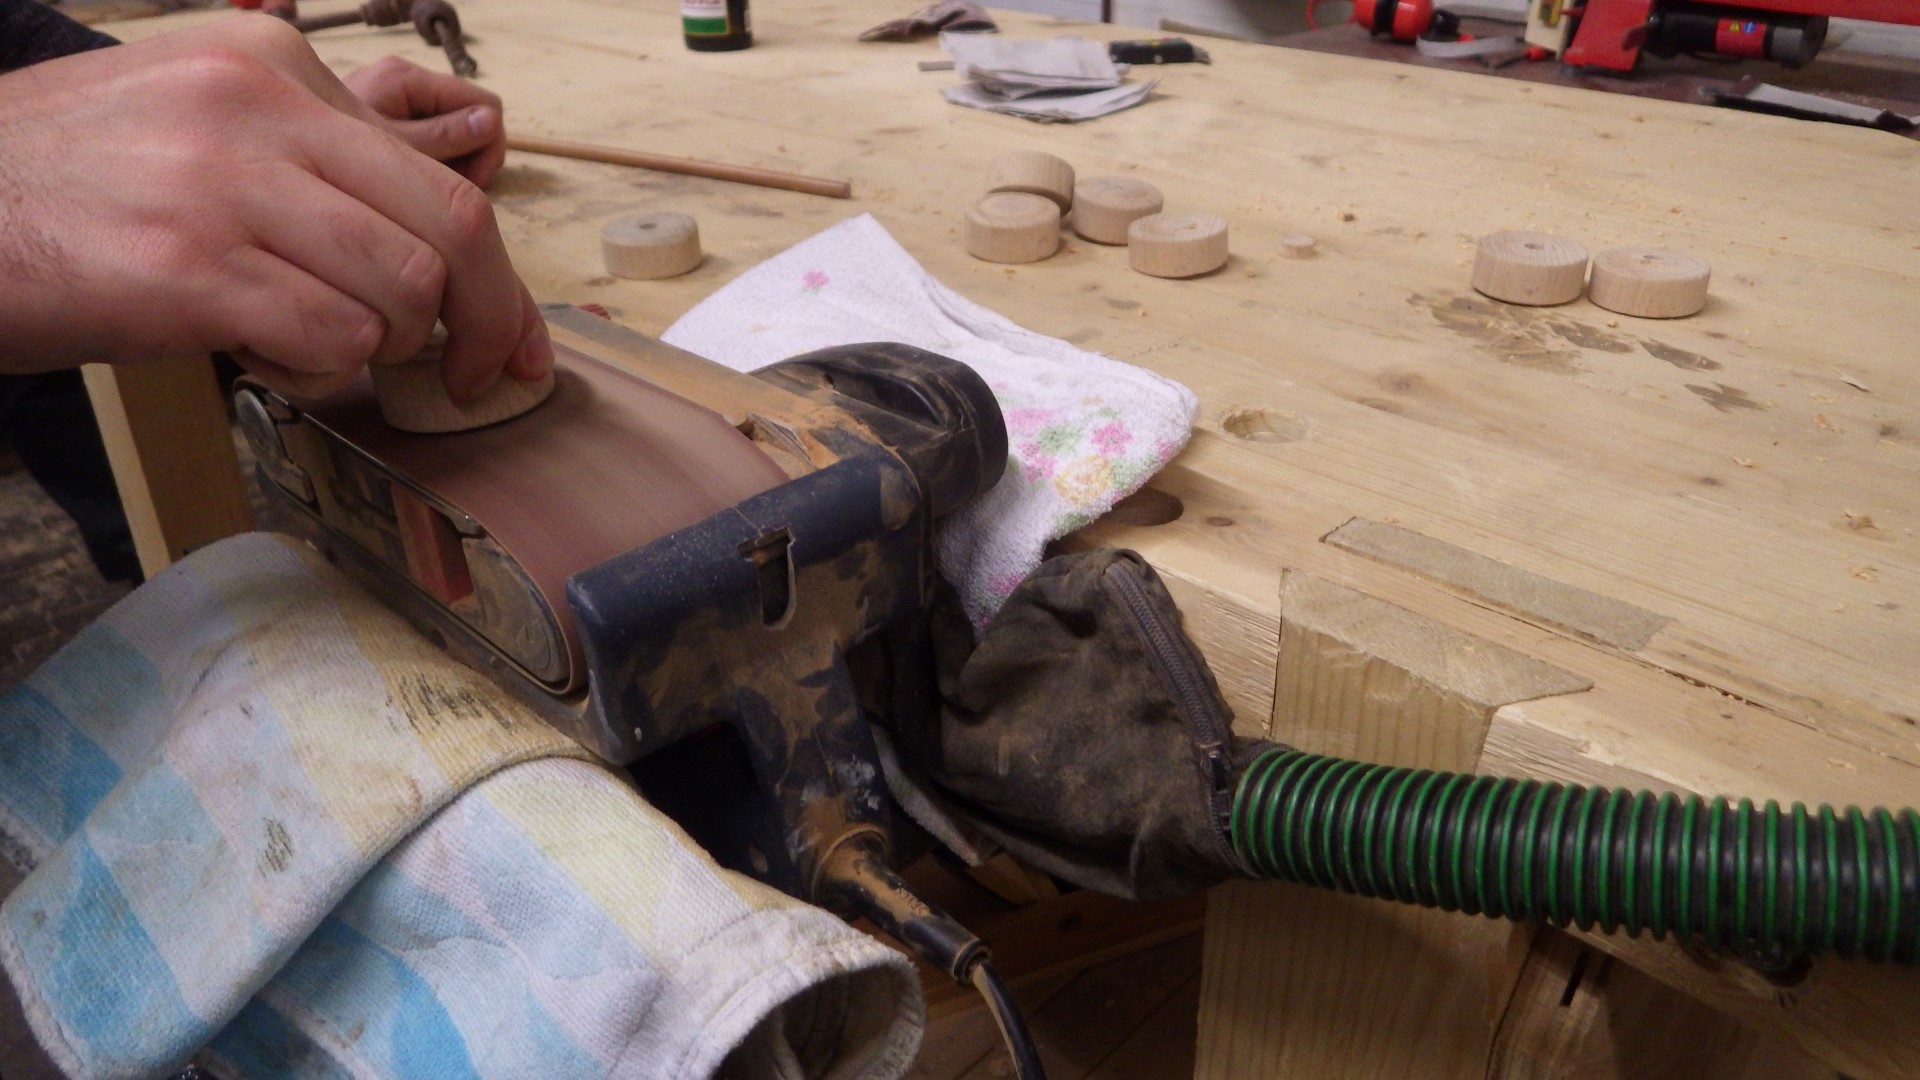
| 00:19, 9 March 2019 | Toy wheel turning 5.JPG (file) |  |
427 KB | turning wheels for a toy (Project:Tigerente) step 5: sand off the central roughness, e.g. with a clamped-down belt sander (we did not have a disc sander yet) | 1 |
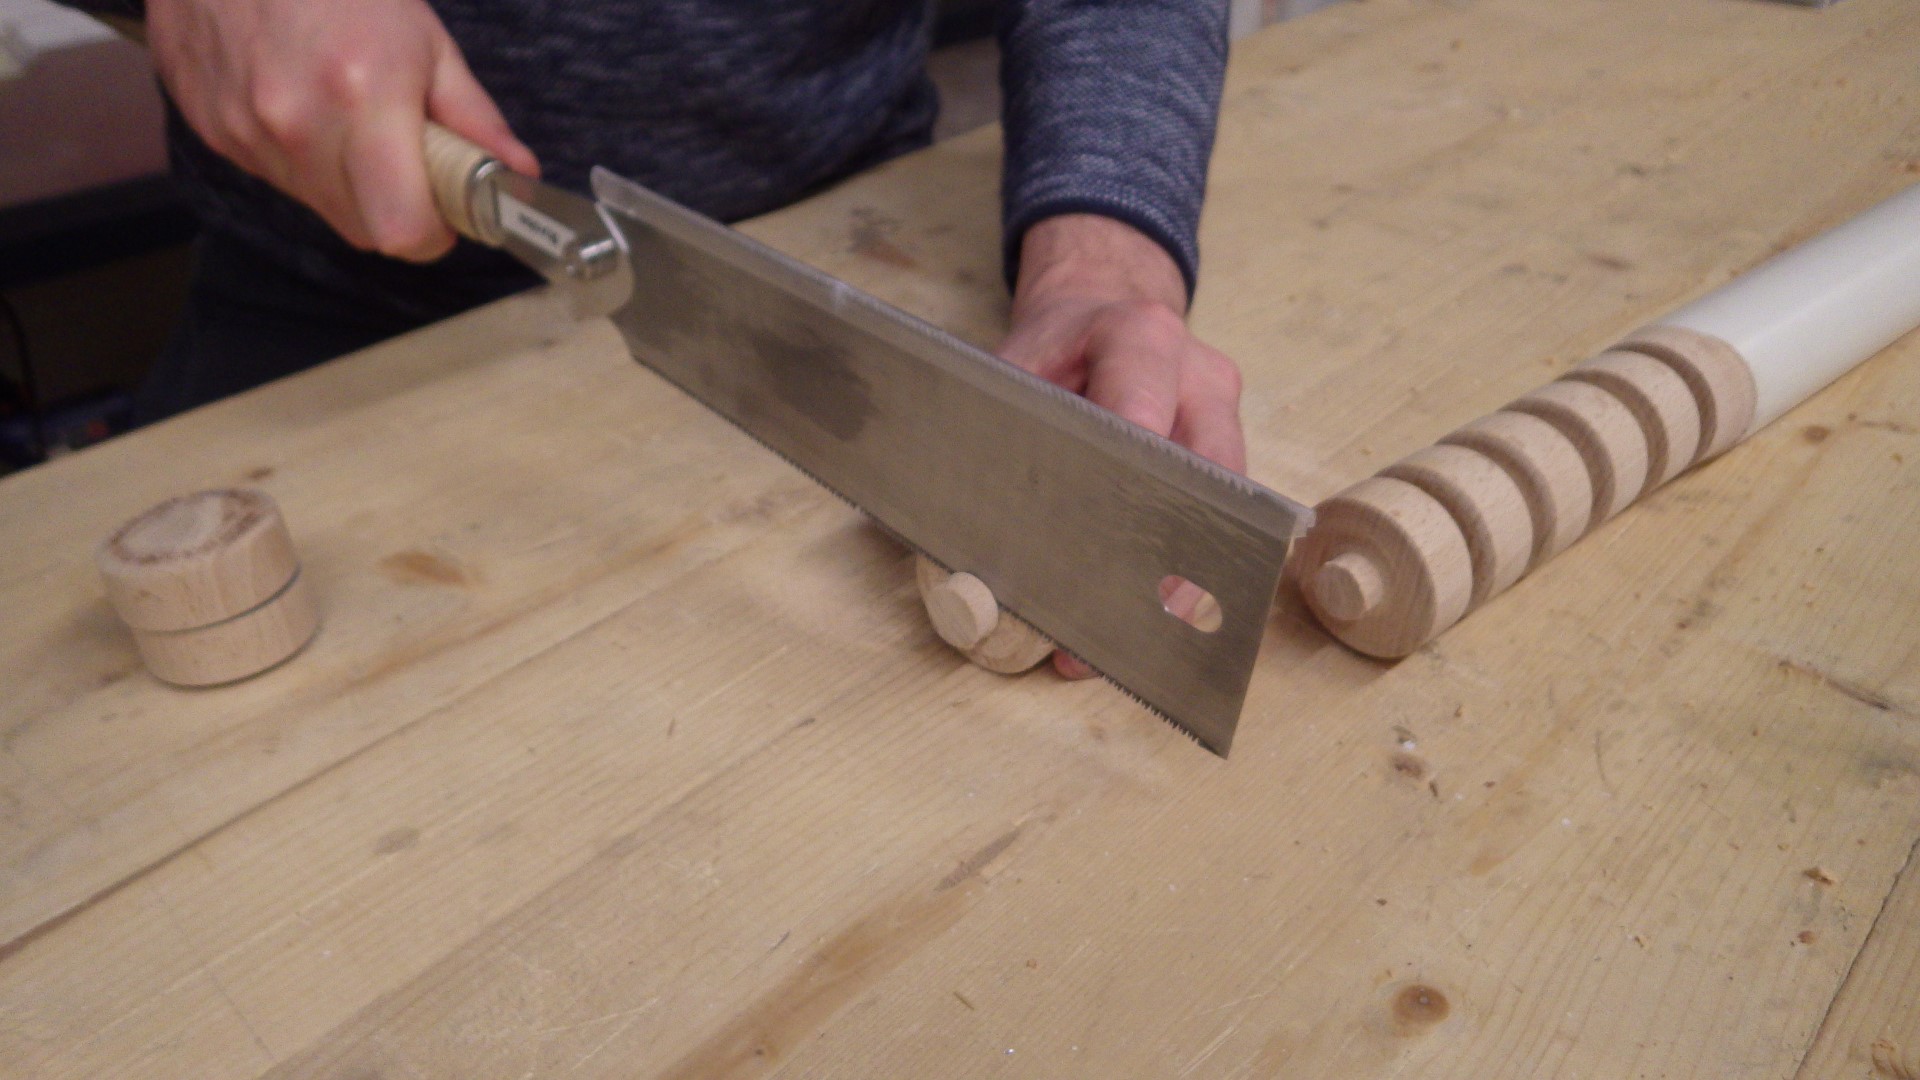
| 00:17, 9 March 2019 | Toy wheel turning 4.JPG (file) |  |
389 KB | turning wheels for a toy (Project:Tigerente) step 4: finish the parting cut off the lathe, using a Japanese saw for example | 1 |
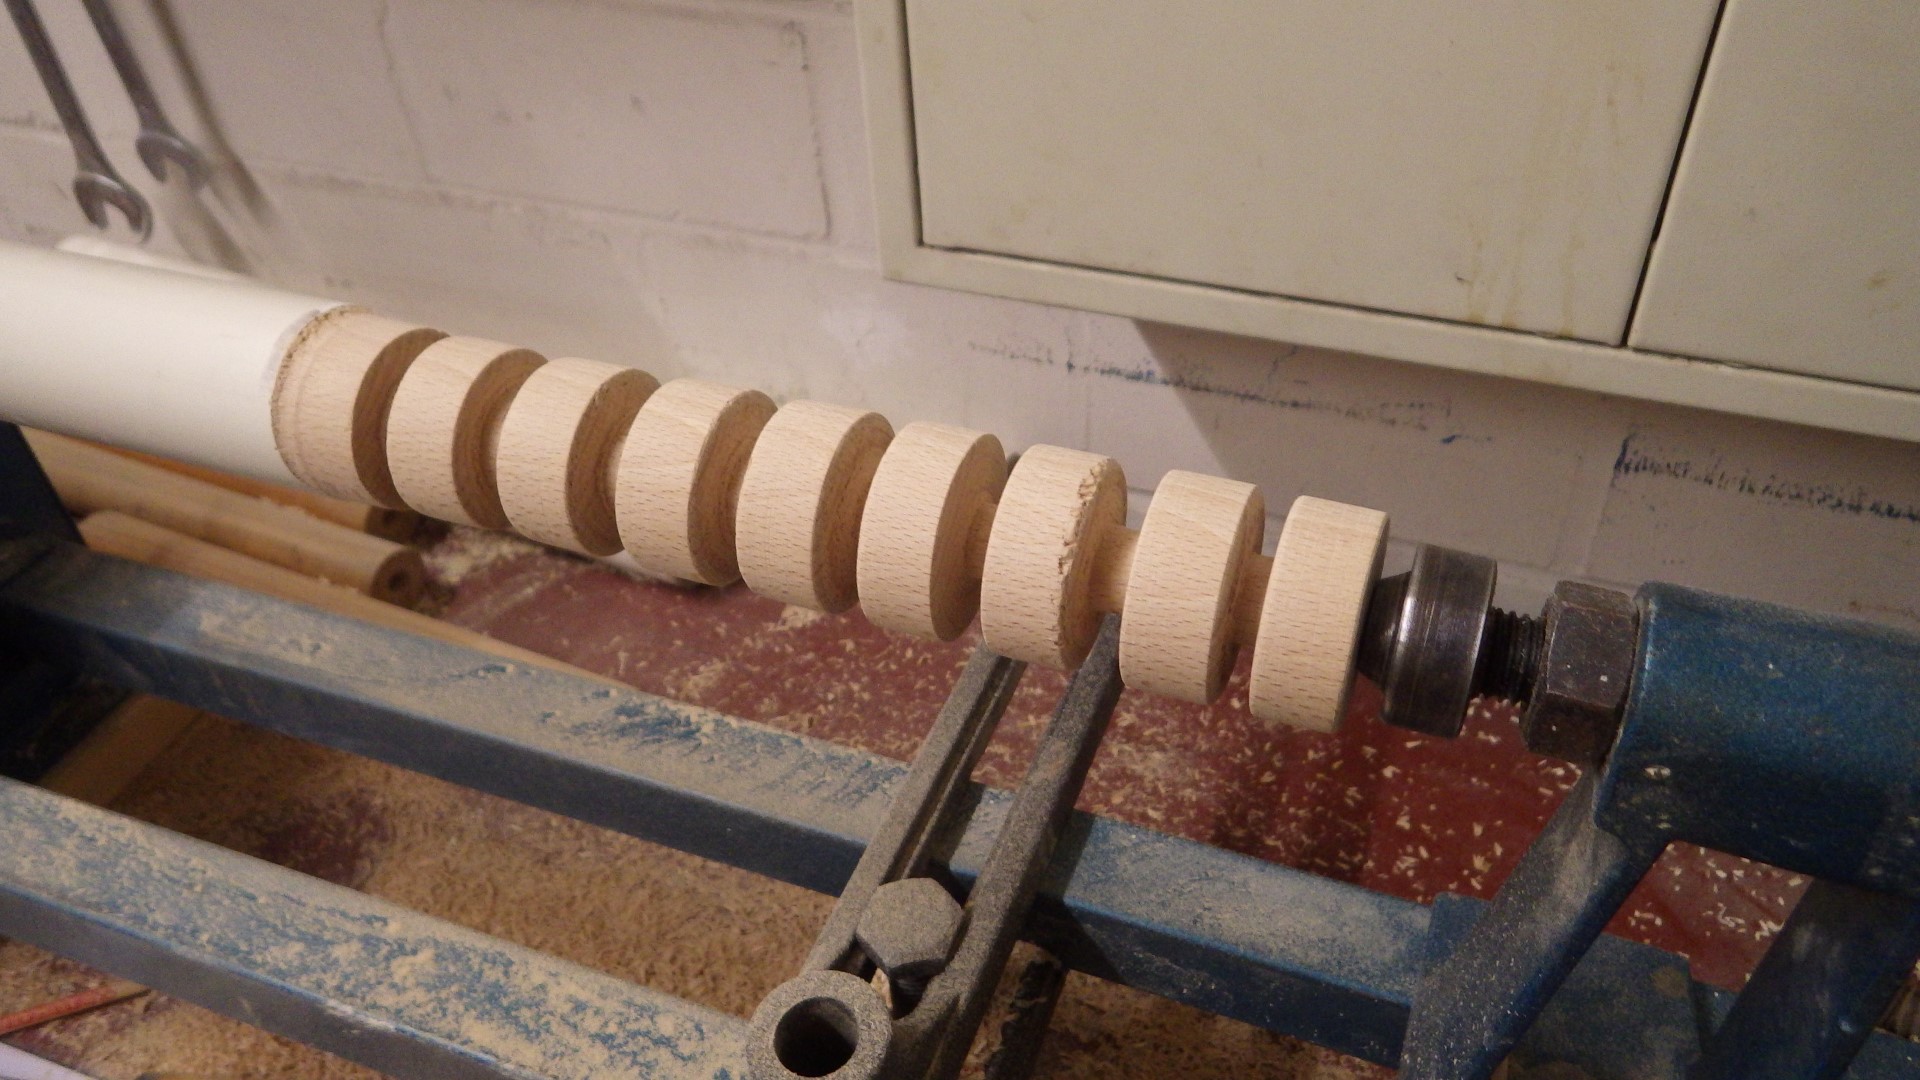
| 00:13, 9 March 2019 | Toy wheel turning 3.JPG (file) |  |
457 KB | turning wheels for a toy (Project:Tigerente) step 3: repeat parting until there are enough recognizable wheels | 1 |
| 00:11, 9 March 2019 | Toy wheel turning 2.JPG (file) |  |
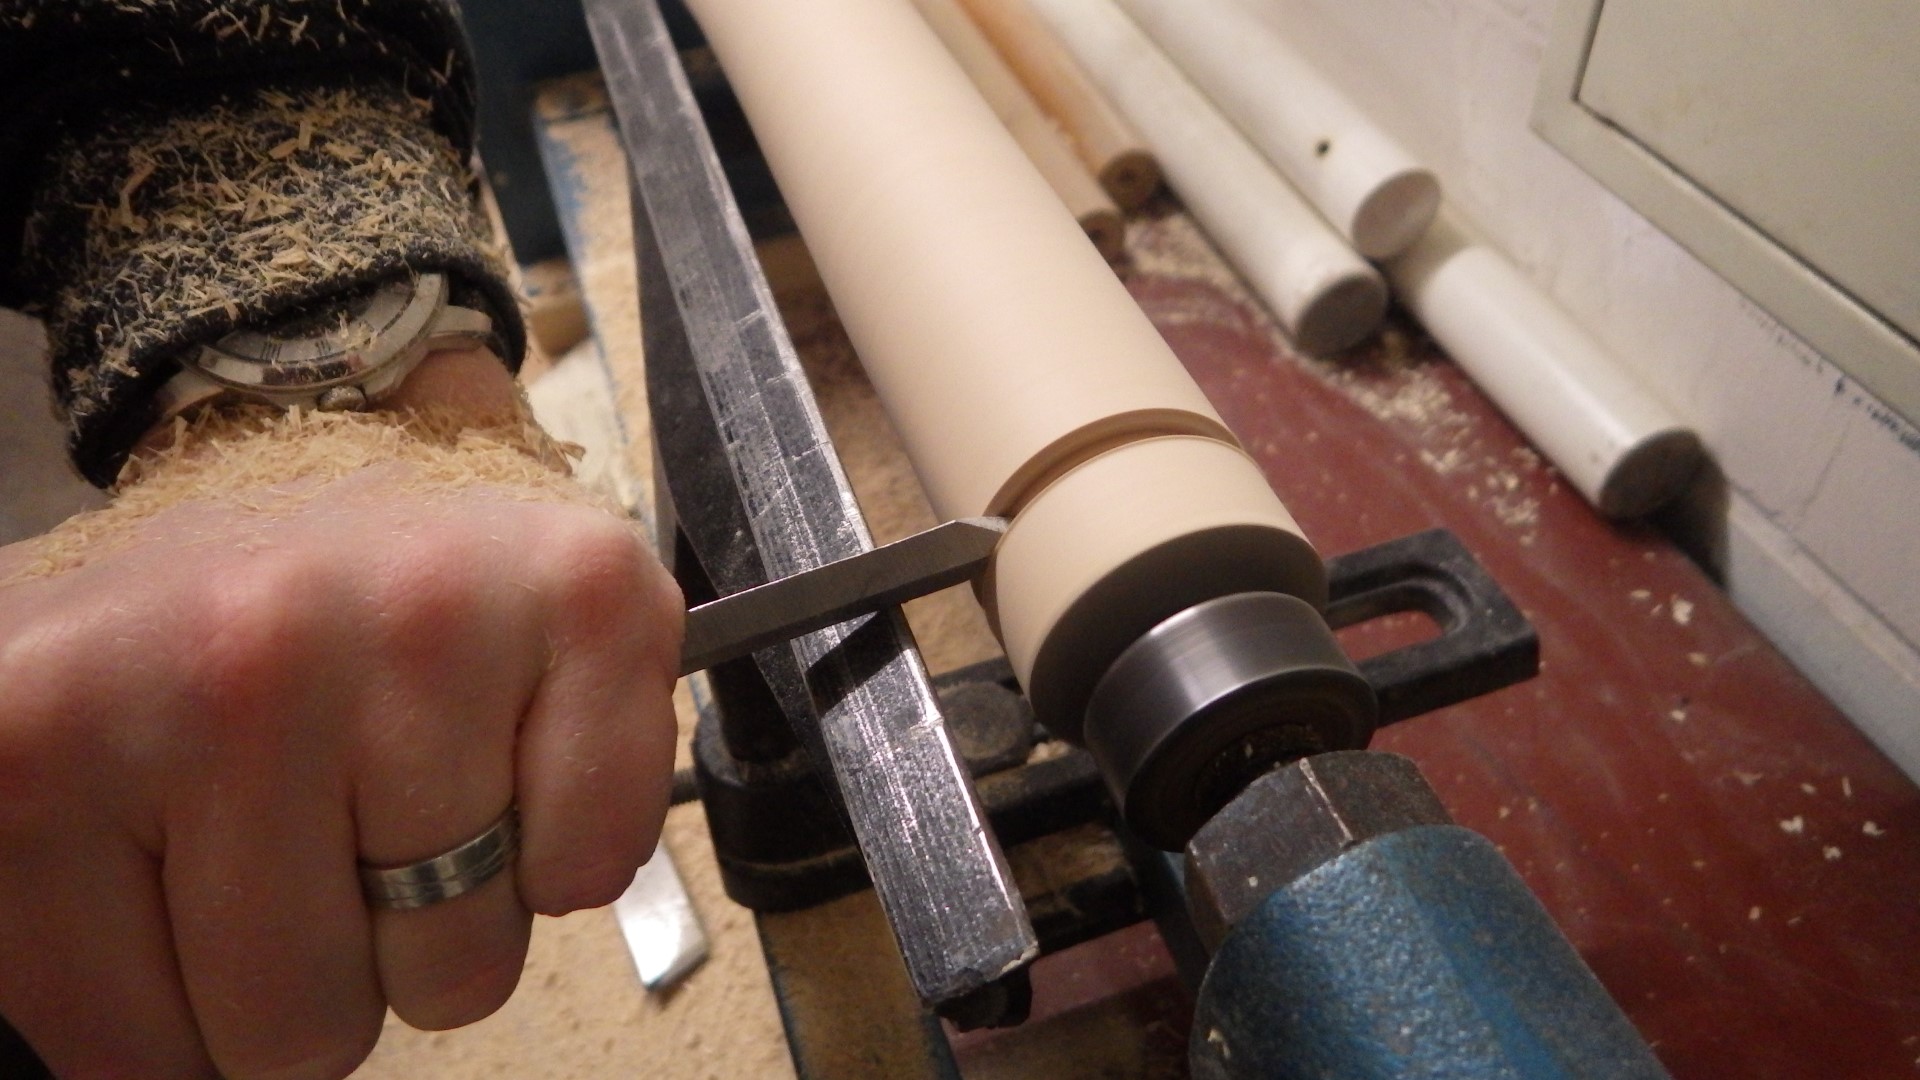
410 KB | turning wheels for a toy (Project:Tigerente) step 2: use a parting tool to define the wheels | 1 |
| 00:09, 9 March 2019 | Toy wheel turning 1.JPG (file) |  |
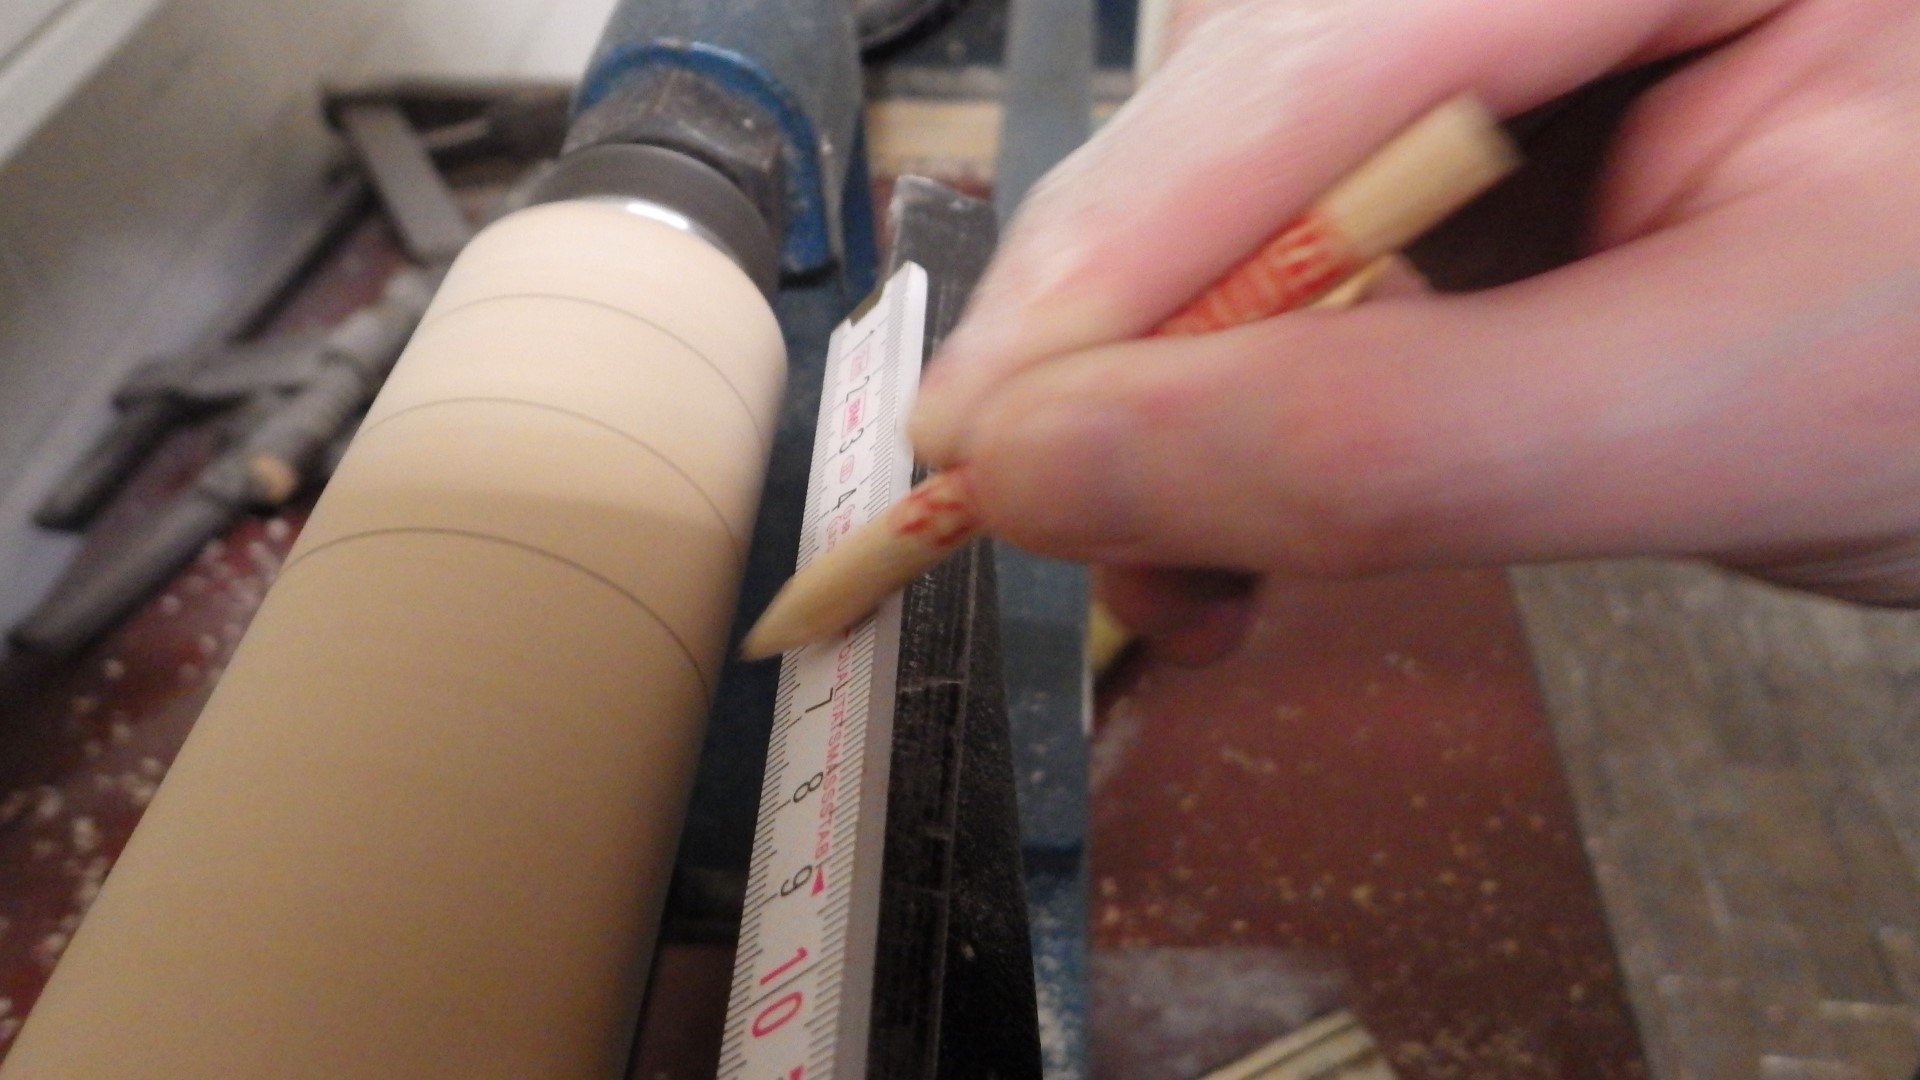
354 KB | turning wheels for a toy (Project:Tigerente) step 1 (after your blank becomes round): mark what to keep/where to part | 1 |
| 19:07, 7 March 2019 | Center finder on log.JPG (file) |  |
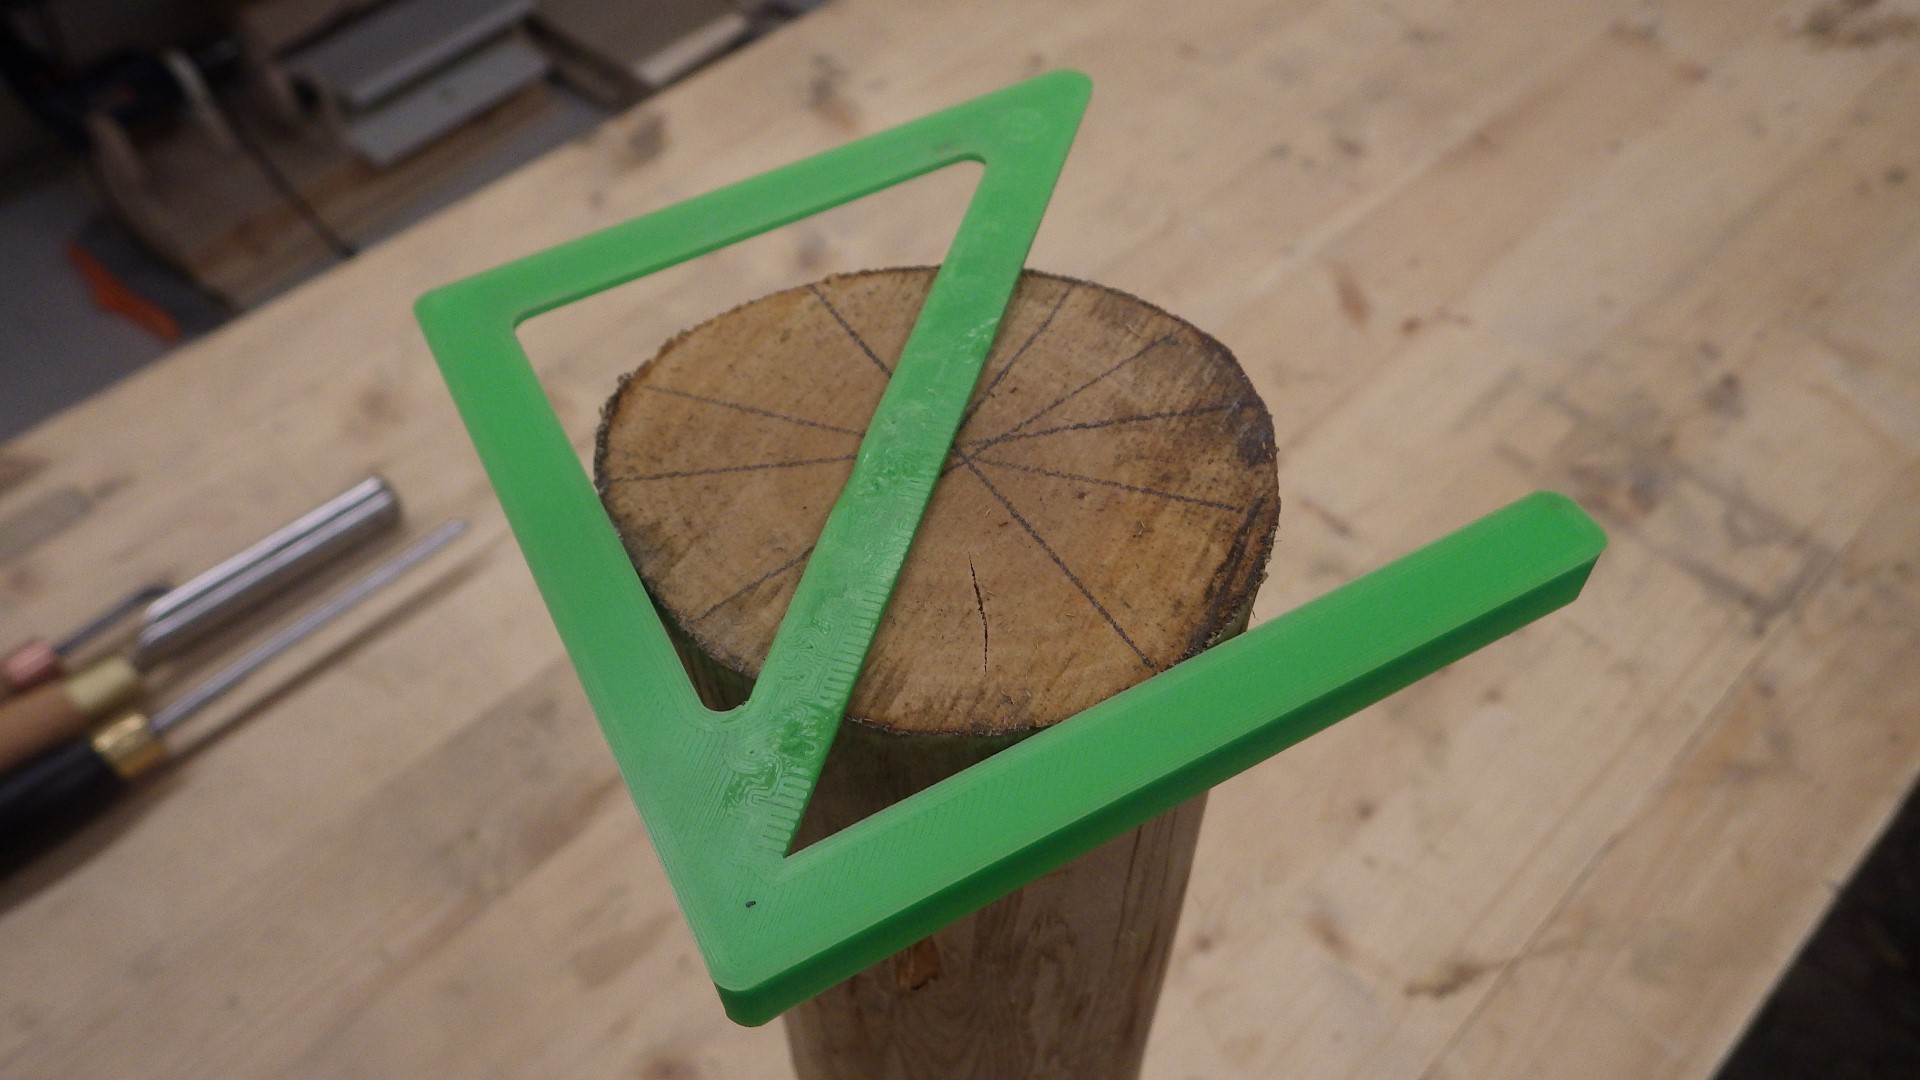
366 KB | using a 3D printed "center finder" to estimate the center of a not exactly round apple log | 1 |
| 18:55, 7 March 2019 | Squaring up 2.JPG (file) |  |
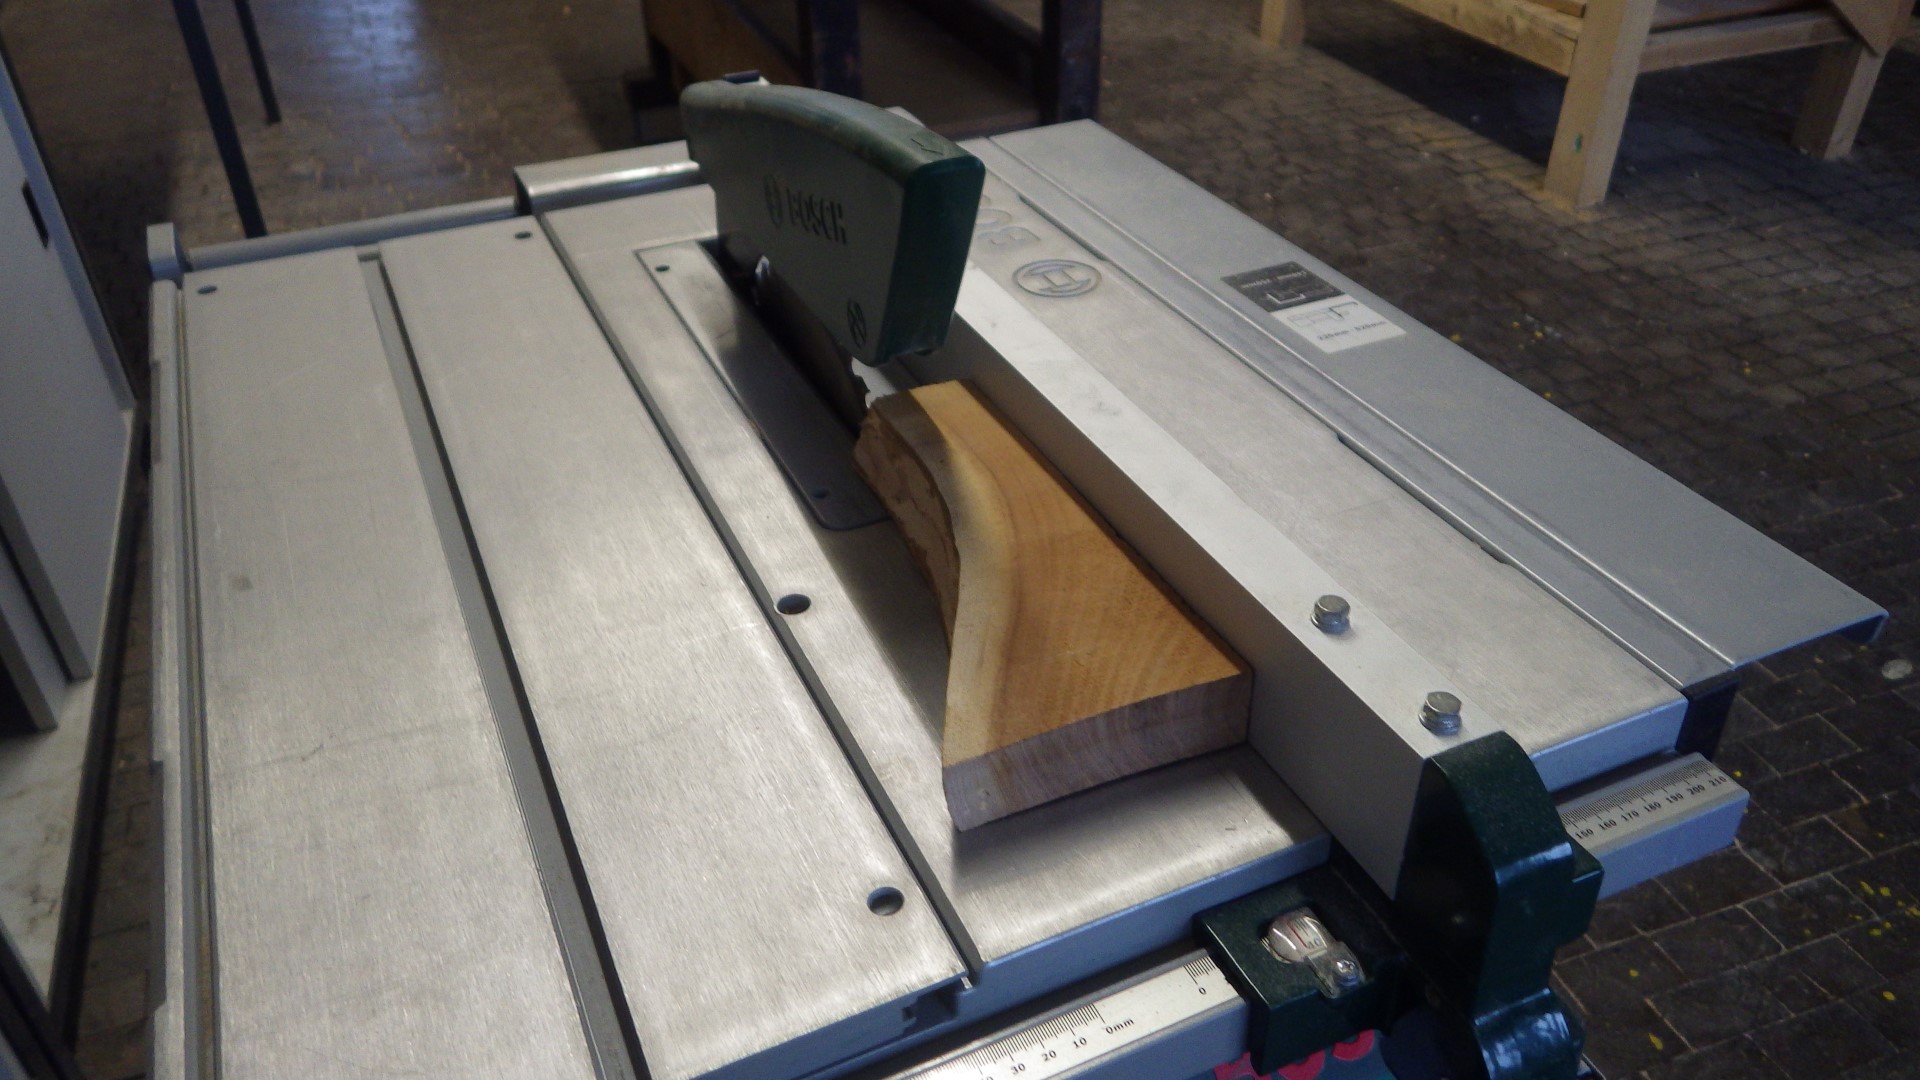
432 KB | squaring up a woodturning blank, step 2: cut your stock using the previously set parallel fence - not too difficult ;-) | 1 |
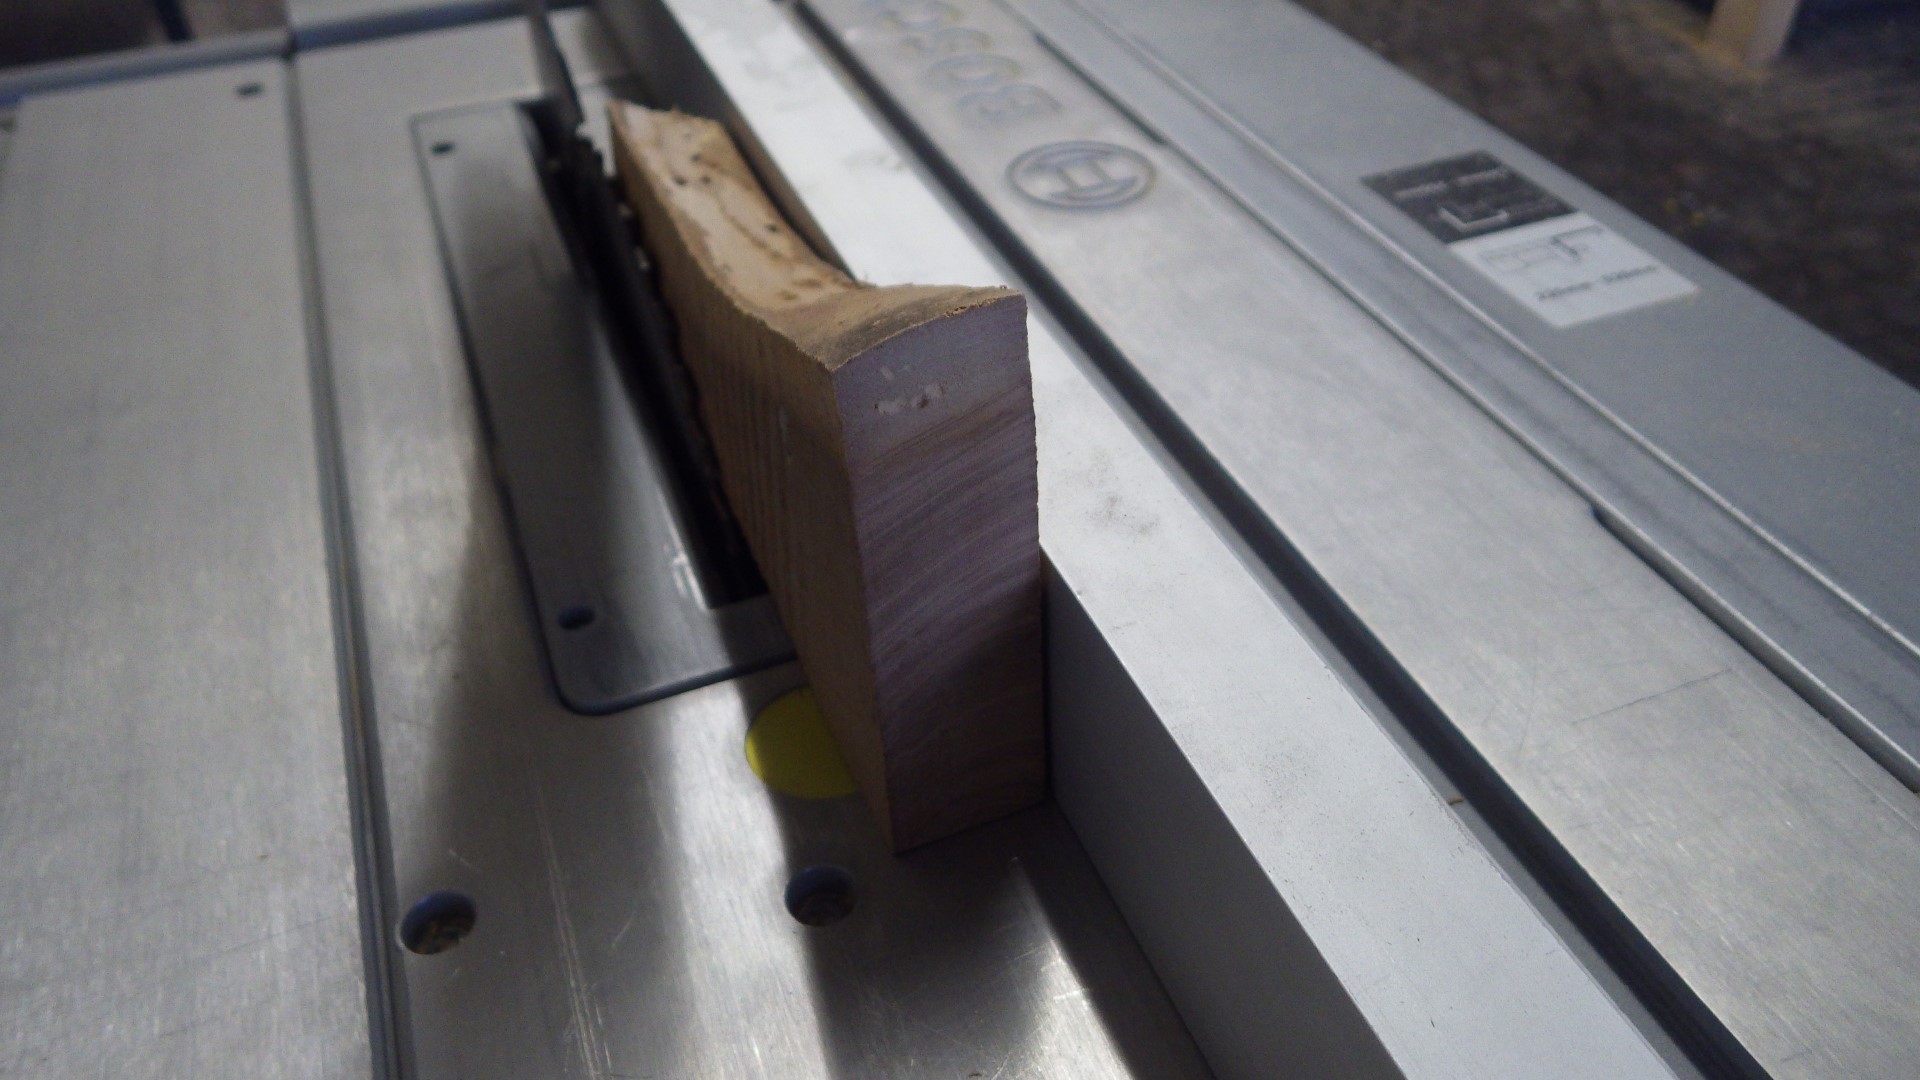
| 18:48, 7 March 2019 | Squaring up 1.JPG (file) |  |
390 KB | squaring up a woodturning blank, step 1: use the narrower width of your stock to set the table saw's parallel fence | 1 |
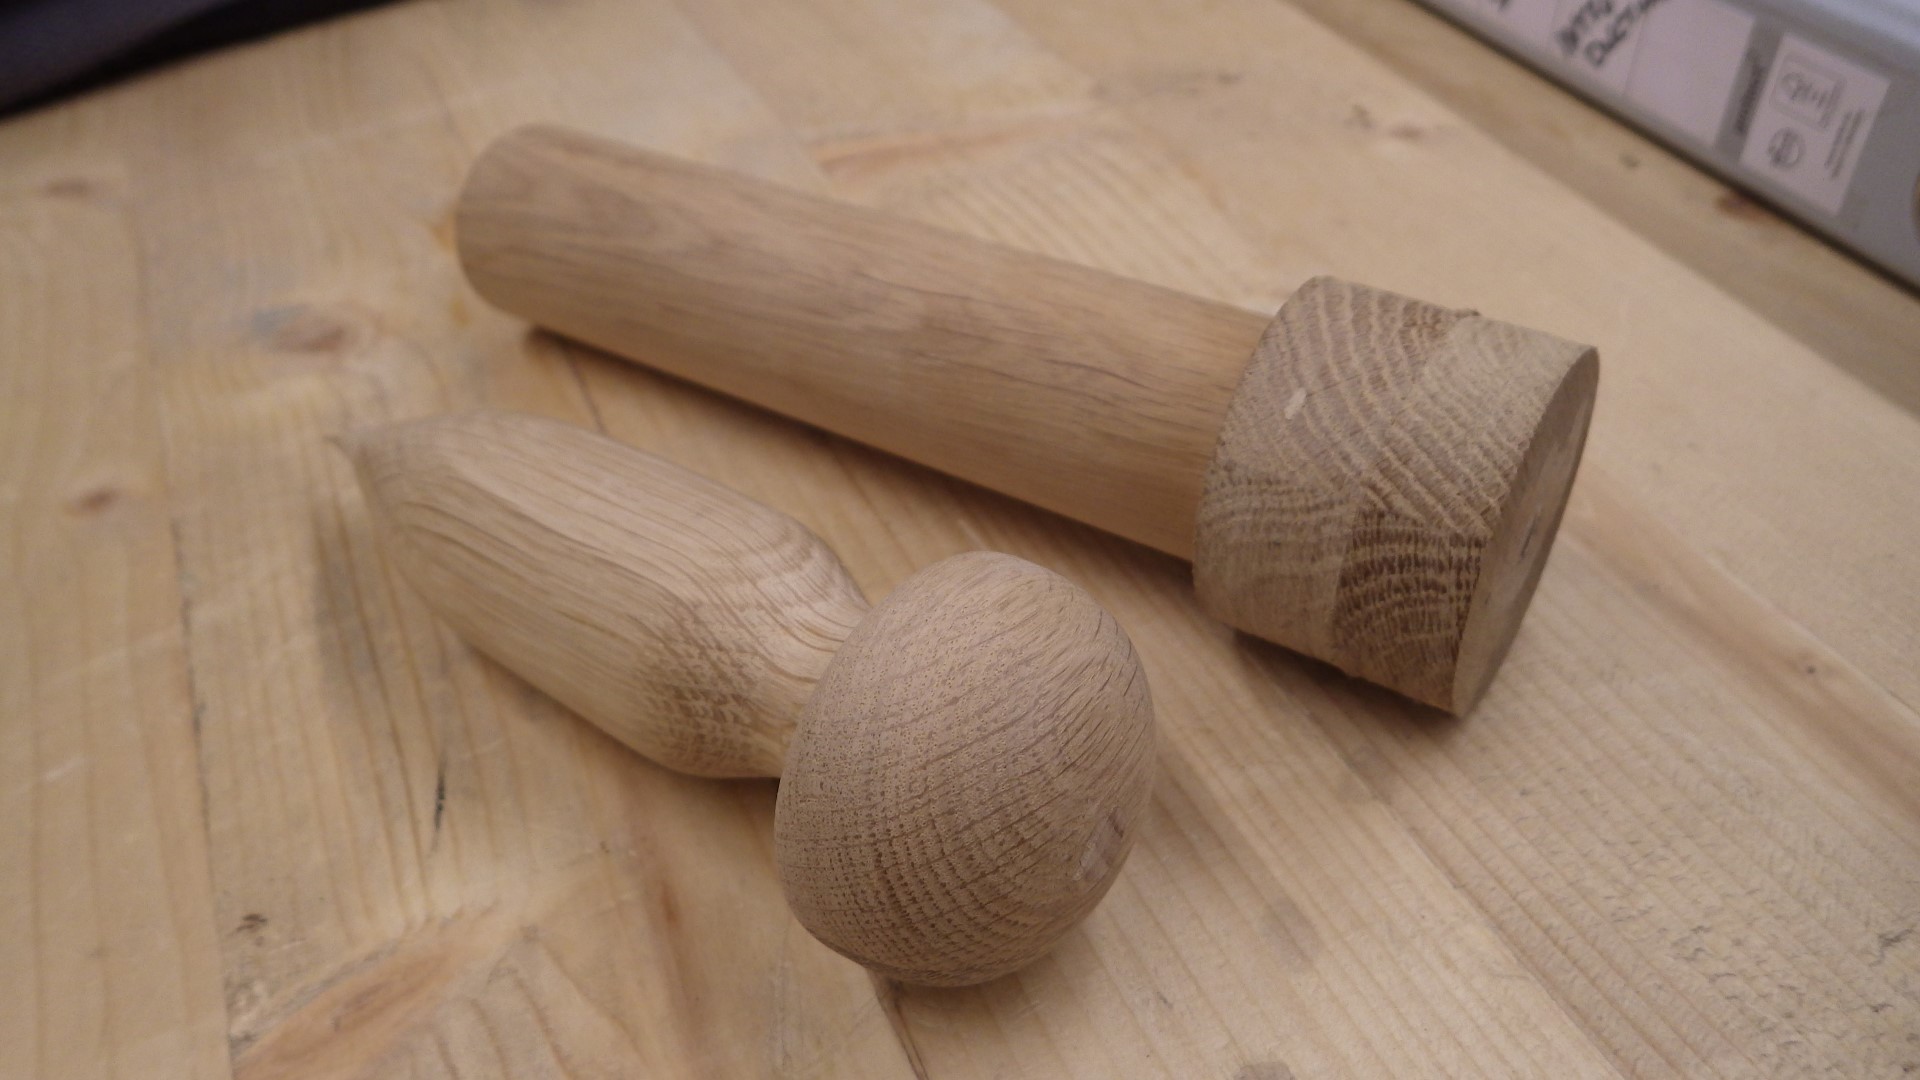
| 18:42, 7 March 2019 | Softwood spindle blanks.JPG (file) | 390 KB | spindle woodturning blanks cut from various softwood scraps - good for practicing (e.g. file handles, but not suited for complex shapes | 1 | |
| 18:07, 7 March 2019 | Composite woodturning blank.JPG (file) | 320 KB | composite woodturning blank (top) and the resulting gardening tool - lots of wood was saved here by only gluing on a thicker section where needed! woodturning credit goes to Axel ;-) | 1 | |
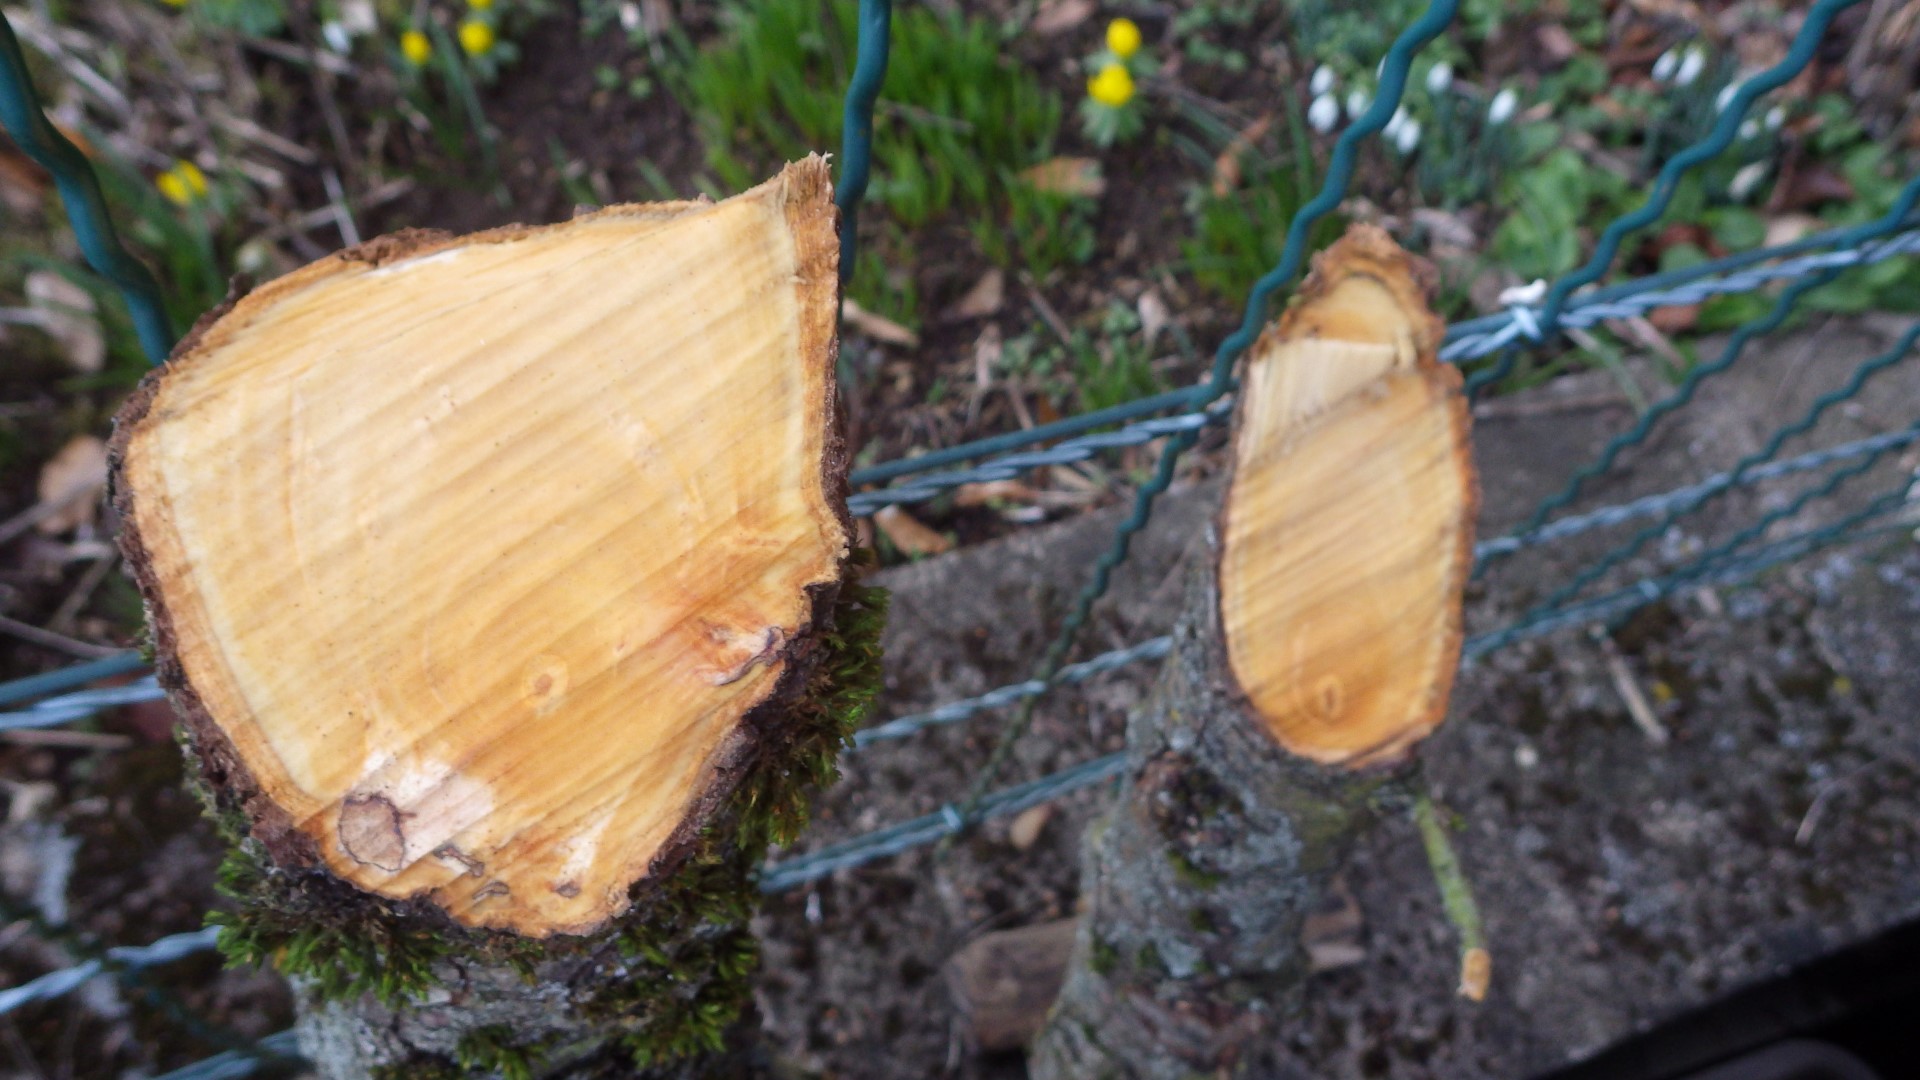
| 17:58, 7 March 2019 | Pear branch cut faces.JPG (file) |  |
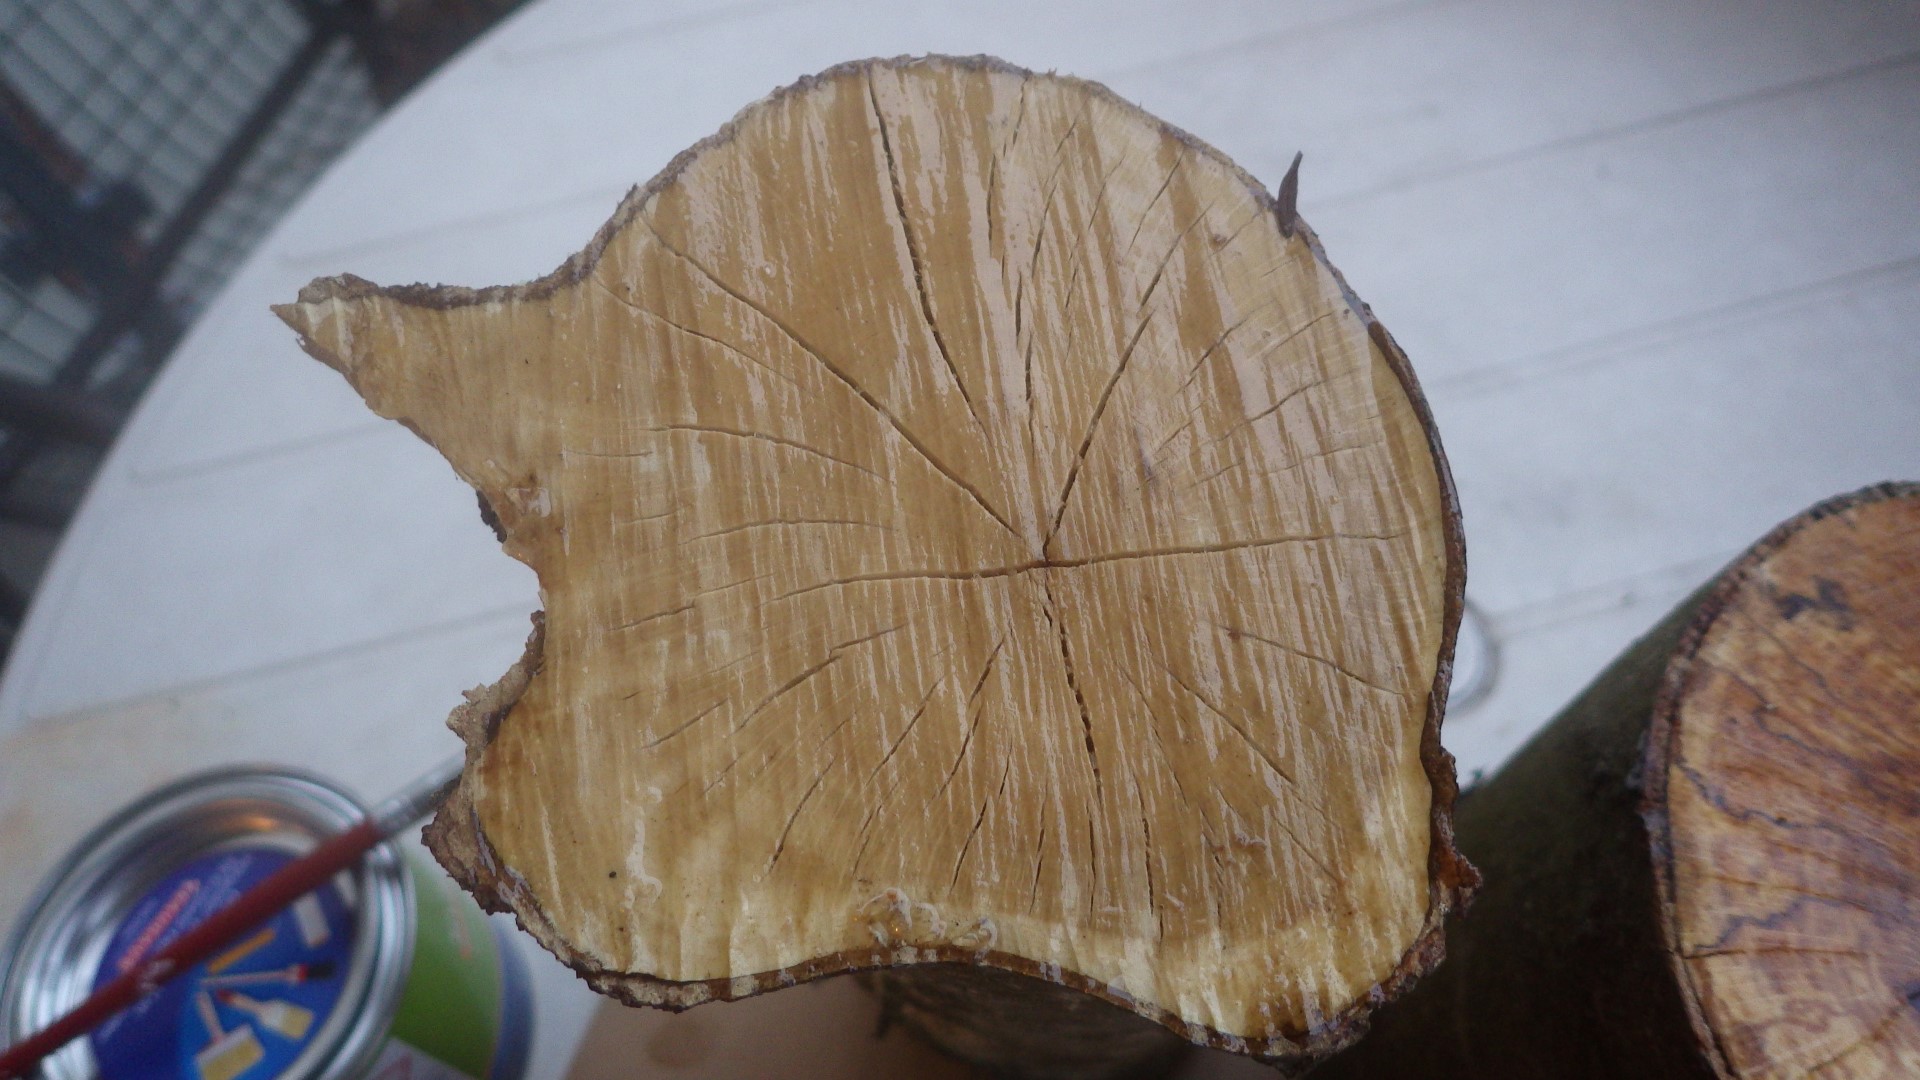
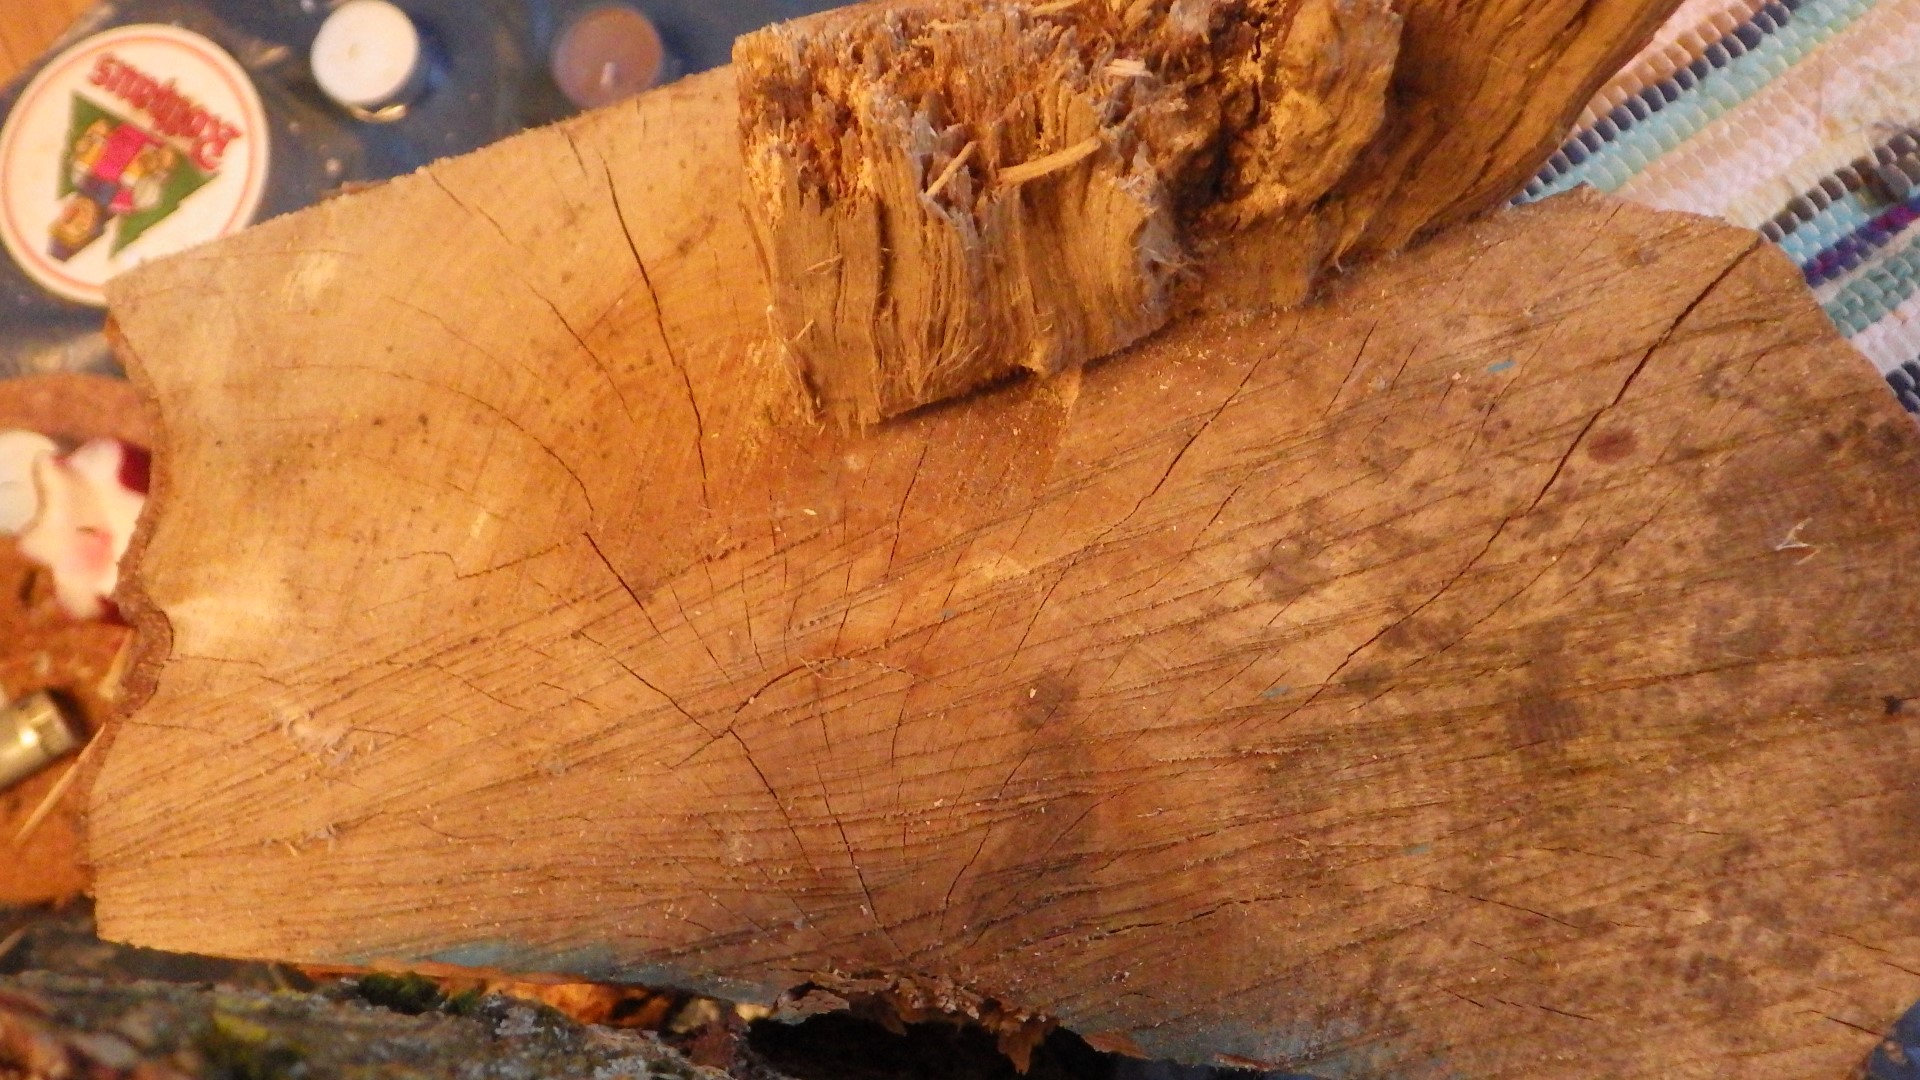
425 KB | Project:Drying Timber cut faces of two pear branches before they were sealed for drying | 1 |
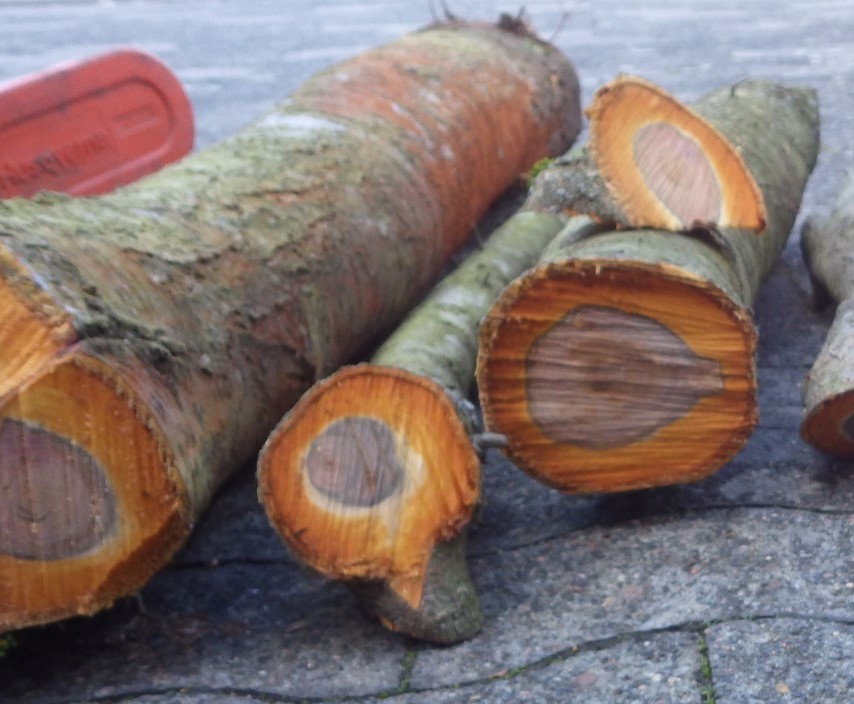
| 17:57, 7 March 2019 | Cut up zwetschge before sealing.JPG (file) |  |
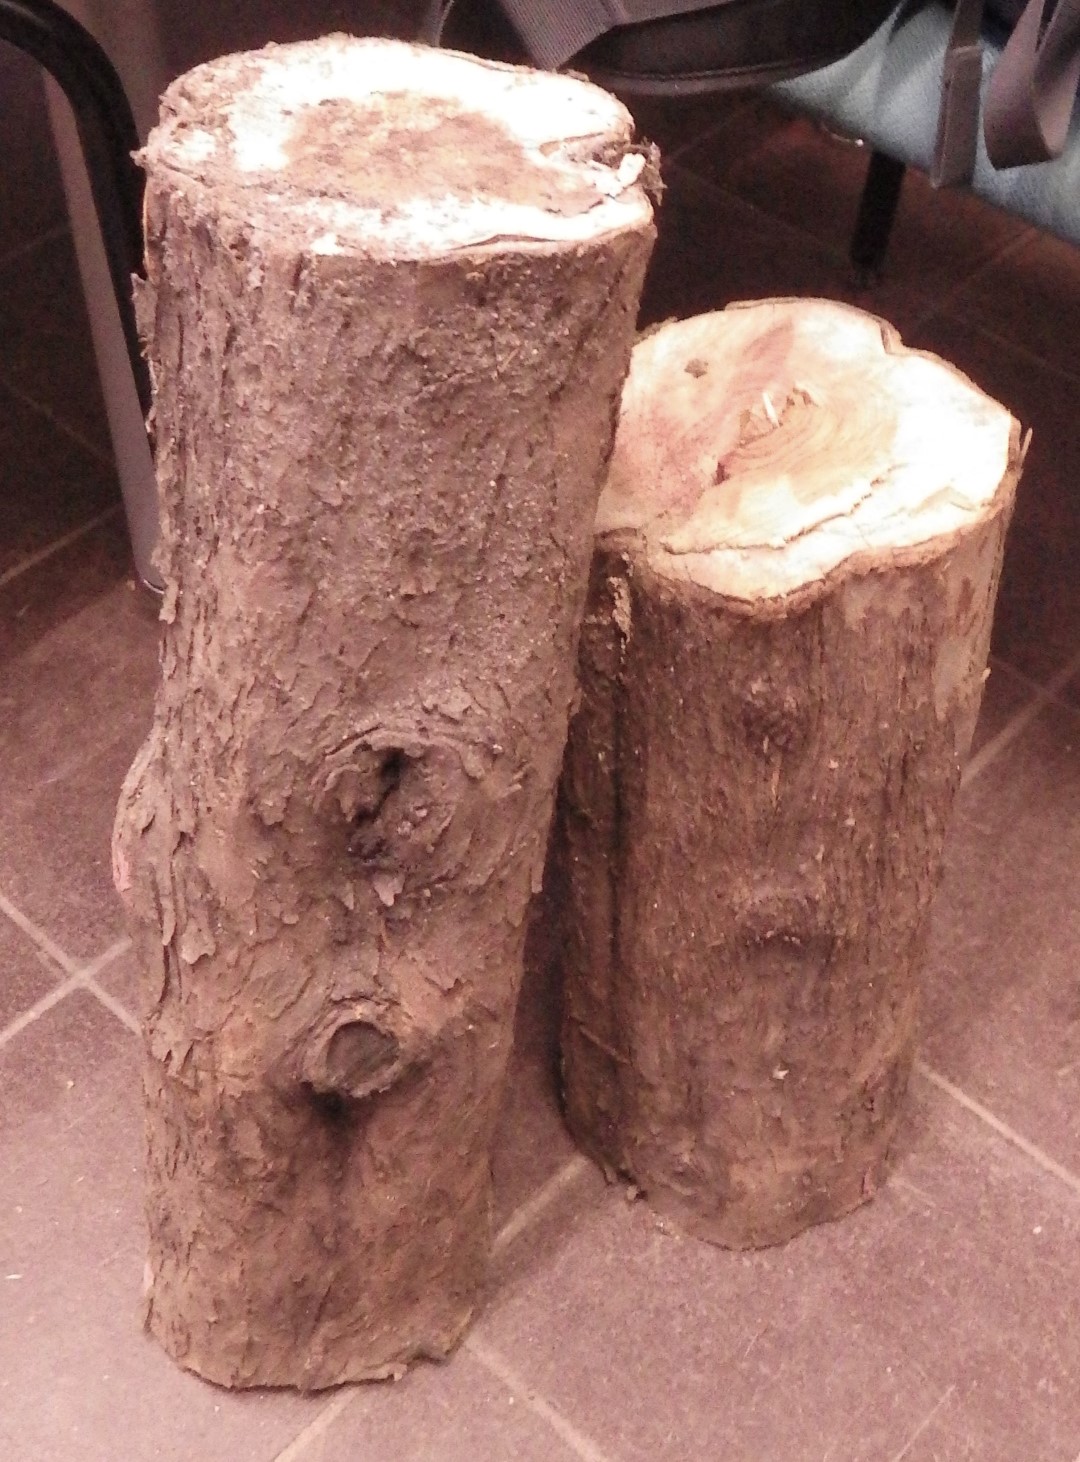
186 KB | Project:Drying Timber (some) pieces of a zwetschge tree that had to go, but will hopefully get a second life as the result of various woodworking projects! | 1 |
| 17:46, 7 March 2019 | Kim's mystery timber.JPG (file) |  |
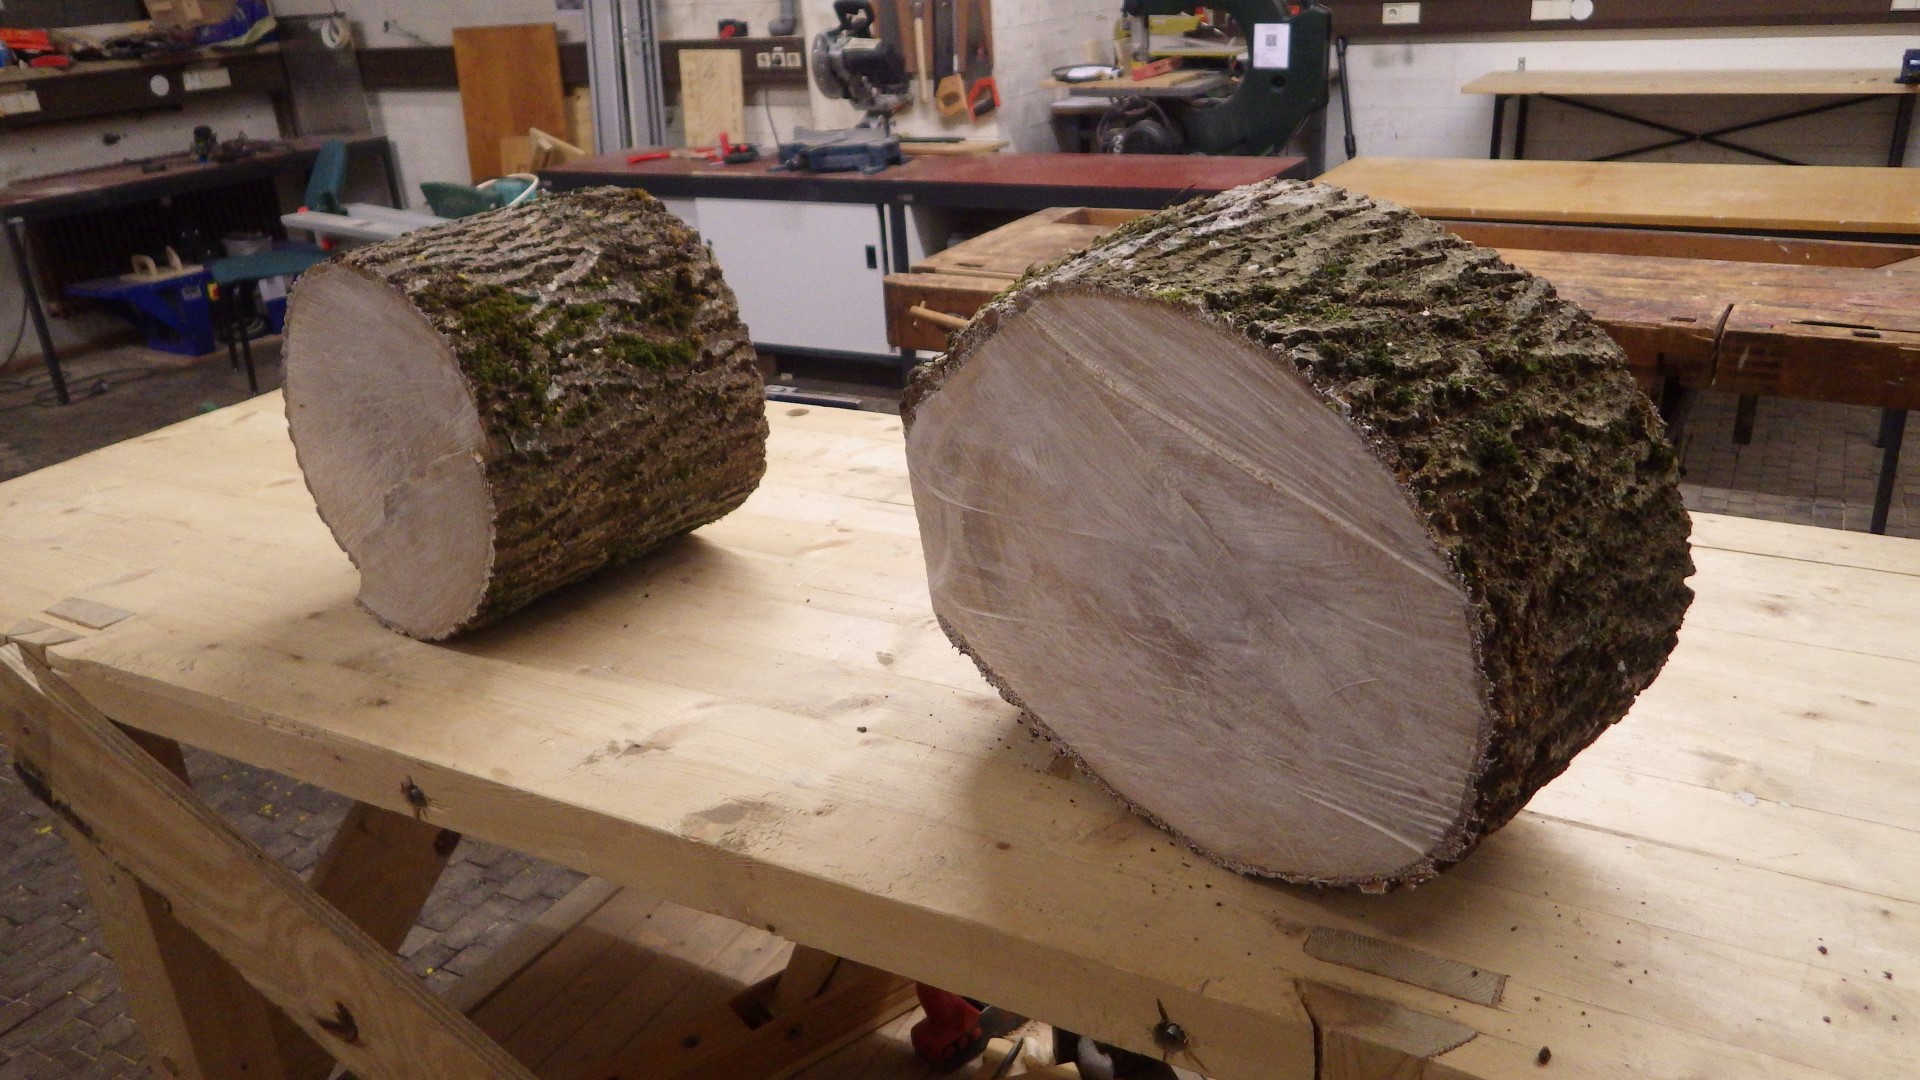
533 KB | Project:Drying Timber two glue-sealed large pieces of a not yet identified tree which unfortunately turned out to be infested with beetles | 1 |
| 17:30, 7 March 2019 | Putative apple log + glue.JPG (file) |  |
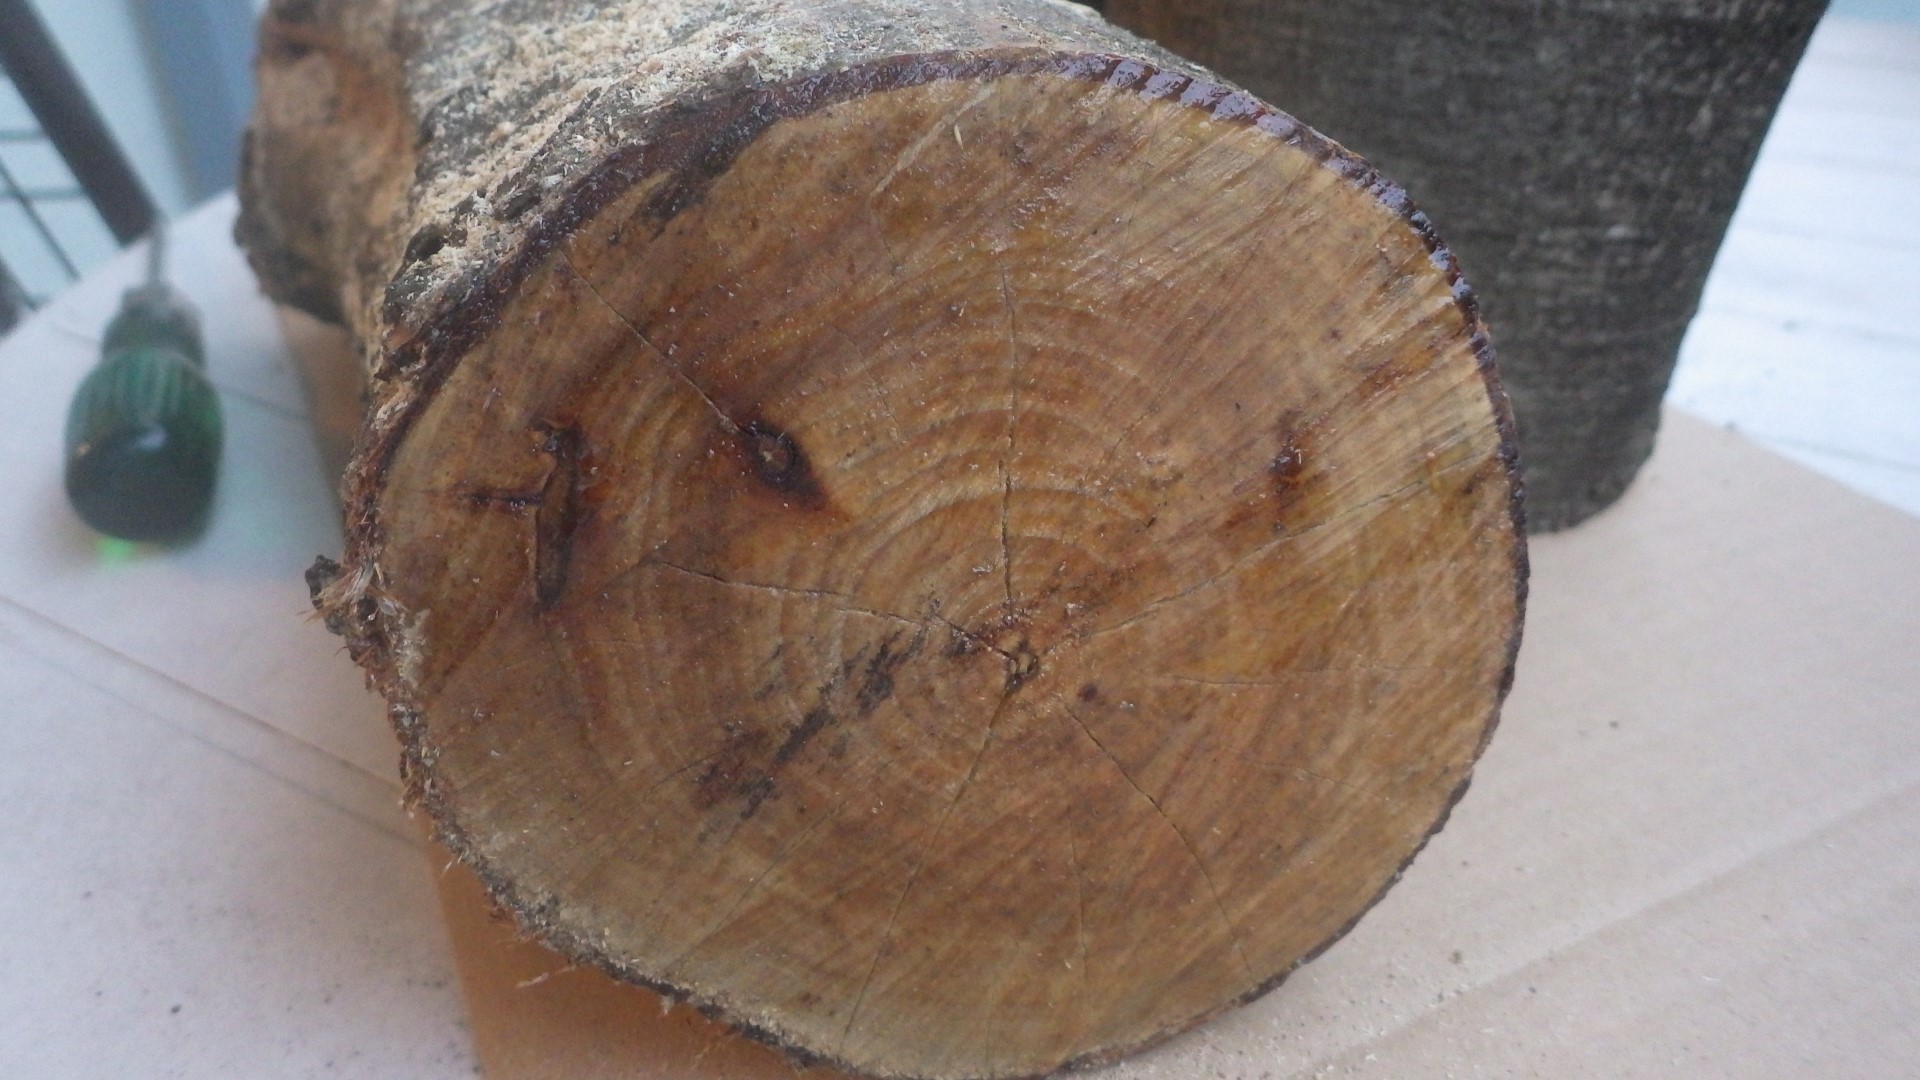
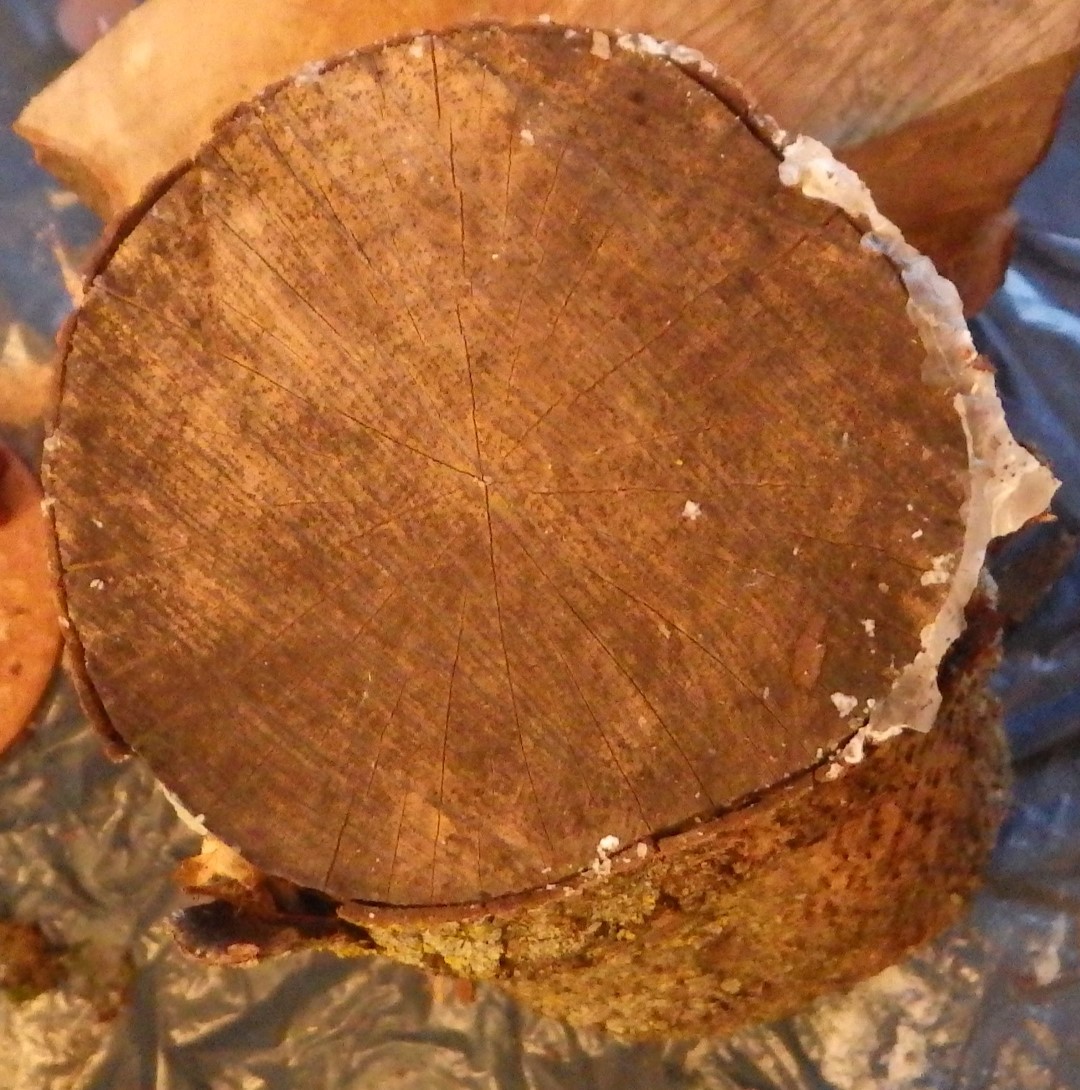
511 KB | Project:Drying Timber piece of apple (maybe) just after applying wood glue to seal the ends | 1 |
| 17:25, 7 March 2019 | Spalted beech painted.JPG (file) |  |
490 KB | Project:Drying Timber piece of beech with some interesting spalting, painted with clear lacquer a bit late: there were already some checks | 1 |
| 17:23, 7 March 2019 | Checked cherry painted.JPG (file) |  |
439 KB | Project:Drying Timber piece of cherry that was painted with clear lacquer a bit late: there were already some checks | 1 |
| 17:22, 7 March 2019 | Checked maple painted.JPG (file) |  |
448 KB | Project:Drying Timber piece of maple that was painted with clear lacquer a bit late: there were already some checks | 1 |
| 17:13, 7 March 2019 | Early beech drying attempt.jpg (file) |  |
79 KB | Project:Drying Timber one of the first pieces Lukas started to dry: beech without special treatment | 1 |
| 19:34, 6 March 2019 | Airlag's yew logs.jpg (file) |  |
432 KB | Project:Drying Timber kind gift of two yew logs that Airlag had in his garage for a few years | 1 |
| 19:19, 6 March 2019 | Outdoor dried beech log.JPG (file) |  |
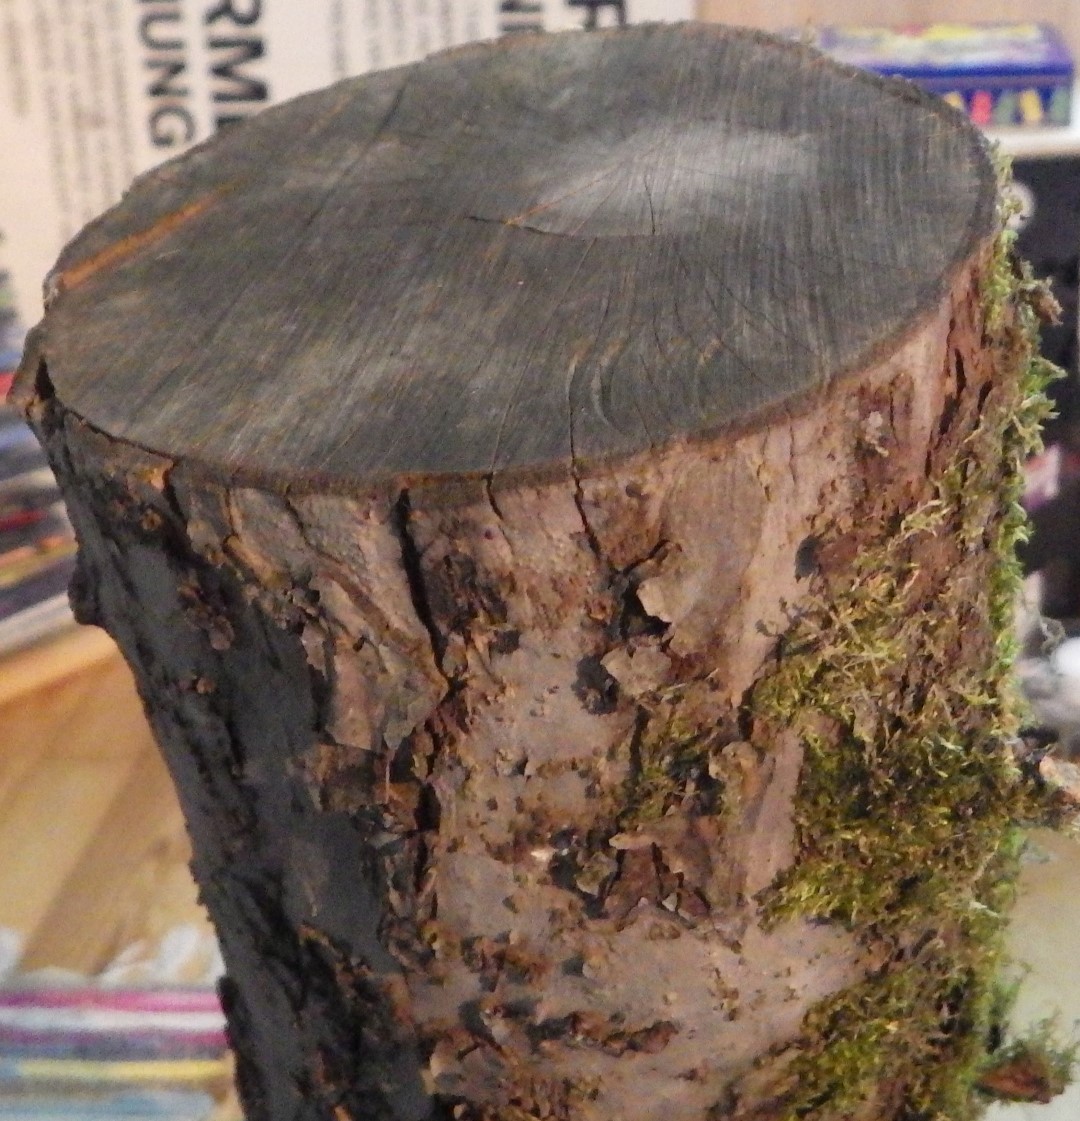
591 KB | Project:Drying Timber beech log that had already been outside for about 6 months, shortly before getting sealed with paraffin (microwaved candle stumps & dripped from burning candle) | 1 |
| 19:16, 6 March 2019 | Outdoor dried ash log.JPG (file) |  |
351 KB | Project:Drying Timber ash log that had already been outside for about 6 months, shortly before getting sealed with paraffin (microwaved candle stumps & dripped from burning candle) | 1 |
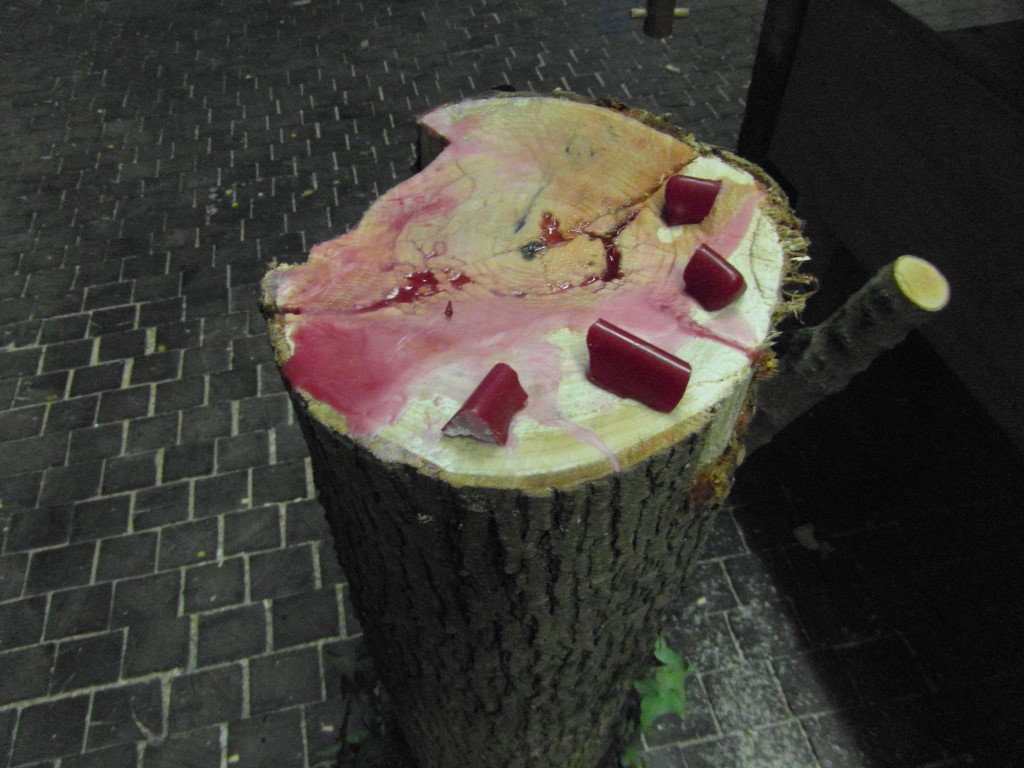
| 19:10, 6 March 2019 | Outdoor dried apple log.jpg (file) |  |
359 KB | Project:Drying Timber an apple log that had already dried outside for a while shortly before being end-sealed with paraffin | 1 |
| 18:53, 6 March 2019 | Ash log paraffin treatment.JPG (file) |  |
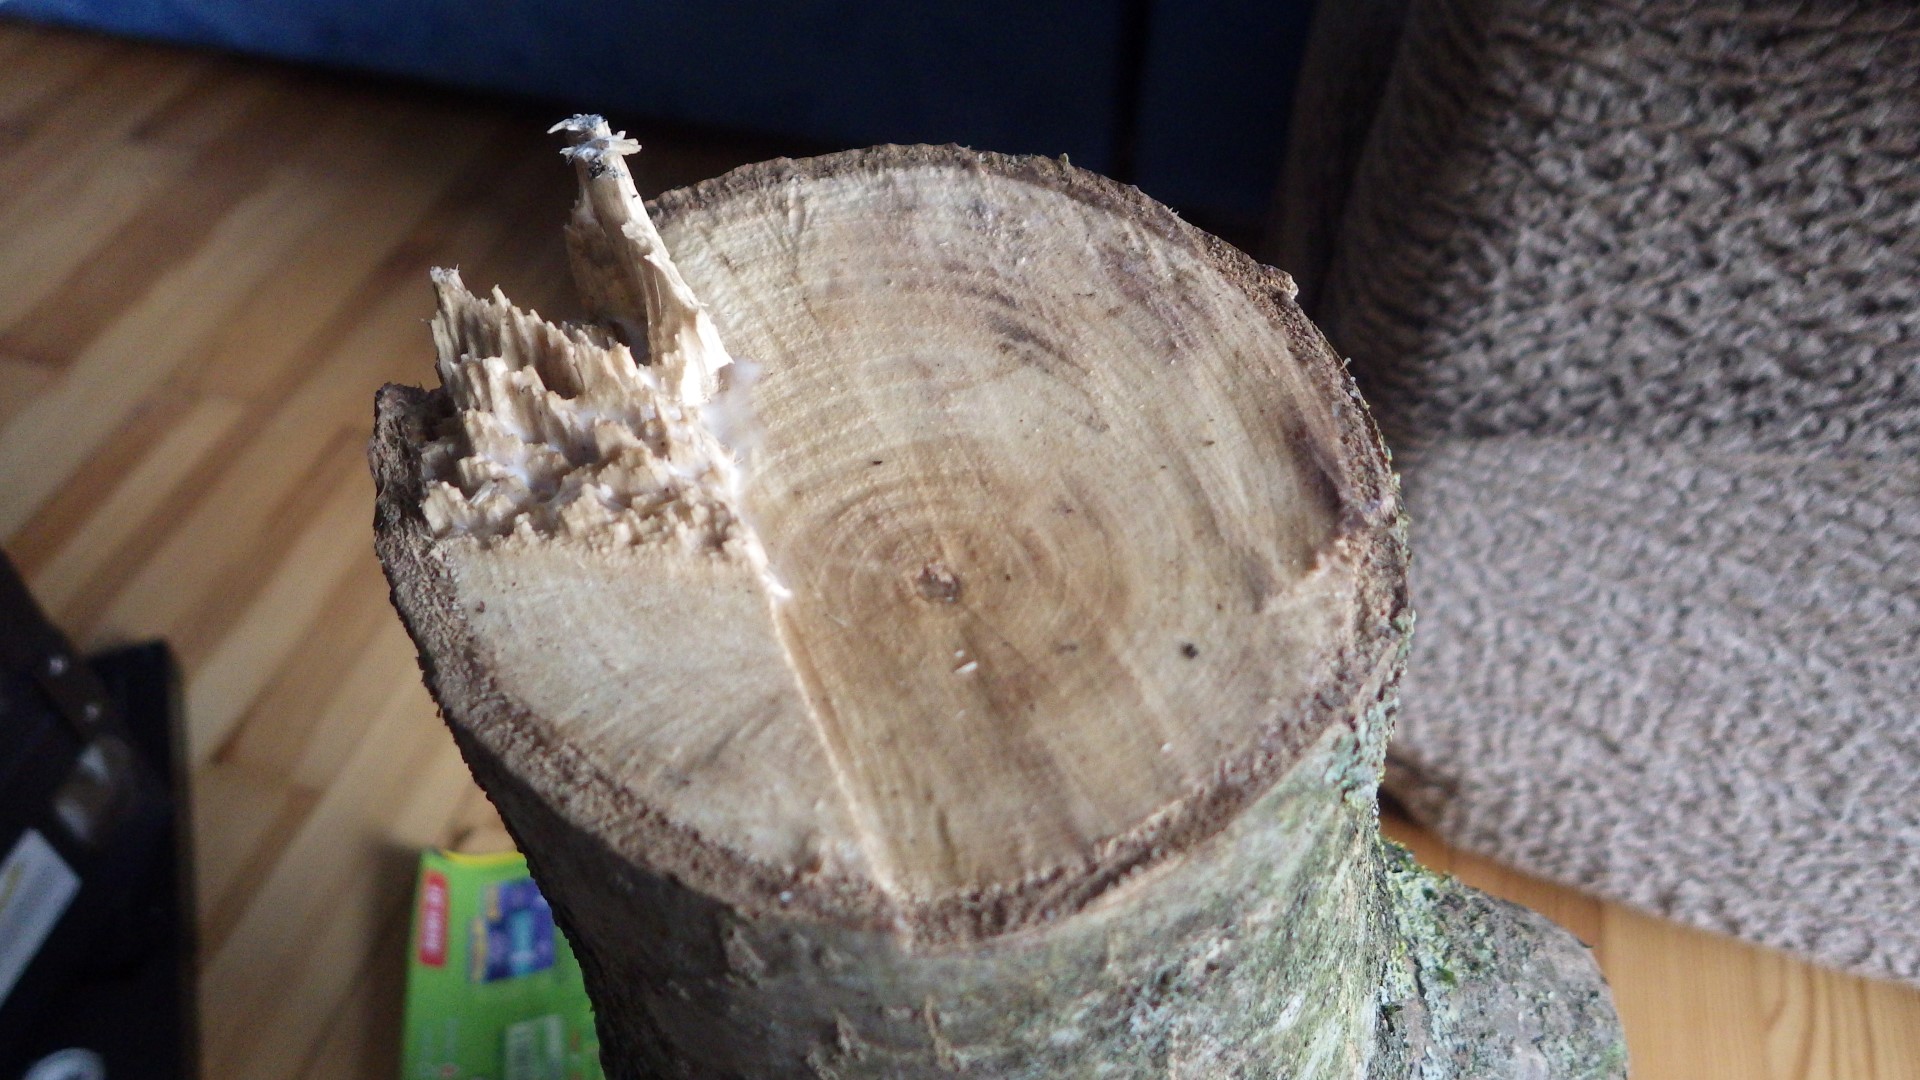
196 KB | Project:Drying Timber although this ash log may have been split too far already when Lukas found it, the ends were sealed with paraffin (candle stumps melted with a heat gun) | 1 |
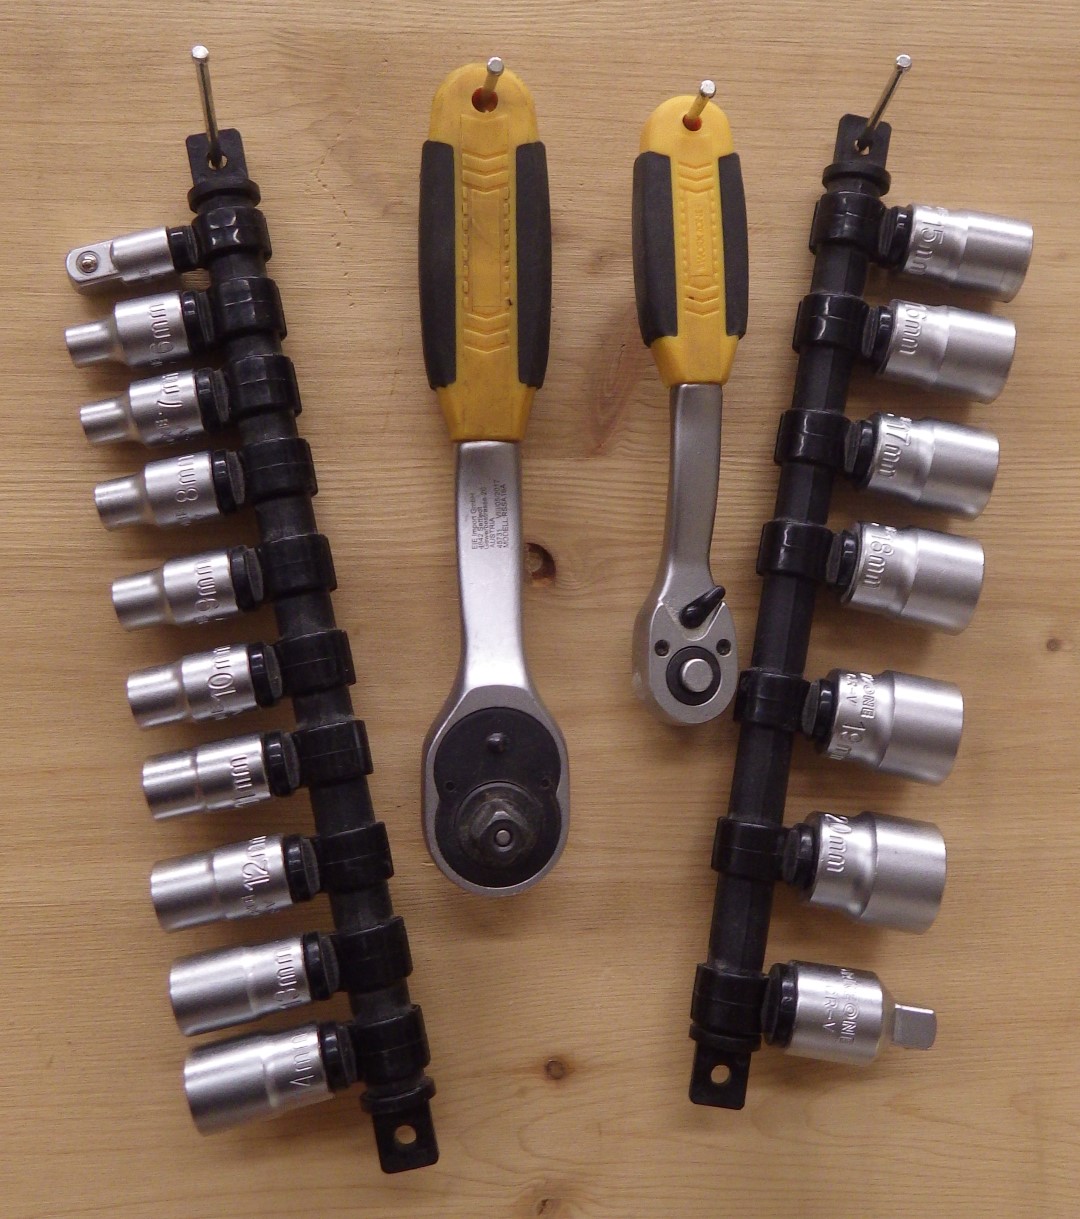
| 19:39, 5 March 2019 | Socket wrench storage.jpg (file) |  |
347 KB | our socket wrenches and a selection of sockets on the wall | 1 |
| 18:46, 5 March 2019 | TAC 24.JPG (file) |  |
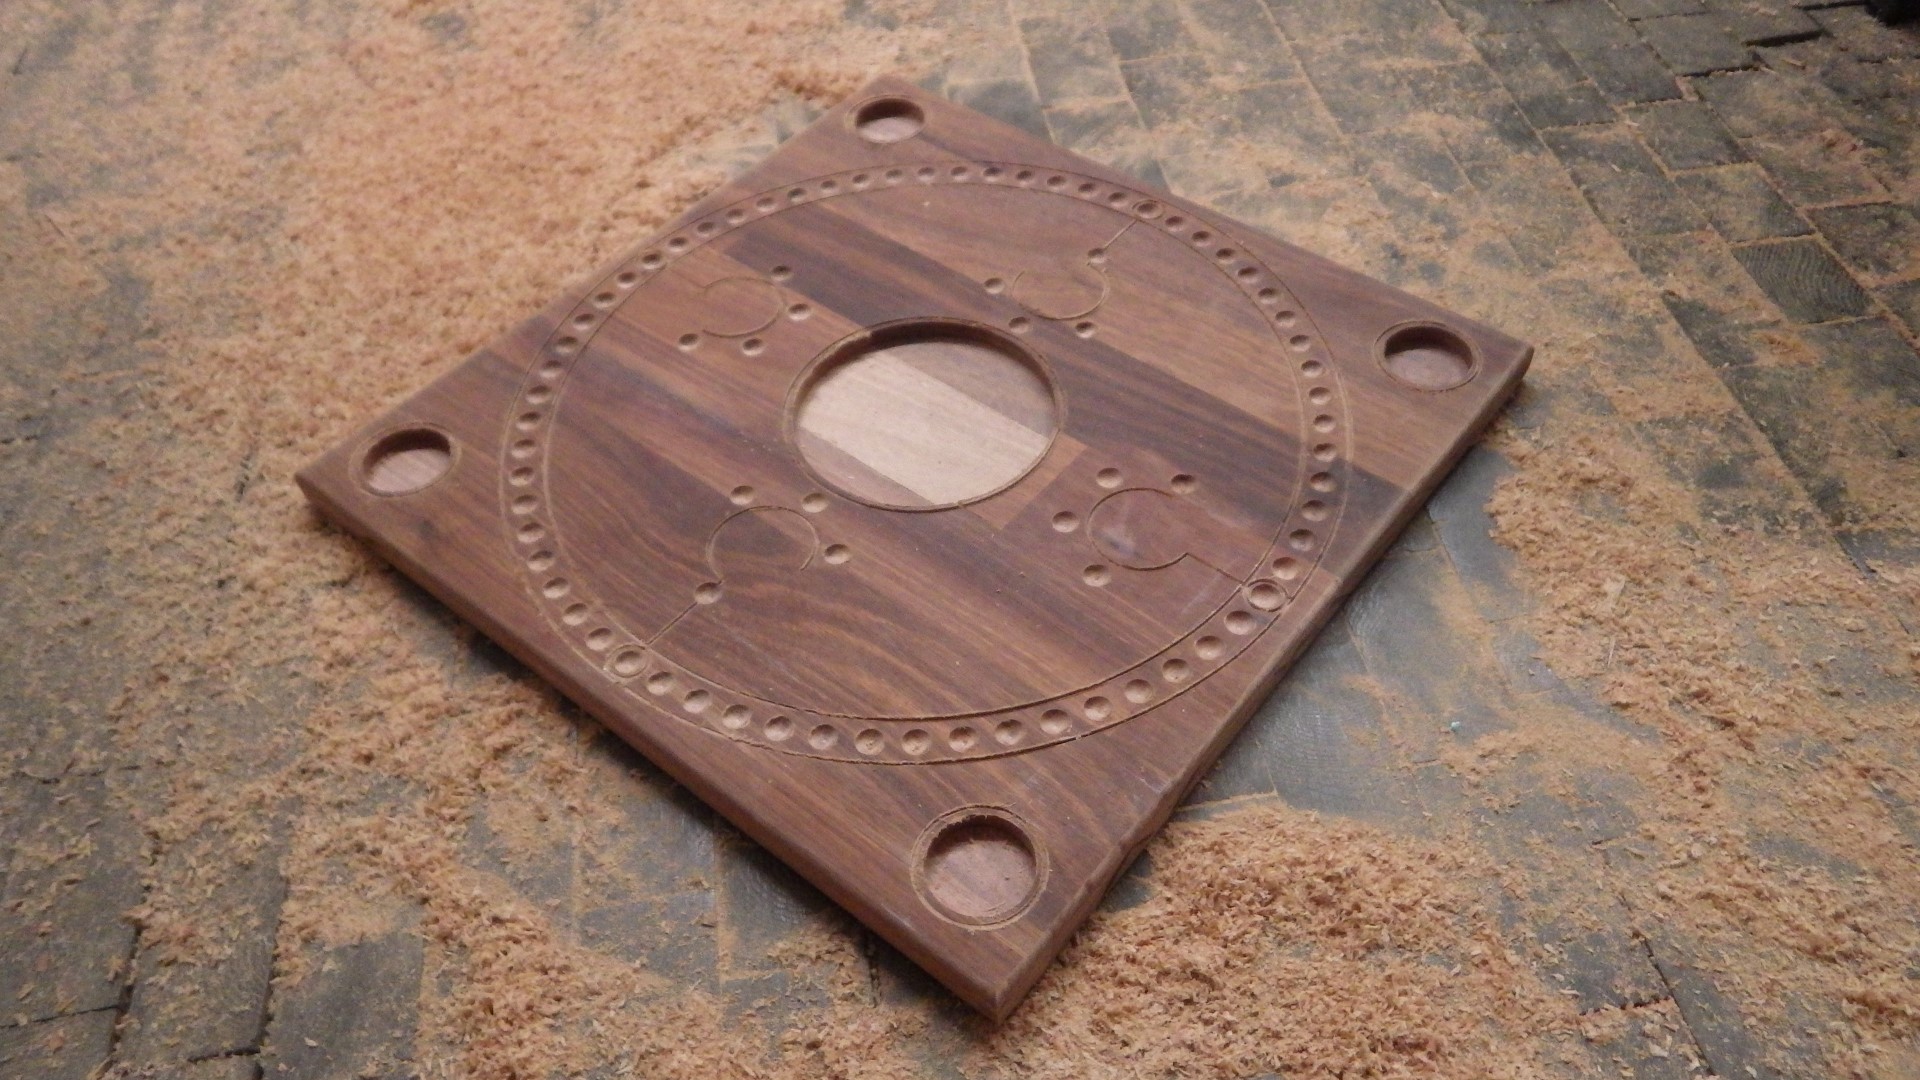
401 KB | Project:TAC finished 4-player board | 1 |
| 18:45, 5 March 2019 | TAC 23.JPG (file) |  |
462 KB | Project:TAC for nice and even adhesion in a round cutout, it works well to apply pressure with something round (like a CD) | 1 |
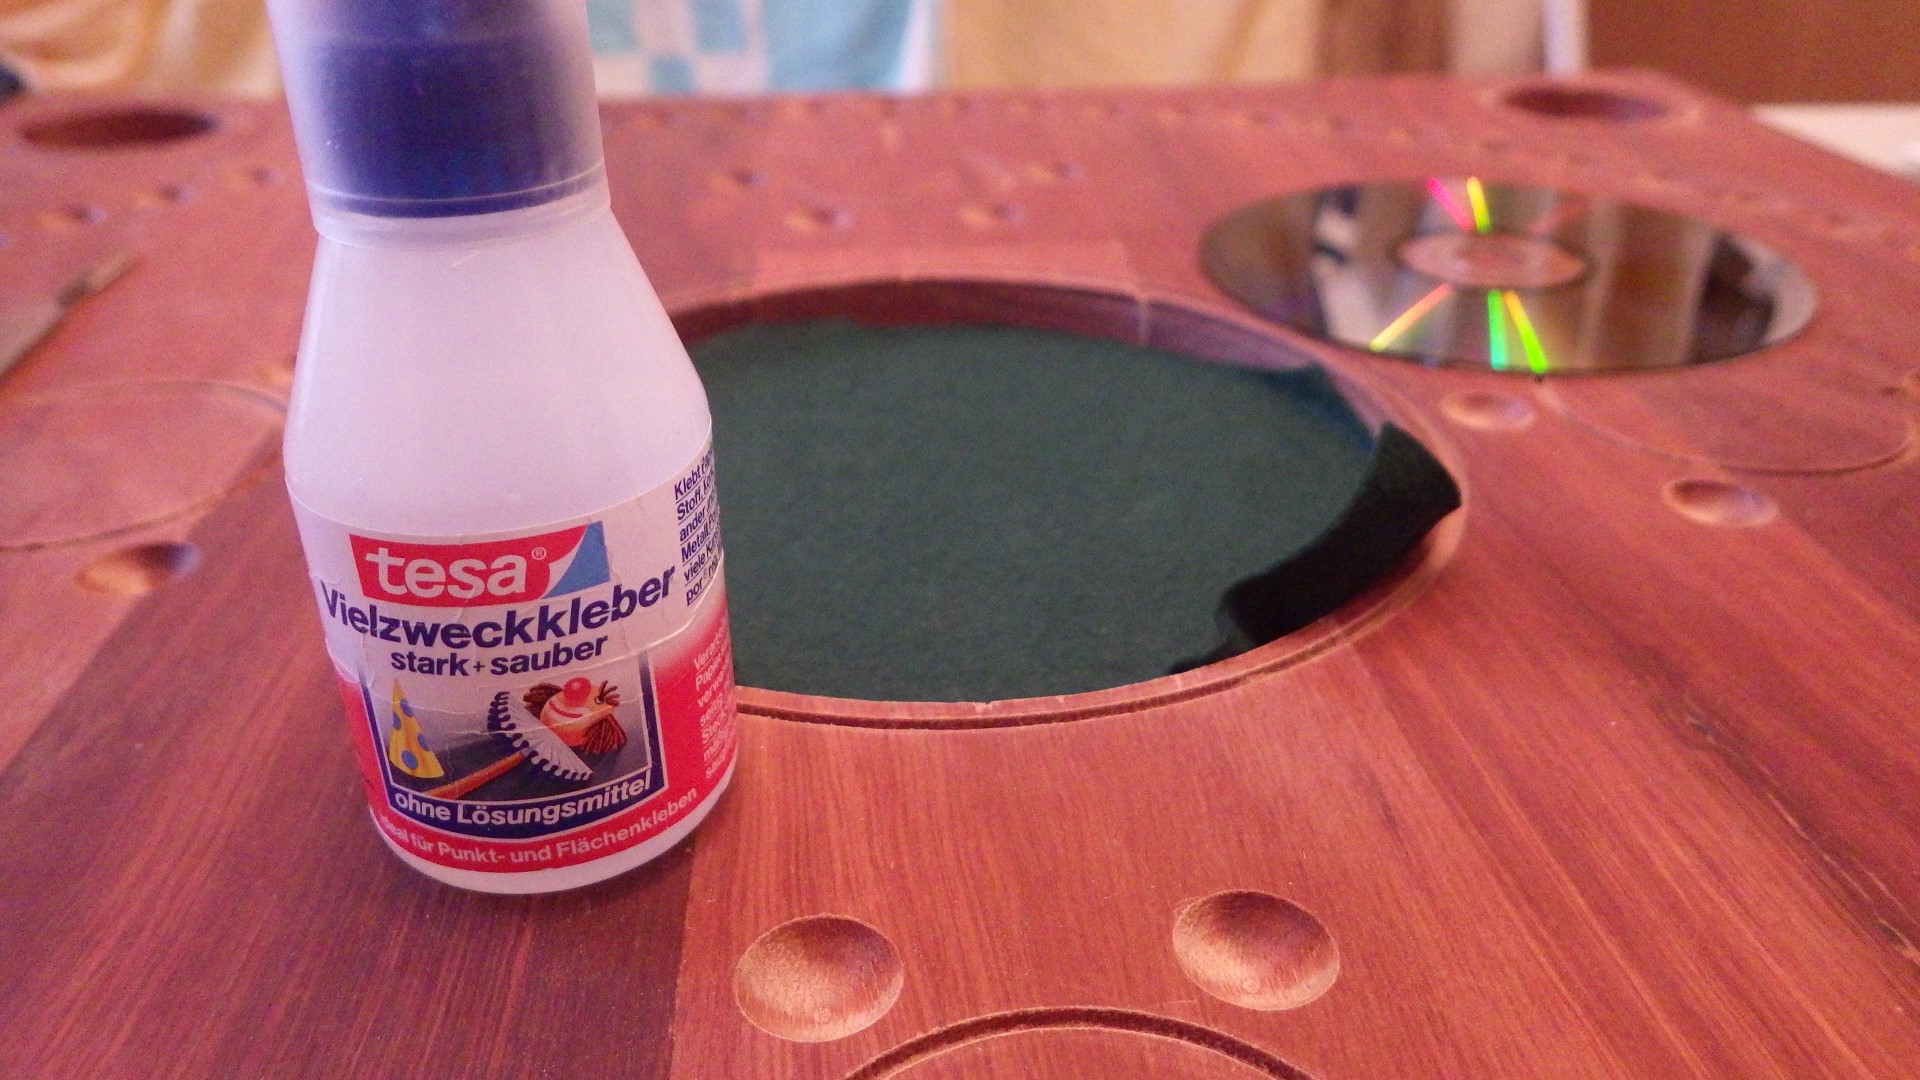
| 18:43, 5 March 2019 | TAC 22.JPG (file) |  |
559 KB | Project:TAC ''Alleskleber'' was used to stick the felt to the board | 1 |
| 18:37, 5 March 2019 | TAC 21.JPG (file) |  |
456 KB | Project:TAC the center of the 4-player board ("card pit"?) was covered in green felt for a nice look | 1 |
| 18:35, 5 March 2019 | TAC 20.JPG (file) |  |
681 KB | Project:TAC cleaned up area of the 4-player board | 1 |
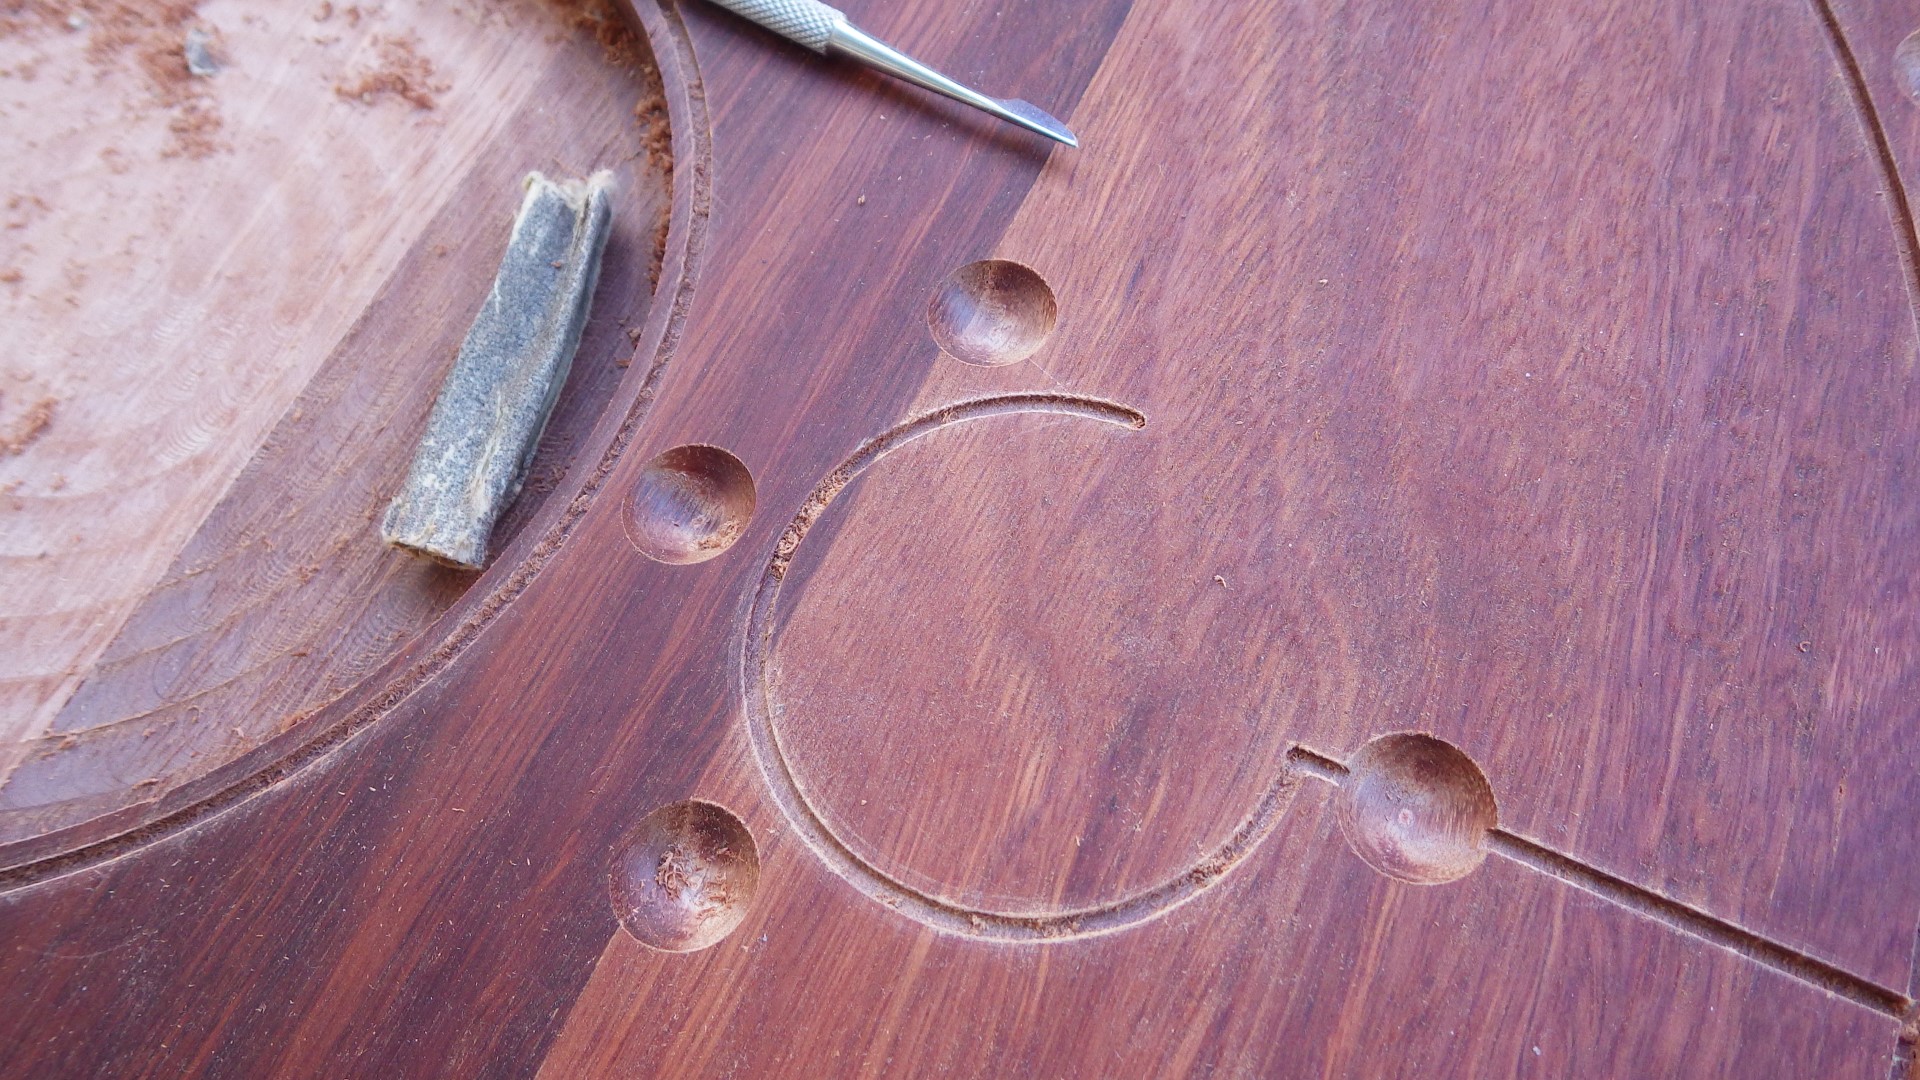
| 18:33, 5 March 2019 | TAC 19.JPG (file) |  |
514 KB | Project:TAC partially cleaned up area of the 4-player board - without sanding marks because a knife could be used on this wood | 1 |
| 18:32, 5 March 2019 | TAC 18.JPG (file) |  |
525 KB | Project:TAC since the 4-player board's hardwood fibers were easily cut by a knife, sanding and the resulting brightening of the ''Eukalyptus'' wood could be largely avoided during the cleanup process | 1 |
| 18:28, 5 March 2019 | TAC 17.JPG (file) |  |
416 KB | Project:TAC finally, the 6-player board (spruce/fir) was finished with olive oil | 1 |
| 18:27, 5 March 2019 | TAC 16.JPG (file) |  |
484 KB | Project:TAC completely sanded area of the 6-player board | 1 |
| 18:25, 5 March 2019 | TAC 15.JPG (file) |  |
425 KB | Project:TAC the soft spruce/fir wood was best cleaned up with sandpaper after routing | 1 |
| 00:19, 5 March 2019 | TAC 14.JPG (file) |  |
335 KB | Project:TAC chamfered edge of the 6-player board (before sanding) | 1 |
| 00:16, 5 March 2019 | TAC 13.JPG (file) |  |
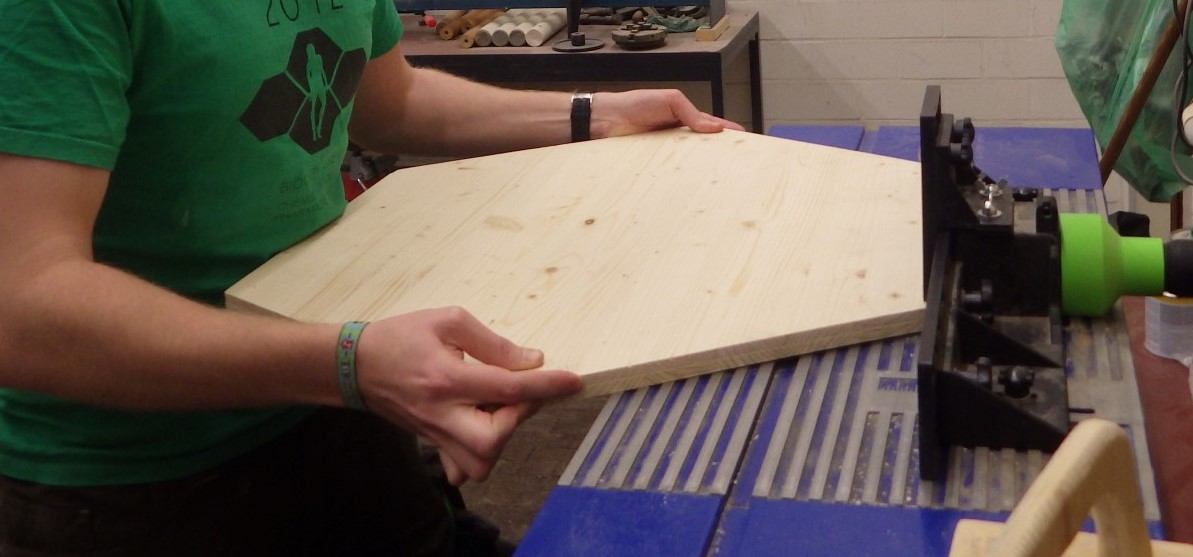
179 KB | Project:TAC chamfering the edges of the 6-player board on the router table | 1 |
| 00:15, 5 March 2019 | TAC 12.JPG (file) |  |
470 KB | Project:TAC a chamfer bit was used to finalize the edges of the 6-player board on the router table | 1 |
| 00:13, 5 March 2019 | TAC 11.JPG (file) |  |
562 KB | Project:TAC 4-player board ready to leave the workshop with only minor steps left | 1 |
| 00:11, 5 March 2019 | TAC 10.JPG (file) |  |
184 KB | Project:TAC after the outline was finished, the edges of the 4-player board were prettified with a roundover router bit | 1 |
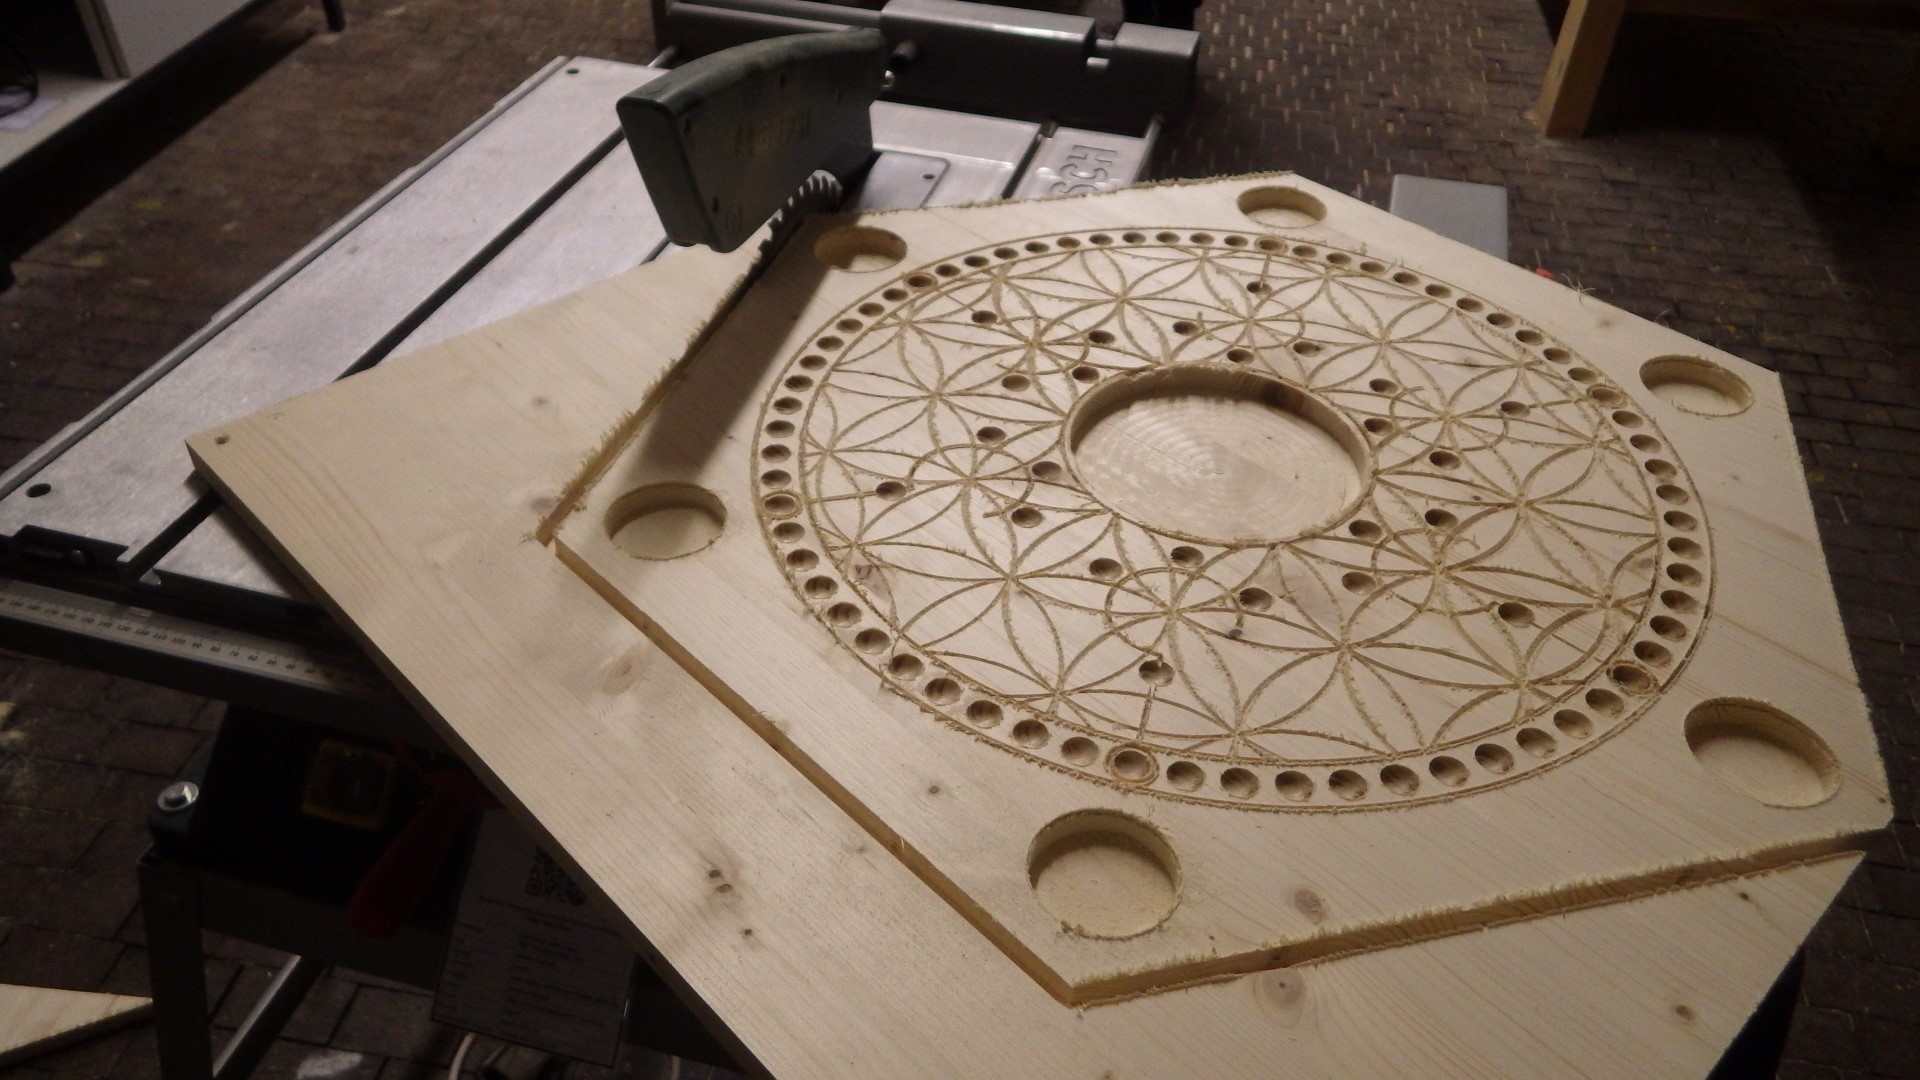
| 00:06, 5 March 2019 | TAC 09.JPG (file) |  |
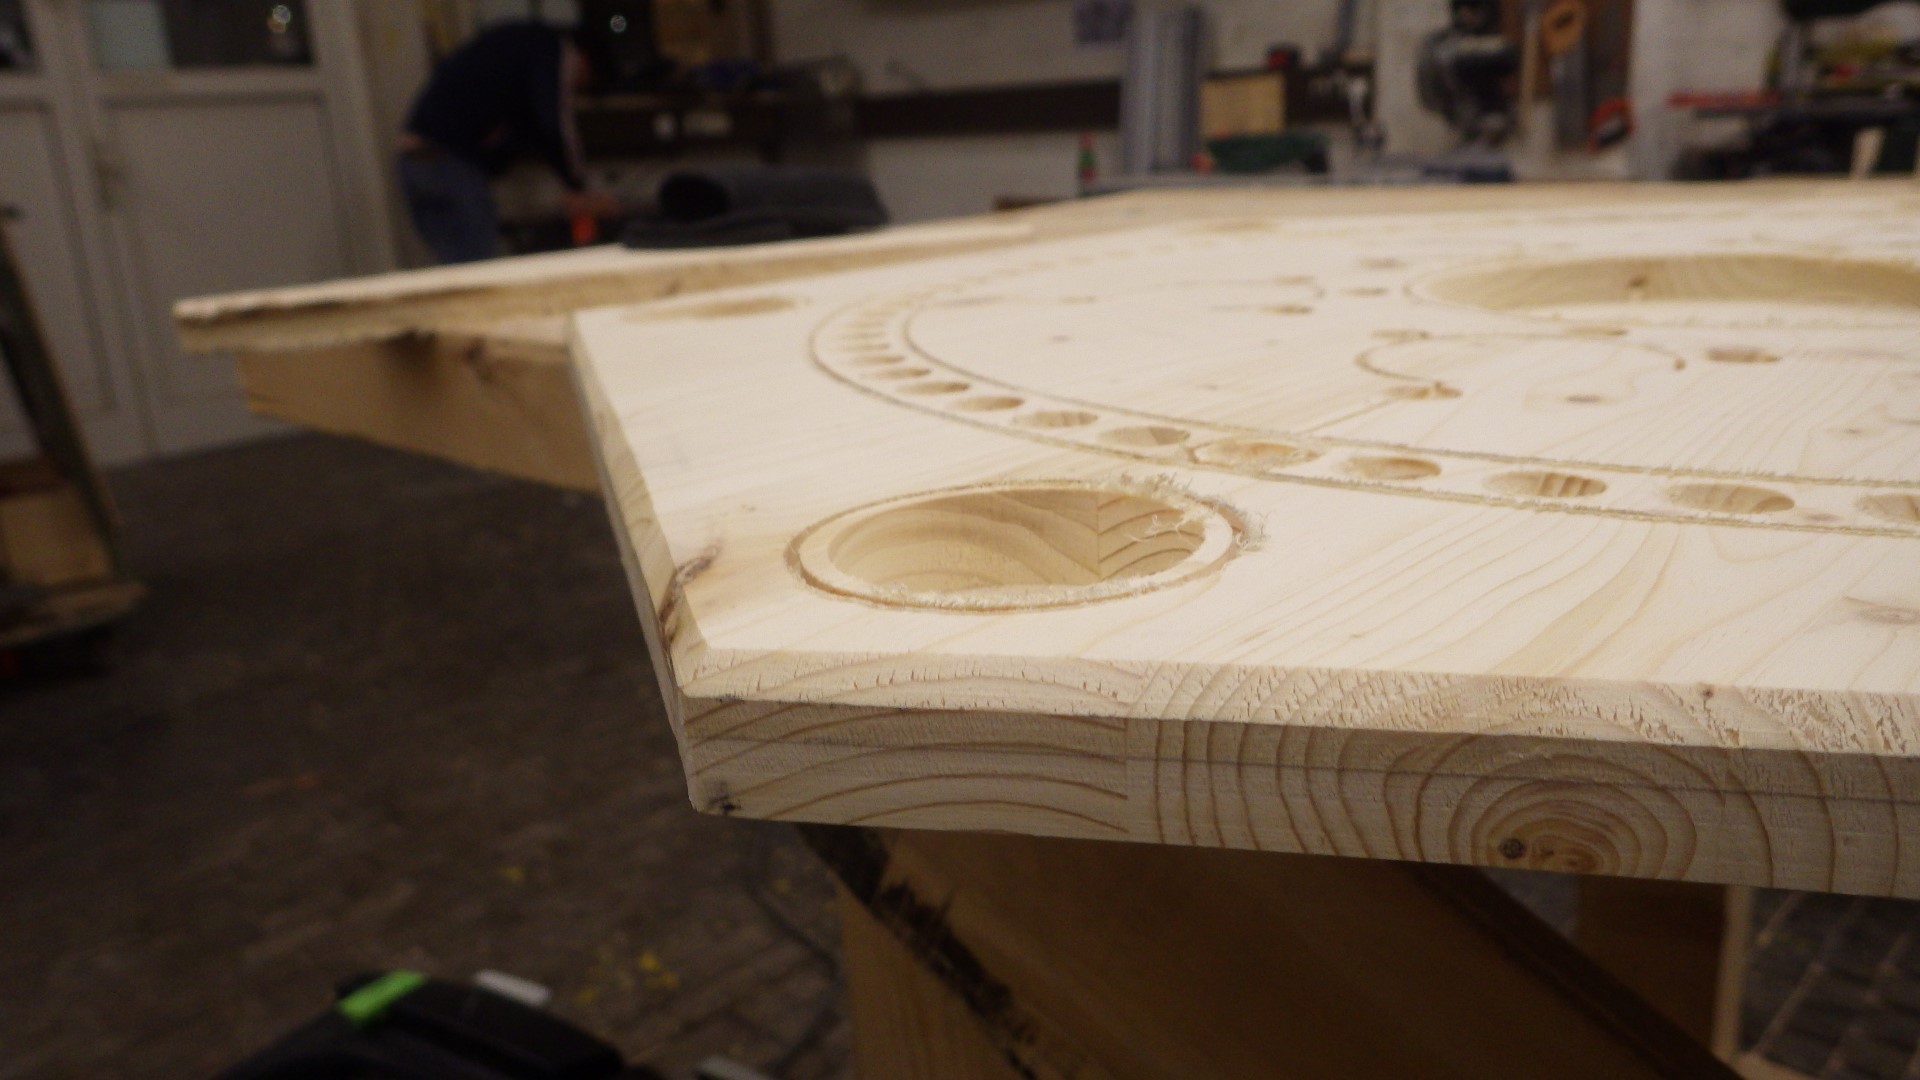
413 KB | Project:TAC ...and trimmed to the partial-depth outline with a flush-cut router bit | 1 |
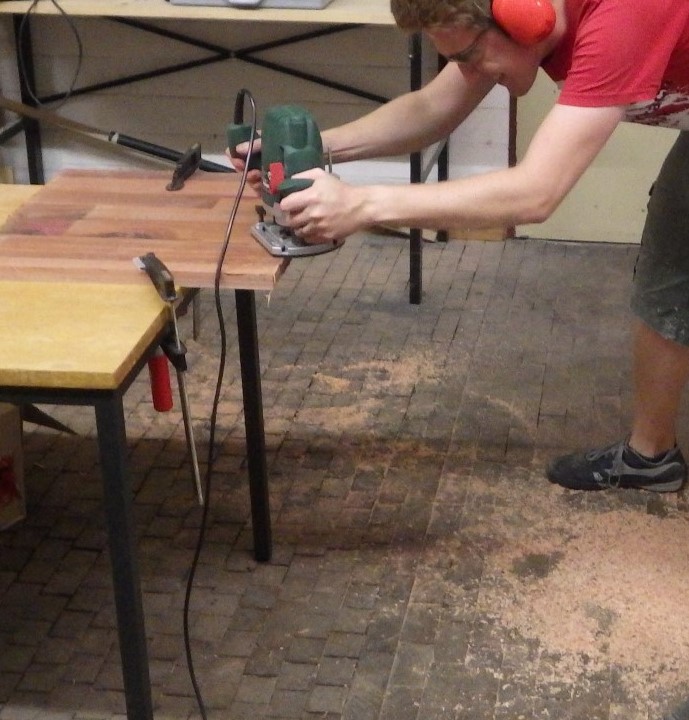
| 00:03, 5 March 2019 | TAC 08.JPG (file) |  |
443 KB | Project:TAC since our end mills were too short to cut all the way through the workpiece at the edges, the rough shape was cut out on the table saw... | 1 |
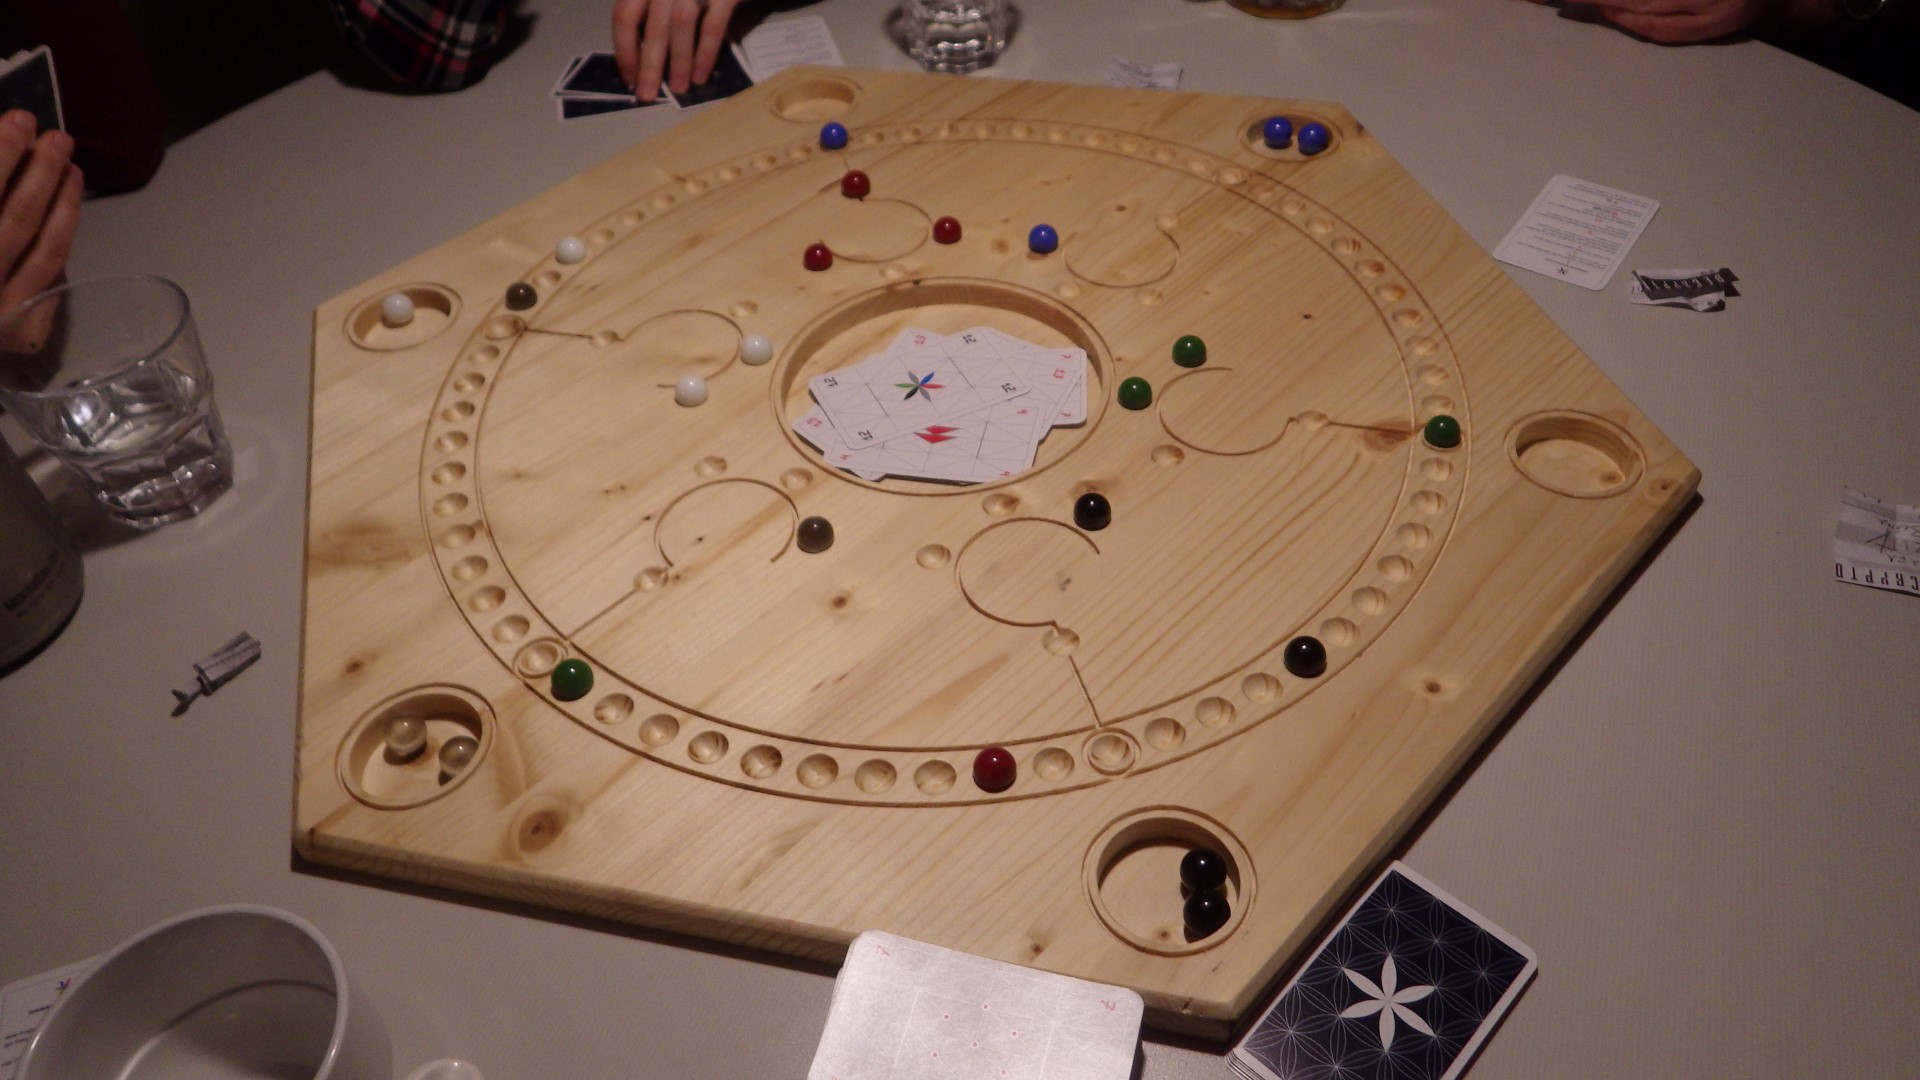
| 00:00, 5 March 2019 | TAC 00.JPG (file) |  |
379 KB | Project:TAC finished 6-player game in use :-) | 1 |
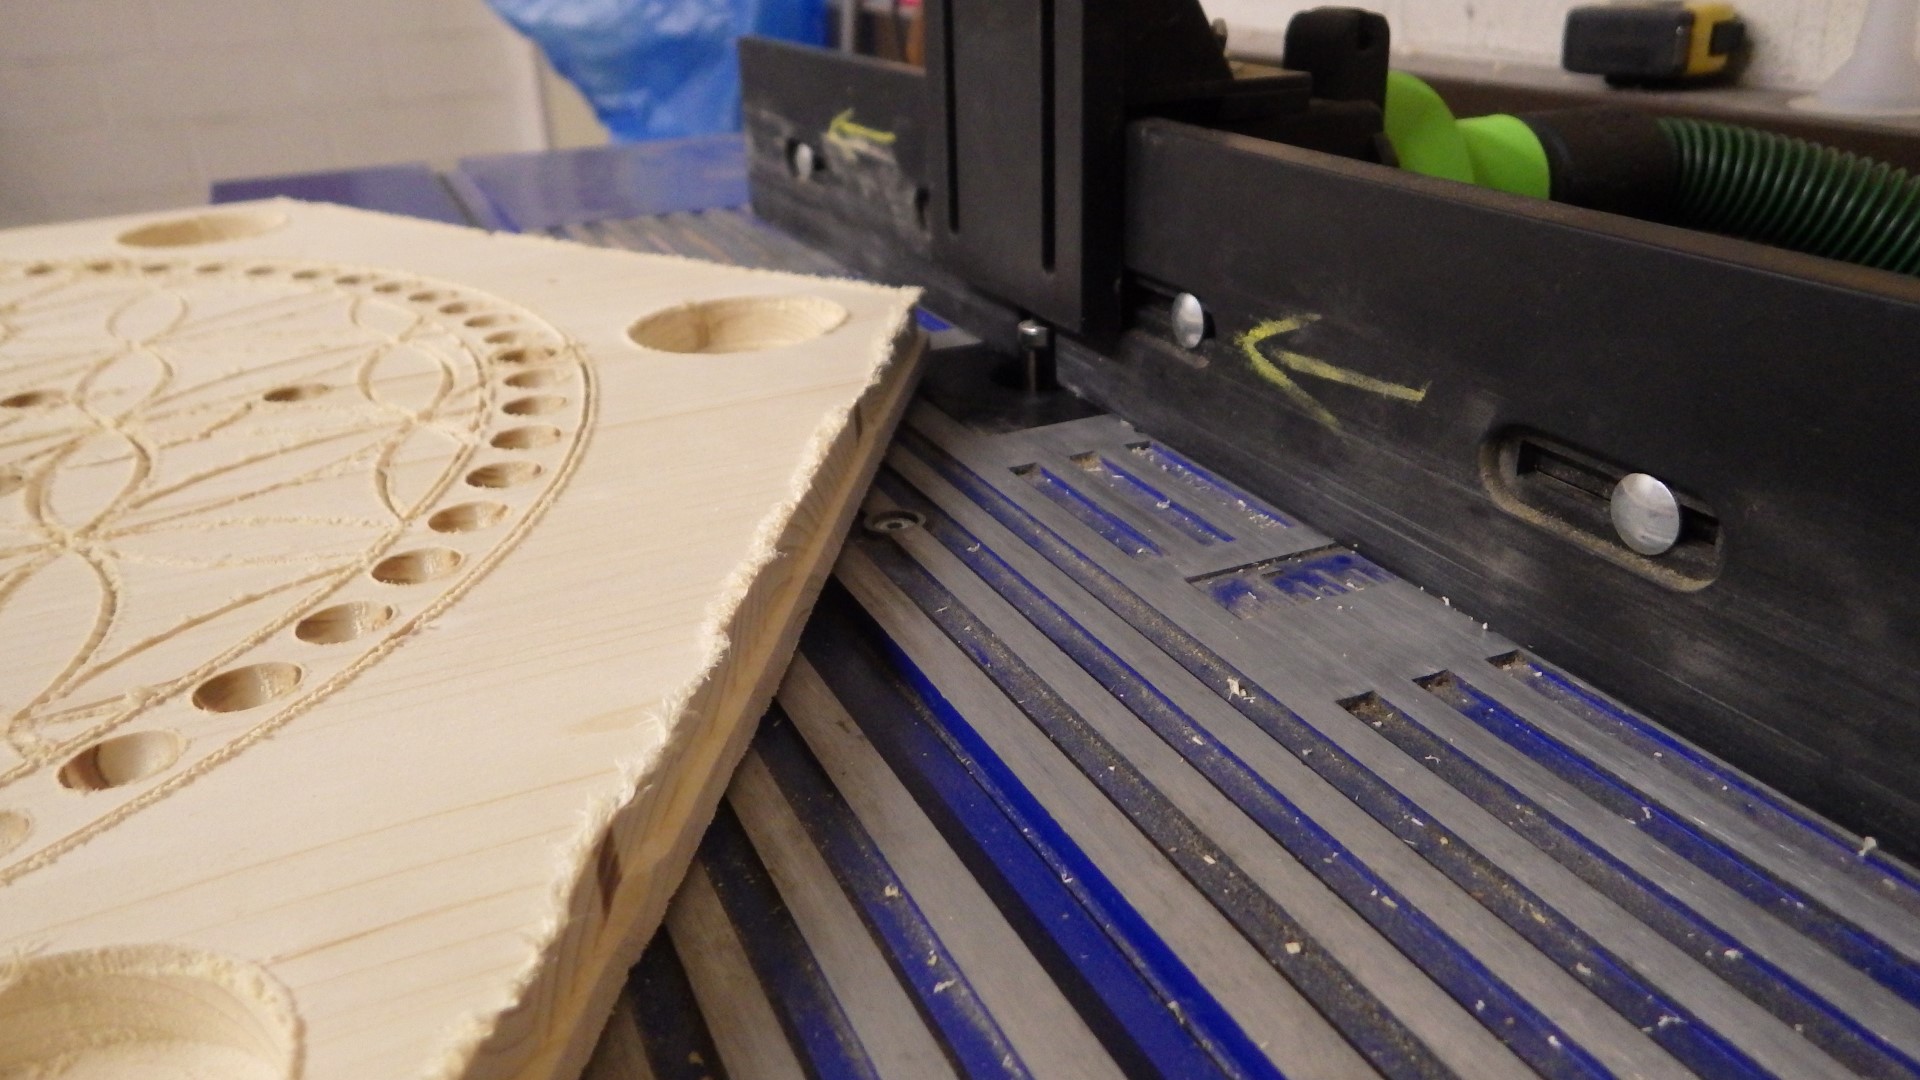
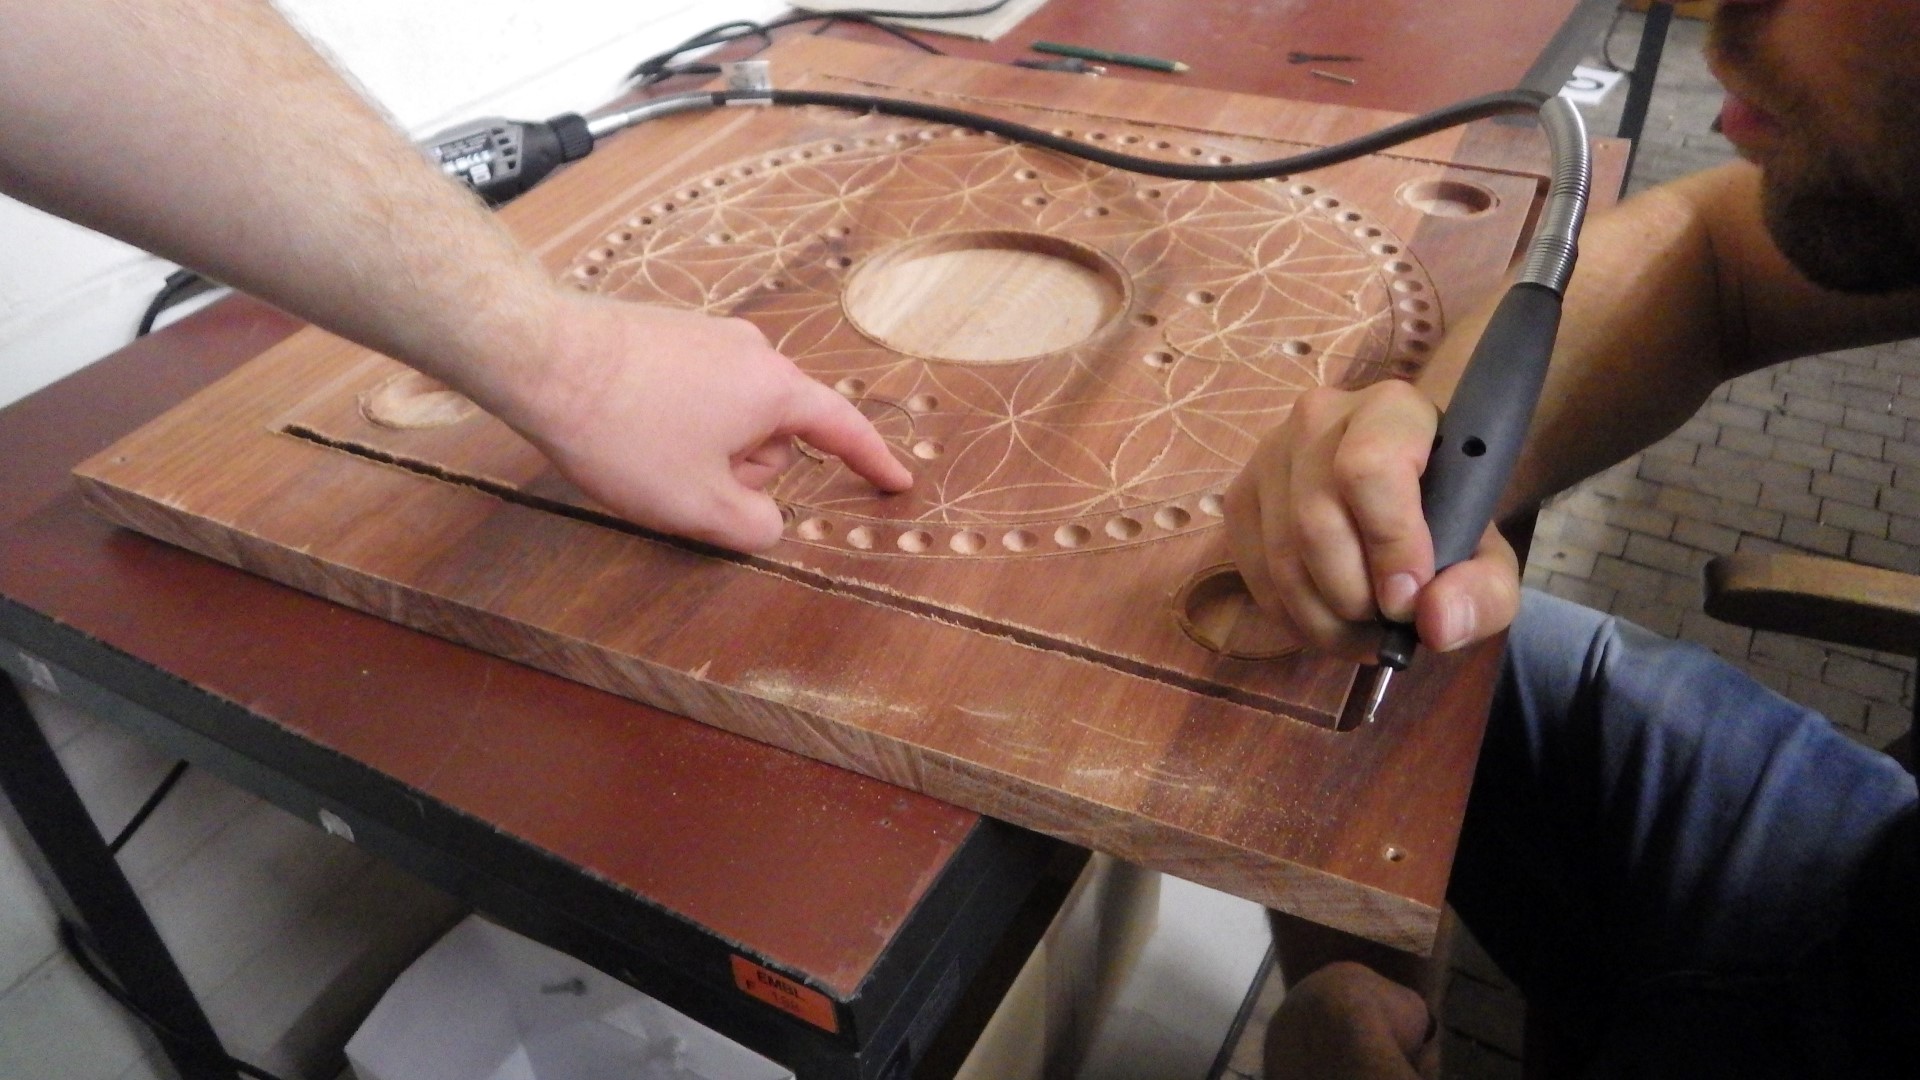
| 23:46, 4 March 2019 | TAC 07.JPG (file) |  |
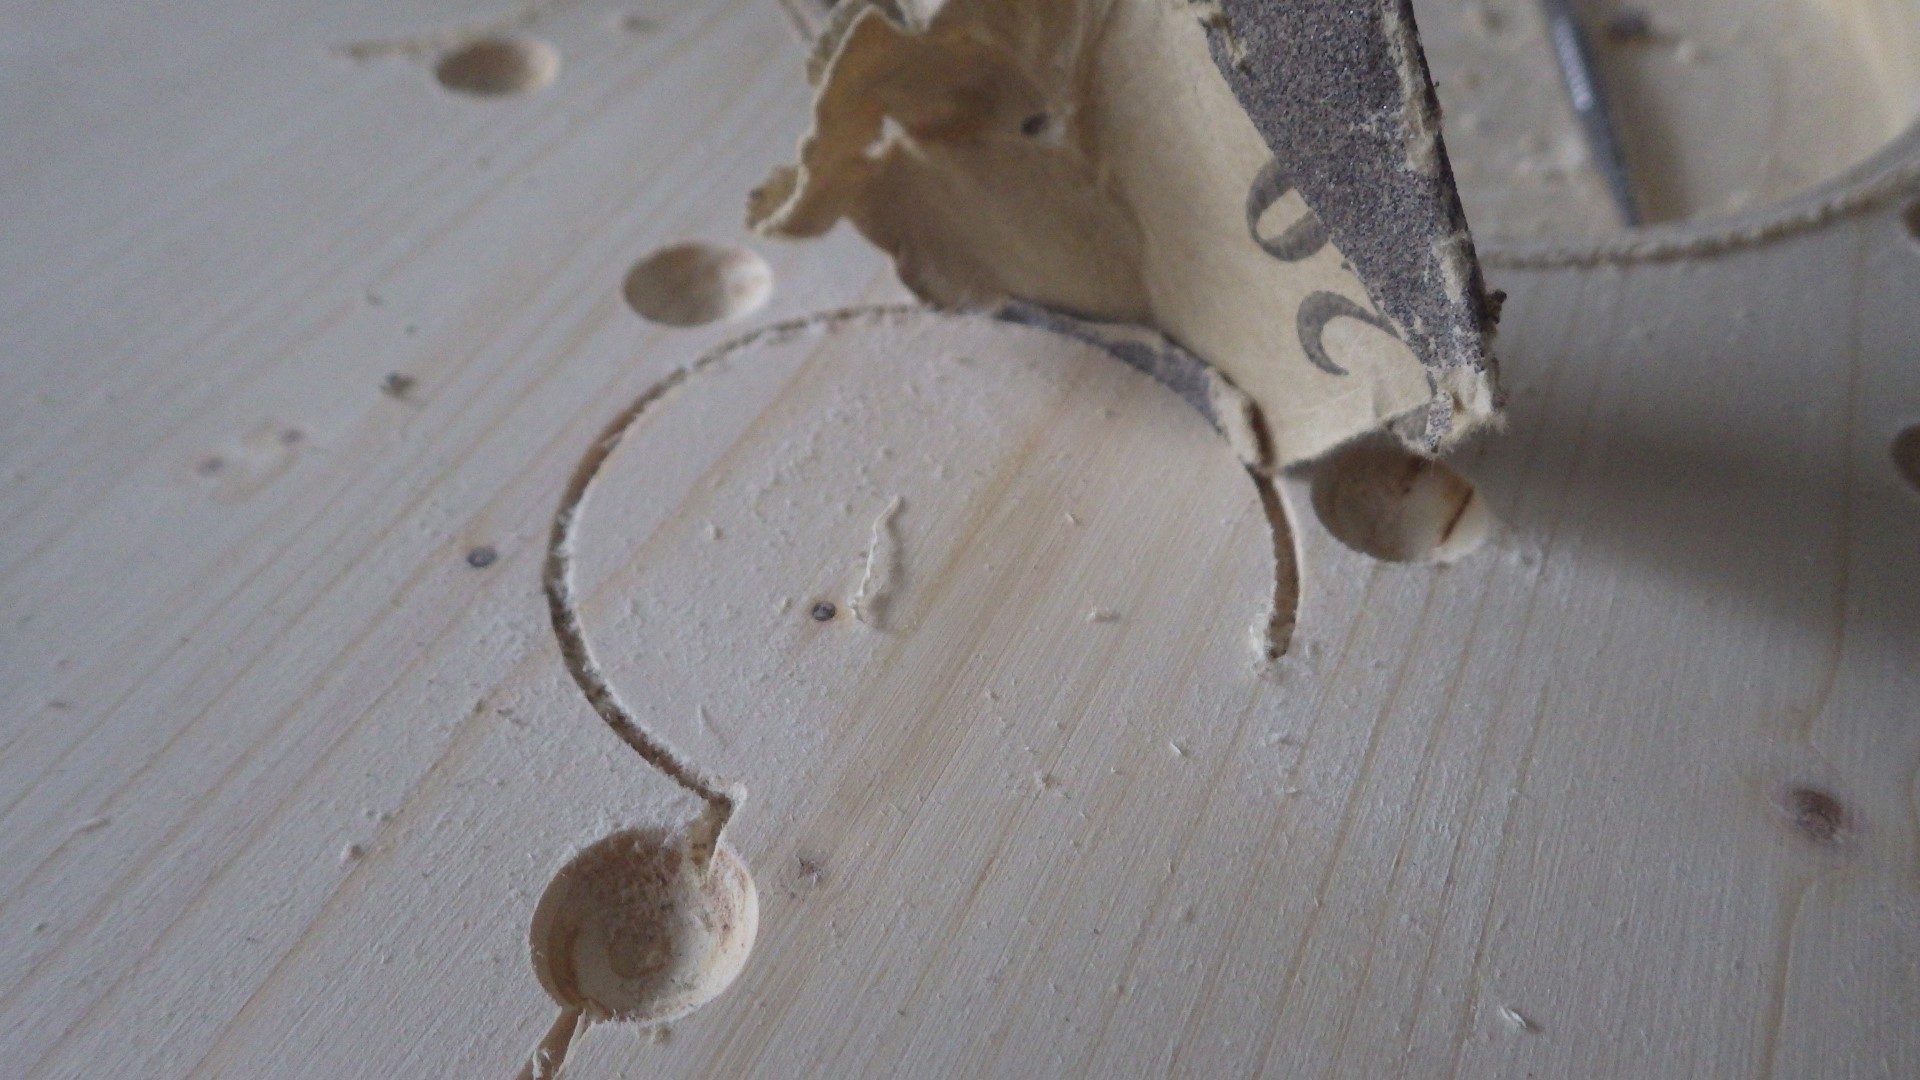
445 KB | Project:TAC the decorated version required some manual corrections with a rotary tool because the warped board was not engraved evenly by the CNC router | 1 |