Project:Captive Ring Turning
| ProjectInfoBox Captive Ring Baby Rattle | |
|---|---|

| |
| Status: | done |
| Release Date: | March 2019 |
| Initiator: | Lukas |
| Materials Used: | wood (apple log, self-dried), beeswax |
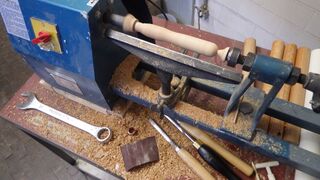
| Tools Used: | wood lathe, woodturning tools: |
| Approx. Cost: | next to nothing |
Turning "captive rings" is a tricky technique, but tried by many woodturners at some point.
I taught myself how to do it in order to make a one-piece rattle for some awesome babies!
tl;dr
- hard wood
- patience
- shape & sand as much as you can before "freeing" the ring
- cut the ring at spindle height or it may break at the last moment [1]
- expect some burn marks
Choosing the Material
You'll need especially even-grained and dense wood for this project or the rings are prone to breaking.
I was very happy with the apple log I had laid aside for this project all along, but the birch and especially fir that I used as first tests behaved pretty badly.
Making the Hook Tool
First of all, I made the special tool needed to undercut the rings. There are commercial "ring" or "hook" tools available but I had seen DIY versions made from hex keys and obviously just had to try that!
Materials:
- scrap wood (hardwood - here: cherry)
- surplus large hex key
-
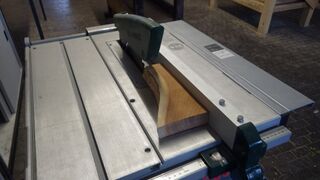 square up the woodturning blank
 -
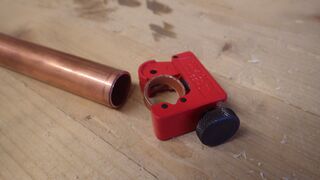 the first step of most tool handle woodturning projects is the ferrule - e.g. cut with a pipe cutter
 -
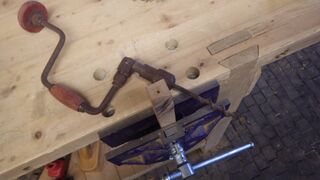 a brace is very useful to pre-drill the center hole on a woodturning blank
 -
 once the handle is turned round, the ferrule can be used to determine the shoulder position
 -
 make the handle rather long - like all woodturning tools, it should provide good leverage
 -
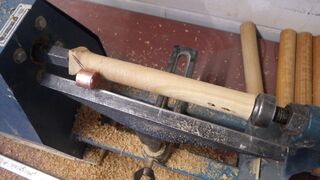
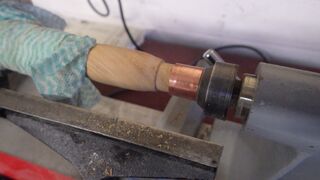 a sturdy tailstock on the wood lathe can help to press the ferrule onto the tool handle
 -
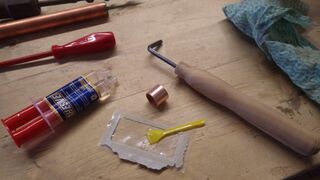 the hex key and ferrule should be glued in place with epoxy
 -
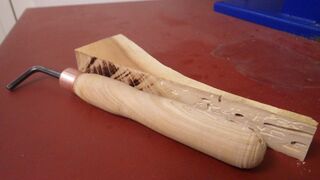 amazing what you can still make out of a little bit of junk! (rest of the scrap wood for comparison)
 -
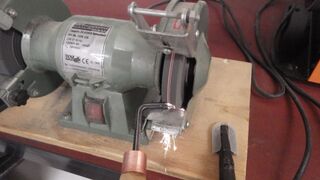 finally grind a scraping tip onto the (former) hex key


Educative Failures
- first attempt: scrap fir wood
-
-
-


- next try: birch (poor quality)
-
-
-
-
-
-
-
-
-
-


The second birch ring turned out a lot better than the first so I decided to get serious!
Baby Rattle
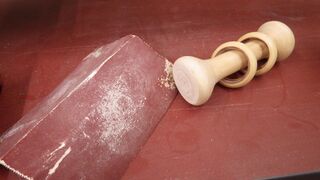
- the final piece :-)
-
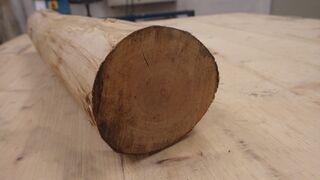 the apple log was dried quite nicely and only had two superficial cracks
 -
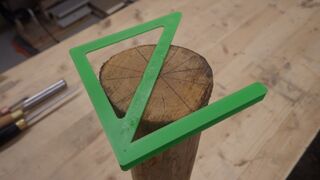 tried to find the center as closely as possible to the log would rotate nicely and not lose too much material
 -
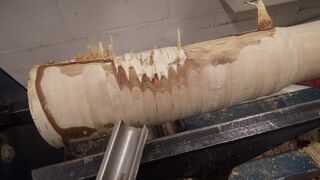
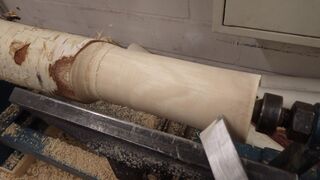
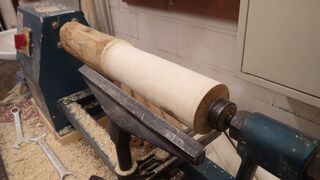 first step in pretty much any woodturning project: roughing
 -
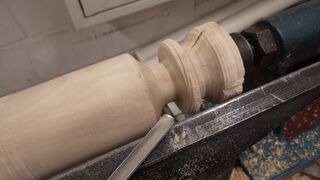
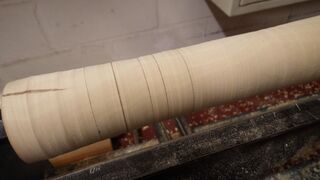 sketching the dimensions of the first elements: end knob, gap, ring (1/2 gap width), gap
 -
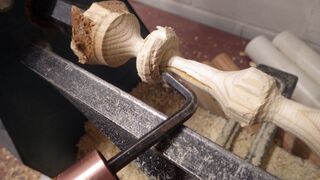
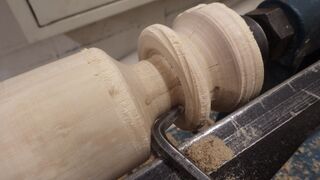
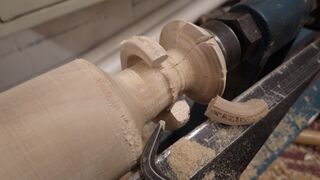
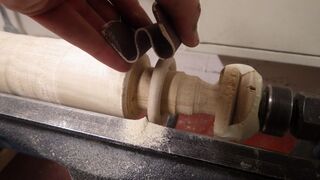
 after defining its outer curve with a parting tool and then a spindle gouge, the future ring is slowly undercut with the hook tool
 -
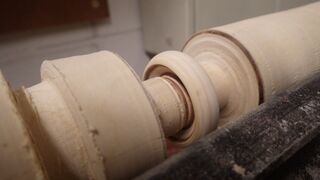 burn marks are to be expected when using a self-made tool for this job - just make sure you don't generate enough heat to crack the wood!
 -
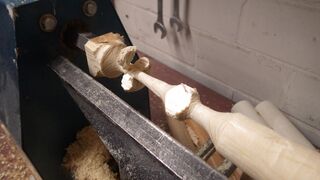
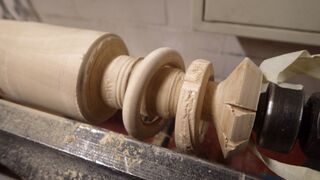
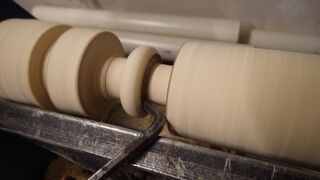
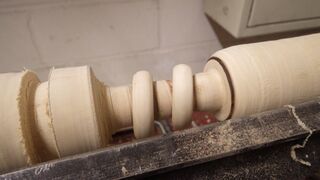 fast forward: two rings are cut! See "educative failures" above for more details on this part of the project
 -
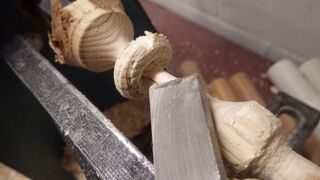
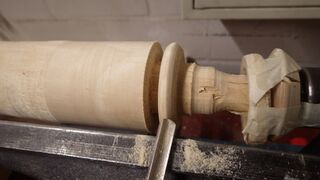
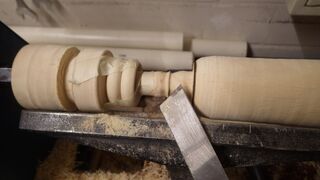 this part was a bit scary (not tested beforehand): "planing" the middle section with the skew chisel while the rings are taped to the side
 -
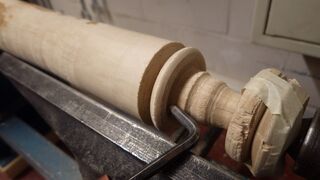
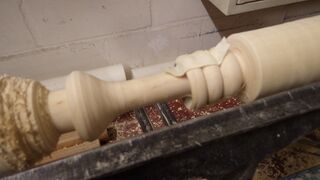 give the end knobs some shape until you're happy (don't take too much off the diameter!)
 -
-
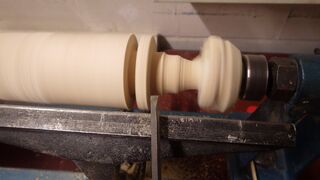
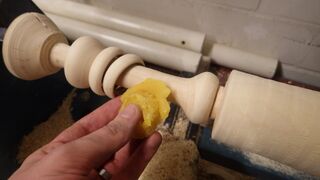 applying beeswax is easy with the lathe spinning - most of it melts just by friction!
 -
 even out the beeswax and work it in deeper with a paper towel
 -
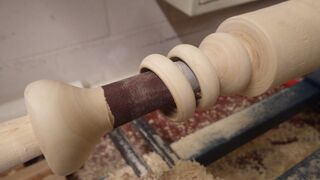
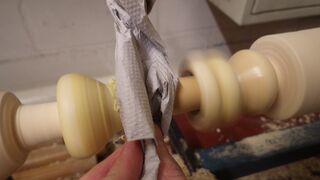
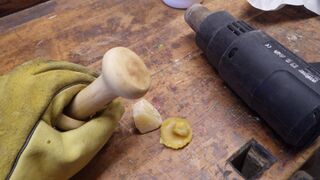
 waxing the rings is not possible with the friction method as they would just stop spinning - use a hot air gun instead
 -
 after parting the piece off on the lathe, I sanded the ends by hand (although a disc sander would have been much better)
 -
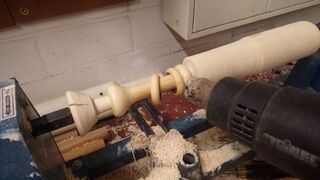
 one more waxing step with hot air...
 -
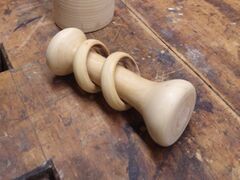 done!
done!


