File list
From CoMakingSpace Wiki
This special page shows all uploaded files.
| Date | Name | Thumbnail | Size | User | Description | Versions |
|---|---|---|---|---|---|---|
| 16:25, 7 March 2019 | Spalted beech painted.JPG (file) |  |
490 KB | Lukas (talk | contribs) | Project:Drying Timber piece of beech with some interesting spalting, painted with clear lacquer a bit late: there were already some checks | 1 |
| 16:23, 7 March 2019 | Checked cherry painted.JPG (file) |  |
439 KB | Lukas (talk | contribs) | Project:Drying Timber piece of cherry that was painted with clear lacquer a bit late: there were already some checks | 1 |
| 16:22, 7 March 2019 | Checked maple painted.JPG (file) |  |
448 KB | Lukas (talk | contribs) | Project:Drying Timber piece of maple that was painted with clear lacquer a bit late: there were already some checks | 1 |
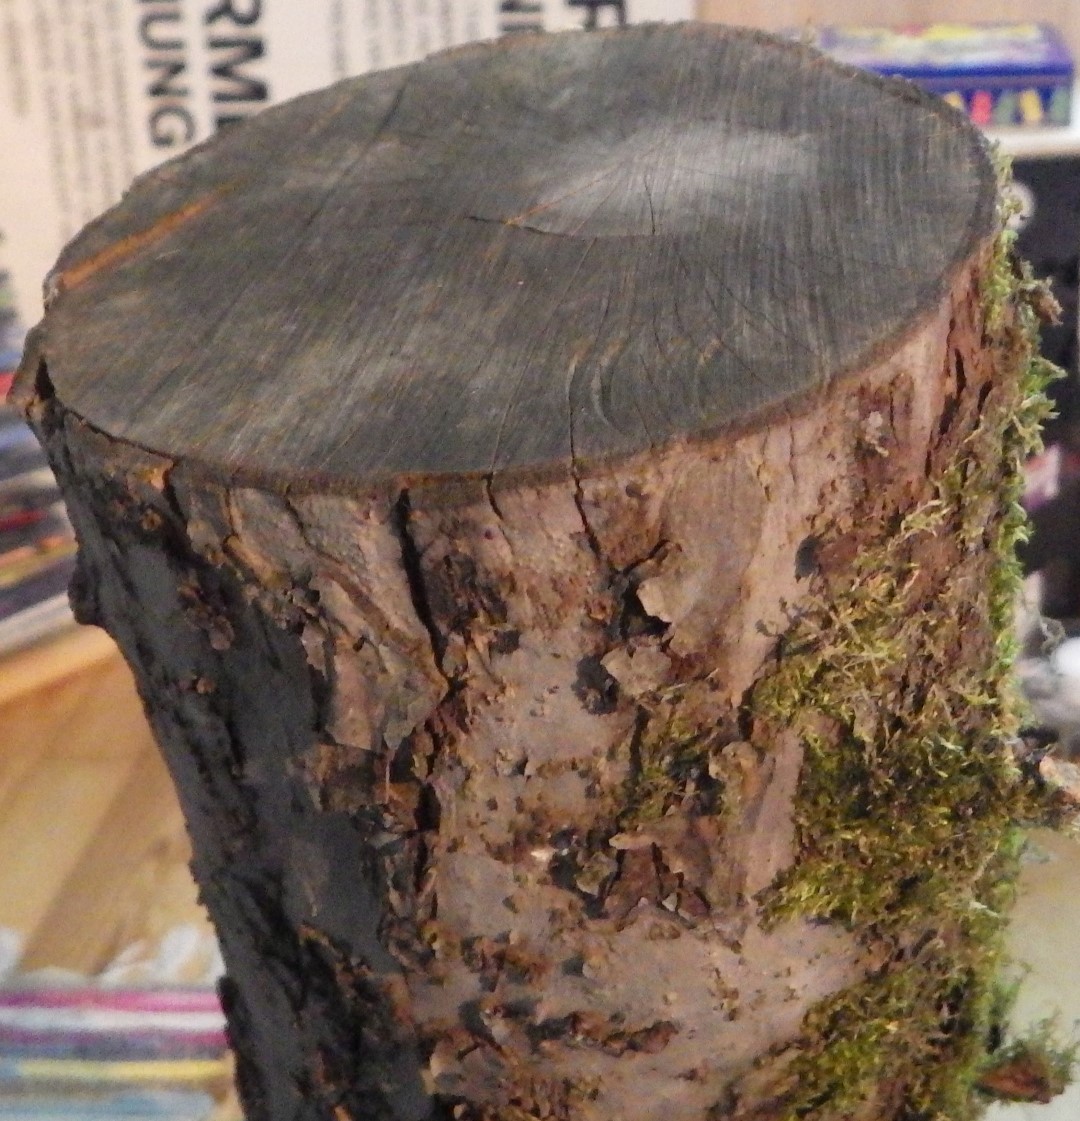
| 16:13, 7 March 2019 | Early beech drying attempt.jpg (file) |  |
79 KB | Lukas (talk | contribs) | Project:Drying Timber one of the first pieces Lukas started to dry: beech without special treatment | 1 |
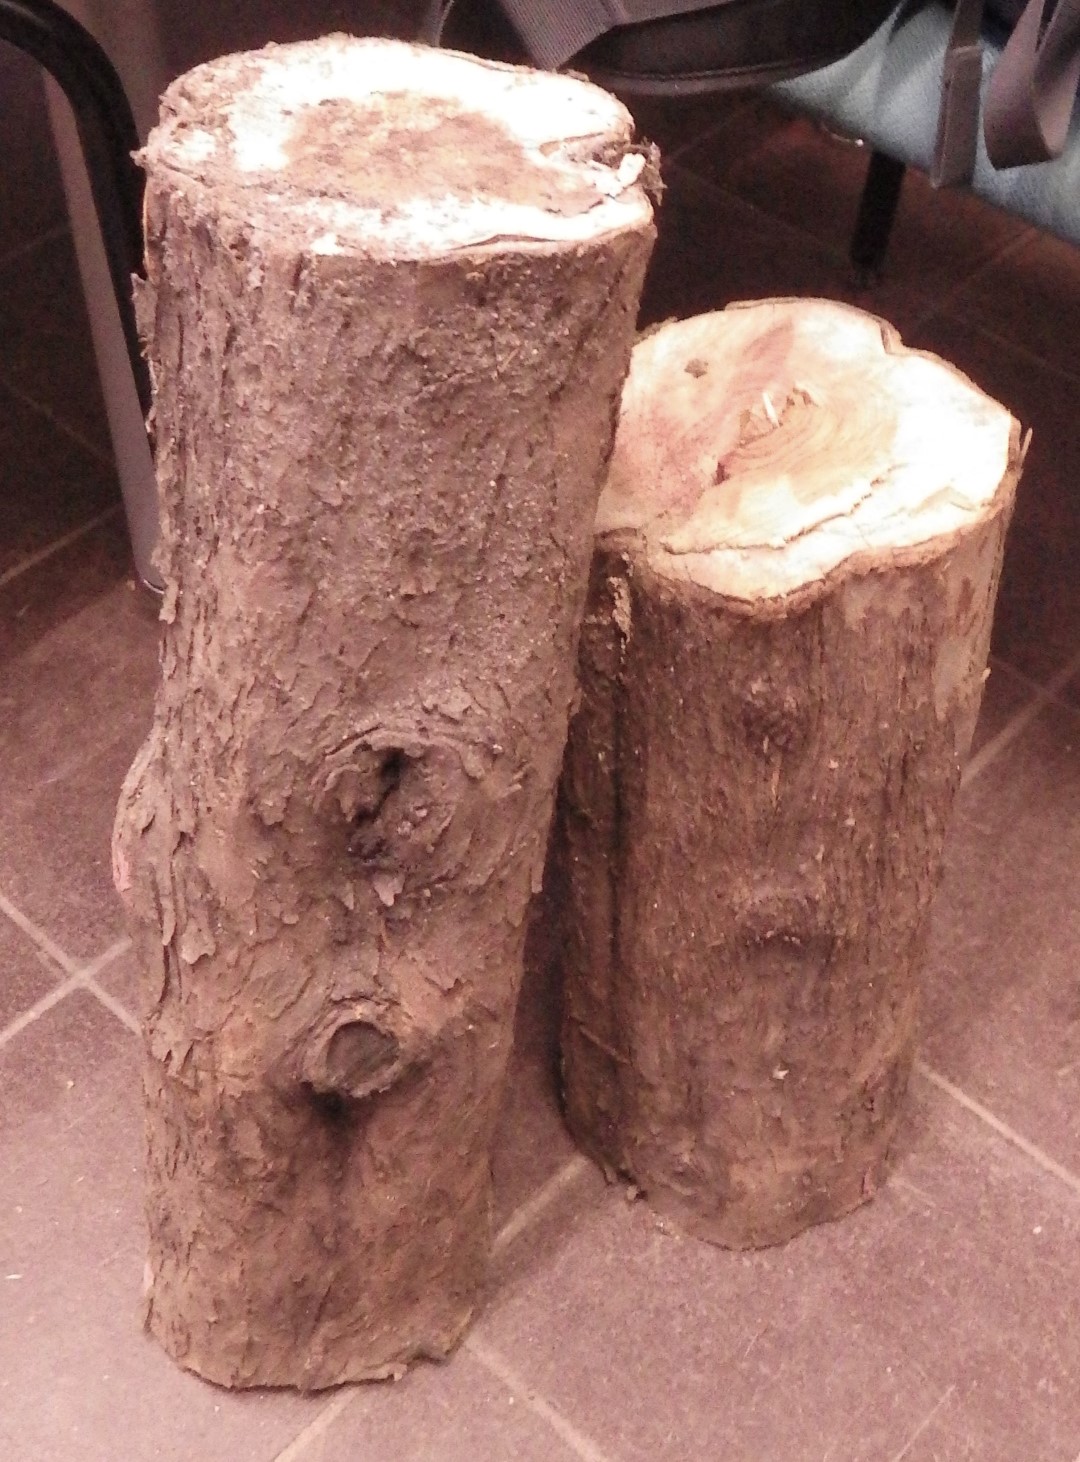
| 18:34, 6 March 2019 | Airlag's yew logs.jpg (file) |  |
432 KB | Lukas (talk | contribs) | Project:Drying Timber kind gift of two yew logs that Airlag had in his garage for a few years | 1 |
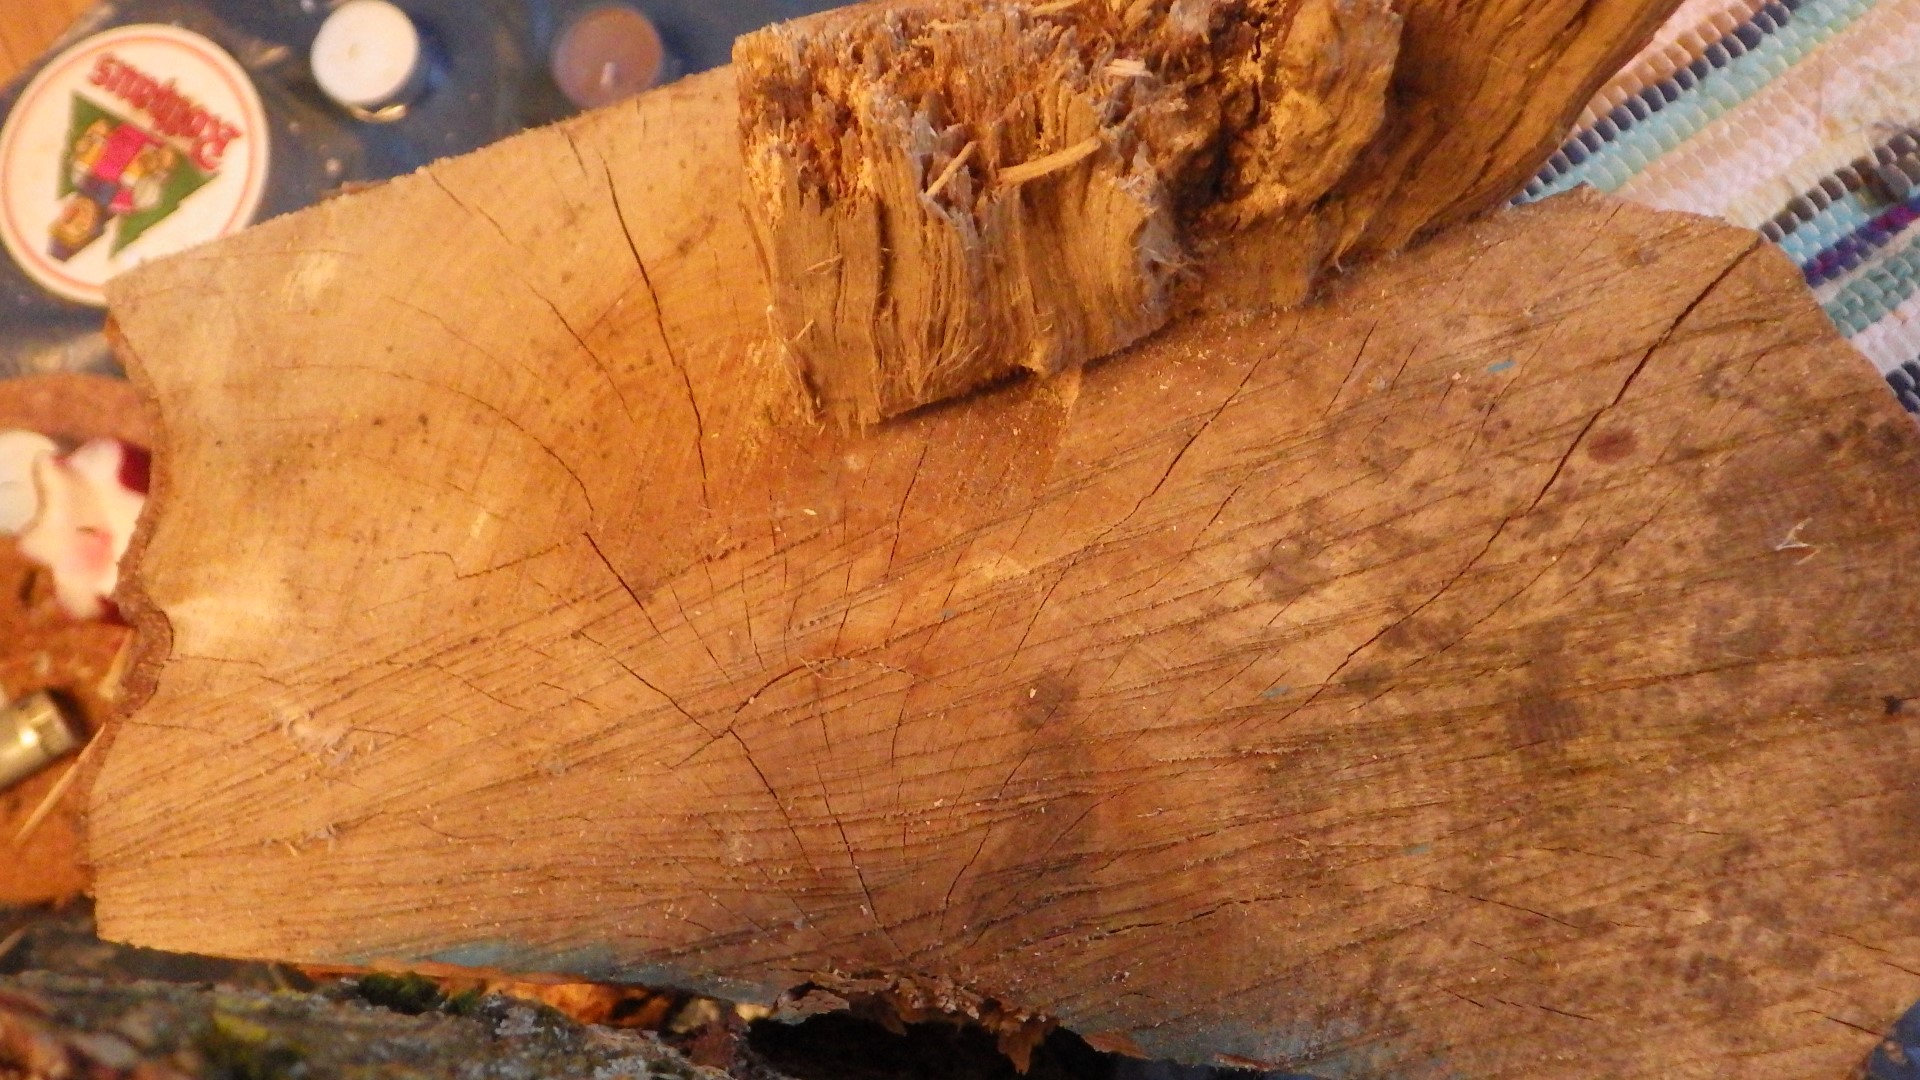
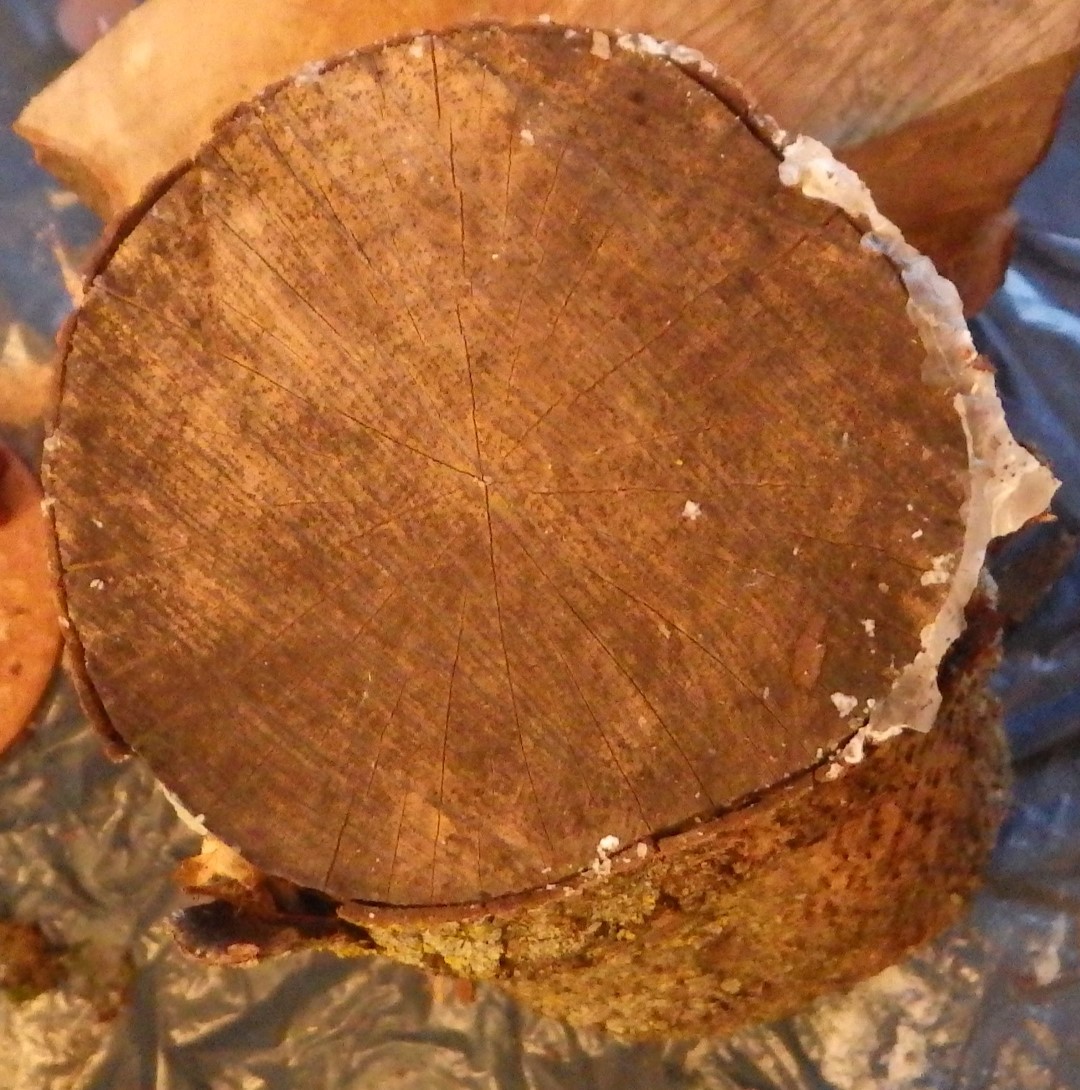
| 18:19, 6 March 2019 | Outdoor dried beech log.JPG (file) |  |
591 KB | Lukas (talk | contribs) | Project:Drying Timber beech log that had already been outside for about 6 months, shortly before getting sealed with paraffin (microwaved candle stumps & dripped from burning candle) | 1 |
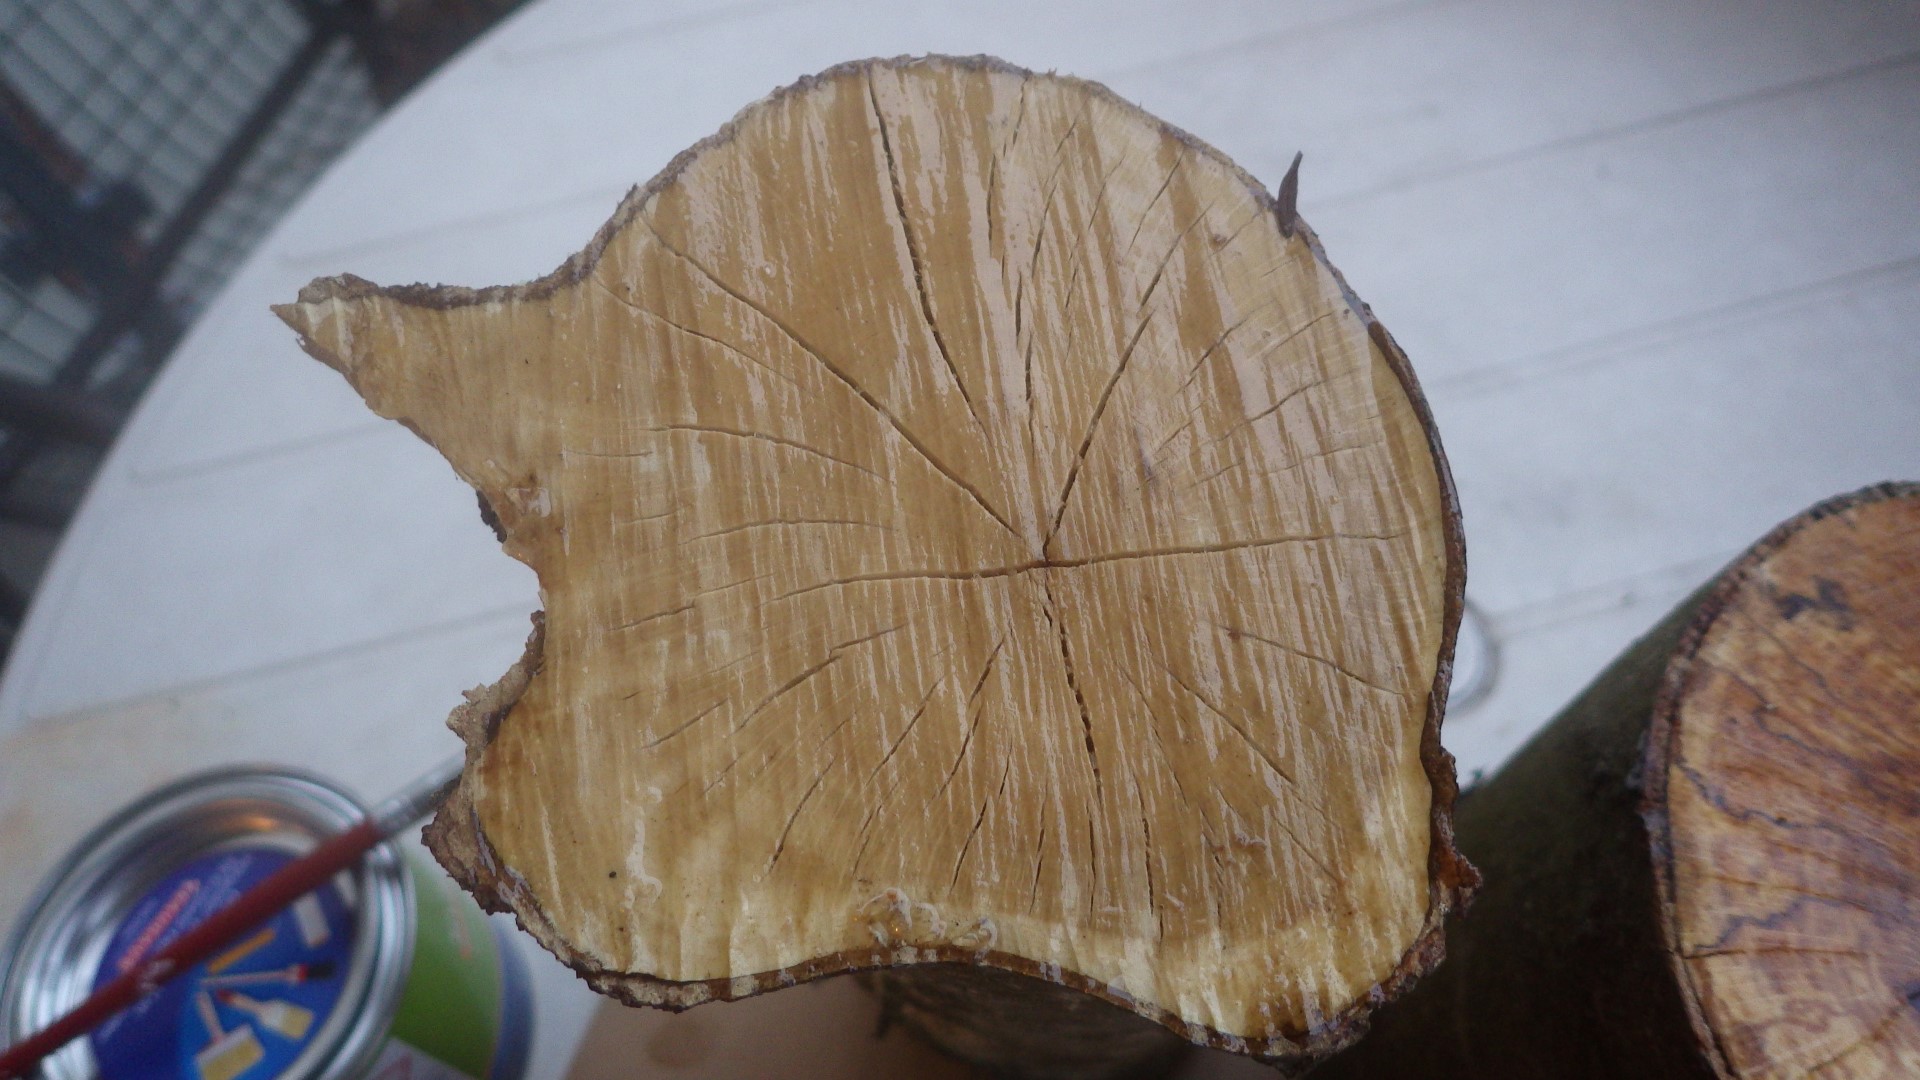
| 18:16, 6 March 2019 | Outdoor dried ash log.JPG (file) |  |
351 KB | Lukas (talk | contribs) | Project:Drying Timber ash log that had already been outside for about 6 months, shortly before getting sealed with paraffin (microwaved candle stumps & dripped from burning candle) | 1 |
| 18:10, 6 March 2019 | Outdoor dried apple log.jpg (file) |  |
359 KB | Lukas (talk | contribs) | Project:Drying Timber an apple log that had already dried outside for a while shortly before being end-sealed with paraffin | 1 |
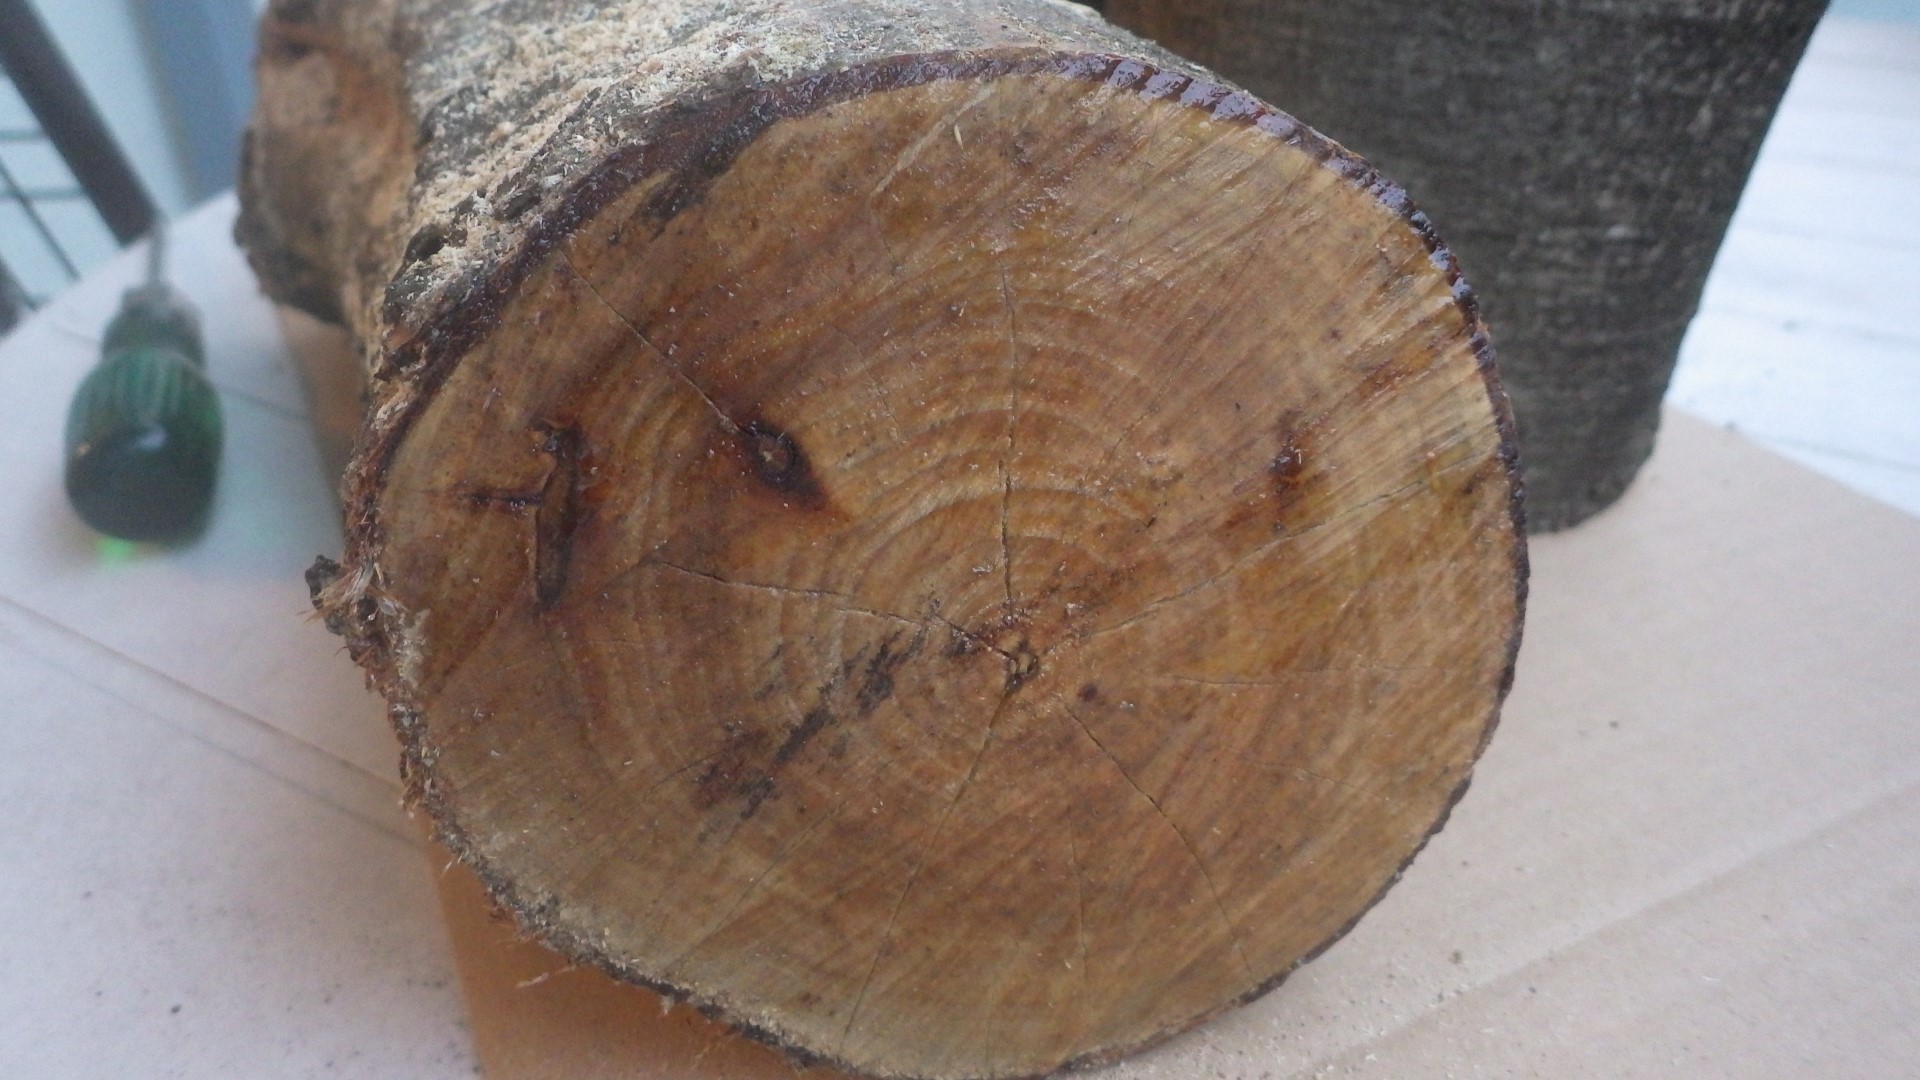
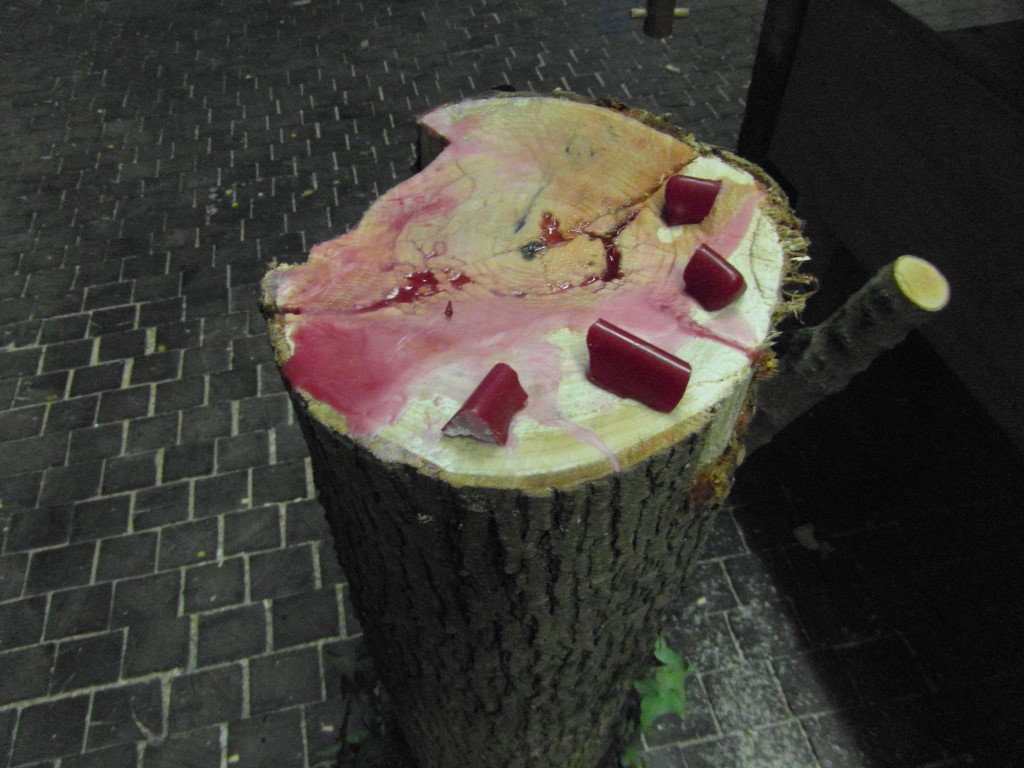
| 17:53, 6 March 2019 | Ash log paraffin treatment.JPG (file) |  |
196 KB | Lukas (talk | contribs) | Project:Drying Timber although this ash log may have been split too far already when Lukas found it, the ends were sealed with paraffin (candle stumps melted with a heat gun) | 1 |
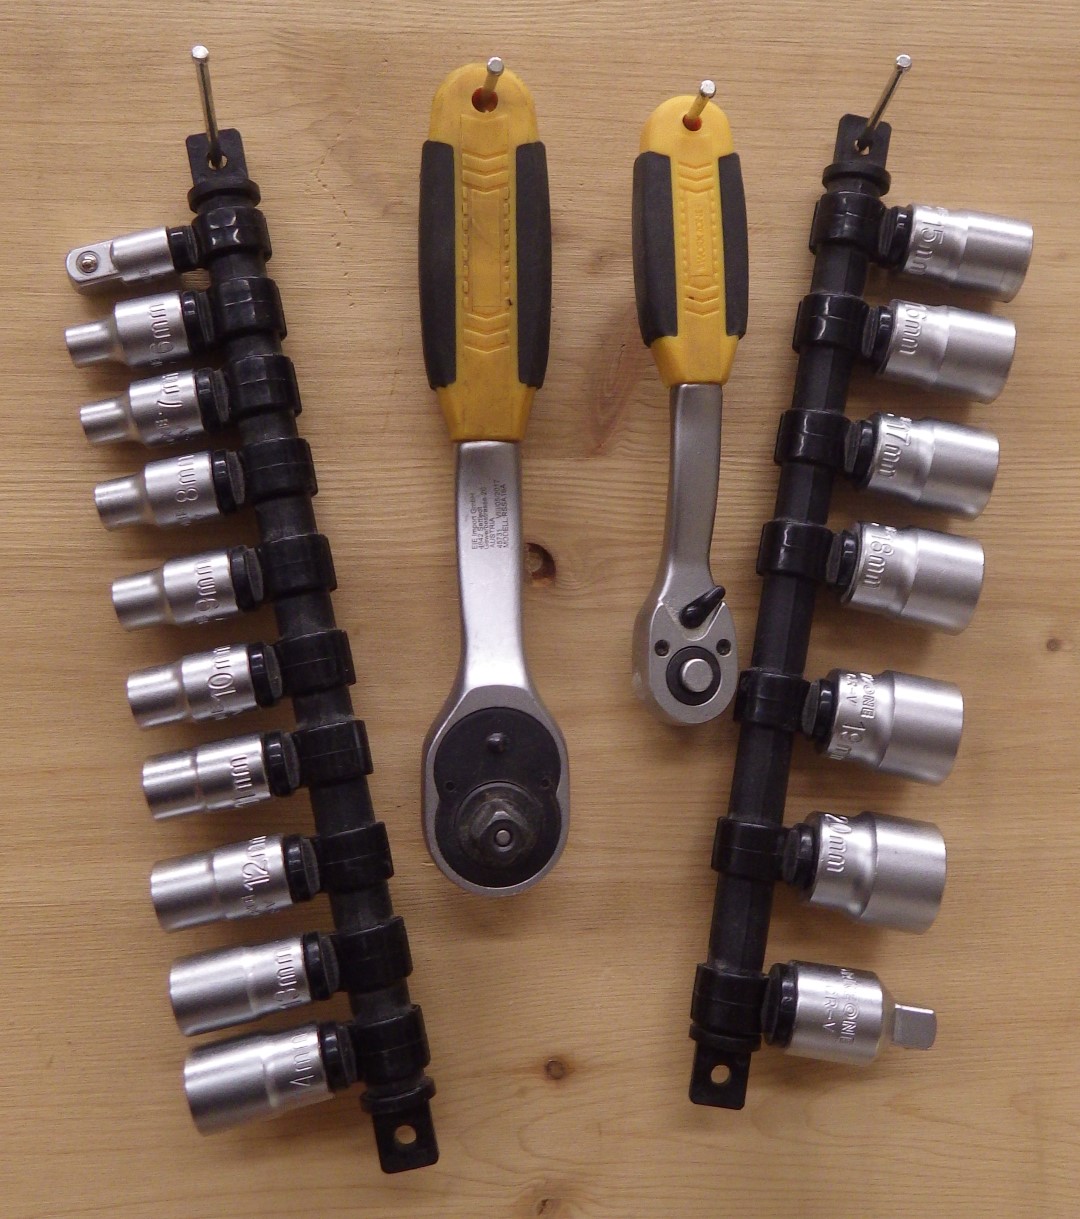
| 18:39, 5 March 2019 | Socket wrench storage.jpg (file) |  |
347 KB | Lukas (talk | contribs) | our socket wrenches and a selection of sockets on the wall | 1 |
| 17:46, 5 March 2019 | TAC 24.JPG (file) |  |
401 KB | Lukas (talk | contribs) | Project:TAC finished 4-player board | 1 |
| 17:45, 5 March 2019 | TAC 23.JPG (file) |  |
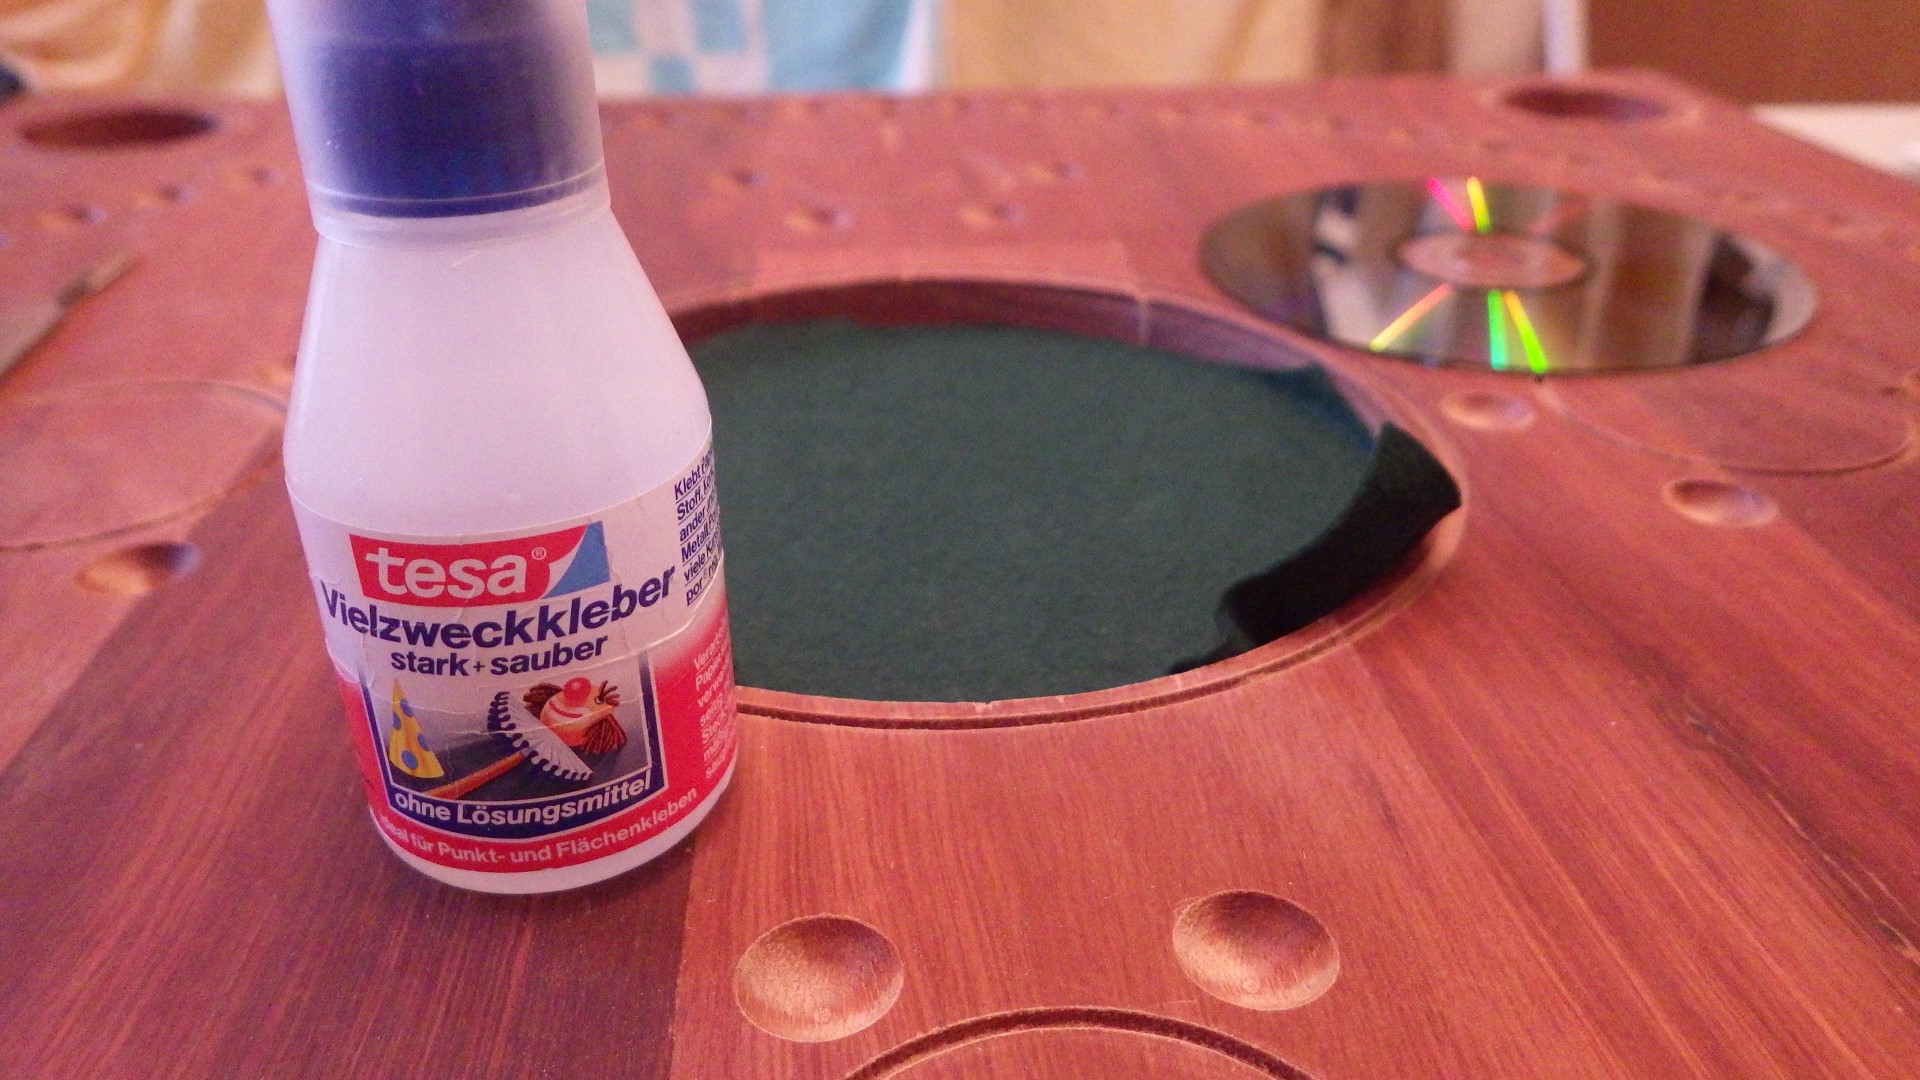
462 KB | Lukas (talk | contribs) | Project:TAC for nice and even adhesion in a round cutout, it works well to apply pressure with something round (like a CD) | 1 |
| 17:43, 5 March 2019 | TAC 22.JPG (file) |  |
559 KB | Lukas (talk | contribs) | Project:TAC ''Alleskleber'' was used to stick the felt to the board | 1 |
| 17:37, 5 March 2019 | TAC 21.JPG (file) |  |
456 KB | Lukas (talk | contribs) | Project:TAC the center of the 4-player board ("card pit"?) was covered in green felt for a nice look | 1 |
| 17:35, 5 March 2019 | TAC 20.JPG (file) |  |
681 KB | Lukas (talk | contribs) | Project:TAC cleaned up area of the 4-player board | 1 |
| 17:33, 5 March 2019 | TAC 19.JPG (file) |  |
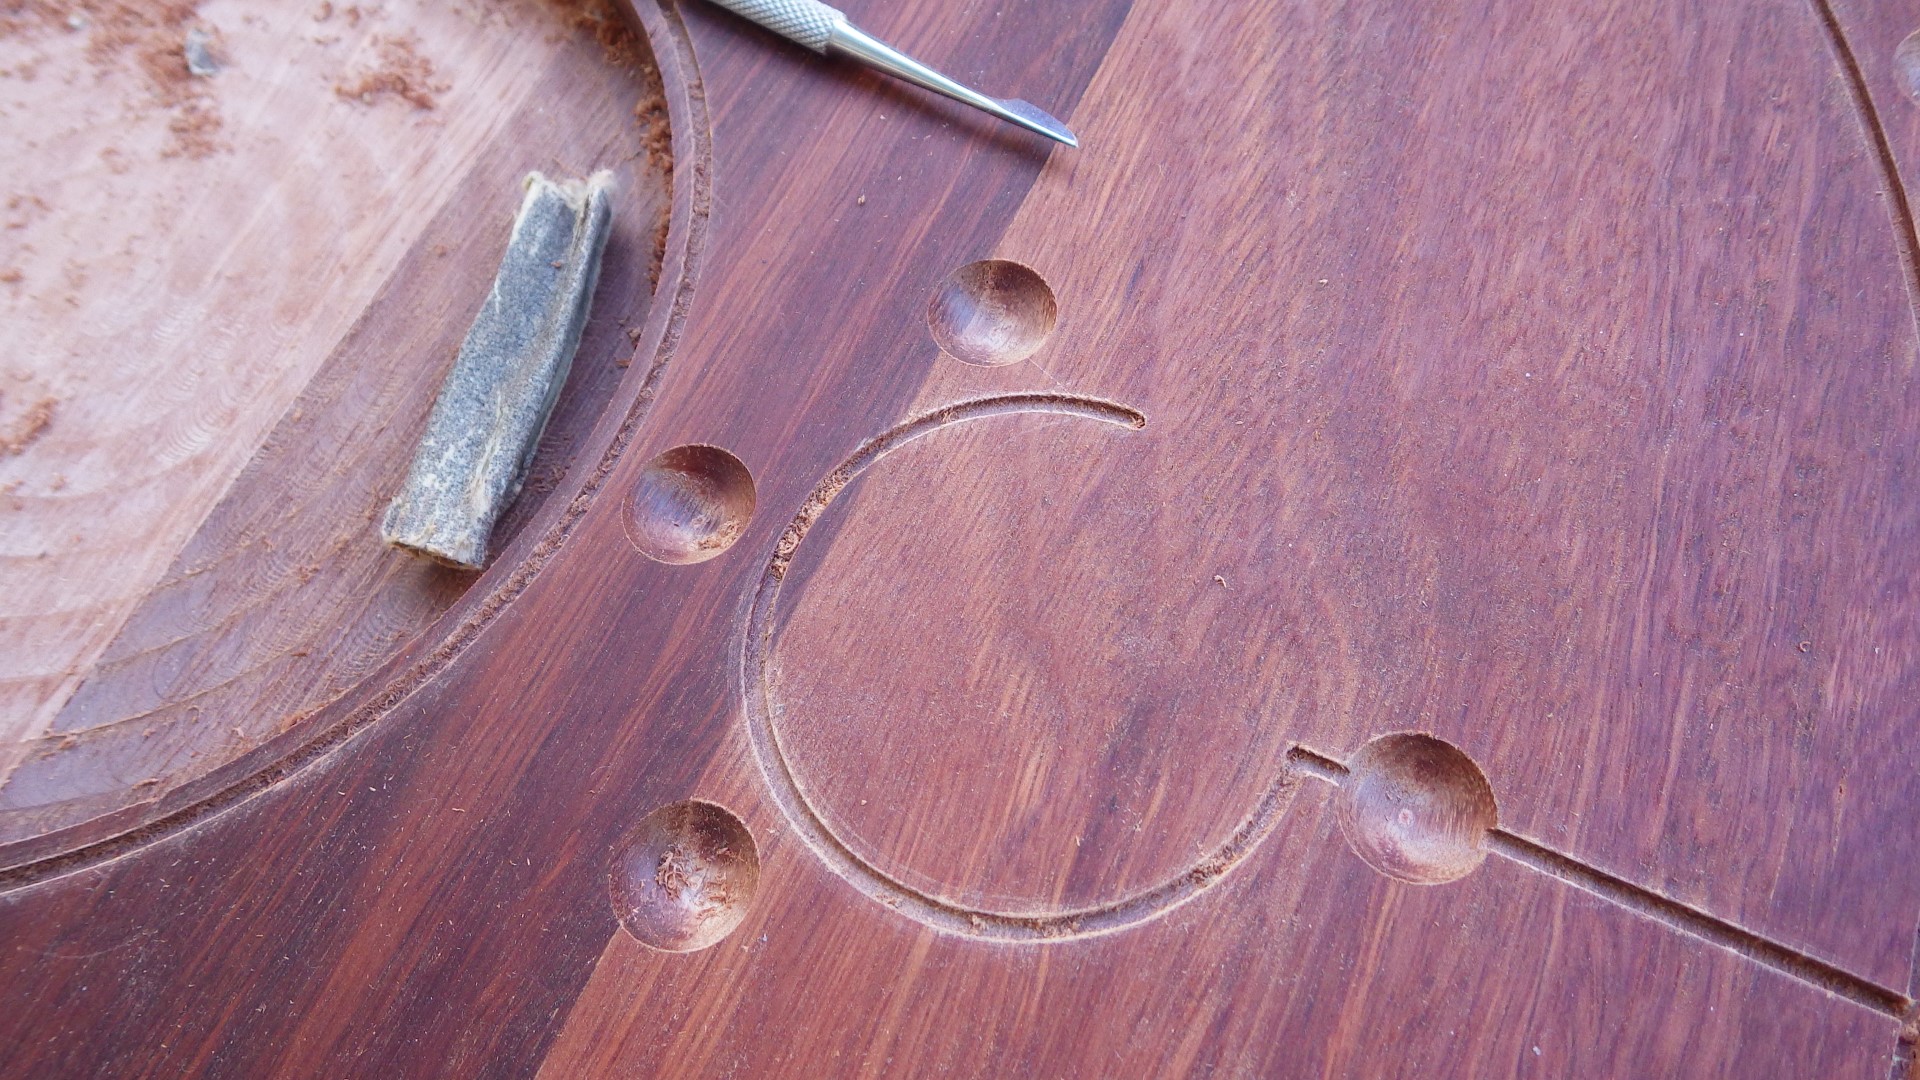
514 KB | Lukas (talk | contribs) | Project:TAC partially cleaned up area of the 4-player board - without sanding marks because a knife could be used on this wood | 1 |
| 17:32, 5 March 2019 | TAC 18.JPG (file) |  |
525 KB | Lukas (talk | contribs) | Project:TAC since the 4-player board's hardwood fibers were easily cut by a knife, sanding and the resulting brightening of the ''Eukalyptus'' wood could be largely avoided during the cleanup process | 1 |
| 17:28, 5 March 2019 | TAC 17.JPG (file) |  |
416 KB | Lukas (talk | contribs) | Project:TAC finally, the 6-player board (spruce/fir) was finished with olive oil | 1 |
| 17:27, 5 March 2019 | TAC 16.JPG (file) |  |
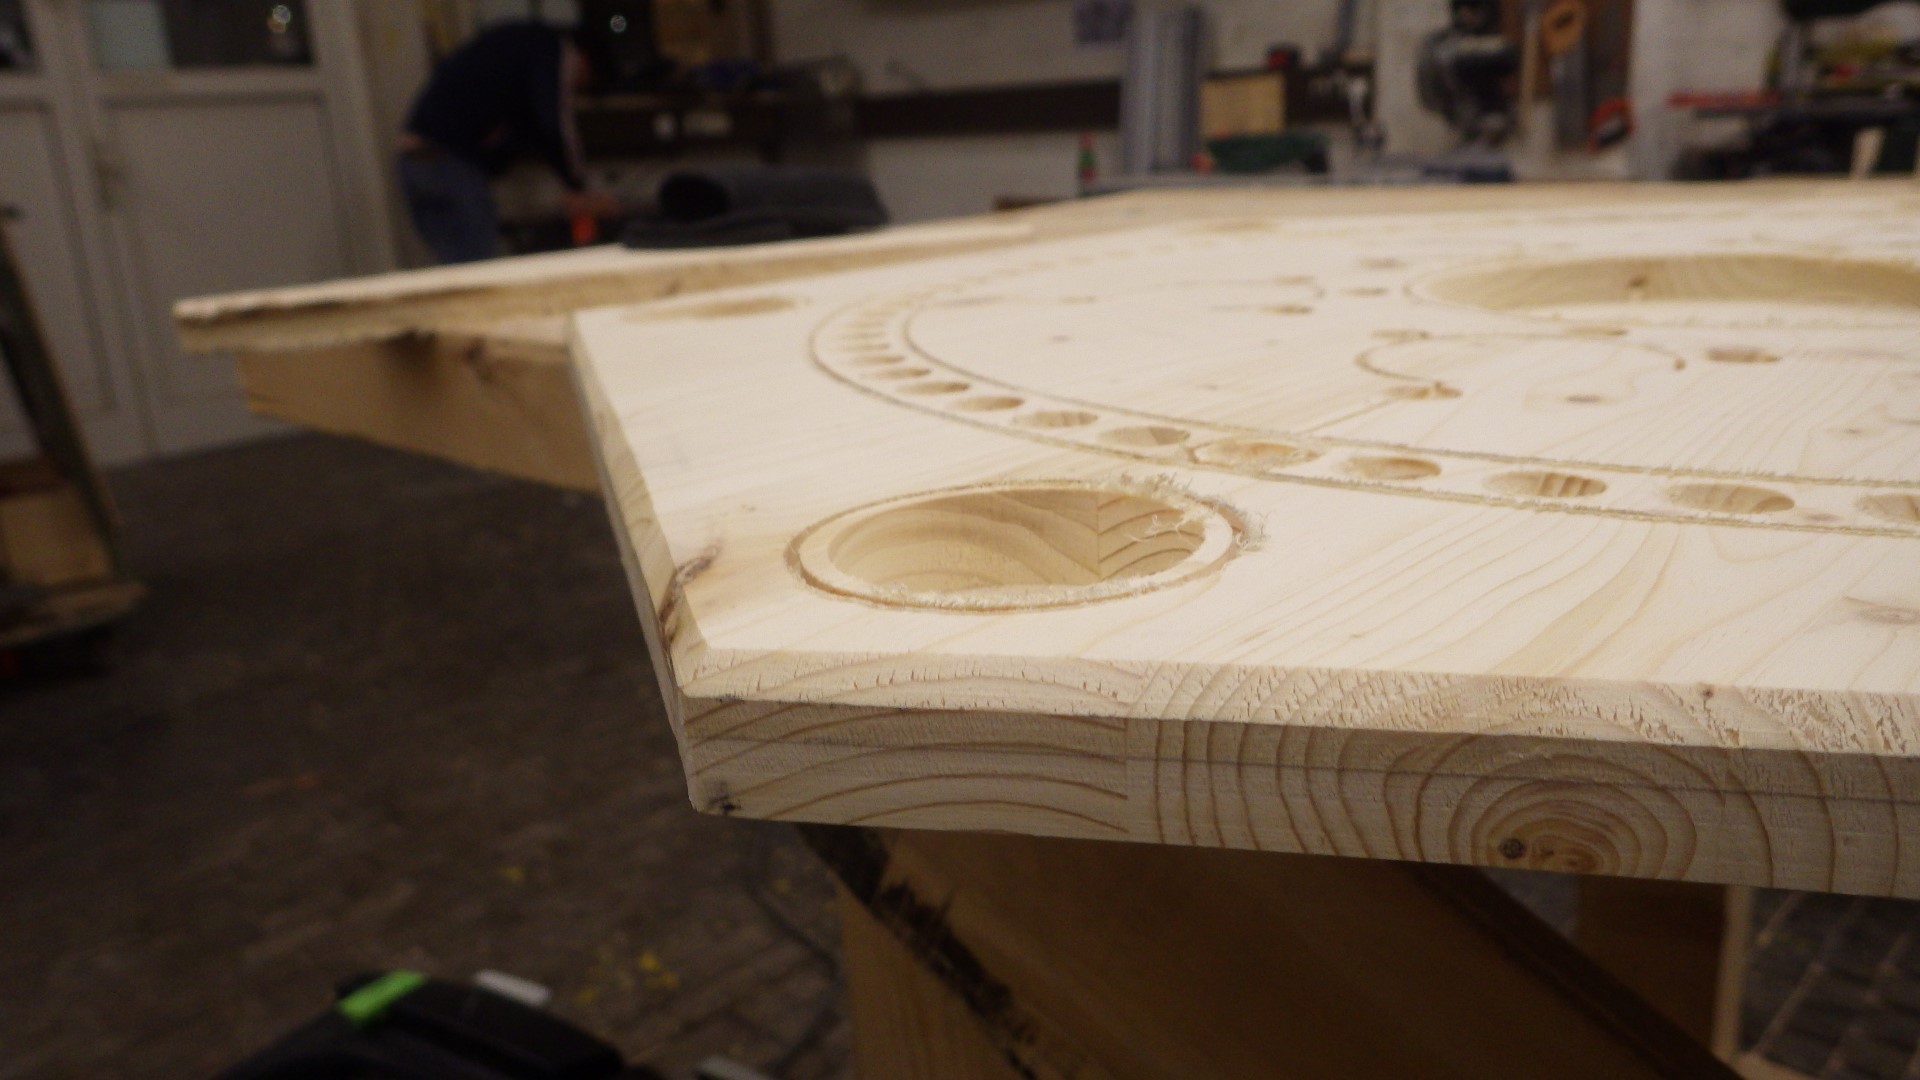
484 KB | Lukas (talk | contribs) | Project:TAC completely sanded area of the 6-player board | 1 |
| 17:25, 5 March 2019 | TAC 15.JPG (file) |  |
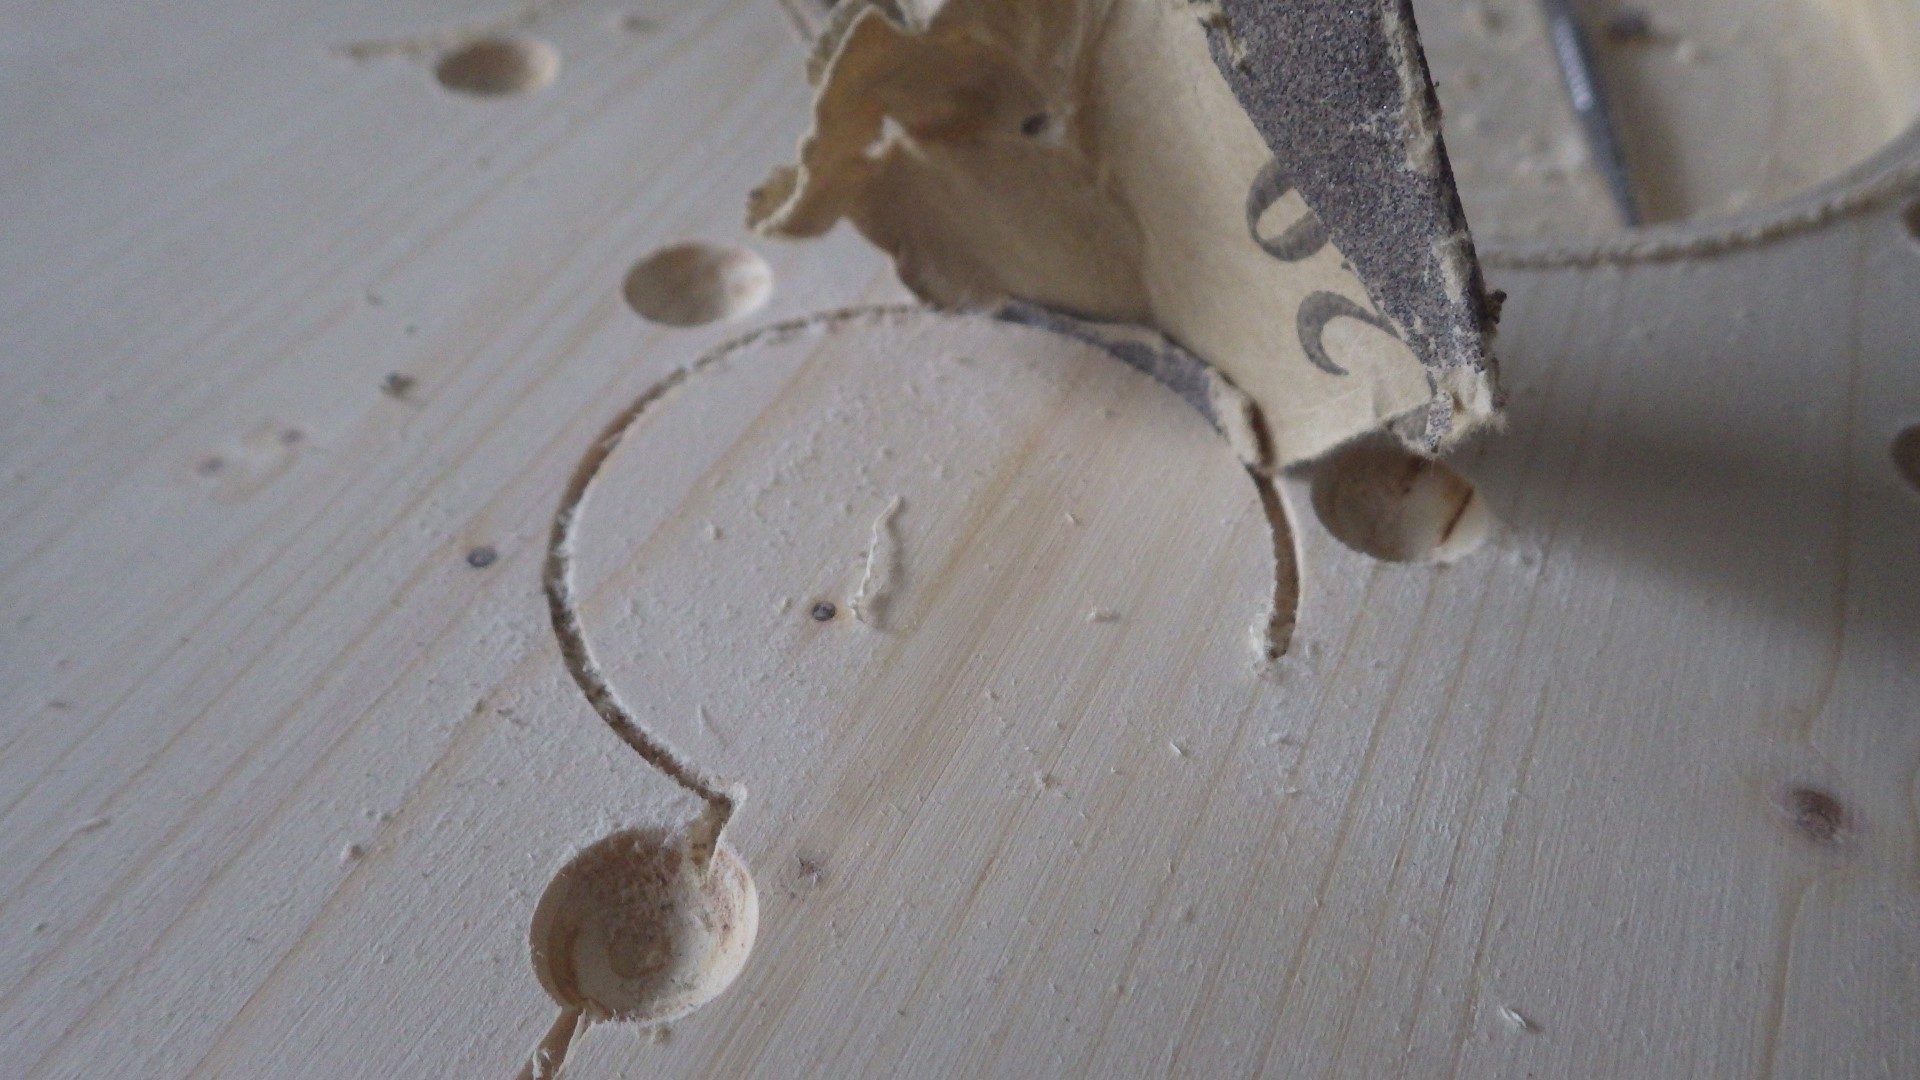
425 KB | Lukas (talk | contribs) | Project:TAC the soft spruce/fir wood was best cleaned up with sandpaper after routing | 1 |
| 23:19, 4 March 2019 | TAC 14.JPG (file) |  |
335 KB | Lukas (talk | contribs) | Project:TAC chamfered edge of the 6-player board (before sanding) | 1 |
| 23:16, 4 March 2019 | TAC 13.JPG (file) |  |
179 KB | Lukas (talk | contribs) | Project:TAC chamfering the edges of the 6-player board on the router table | 1 |
| 23:15, 4 March 2019 | TAC 12.JPG (file) |  |
470 KB | Lukas (talk | contribs) | Project:TAC a chamfer bit was used to finalize the edges of the 6-player board on the router table | 1 |
| 23:13, 4 March 2019 | TAC 11.JPG (file) |  |
562 KB | Lukas (talk | contribs) | Project:TAC 4-player board ready to leave the workshop with only minor steps left | 1 |
| 23:11, 4 March 2019 | TAC 10.JPG (file) |  |
184 KB | Lukas (talk | contribs) | Project:TAC after the outline was finished, the edges of the 4-player board were prettified with a roundover router bit | 1 |
| 23:06, 4 March 2019 | TAC 09.JPG (file) |  |
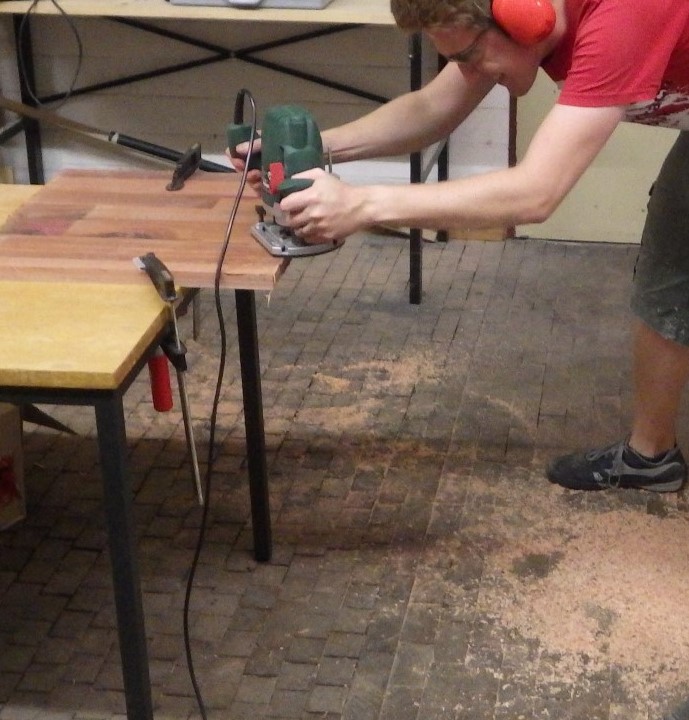
413 KB | Lukas (talk | contribs) | Project:TAC ...and trimmed to the partial-depth outline with a flush-cut router bit | 1 |
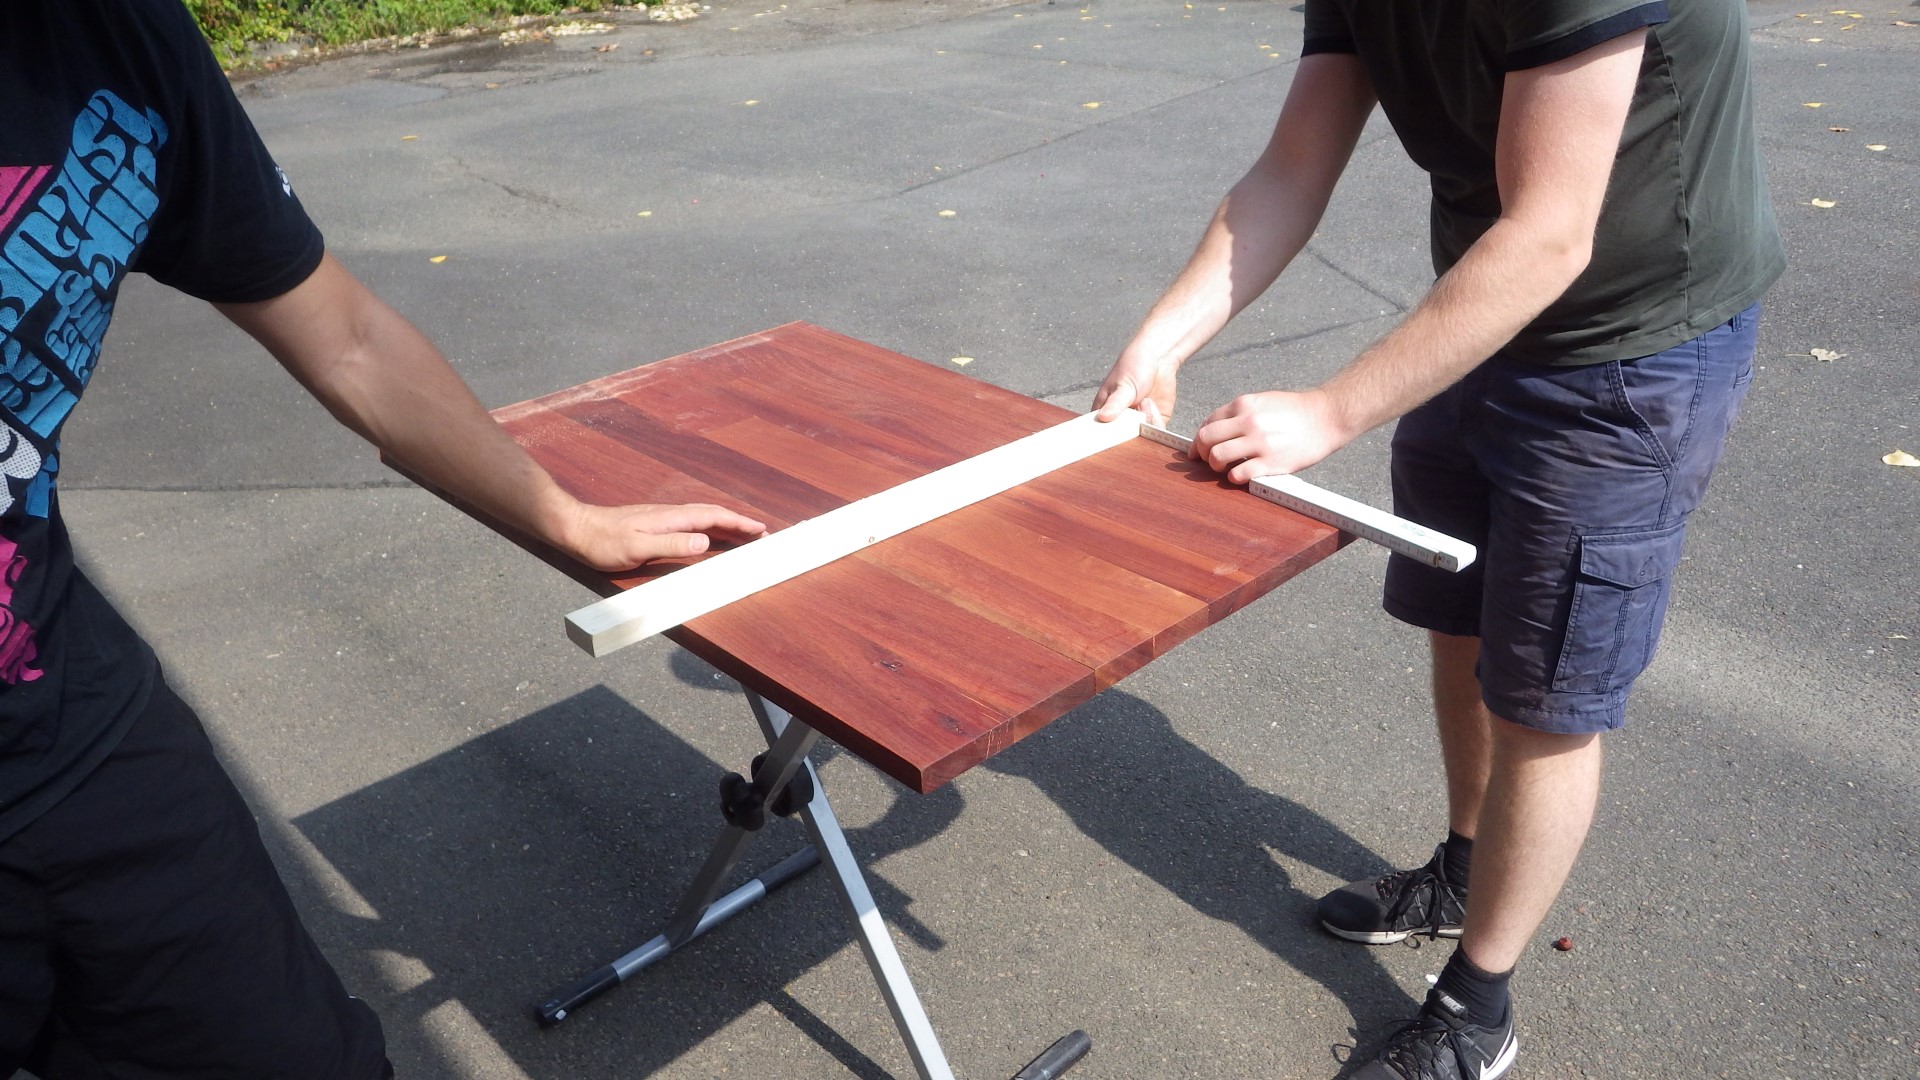
| 23:03, 4 March 2019 | TAC 08.JPG (file) |  |
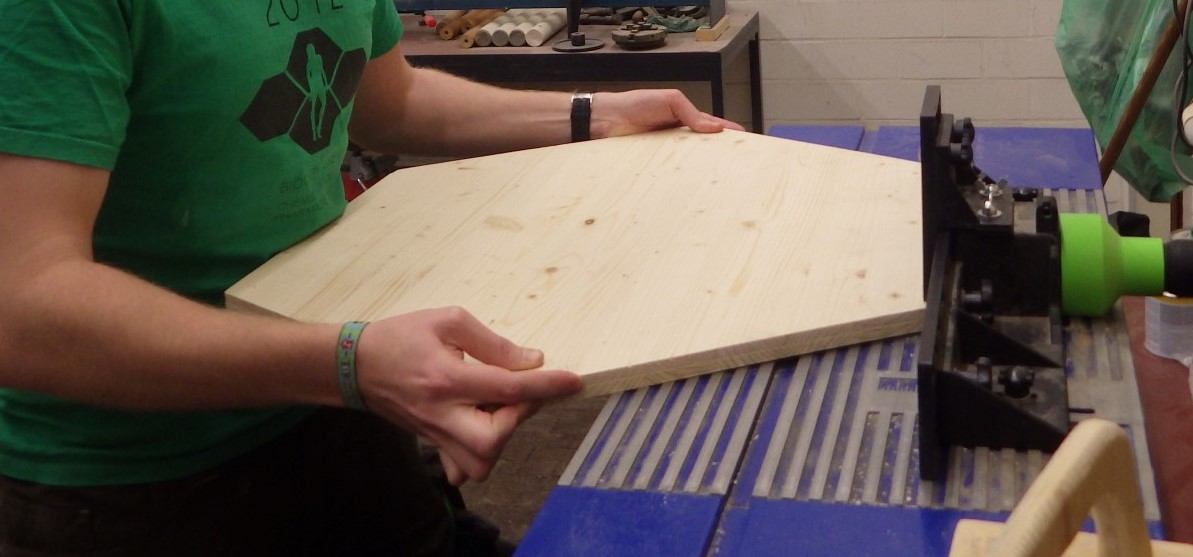
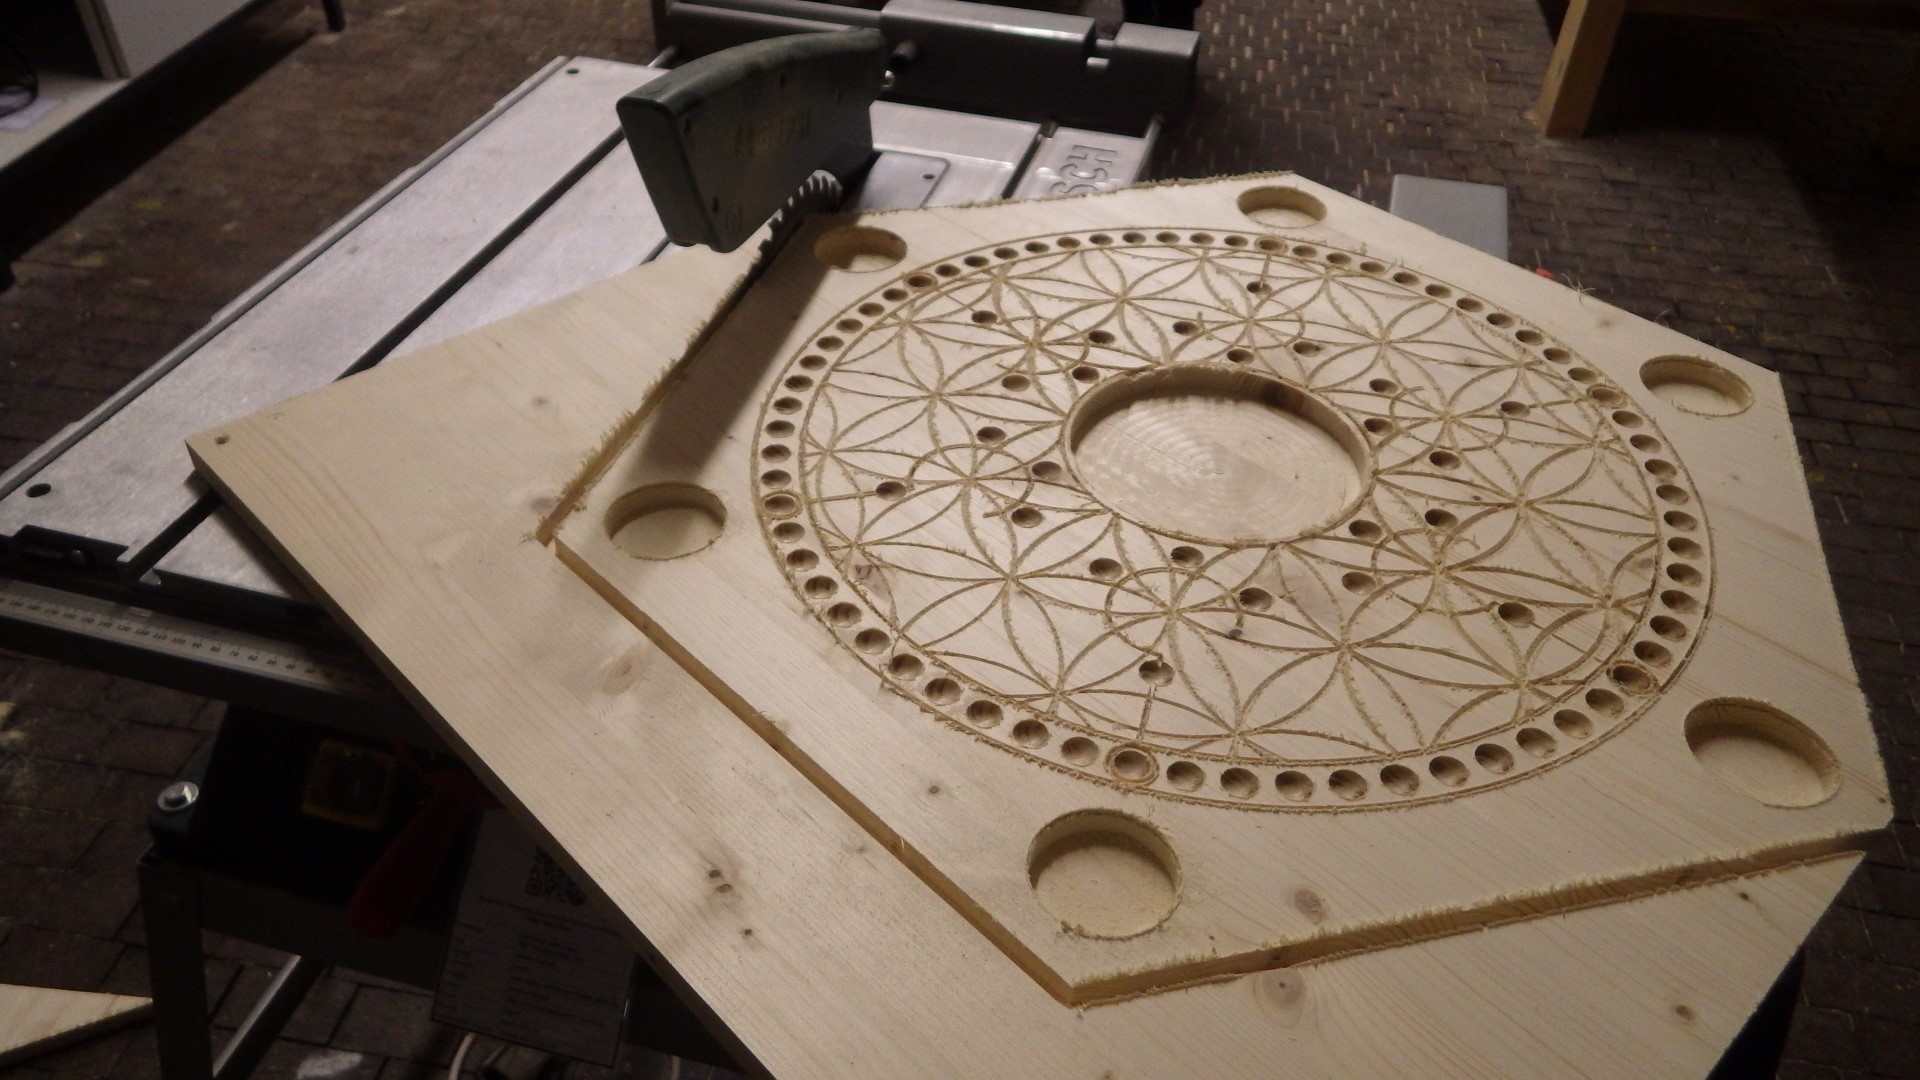
443 KB | Lukas (talk | contribs) | Project:TAC since our end mills were too short to cut all the way through the workpiece at the edges, the rough shape was cut out on the table saw... | 1 |
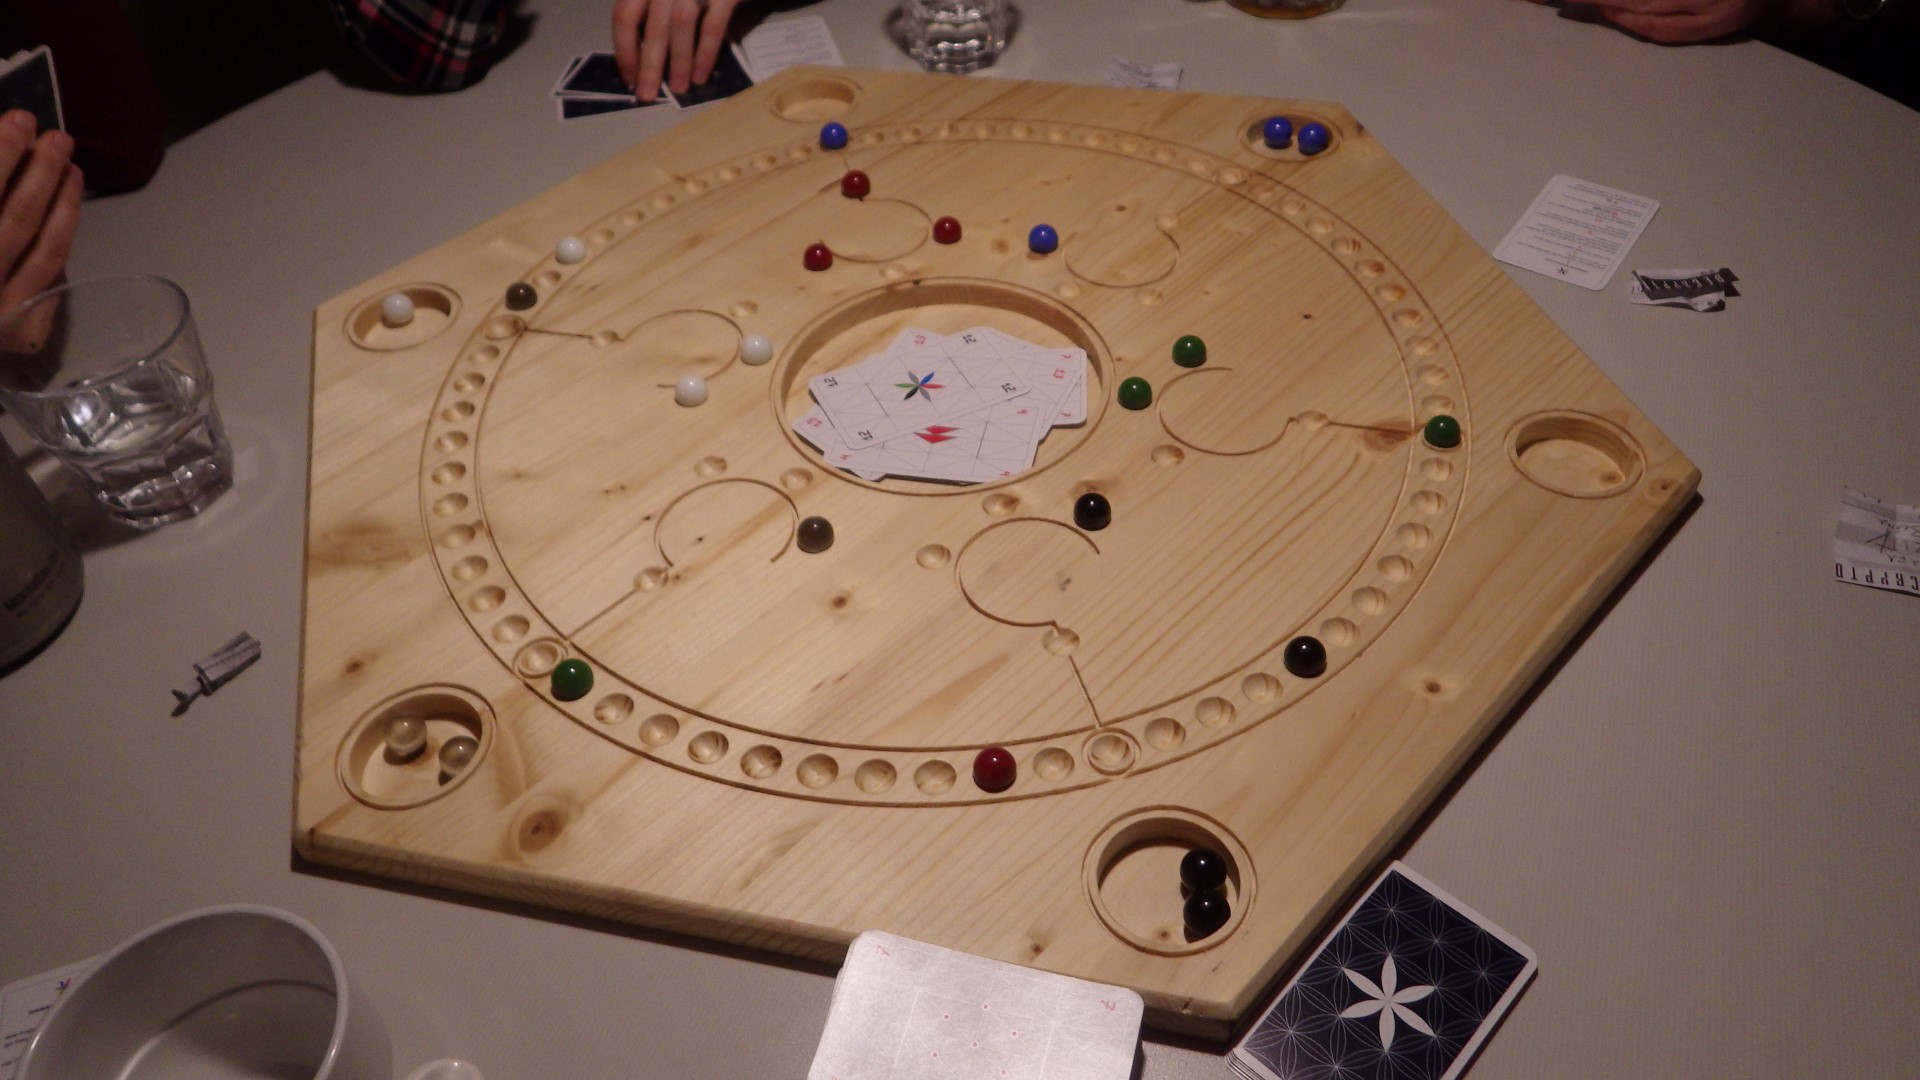
| 23:00, 4 March 2019 | TAC 00.JPG (file) |  |
379 KB | Lukas (talk | contribs) | Project:TAC finished 6-player game in use :-) | 1 |
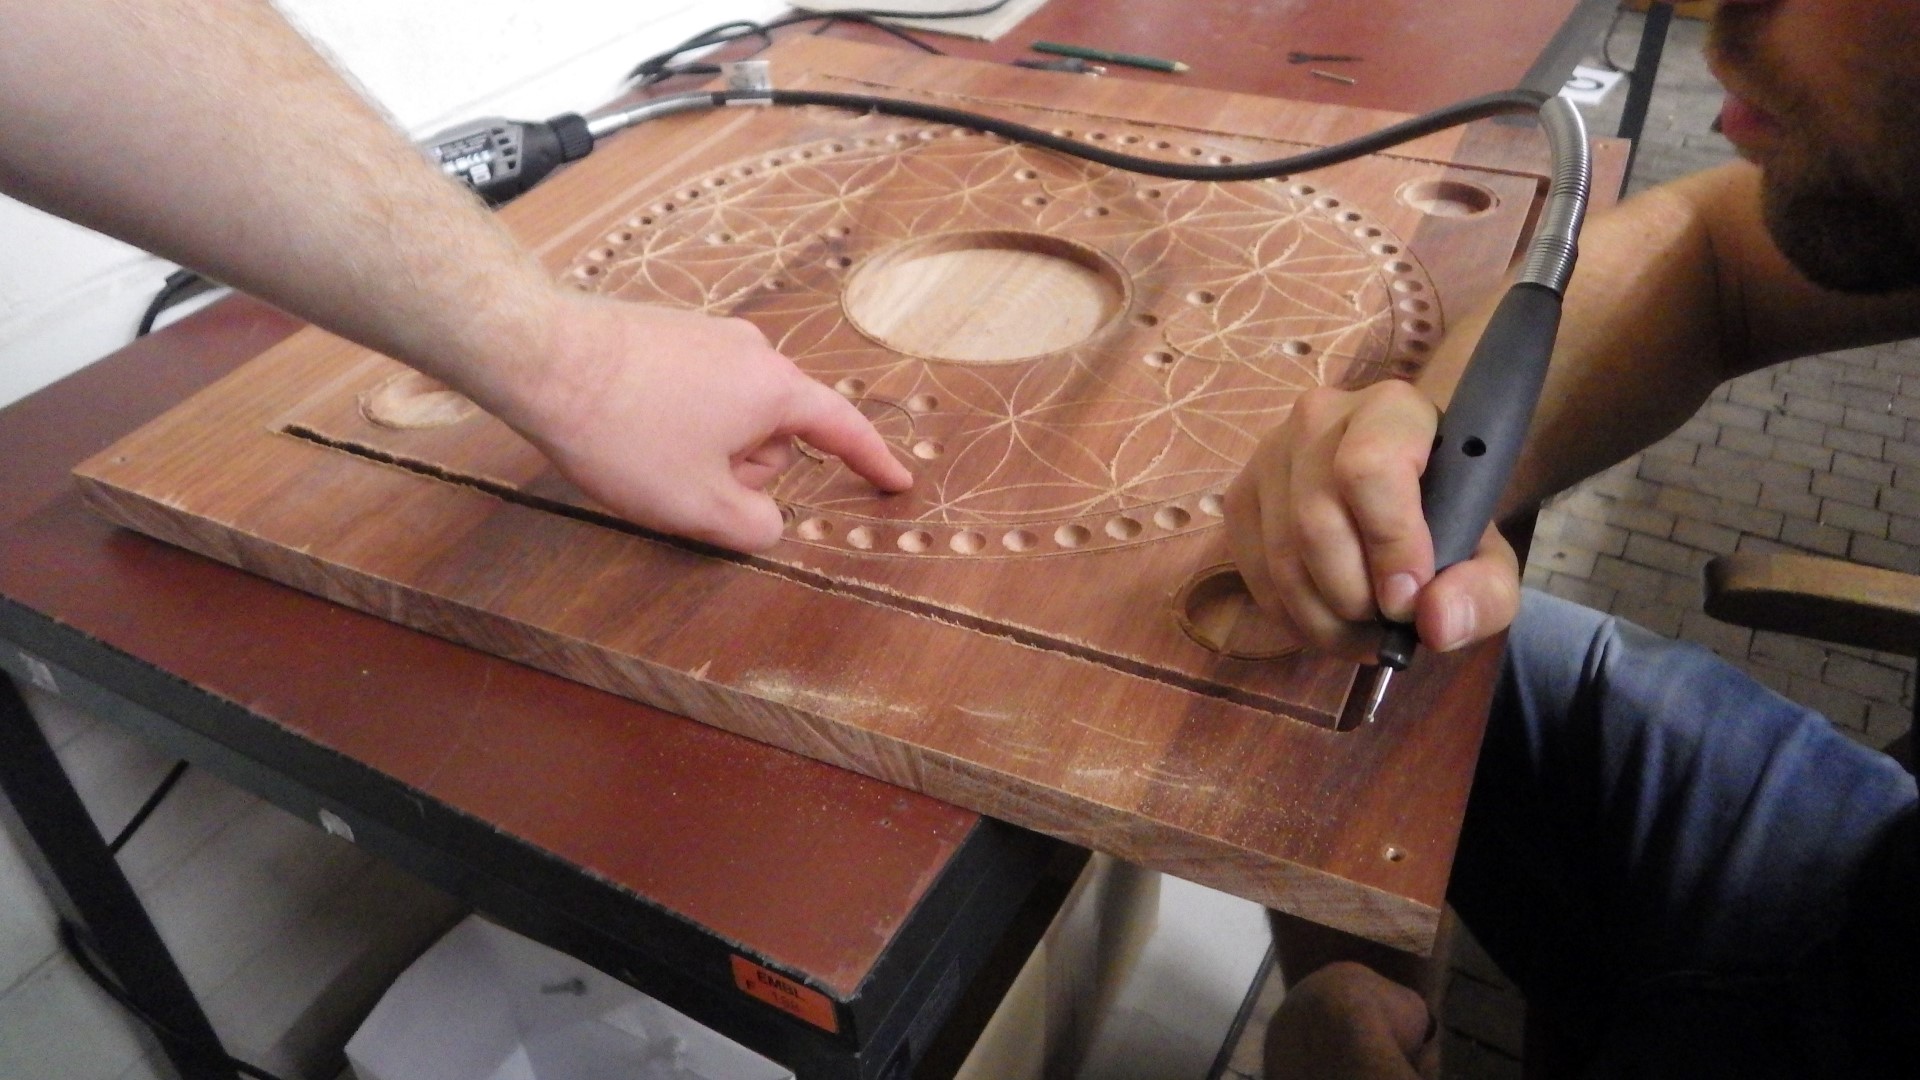
| 22:46, 4 March 2019 | TAC 07.JPG (file) |  |
445 KB | Lukas (talk | contribs) | Project:TAC the decorated version required some manual corrections with a rotary tool because the warped board was not engraved evenly by the CNC router | 1 |
| 22:43, 4 March 2019 | TAC 06.JPG (file) |  |
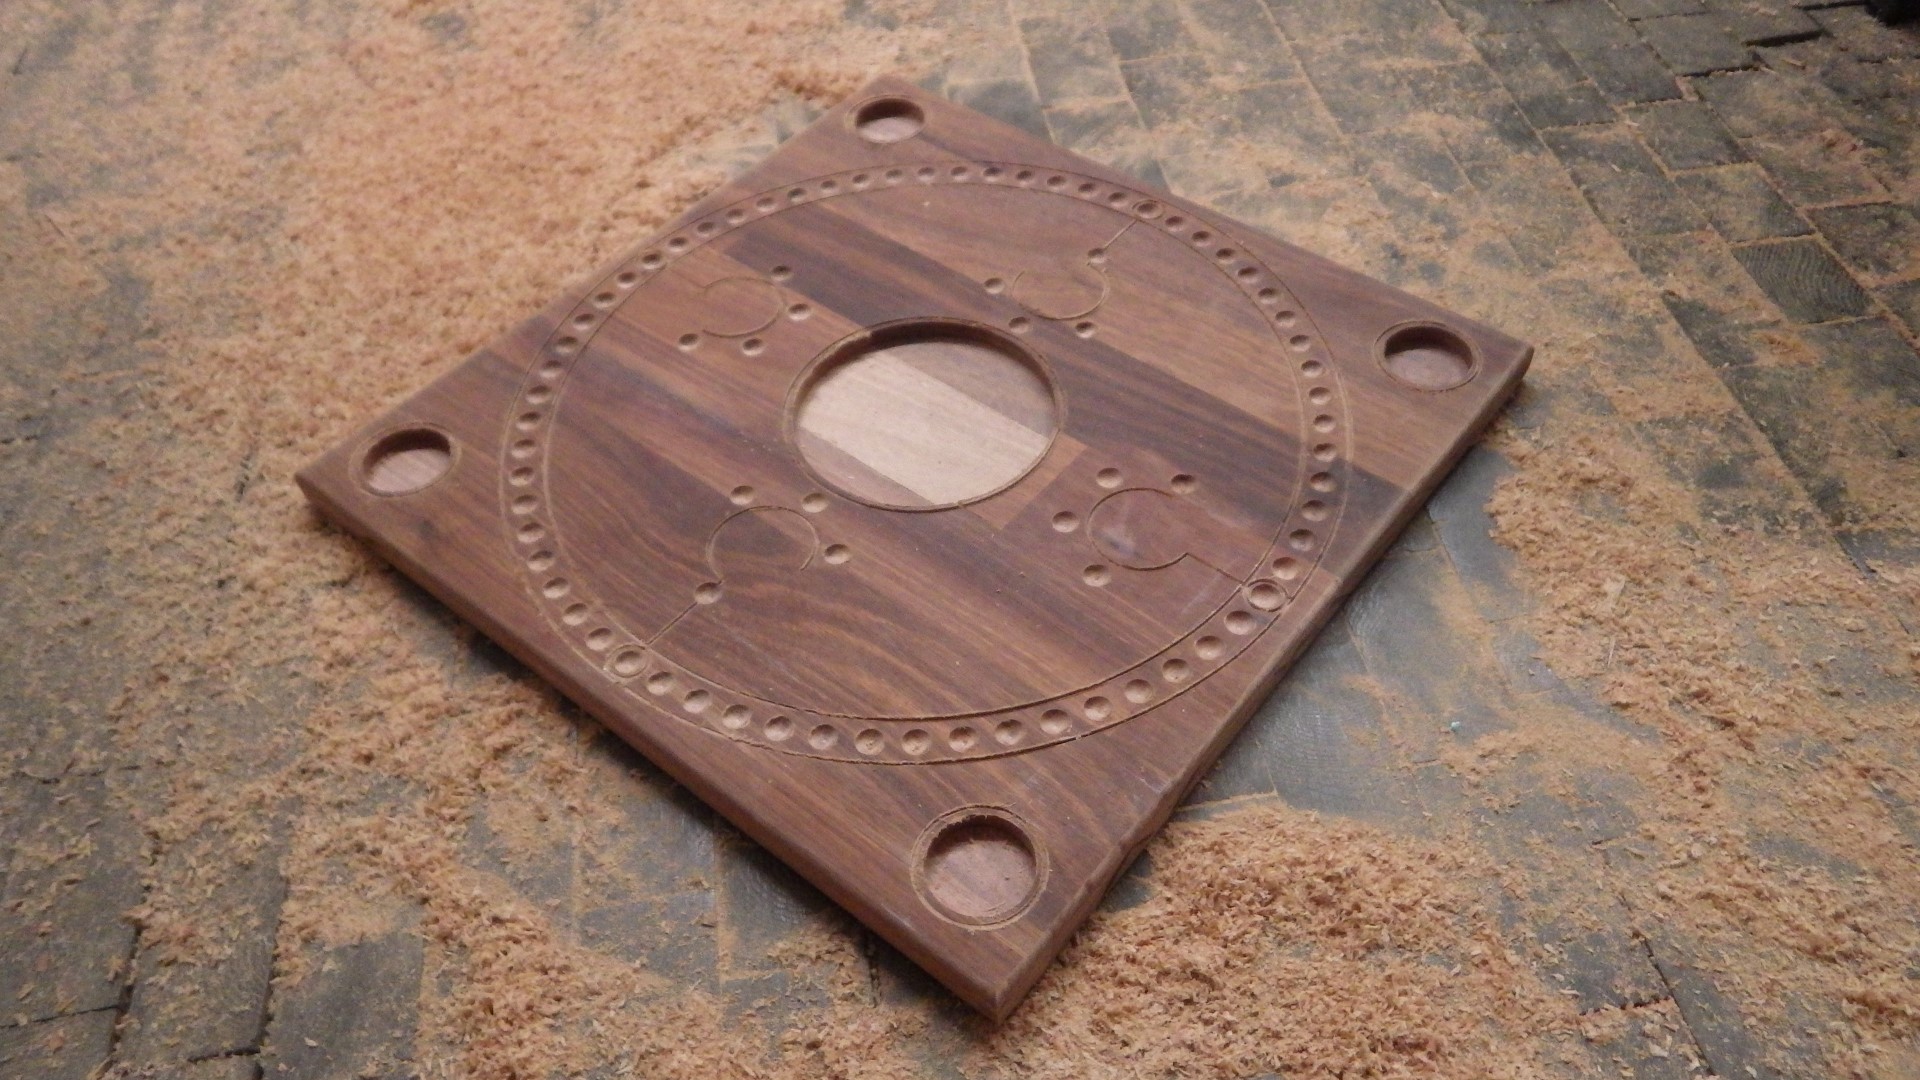
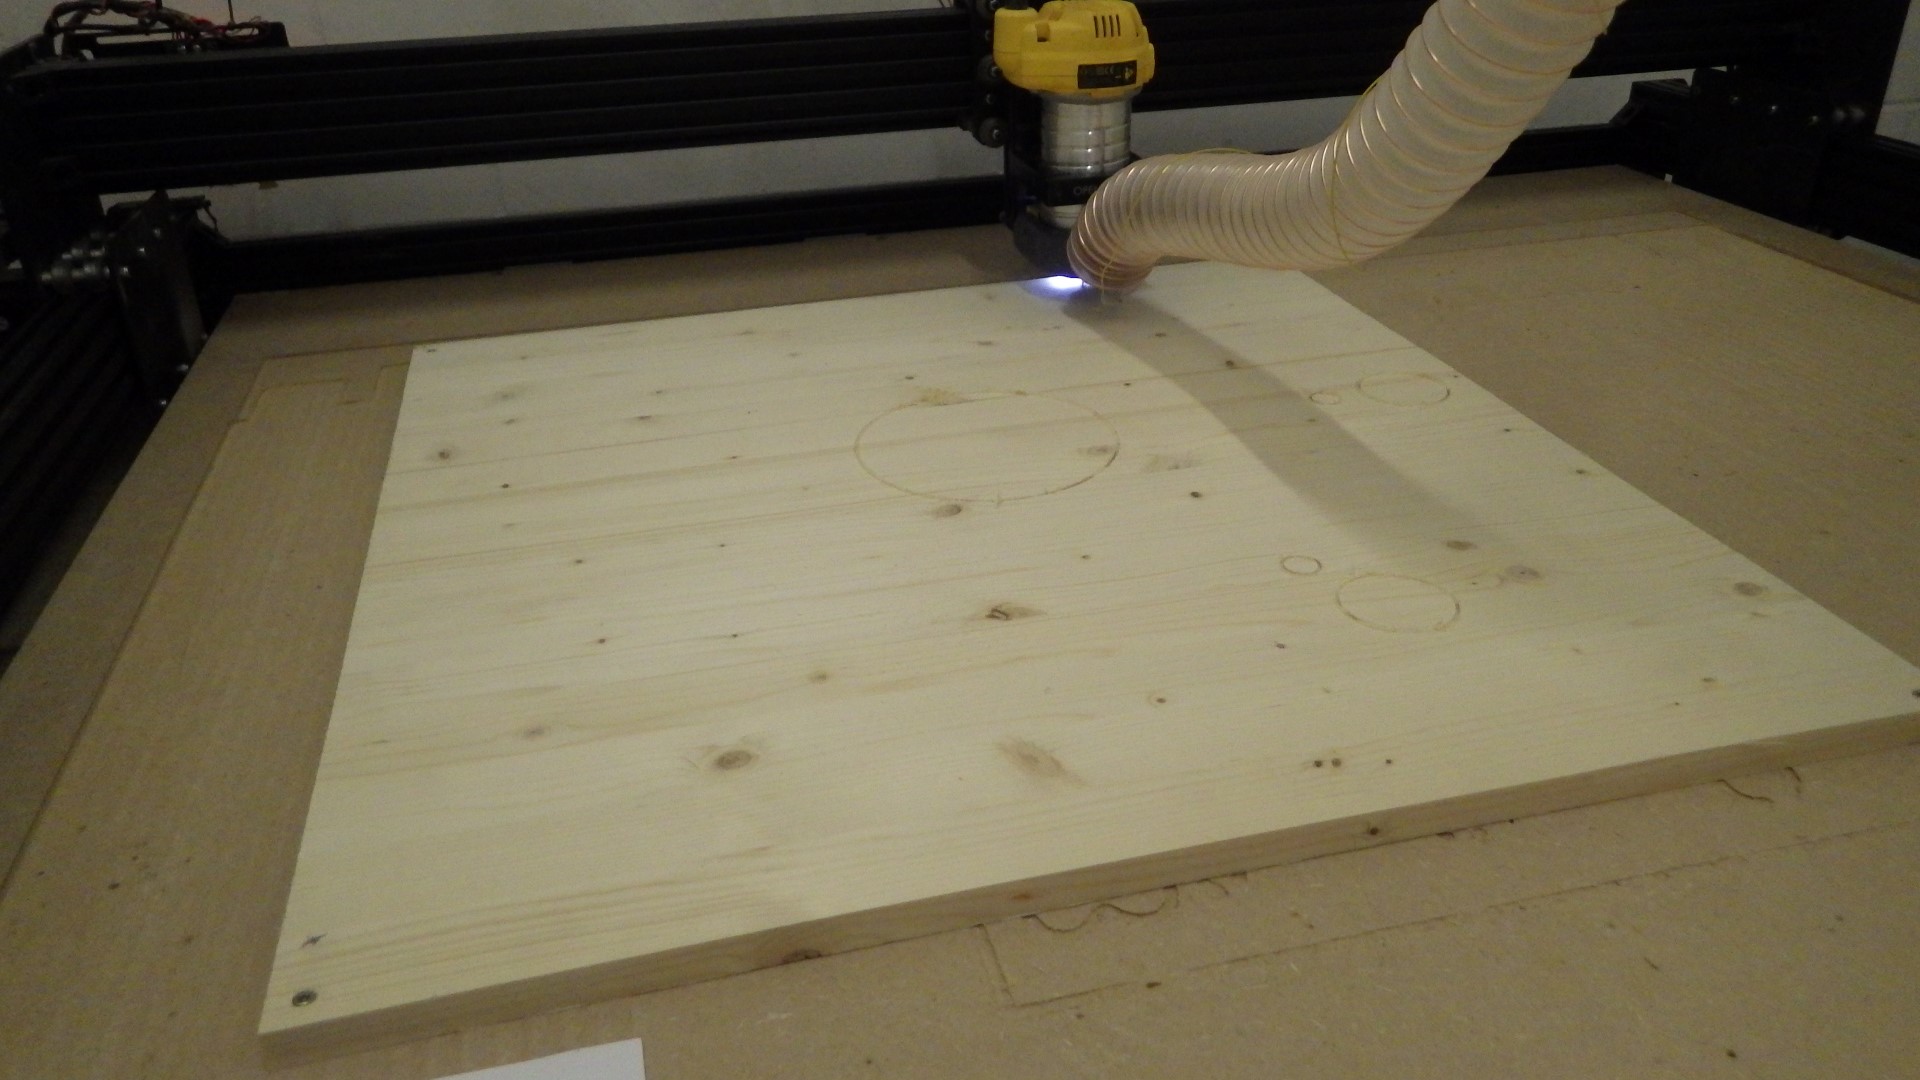
441 KB | Lukas (talk | contribs) | Project:TAC back to pictures of the 4-player game: undecorated version completely routed | 1 |
| 22:41, 4 March 2019 | TAC 05-2.JPG (file) |  |
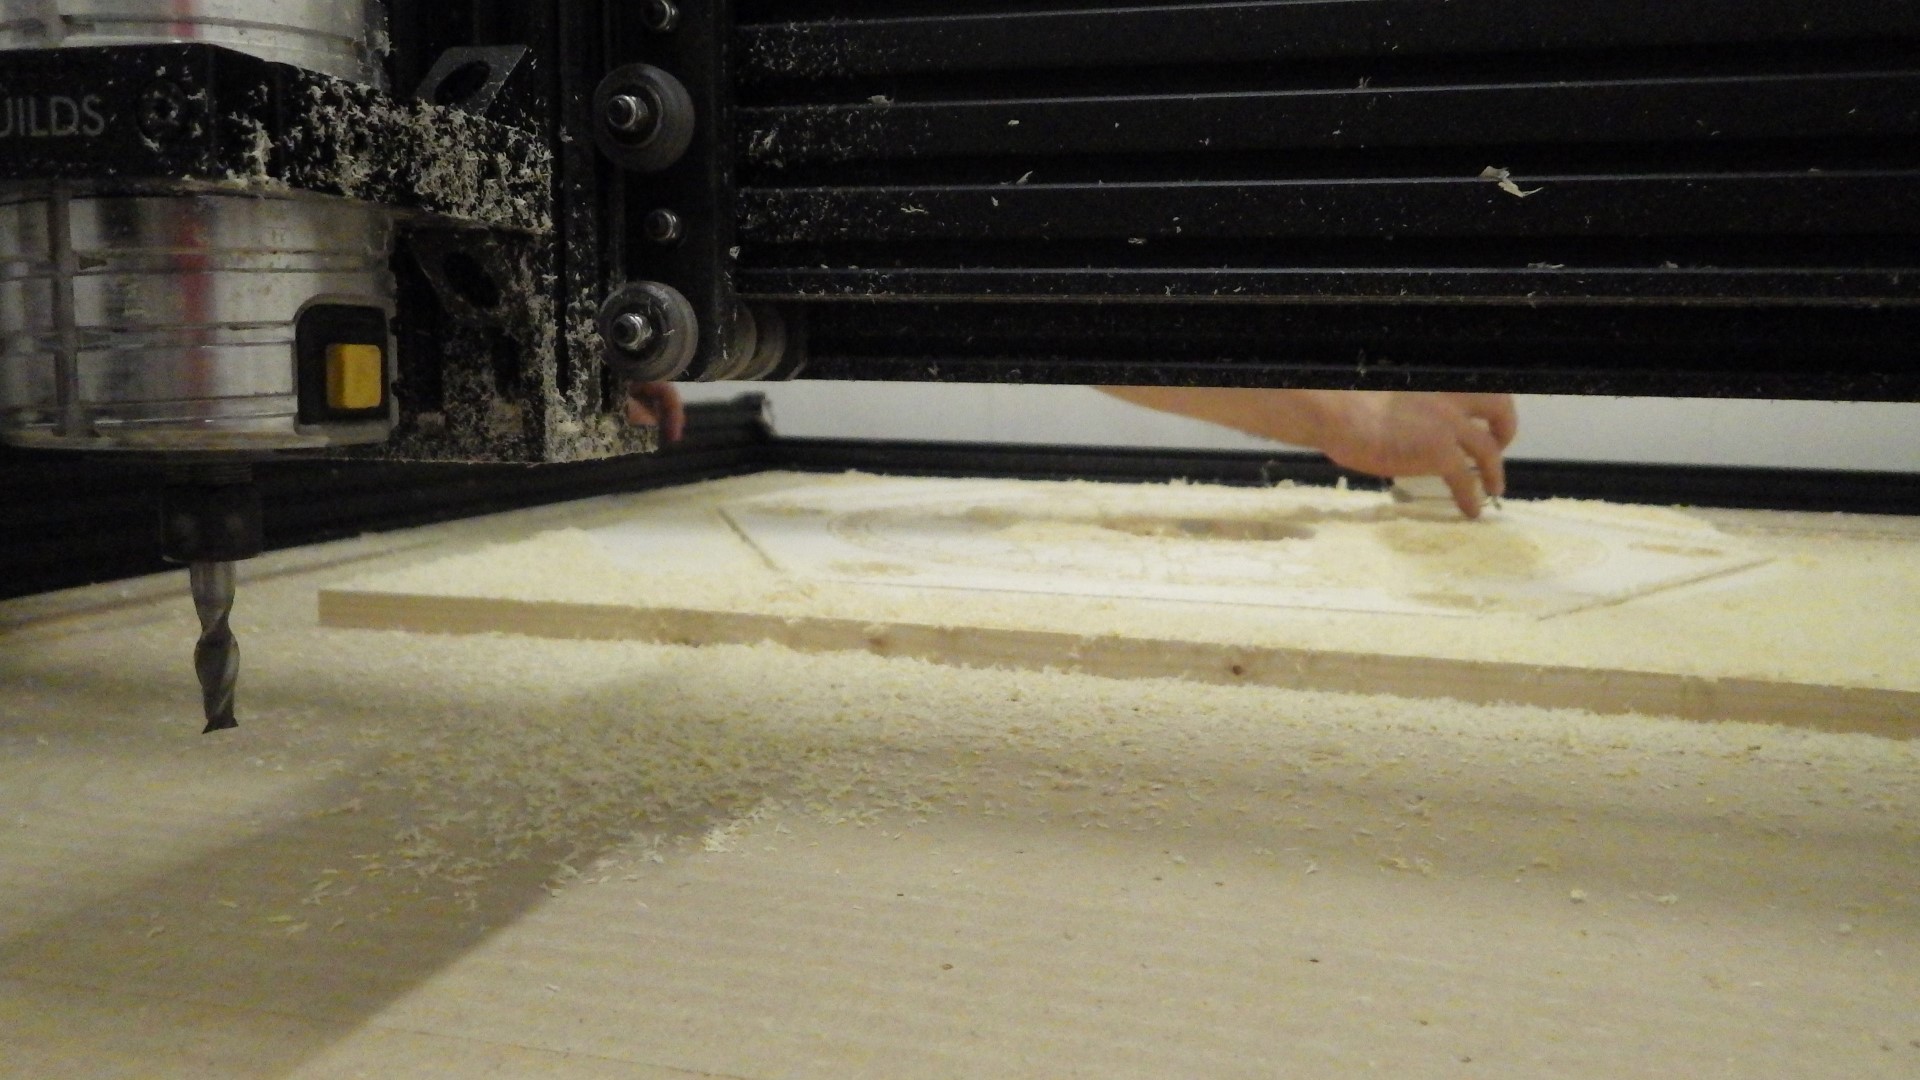
423 KB | Lukas (talk | contribs) | Project:TAC we took care to remove the sawdust in between routing passes to avoid overheating the end mill (dust extraction was still a work in progress at the time) | 1 |
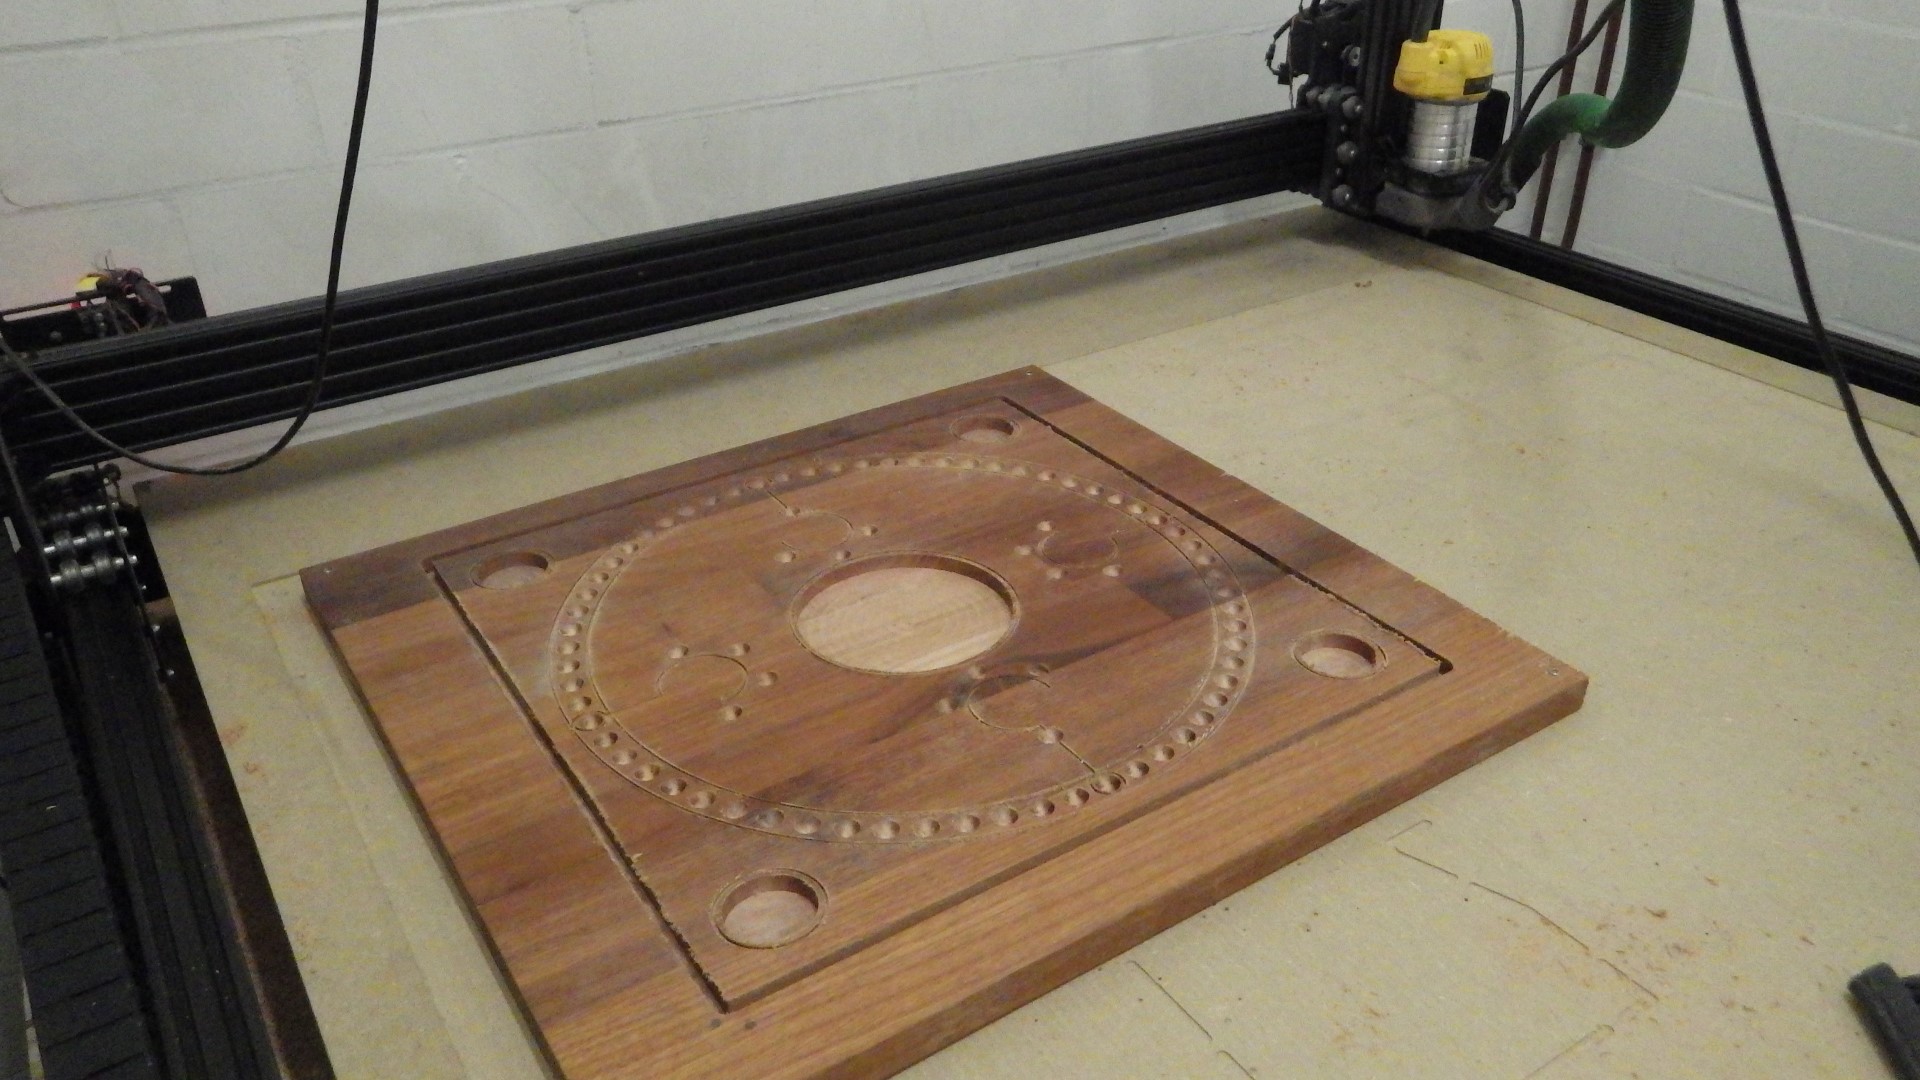
| 22:38, 4 March 2019 | TAC 05-1.JPG (file) |  |
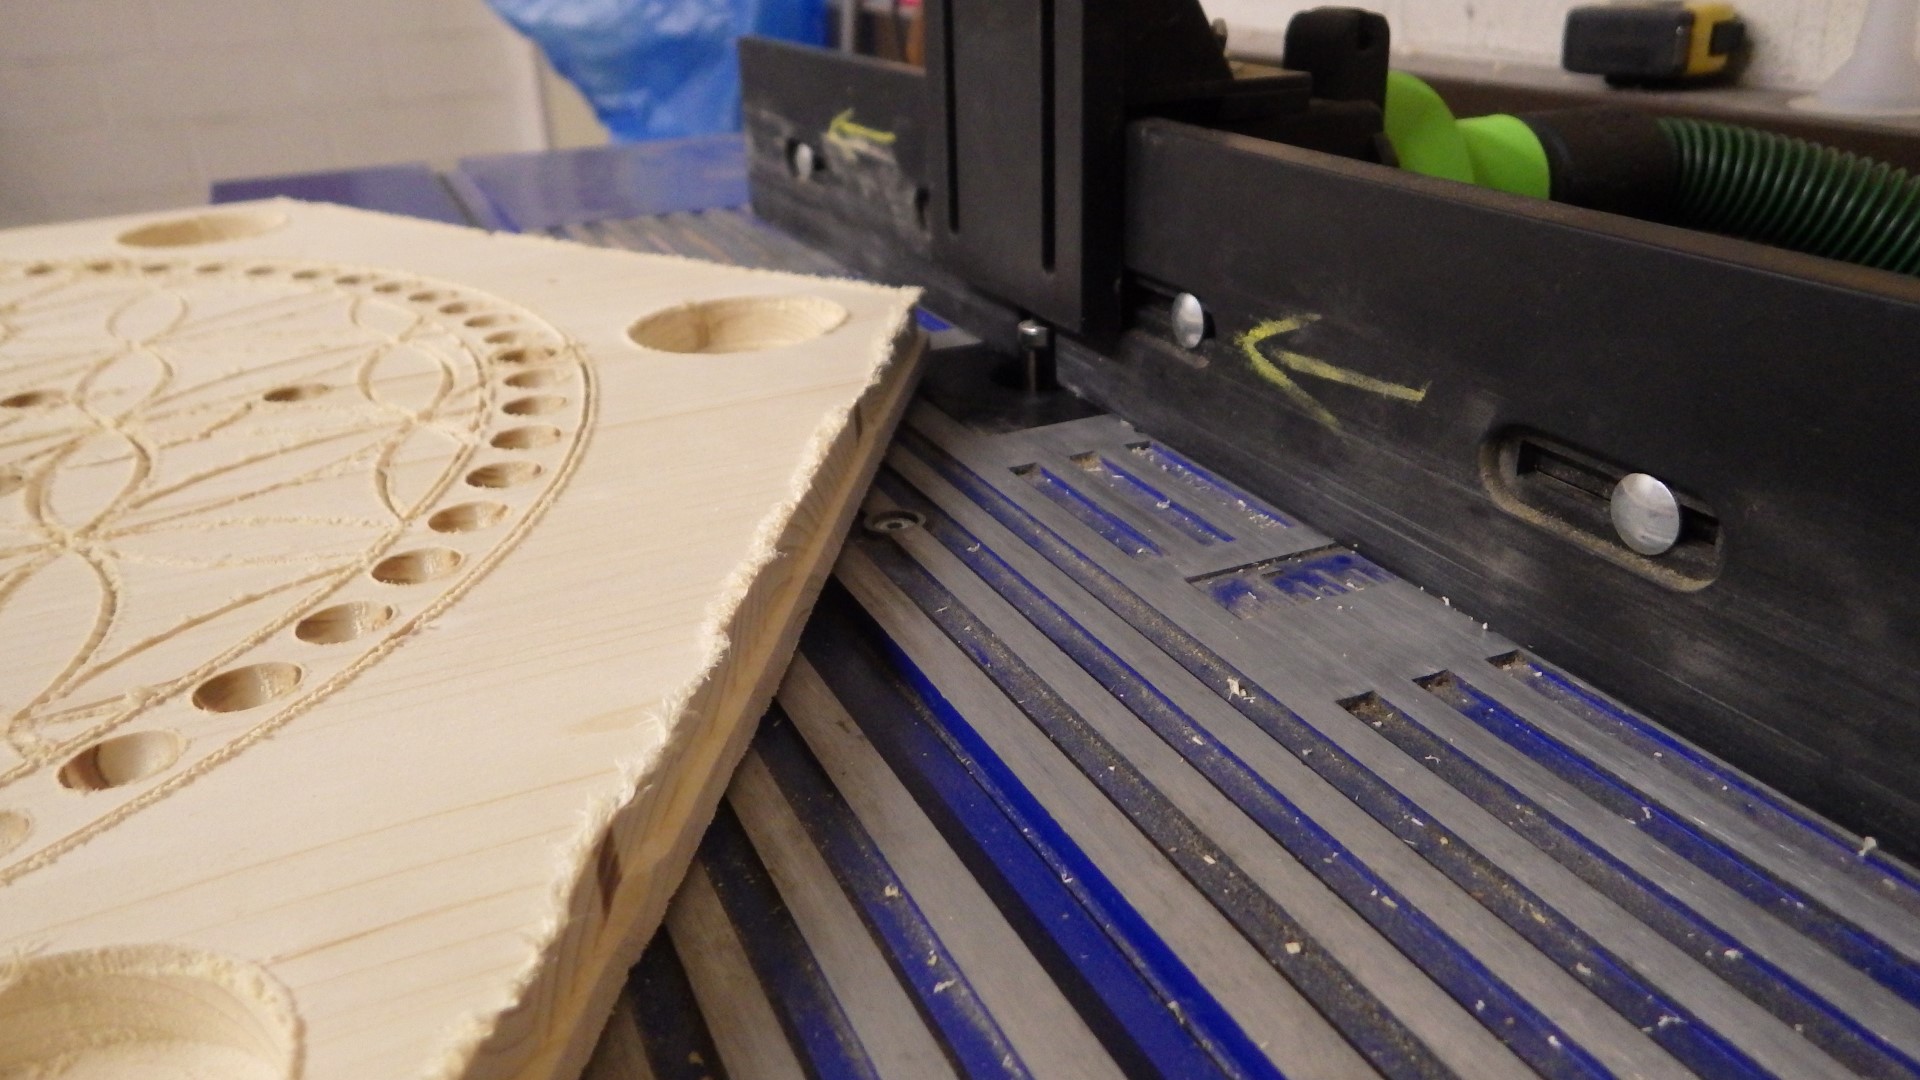
344 KB | Lukas (talk | contribs) | Project:TAC partially routed 6-player board on the WorkBee | 1 |
| 22:35, 4 March 2019 | TAC 04.JPG (file) |  |
321 KB | Lukas (talk | contribs) | Project:TAC on to the full game - design in Fusion 360 | 1 |
| 22:34, 4 March 2019 | TAC 03.JPG (file) |  |
623 KB | Lukas (talk | contribs) | Project:TAC (partially) failed practice piece: one of the tool changes caused the CNC router to move along the X axis - always home after a tool change! | 1 |
| 22:31, 4 March 2019 | TAC 02.JPG (file) |  |
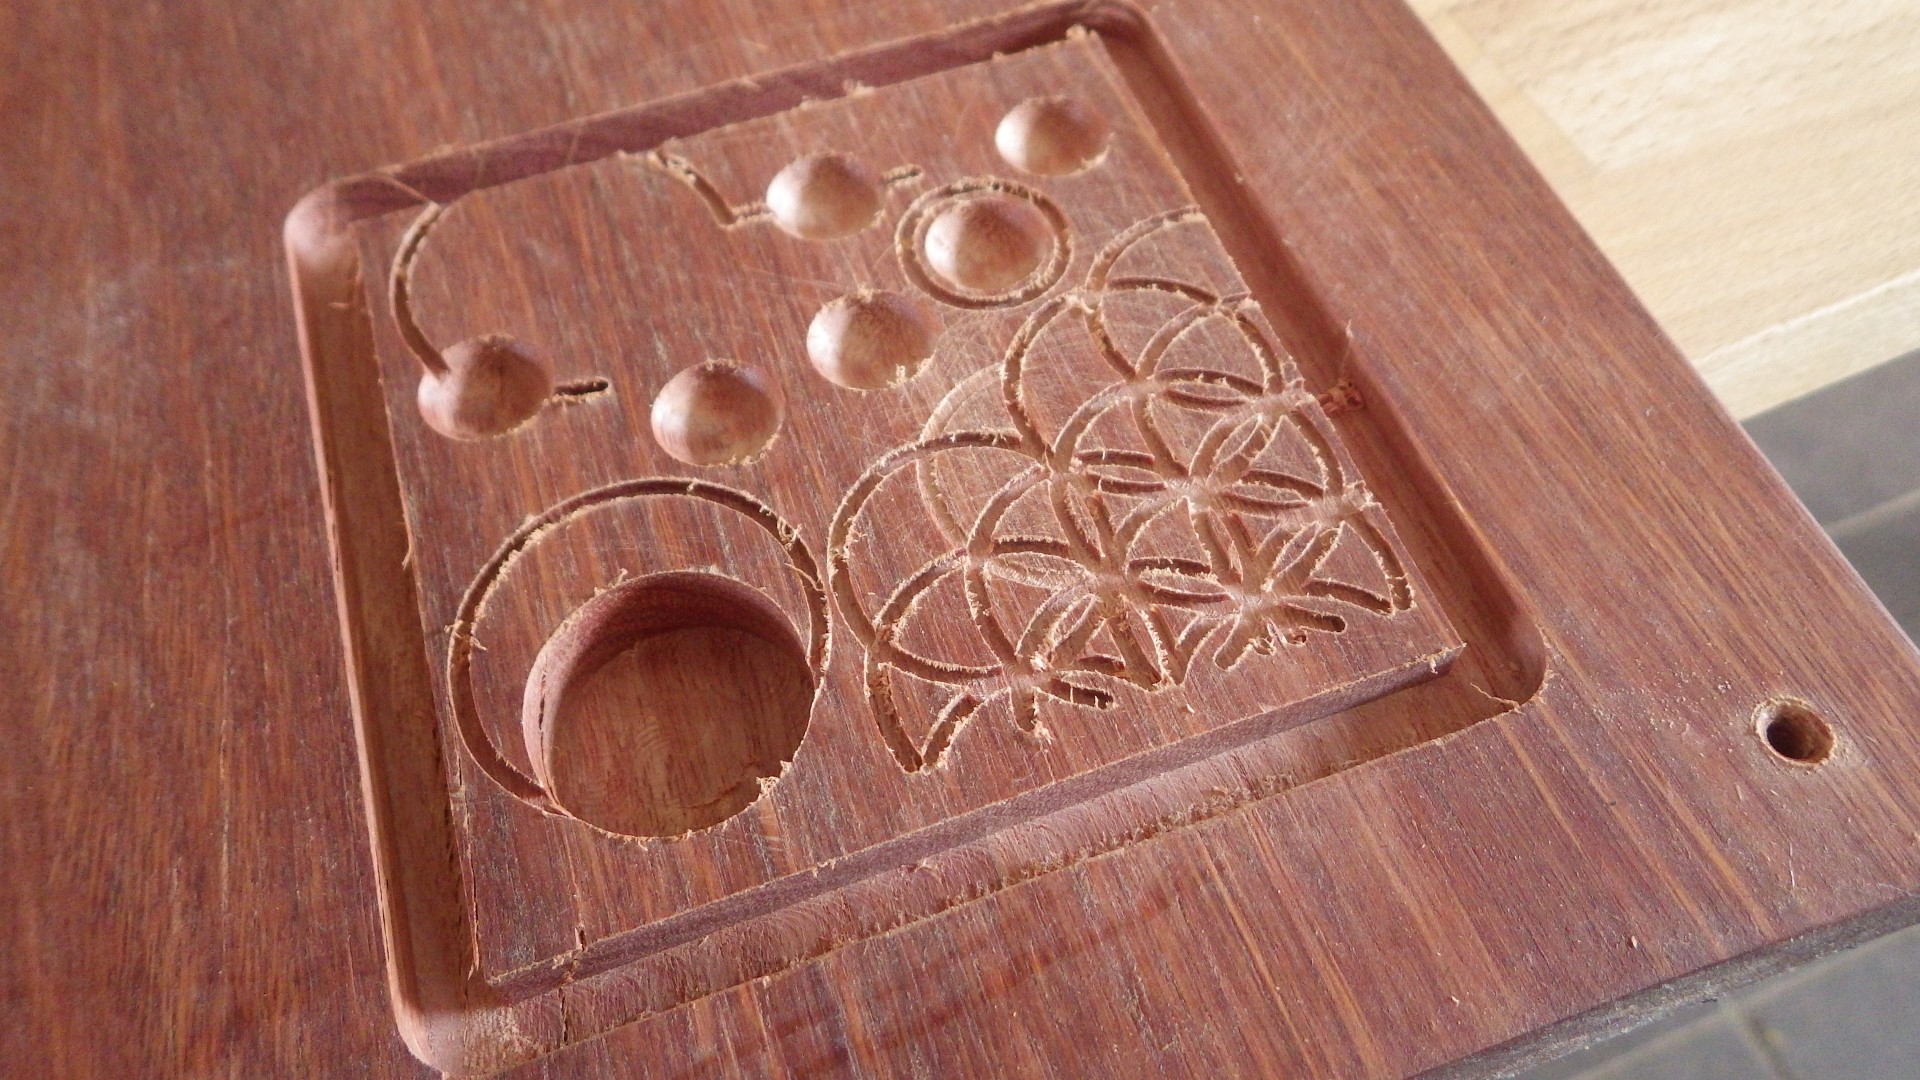
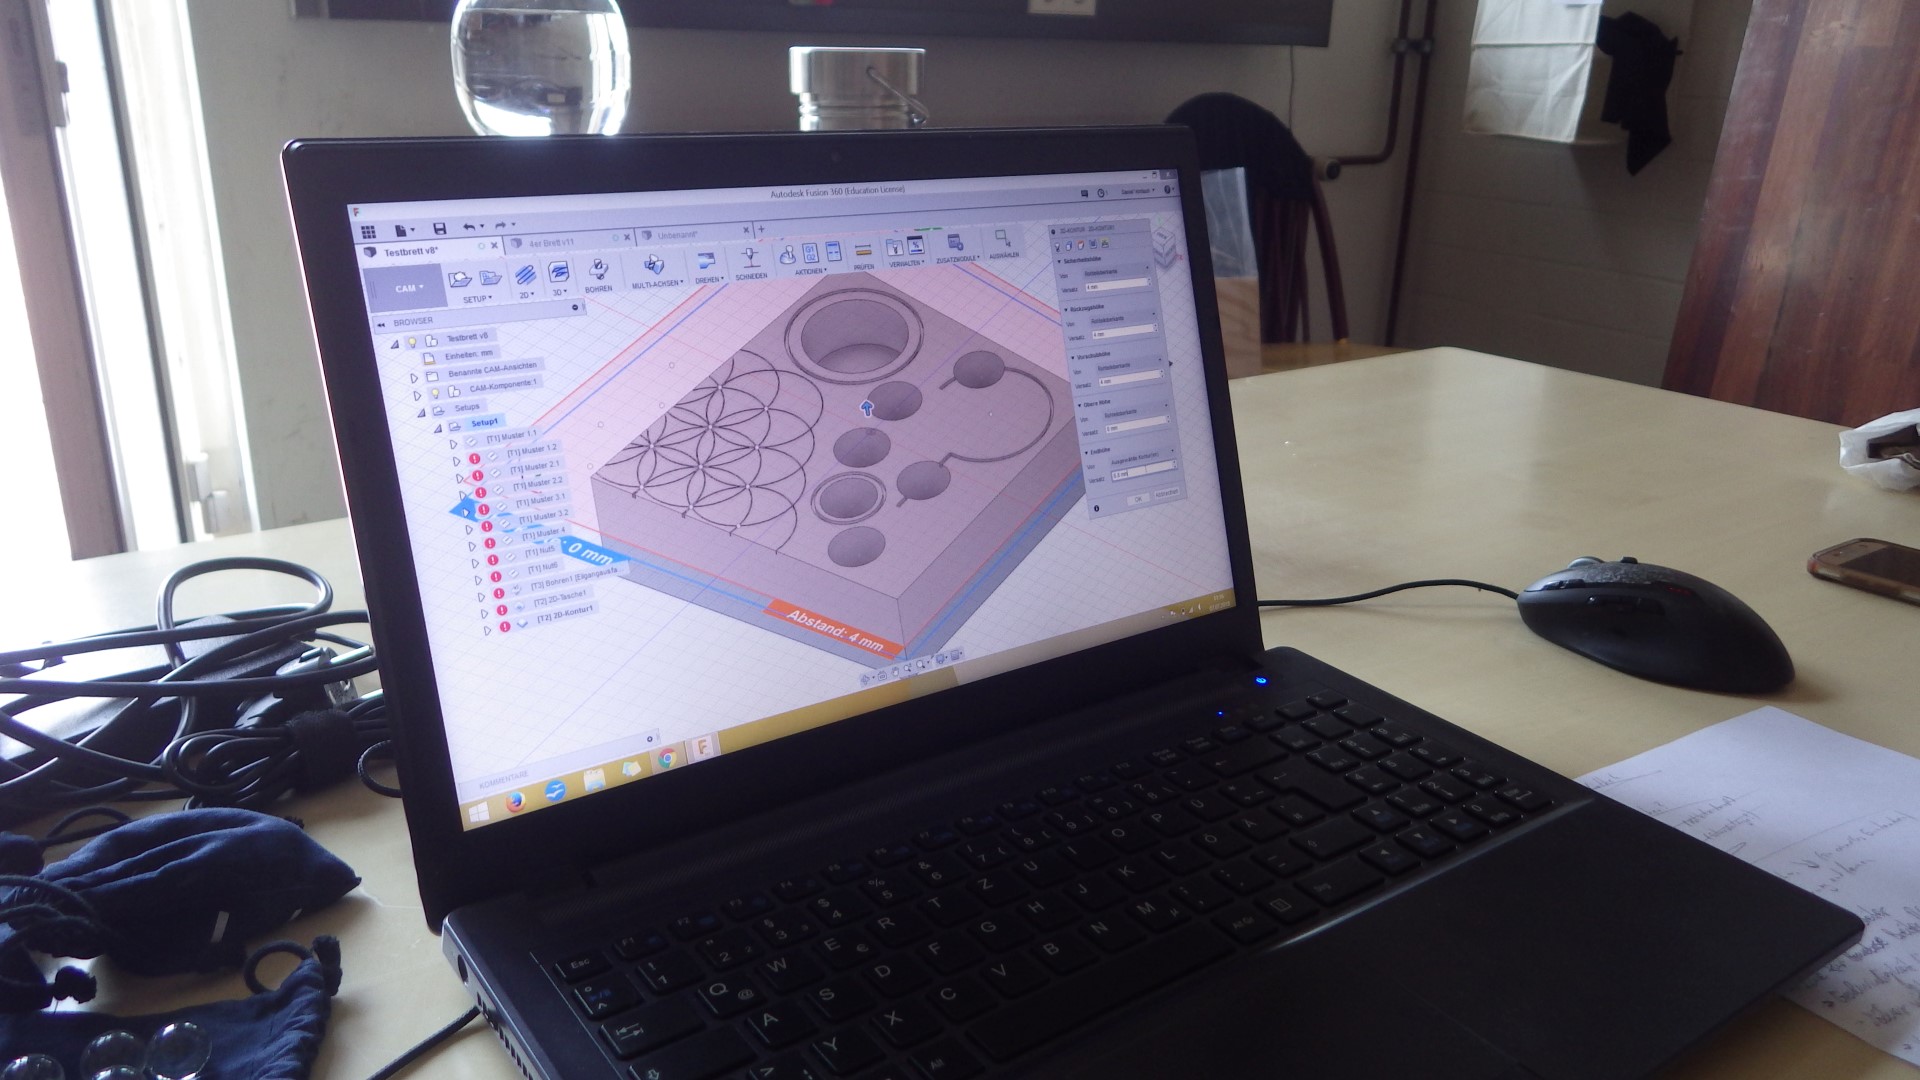
371 KB | Lukas (talk | contribs) | Project:TAC design of a practive piece with all the needed shapes in Fusion 360 | 1 |
| 22:30, 4 March 2019 | TAC 01.JPG (file) |  |
563 KB | Lukas (talk | contribs) | Project:TAC preparing to cut a practice piece from one of our stock boards | 1 |
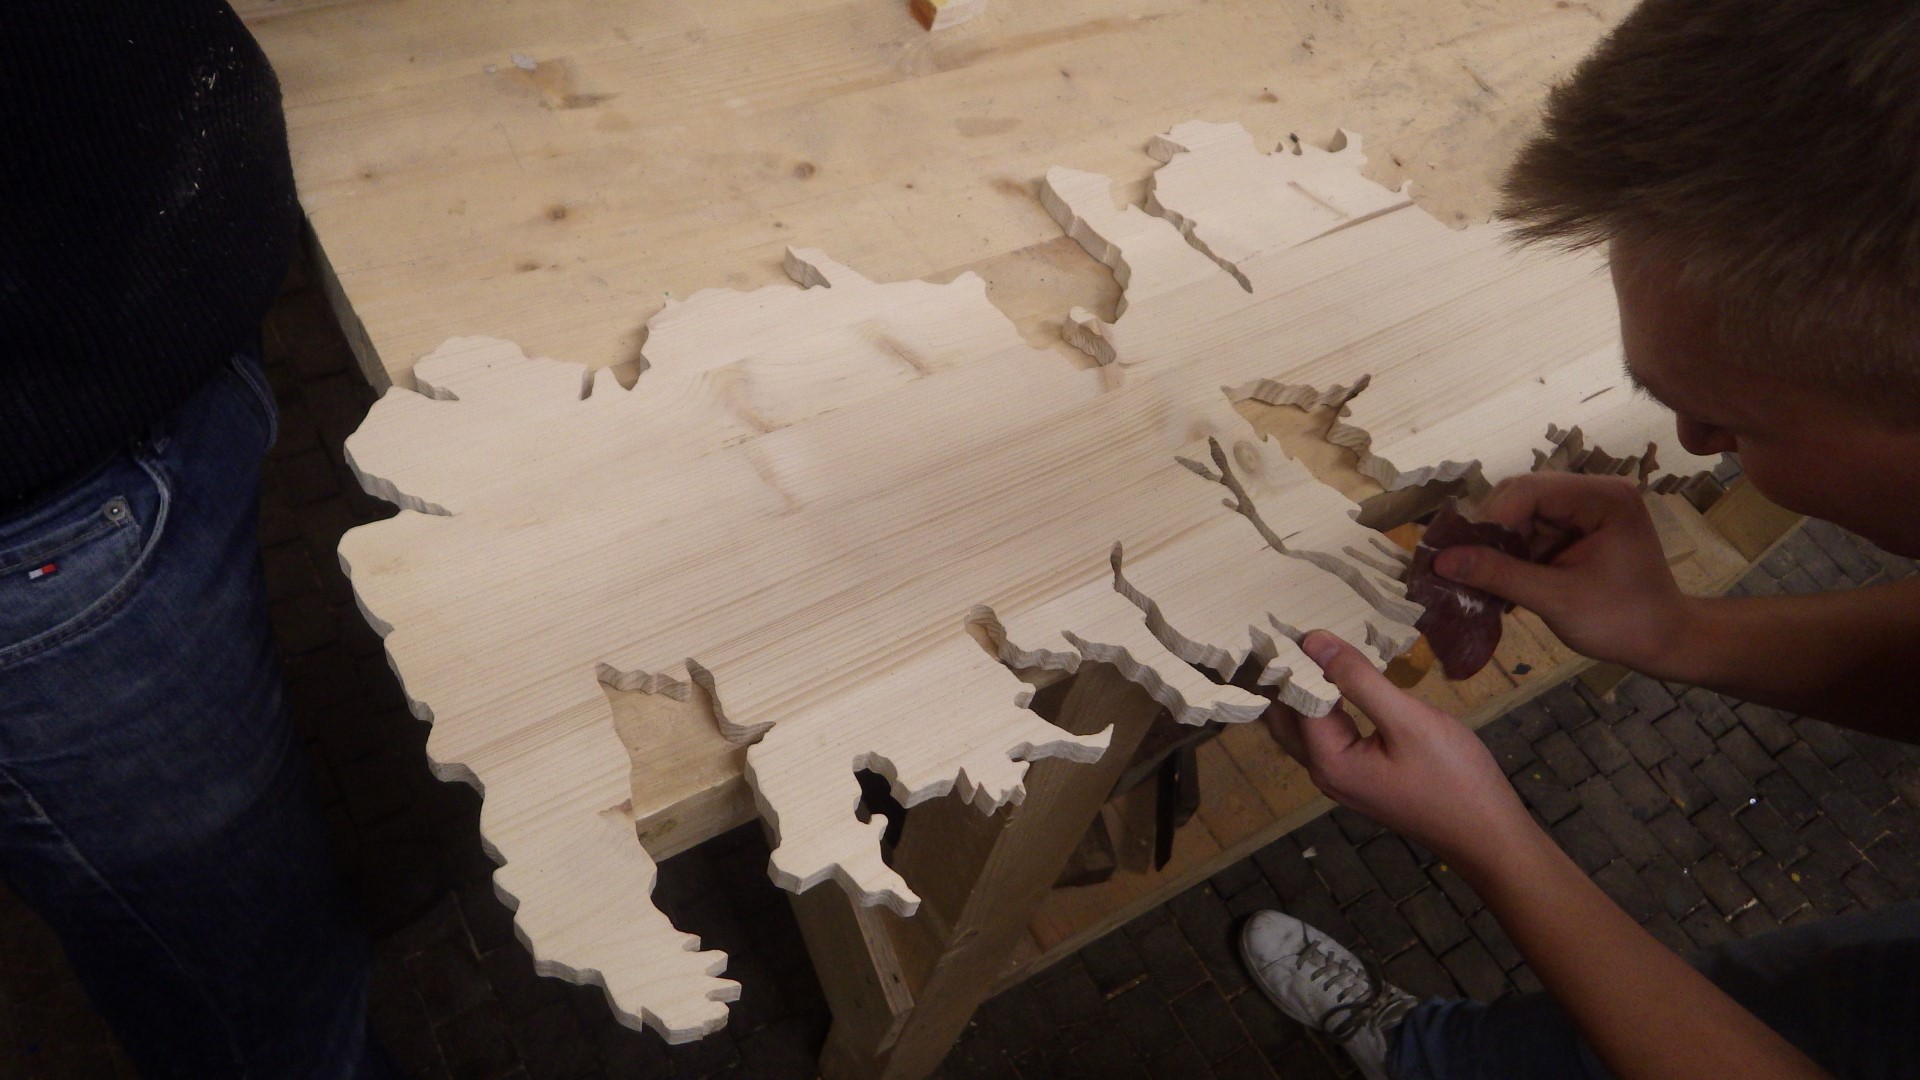
| 15:53, 3 March 2019 | Scrolled Westeros.JPG (file) |  |
375 KB | Lukas (talk | contribs) | the "Game of Thrones" continent of Westeros cut out on the scroll saw - keep in mind that large shapes like this require spiral-toothed blades! | 1 |
| 15:39, 3 March 2019 | Sawblade cleaning 5.JPG (file) |  |
297 KB | Lukas (talk | contribs) | how to clean circular saw blades, step 5: done! now try whether the blade cuts well again, otherwise please report it :-) | 1 |
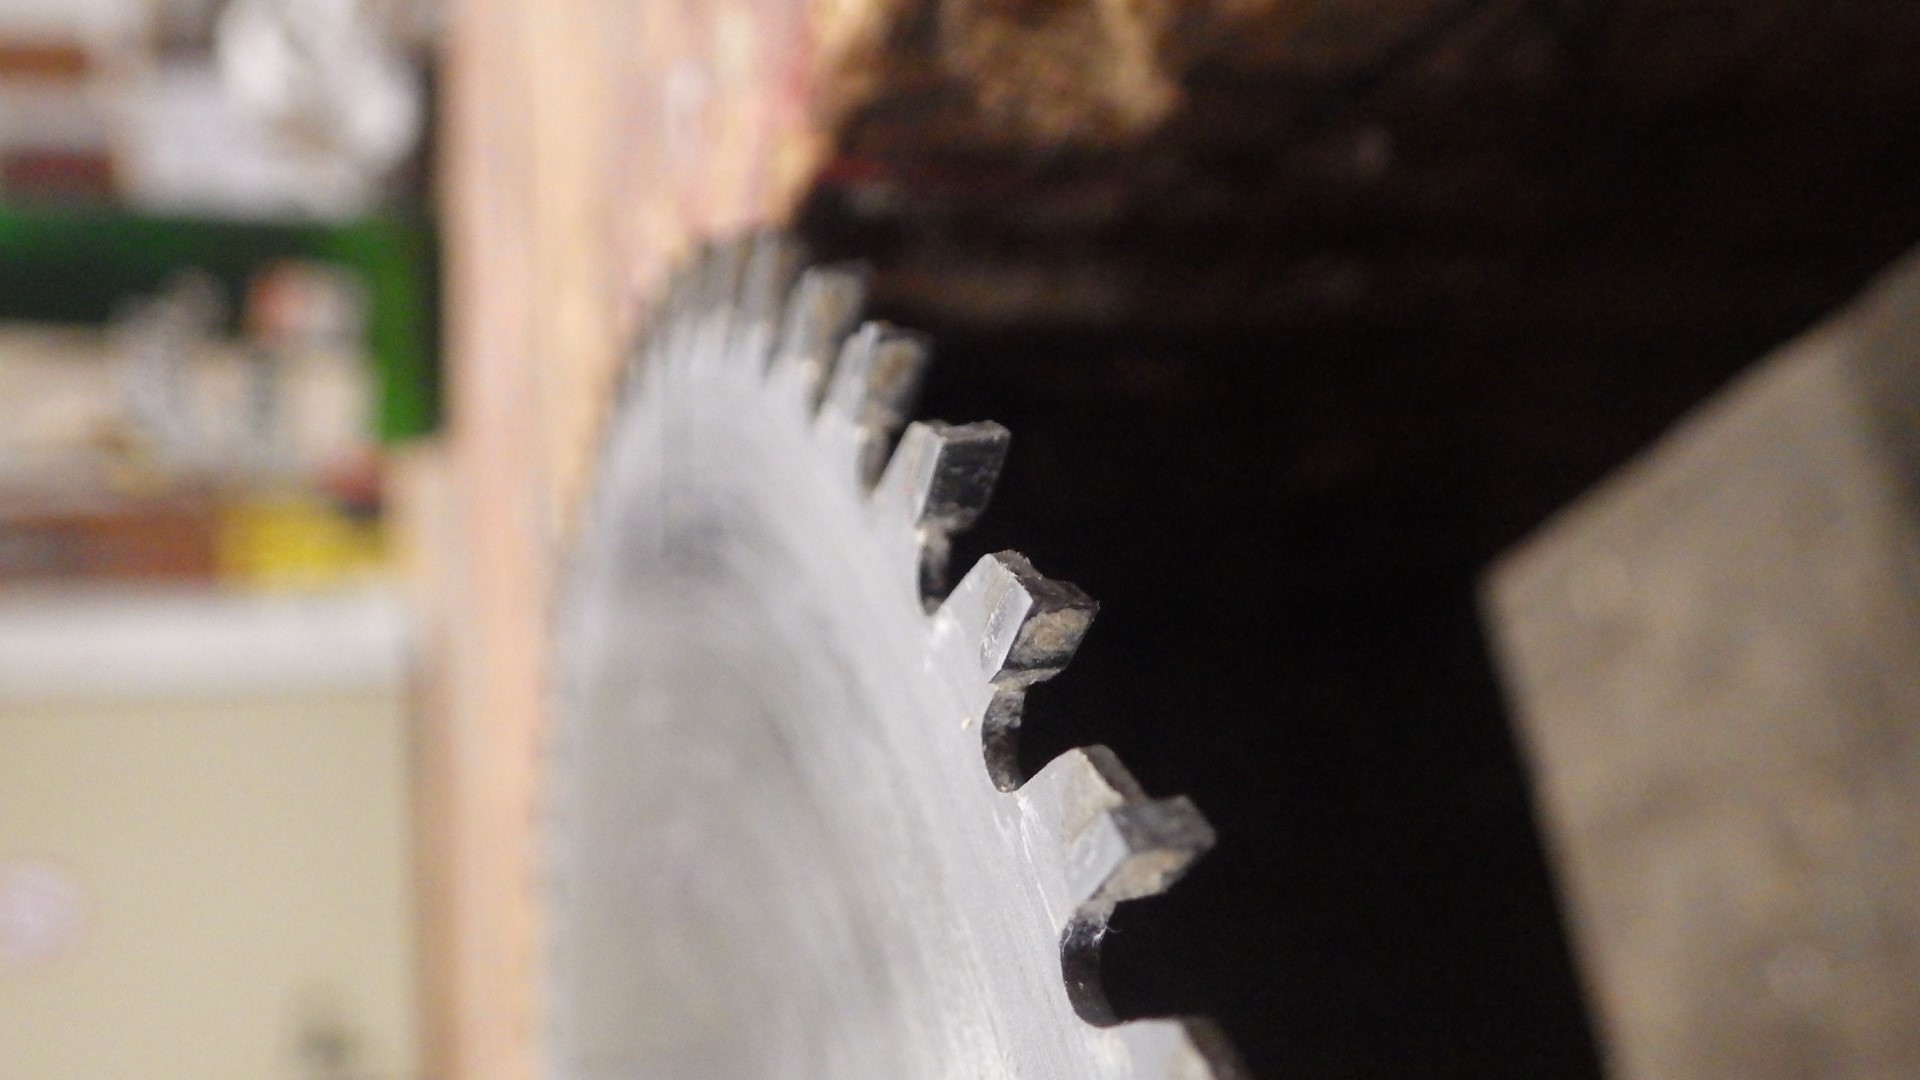
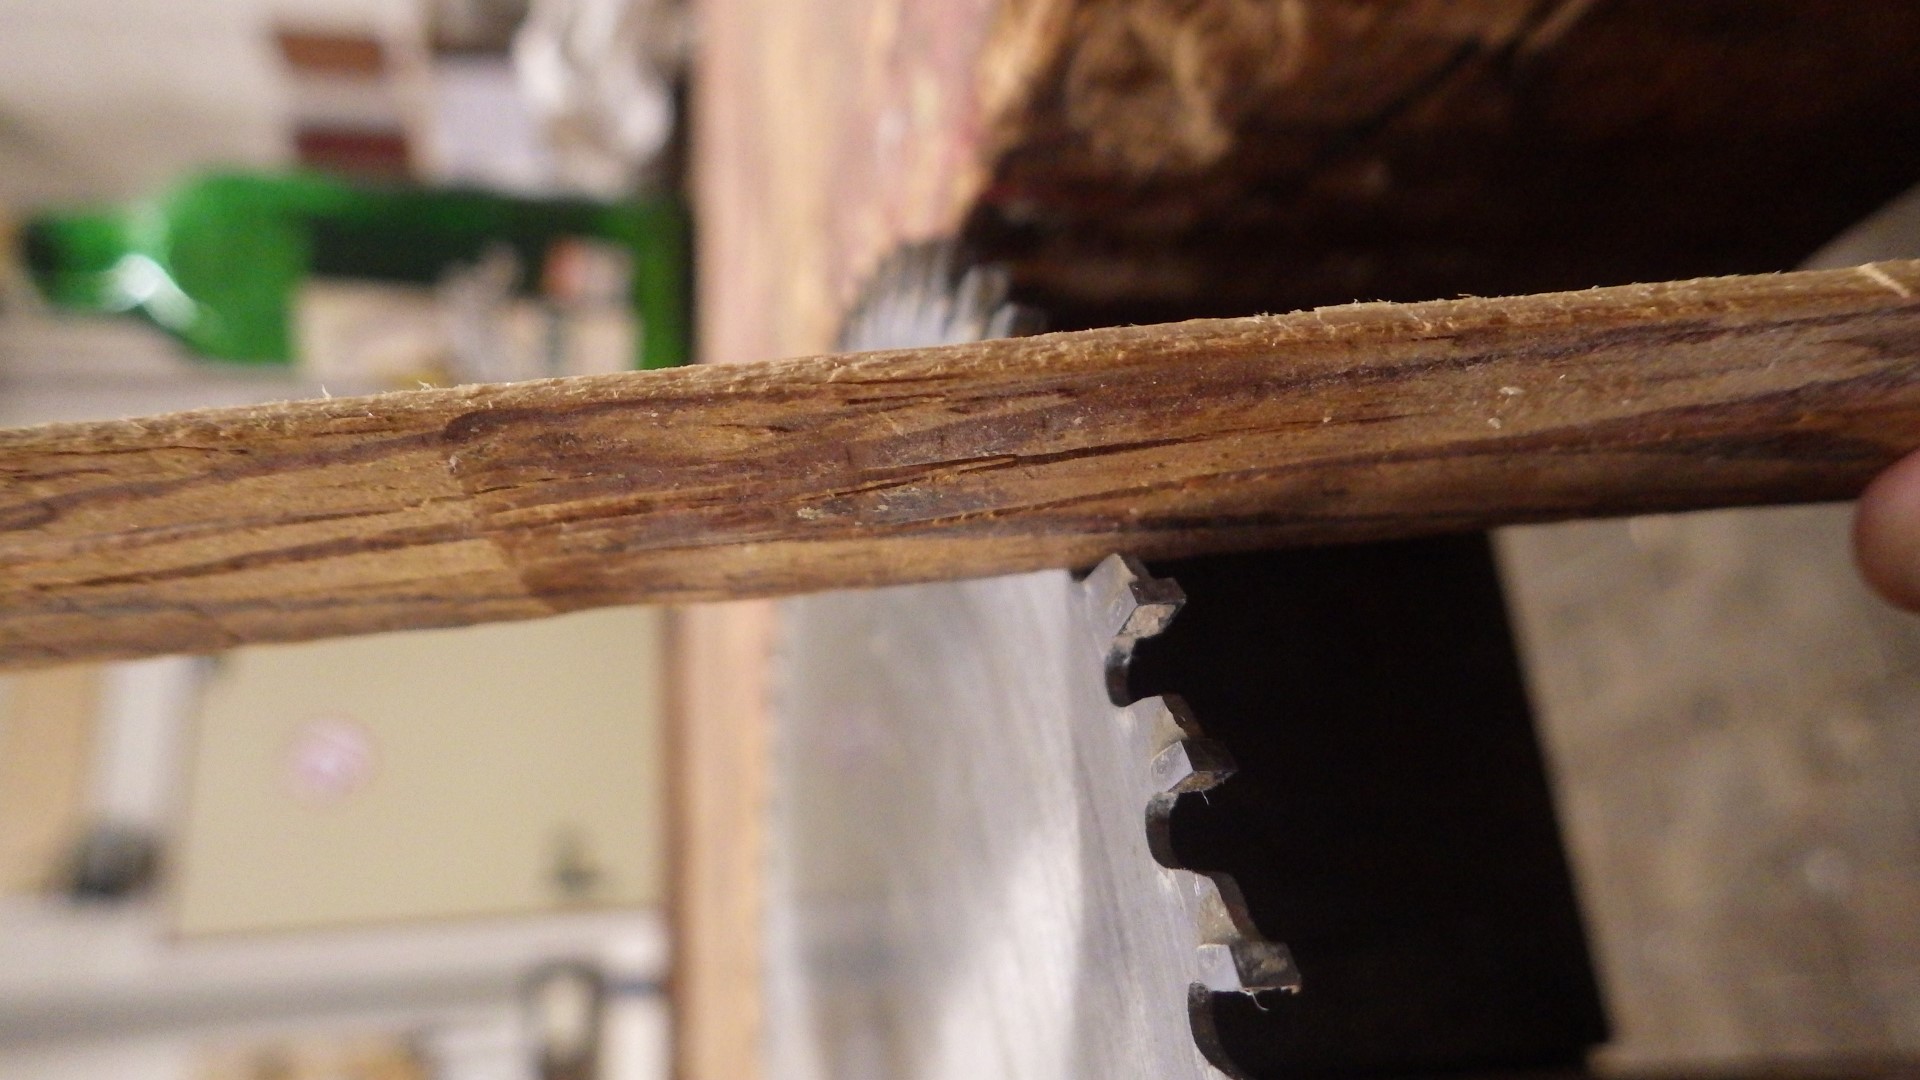
| 15:38, 3 March 2019 | Sawblade cleaning 4.JPG (file) |  |
380 KB | Lukas (talk | contribs) | how to clean circular saw blades, step 4: clean the tooth faces with something narrow but stable, e.g. a thin strip of scrap wood | 1 |
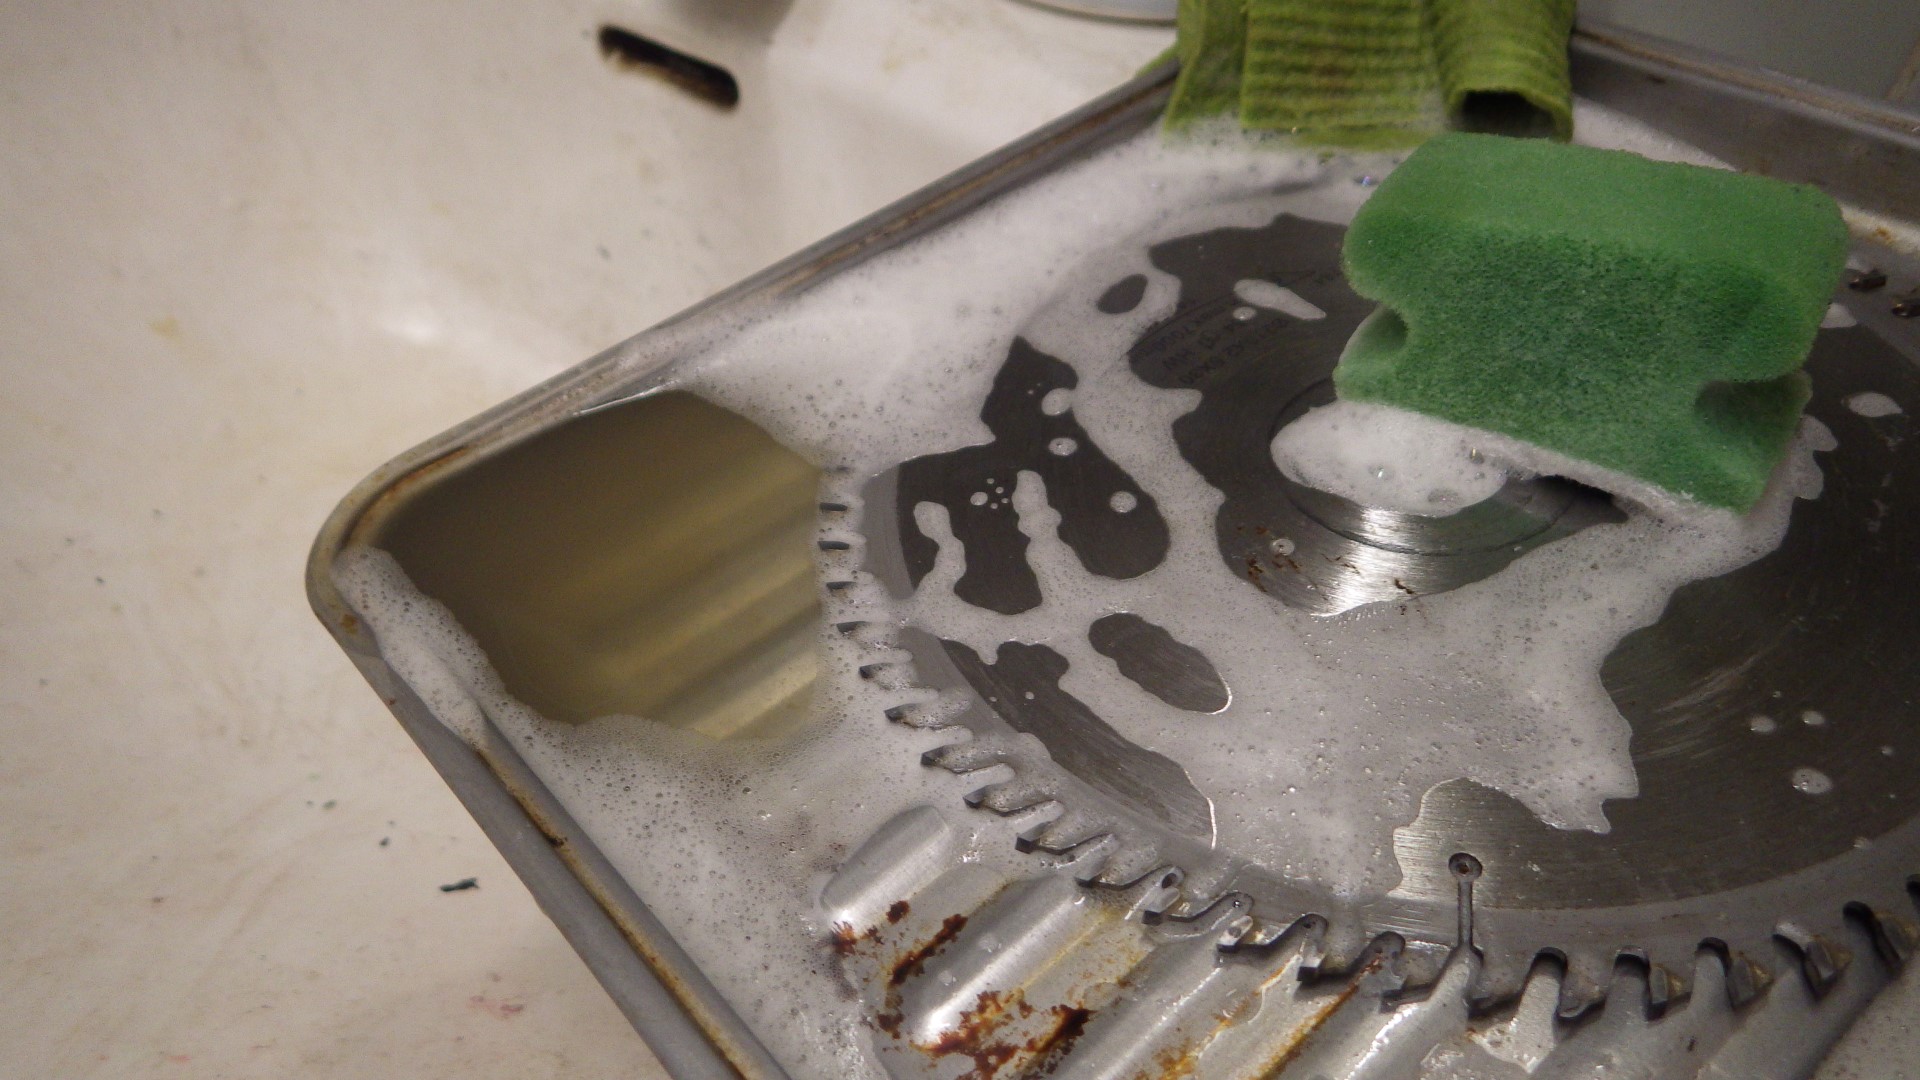
| 15:36, 3 March 2019 | Sawblade cleaning 3.JPG (file) |  |
440 KB | Lukas (talk | contribs) | how to clean circular saw blades, step 3: scrub off the gunk with the rough side of a sponge | 1 |
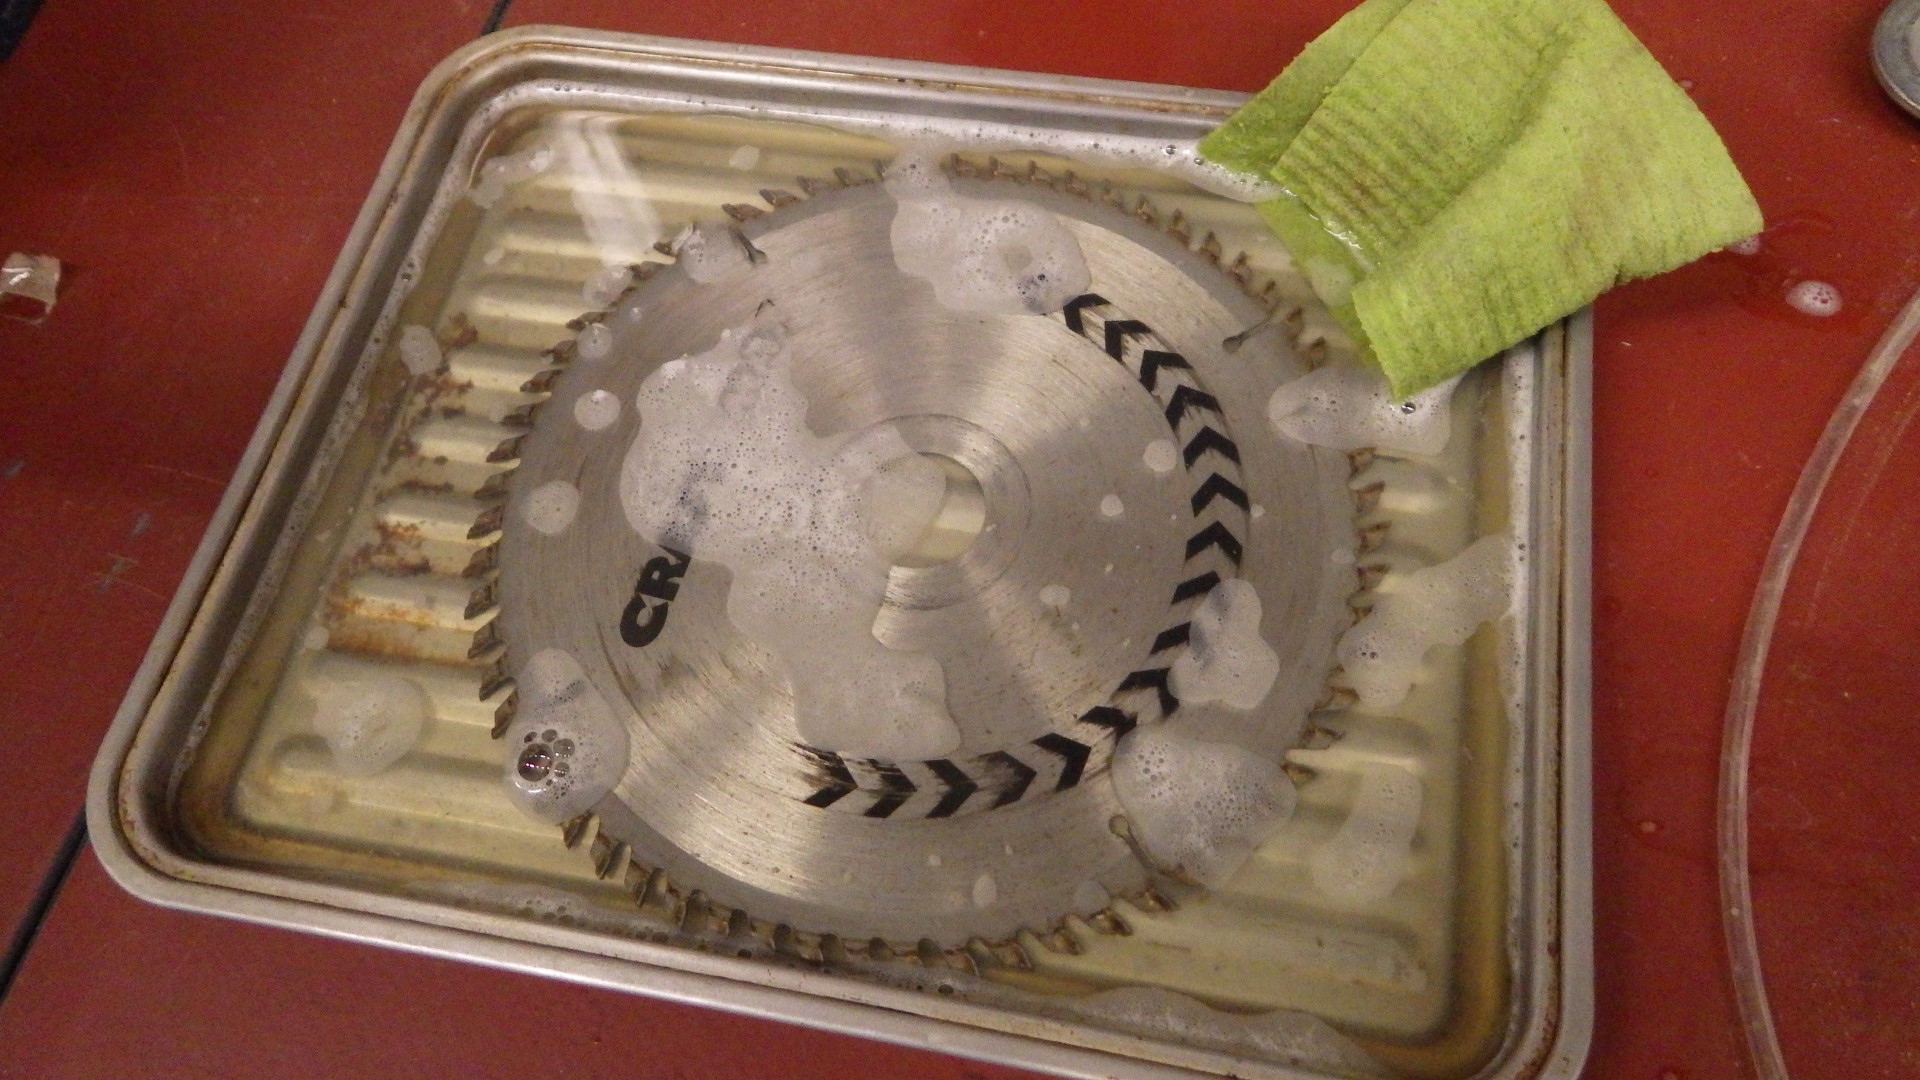
| 15:35, 3 March 2019 | Sawblade cleaning 2.JPG (file) |  |
538 KB | Lukas (talk | contribs) | how to clean circular saw blades, step 2: let the blade soak in the water/cleaner solution for a while | 1 |
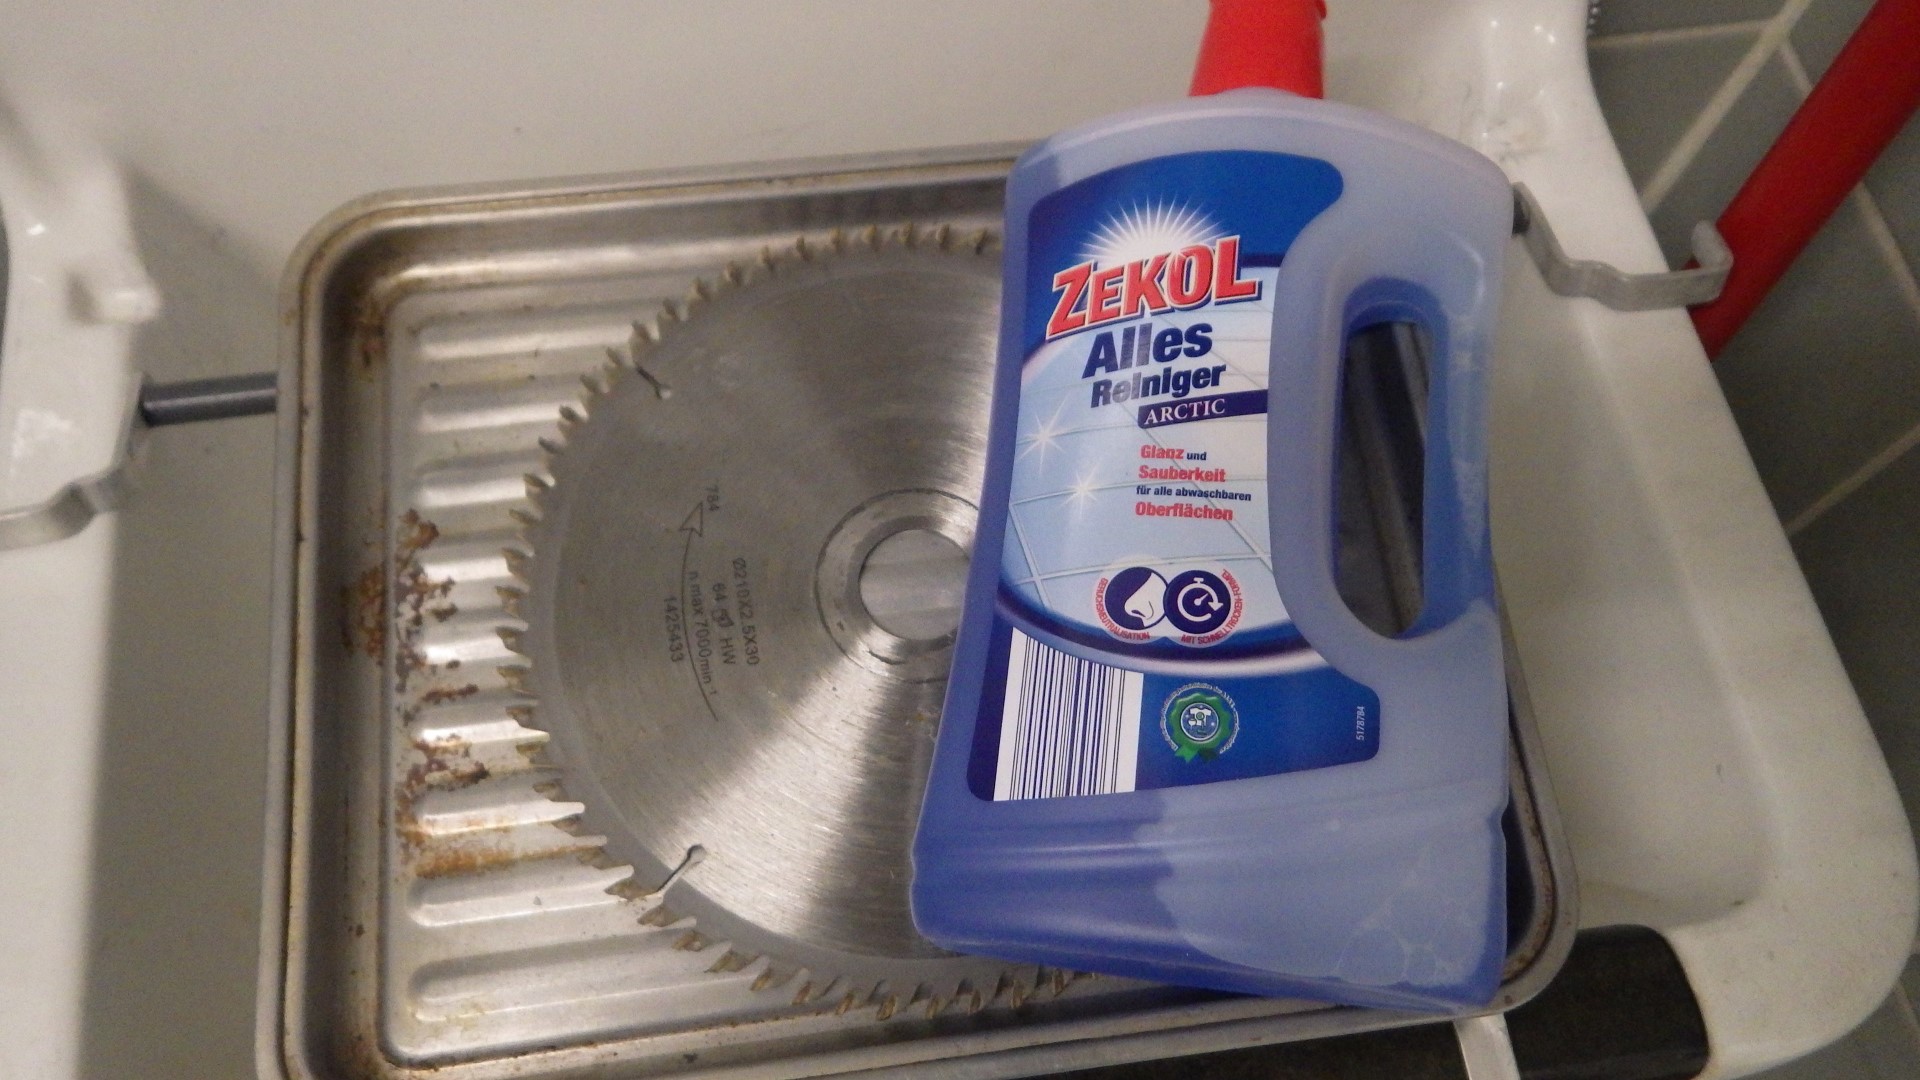
| 15:32, 3 March 2019 | Sawblade cleaning 1.JPG (file) |  |
444 KB | Lukas (talk | contribs) | how to clean circular saw blades, step 1: prepare an appropriate-sized container with (hot) water and cleaning agent | 1 |
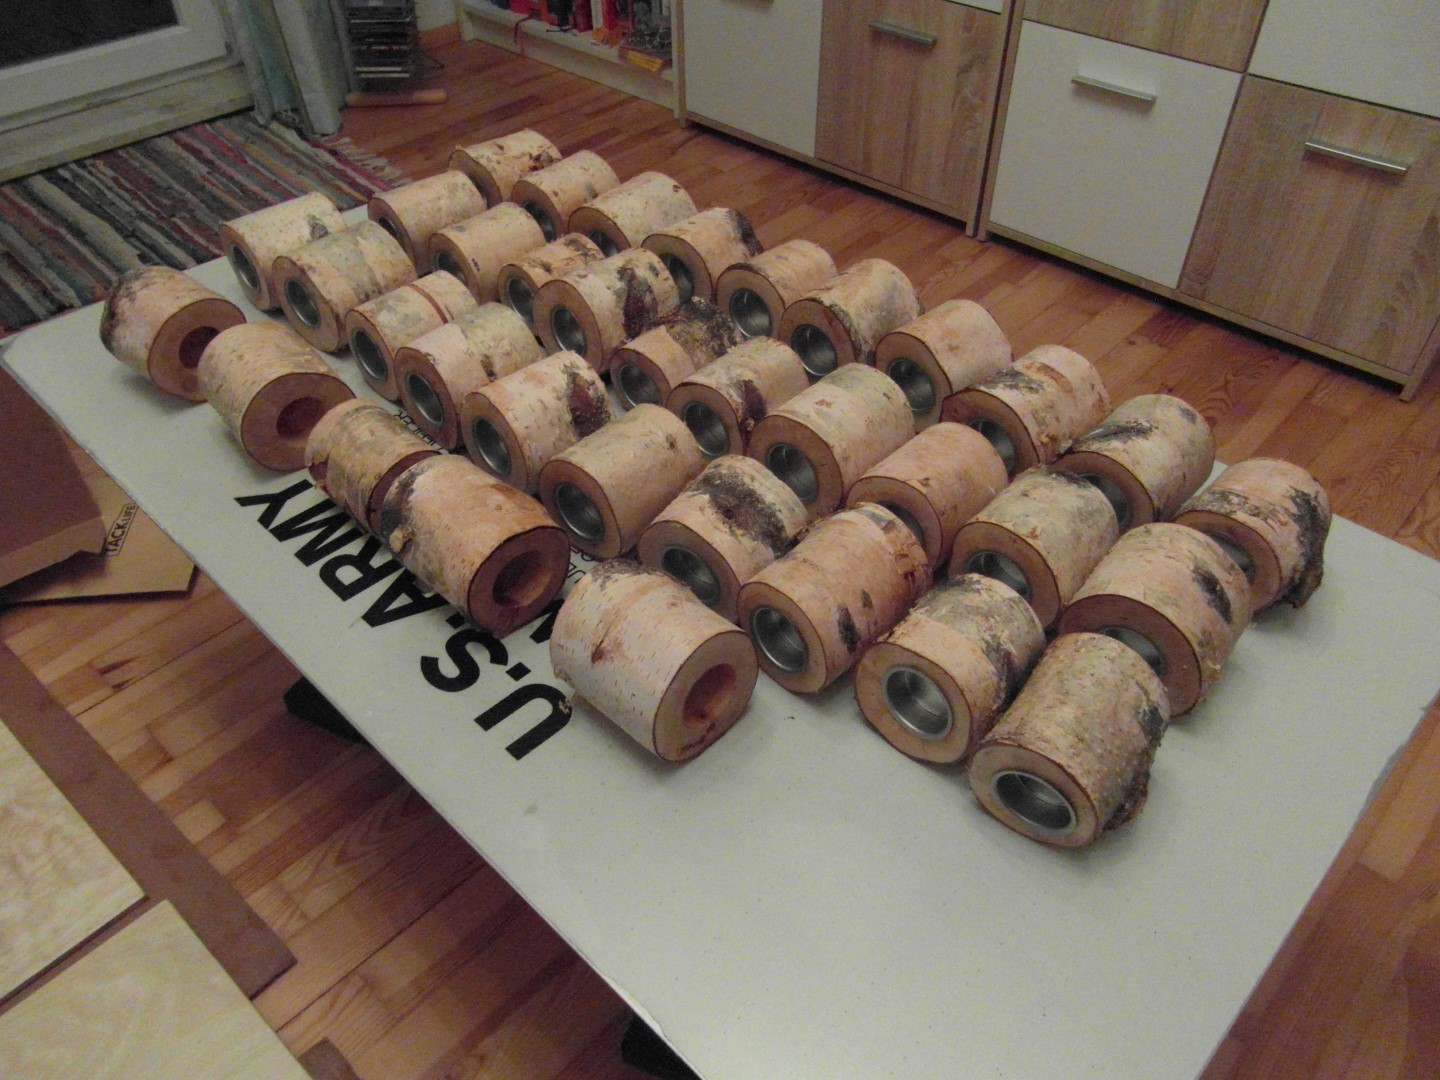
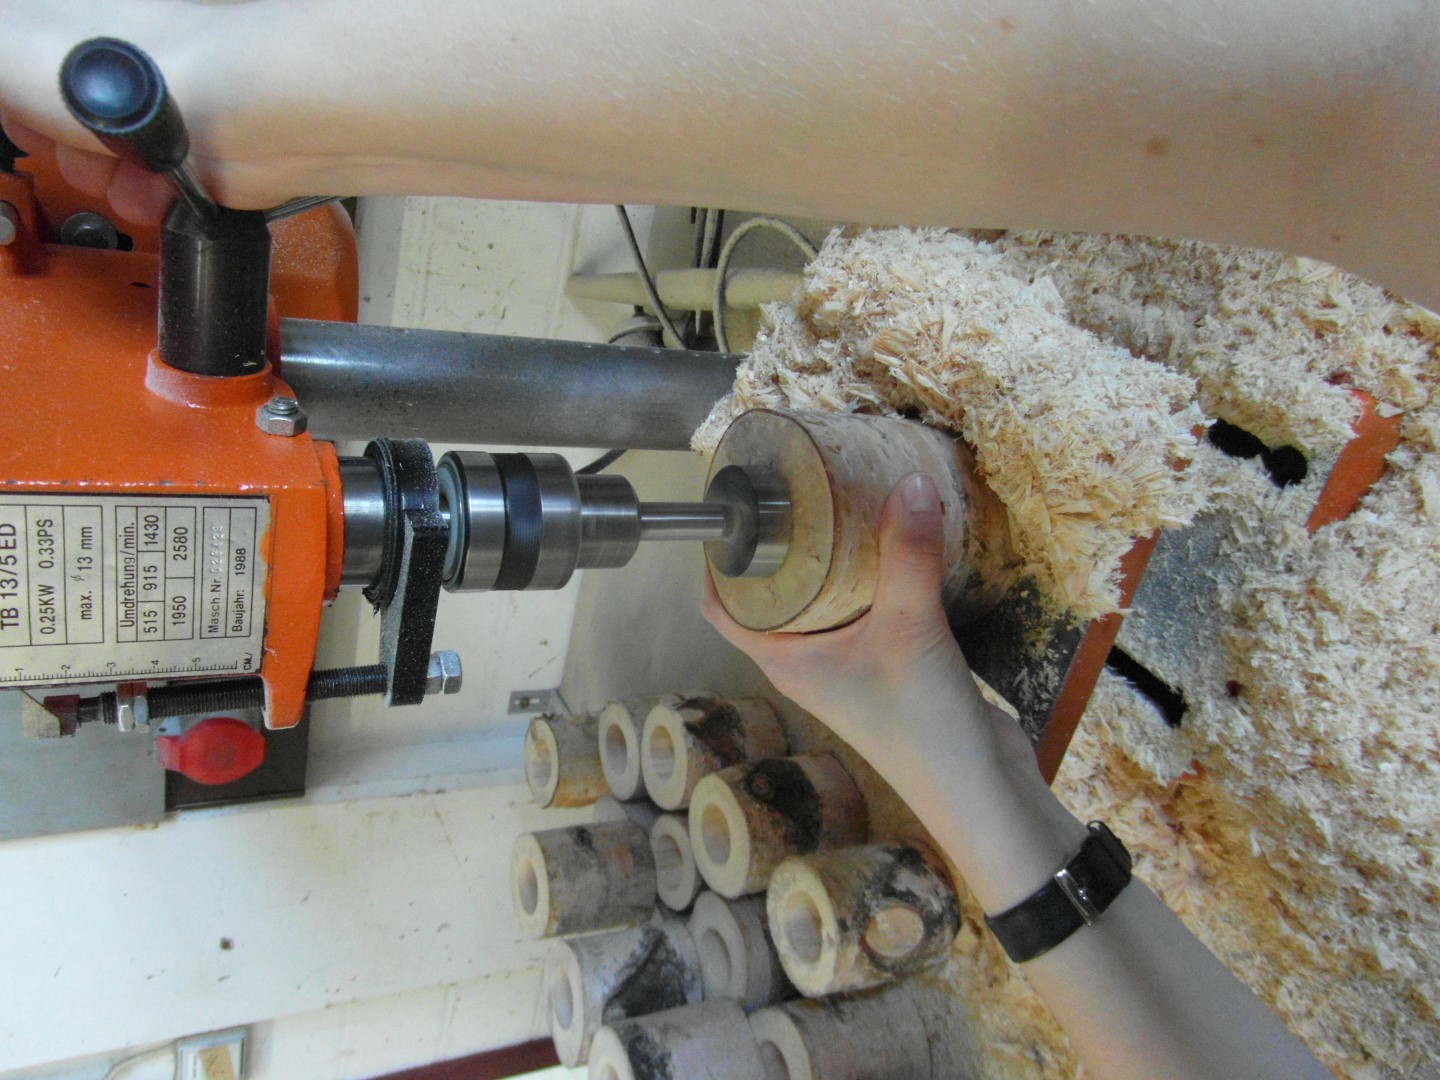
| 23:21, 2 March 2019 | Birch tealights 12.JPG (file) |  |
376 KB | Lukas (talk | contribs) | Project:Tree Trunk Tealights further drying - important: insert the steel cups early so the logs shrink around them, not too far! | 1 |
| 23:19, 2 March 2019 | Birch tealights 11.JPG (file) |  |
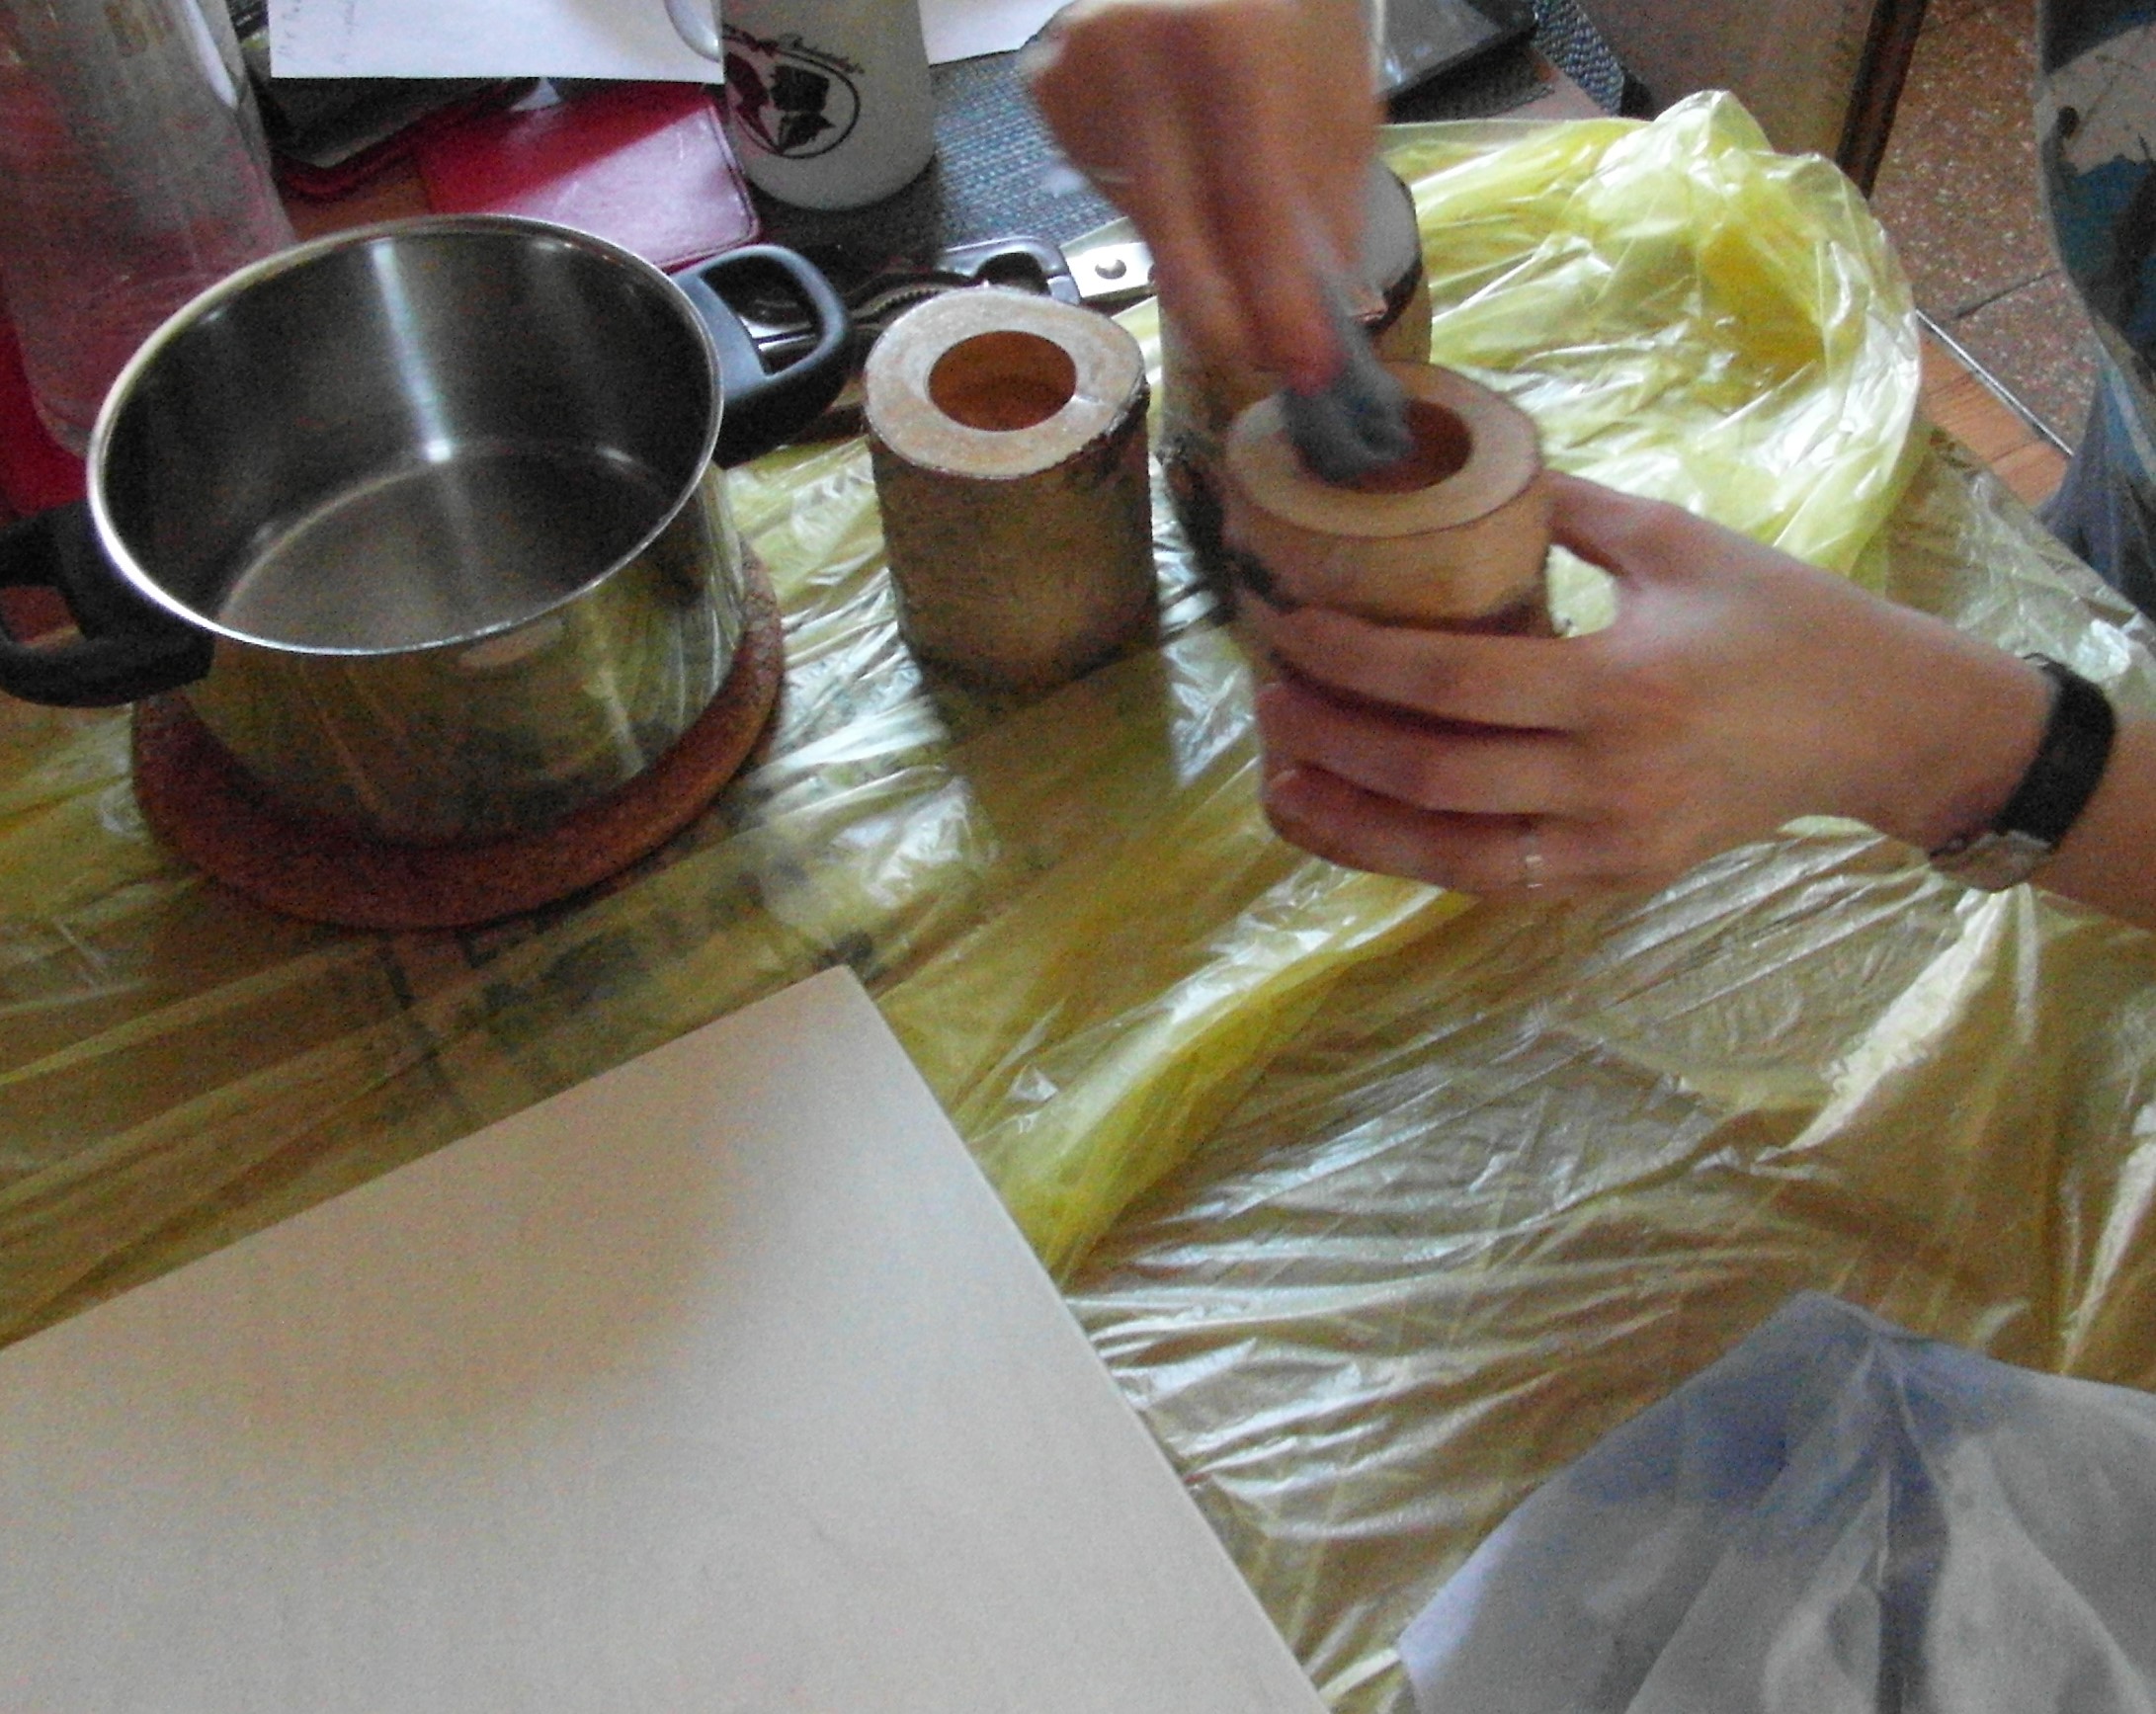
774 KB | Lukas (talk | contribs) | Project:Tree Trunk Tealights after shaping, the ends were finished with coconut oil | 1 |
| 23:16, 2 March 2019 | Birch tealights 10.JPG (file) |  |
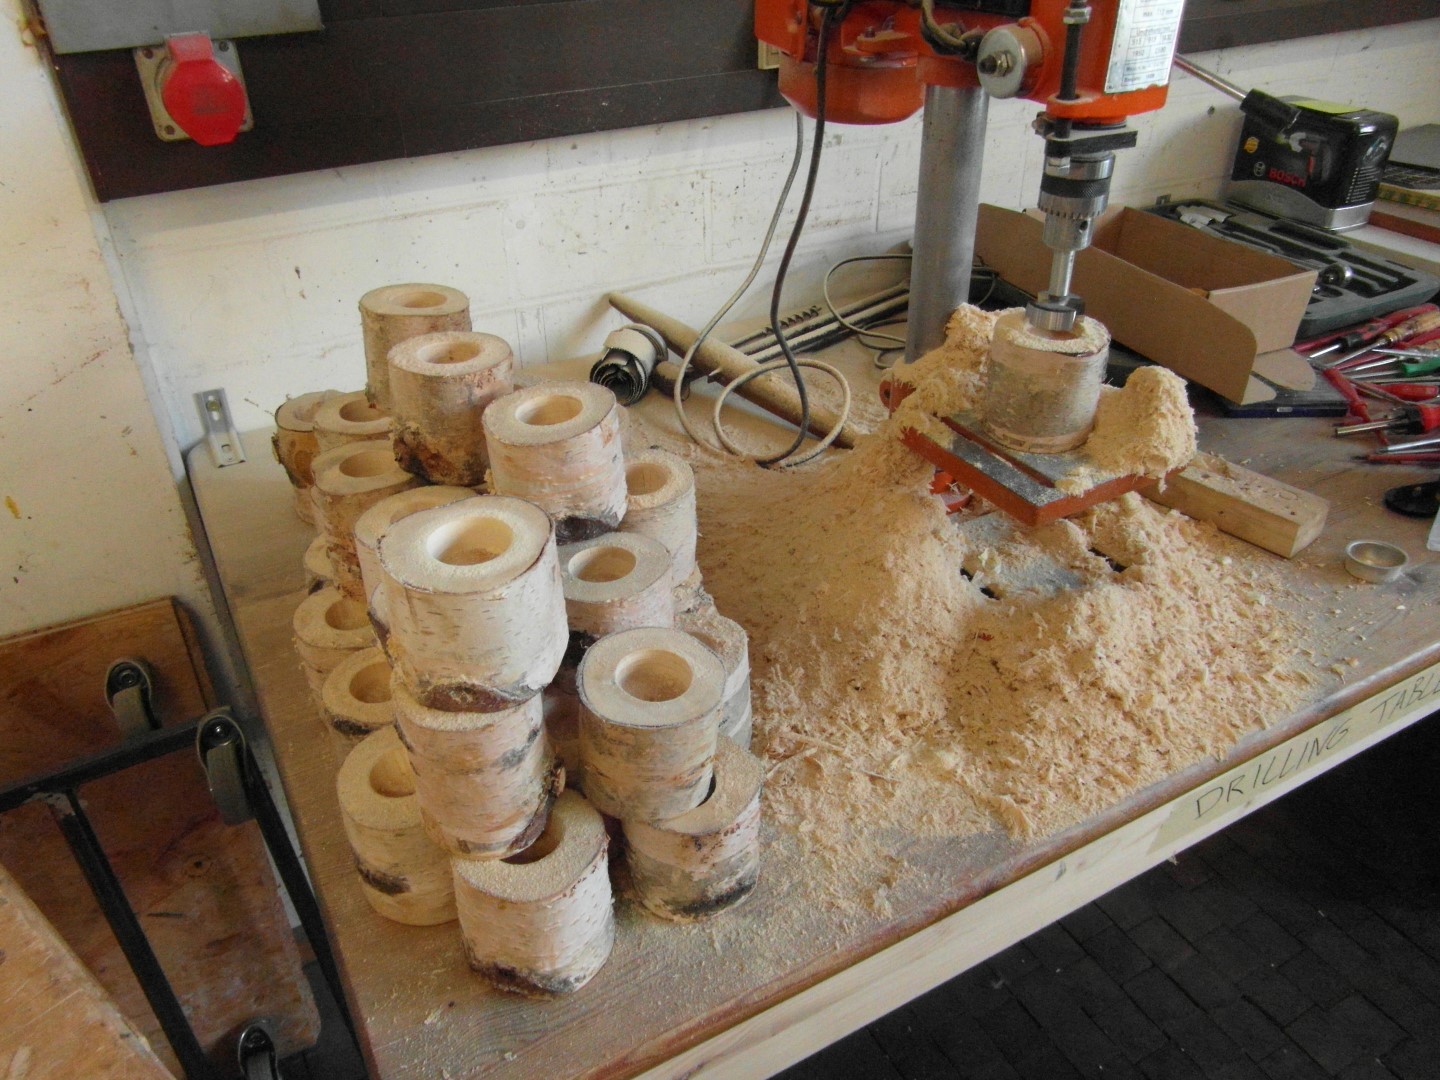
405 KB | Lukas (talk | contribs) | Project:Tree Trunk Tealights more drilling...so good to have a drill press available! | 1 |
| 23:08, 2 March 2019 | Birch tealights 09.JPG (file) |  |
372 KB | Lukas (talk | contribs) | Project:Tree Trunk Tealights after the logs finally seemed dry enough to stop supporting mold, holes could be drilled with a large Forstner bit | 1 |
| 09:55, 24 February 2019 | Birch tealights 08.JPG (file) |  |
291 KB | Lukas (talk | contribs) | Project:Tree Trunk Tealights there was still a bit of new mold after all the efforts, but it was easily sanded off by hand on a clamped-down piece of sandpaper | 1 |
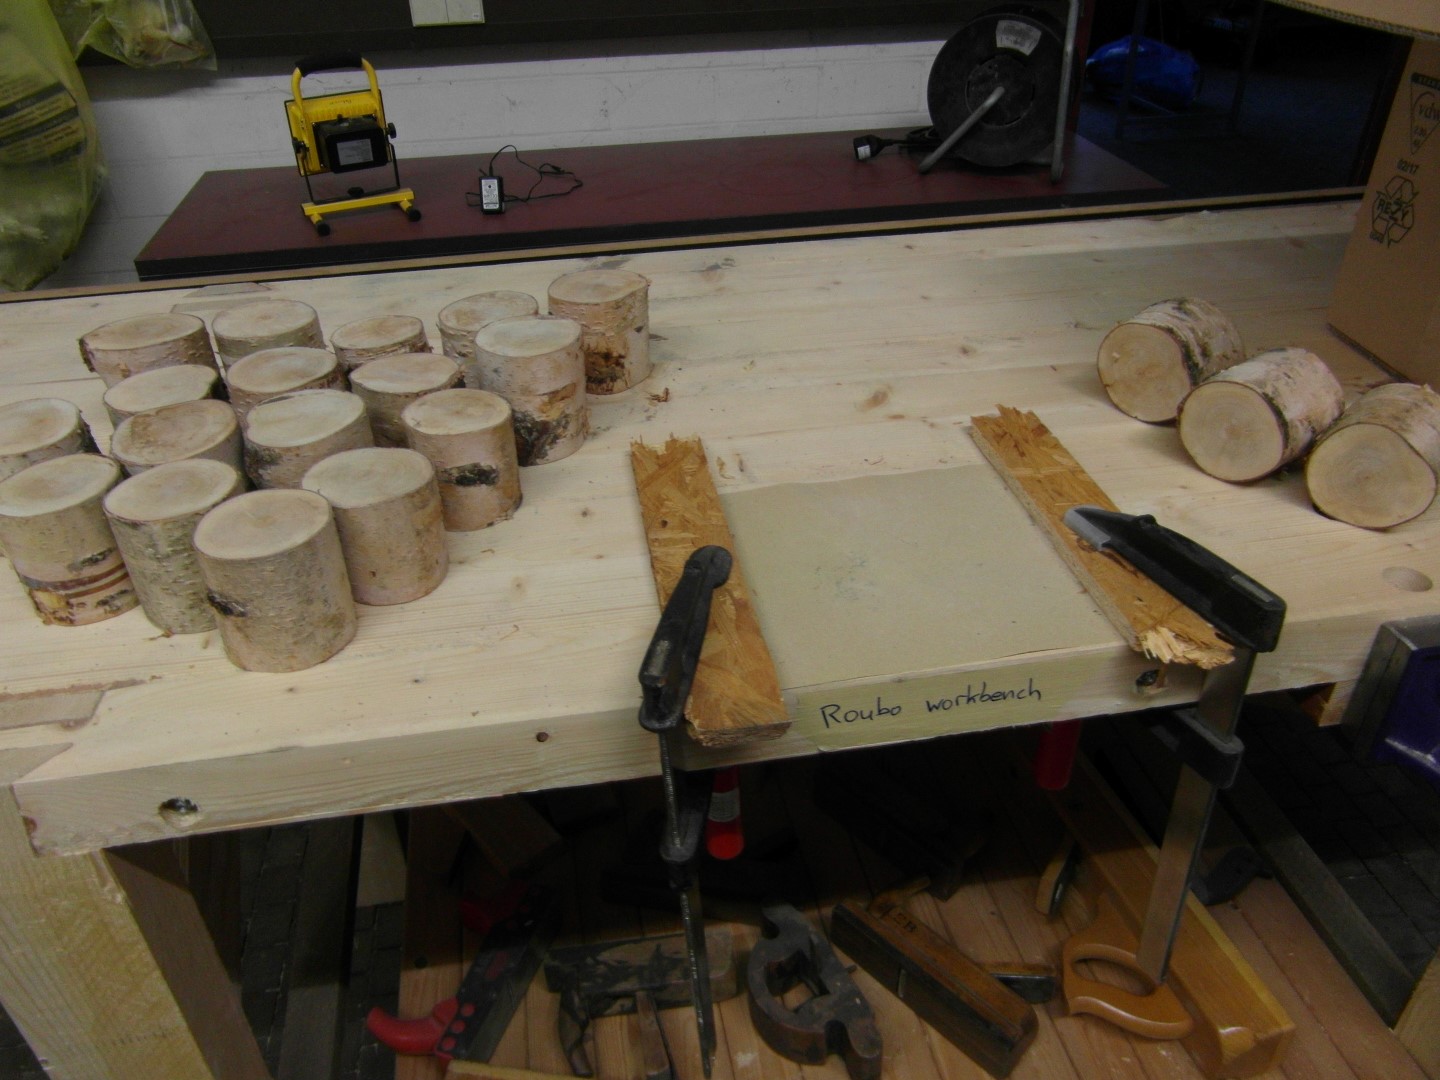
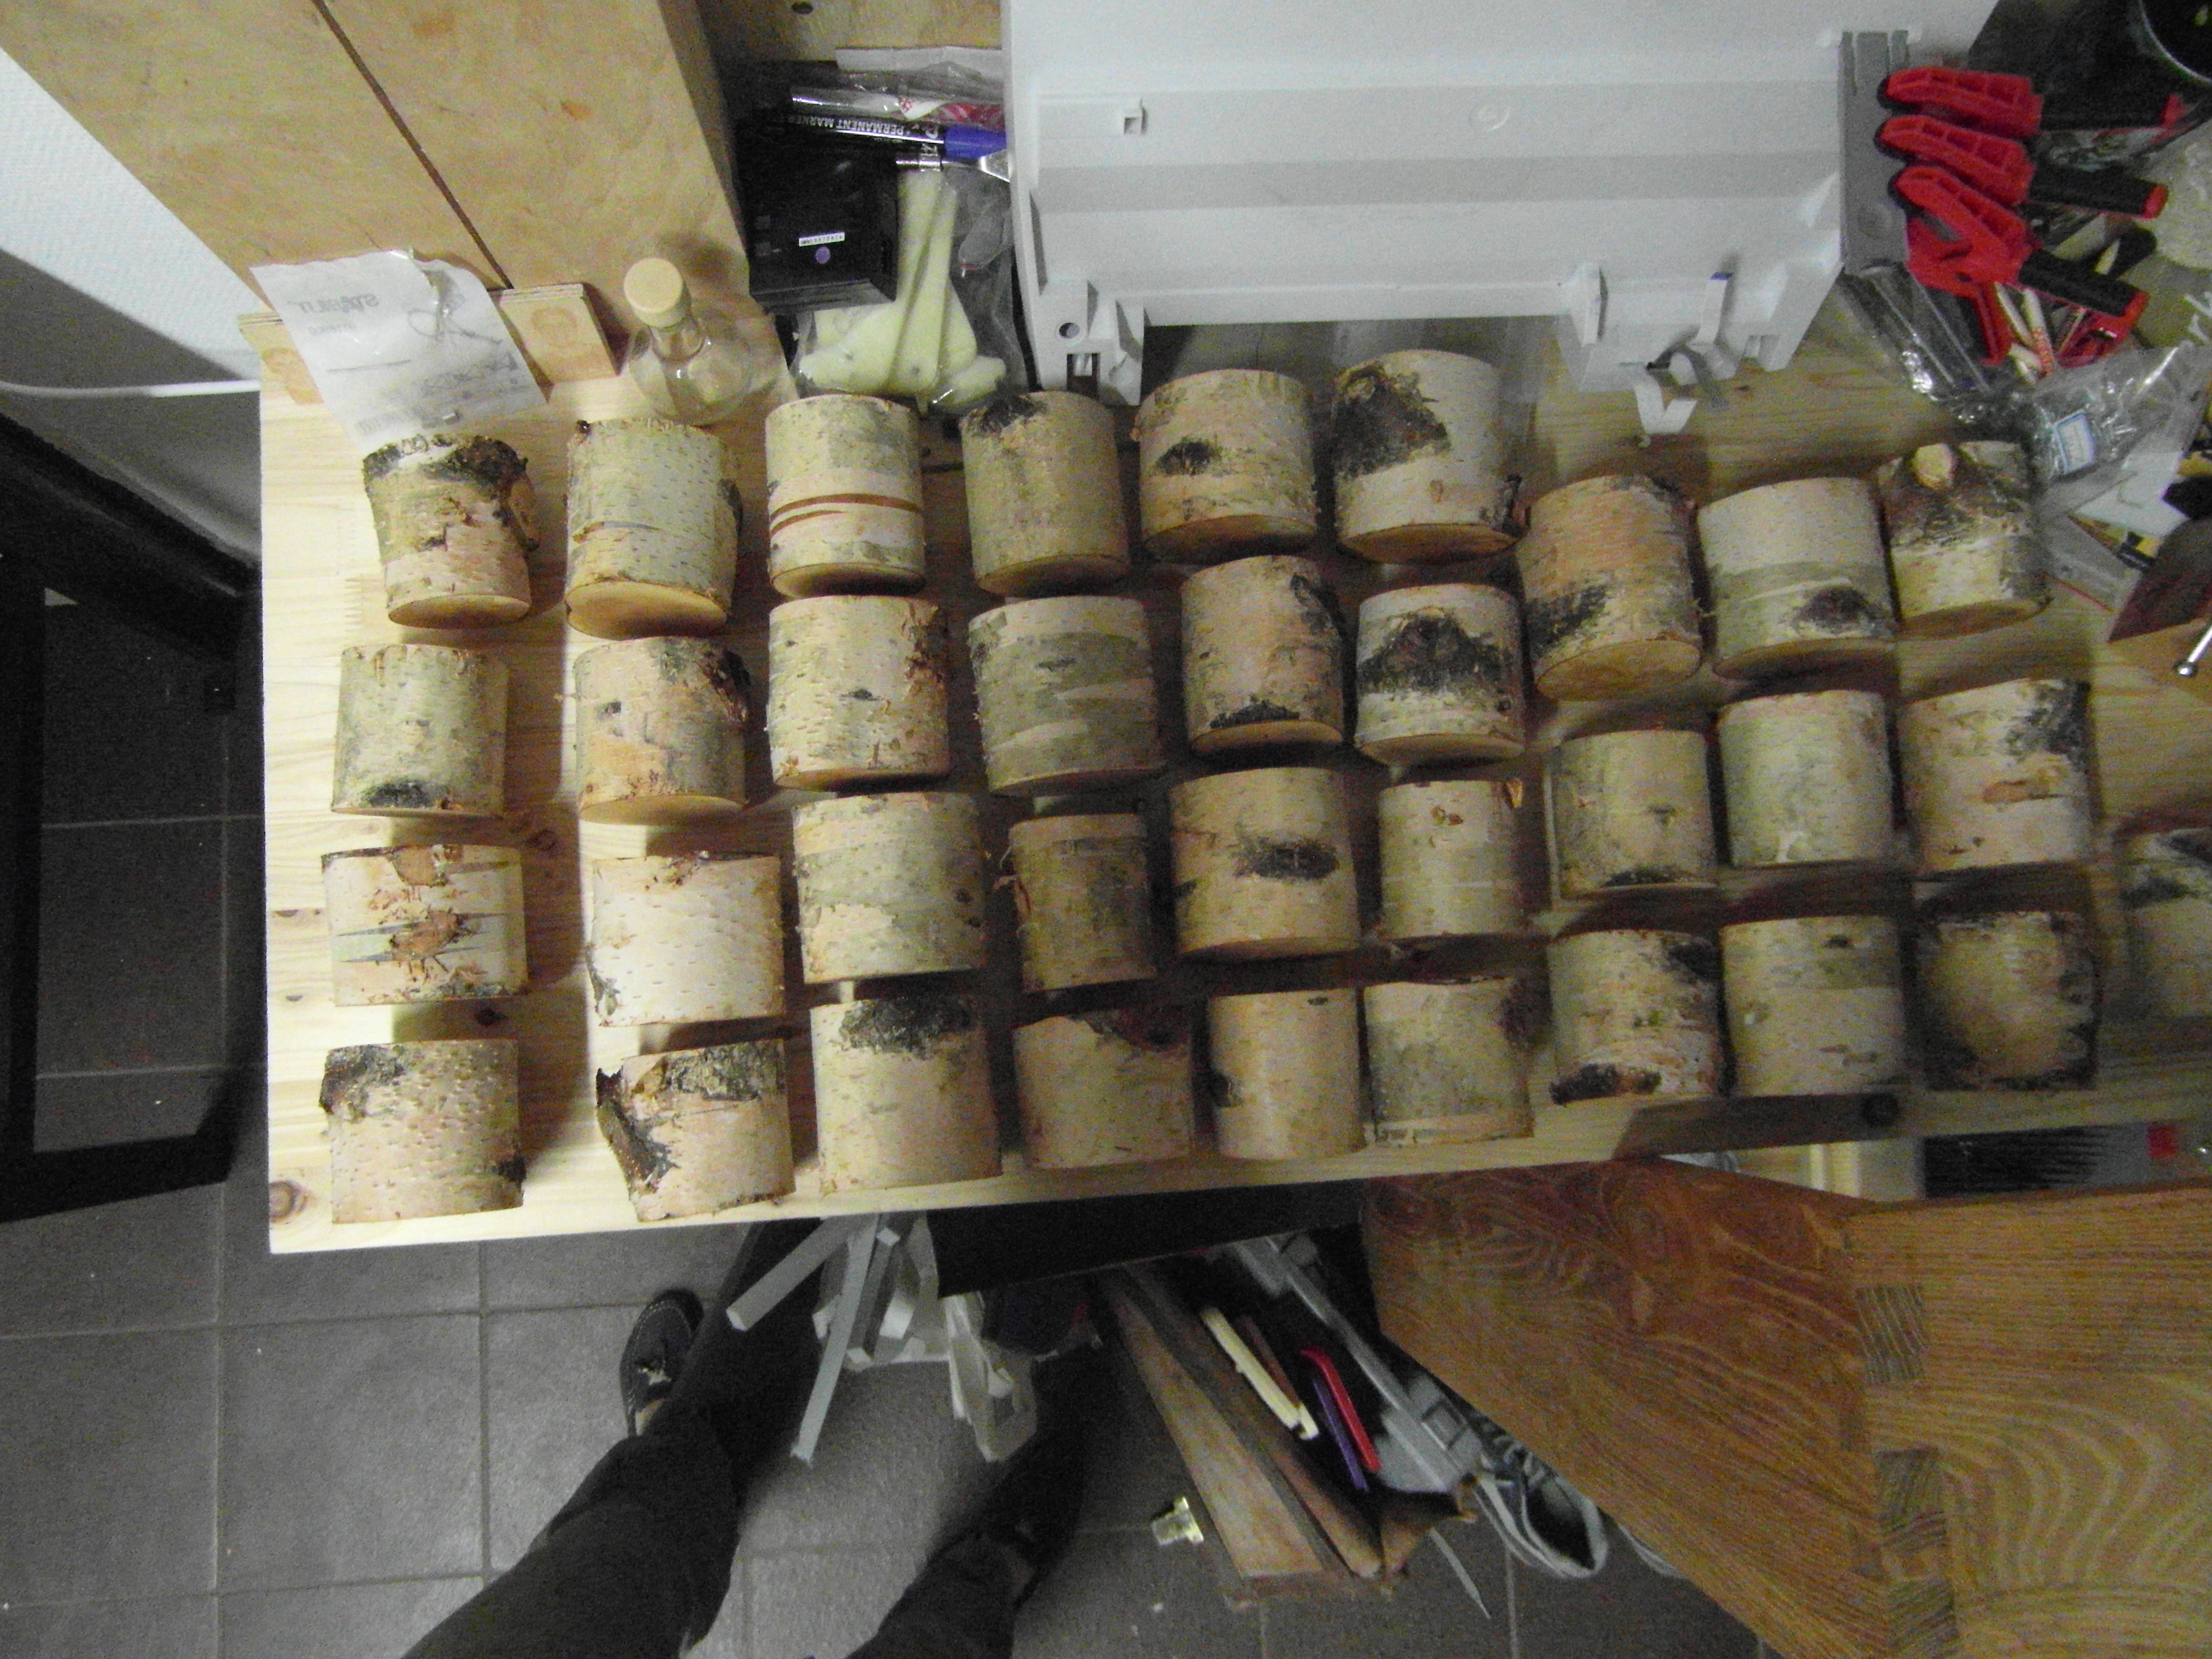
| 09:53, 24 February 2019 | Birch tealights 07.JPG (file) |  |
5.62 MB | Lukas (talk | contribs) | Project:Tree Trunk Tealights another week of drying on my CoMaking bench, this time more evenly spaced... | 1 |
| 09:49, 24 February 2019 | Birch tealights 06.JPG (file) |  |
365 KB | Lukas (talk | contribs) | Project:Tree Trunk Tealights applying some leftover hard wax oil to cover the cut faces against new mold formation | 1 |
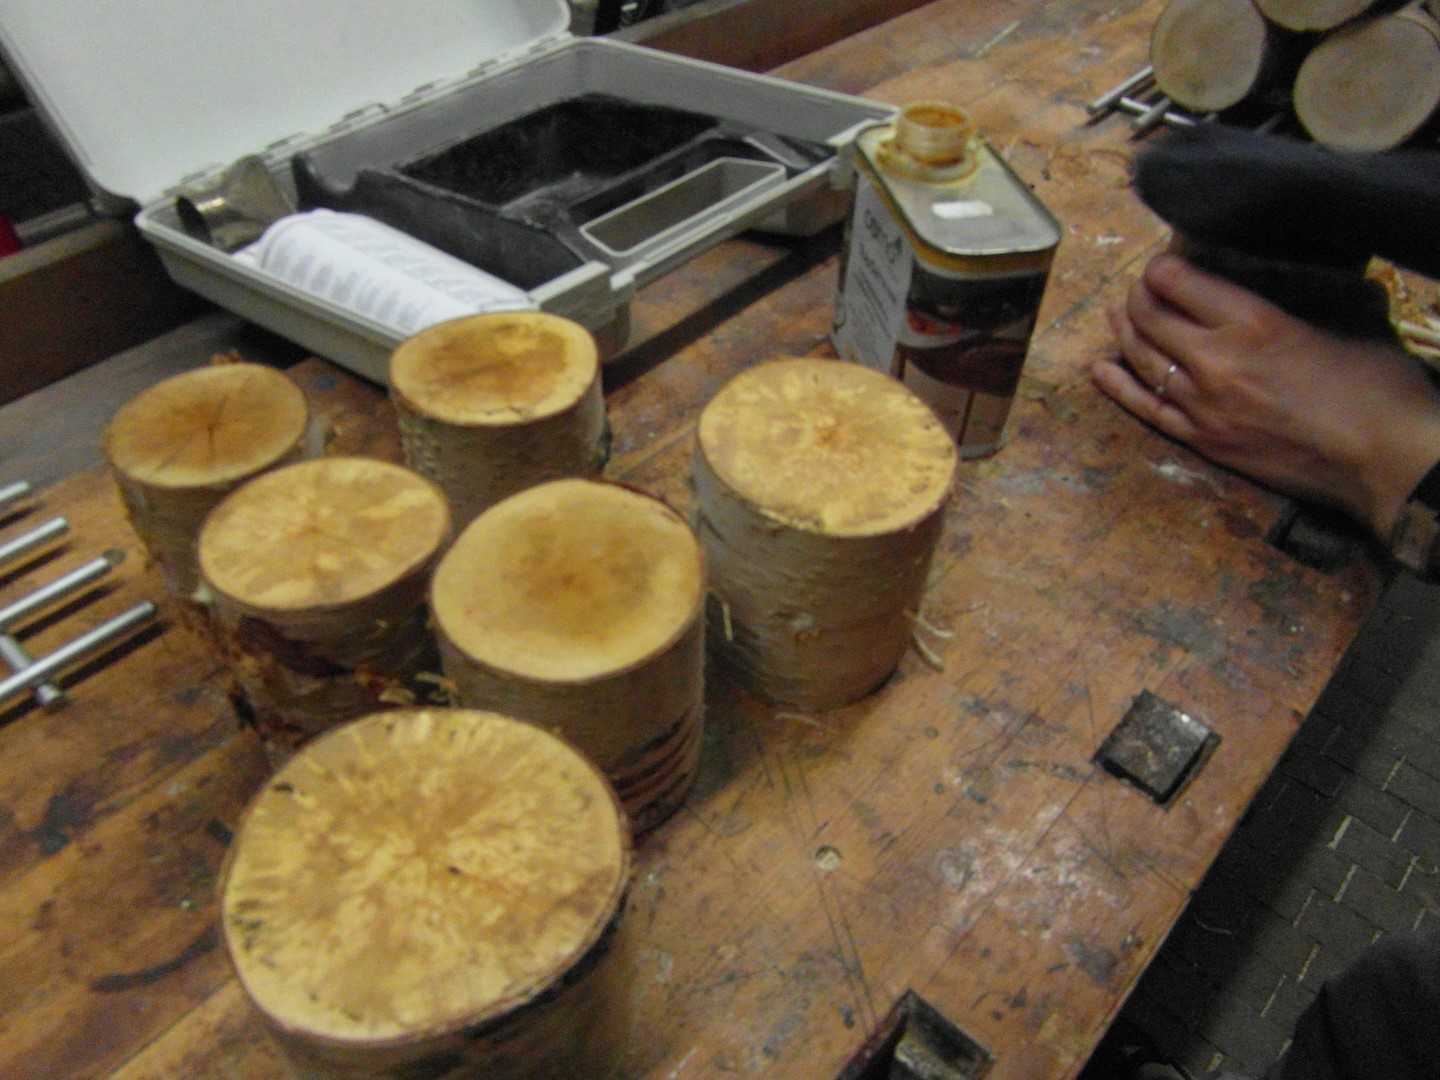
| 09:46, 24 February 2019 | Birch tealights 05.JPG (file) |  |
408 KB | Lukas (talk | contribs) | Project:Tree Trunk Tealights we proceeded with sanding off the mold and applying some leftover hard wax oil to cover the cut faces against new mold formation | 1 |