Uploads by Lukas
From CoMakingSpace Wiki
This special page shows all uploaded files.
| Date | Name | Thumbnail | Size | Description | Versions |
|---|---|---|---|---|---|
| 23:29, 28 May 2019 | Laser-Tigerente 2.JPG (file) |  |
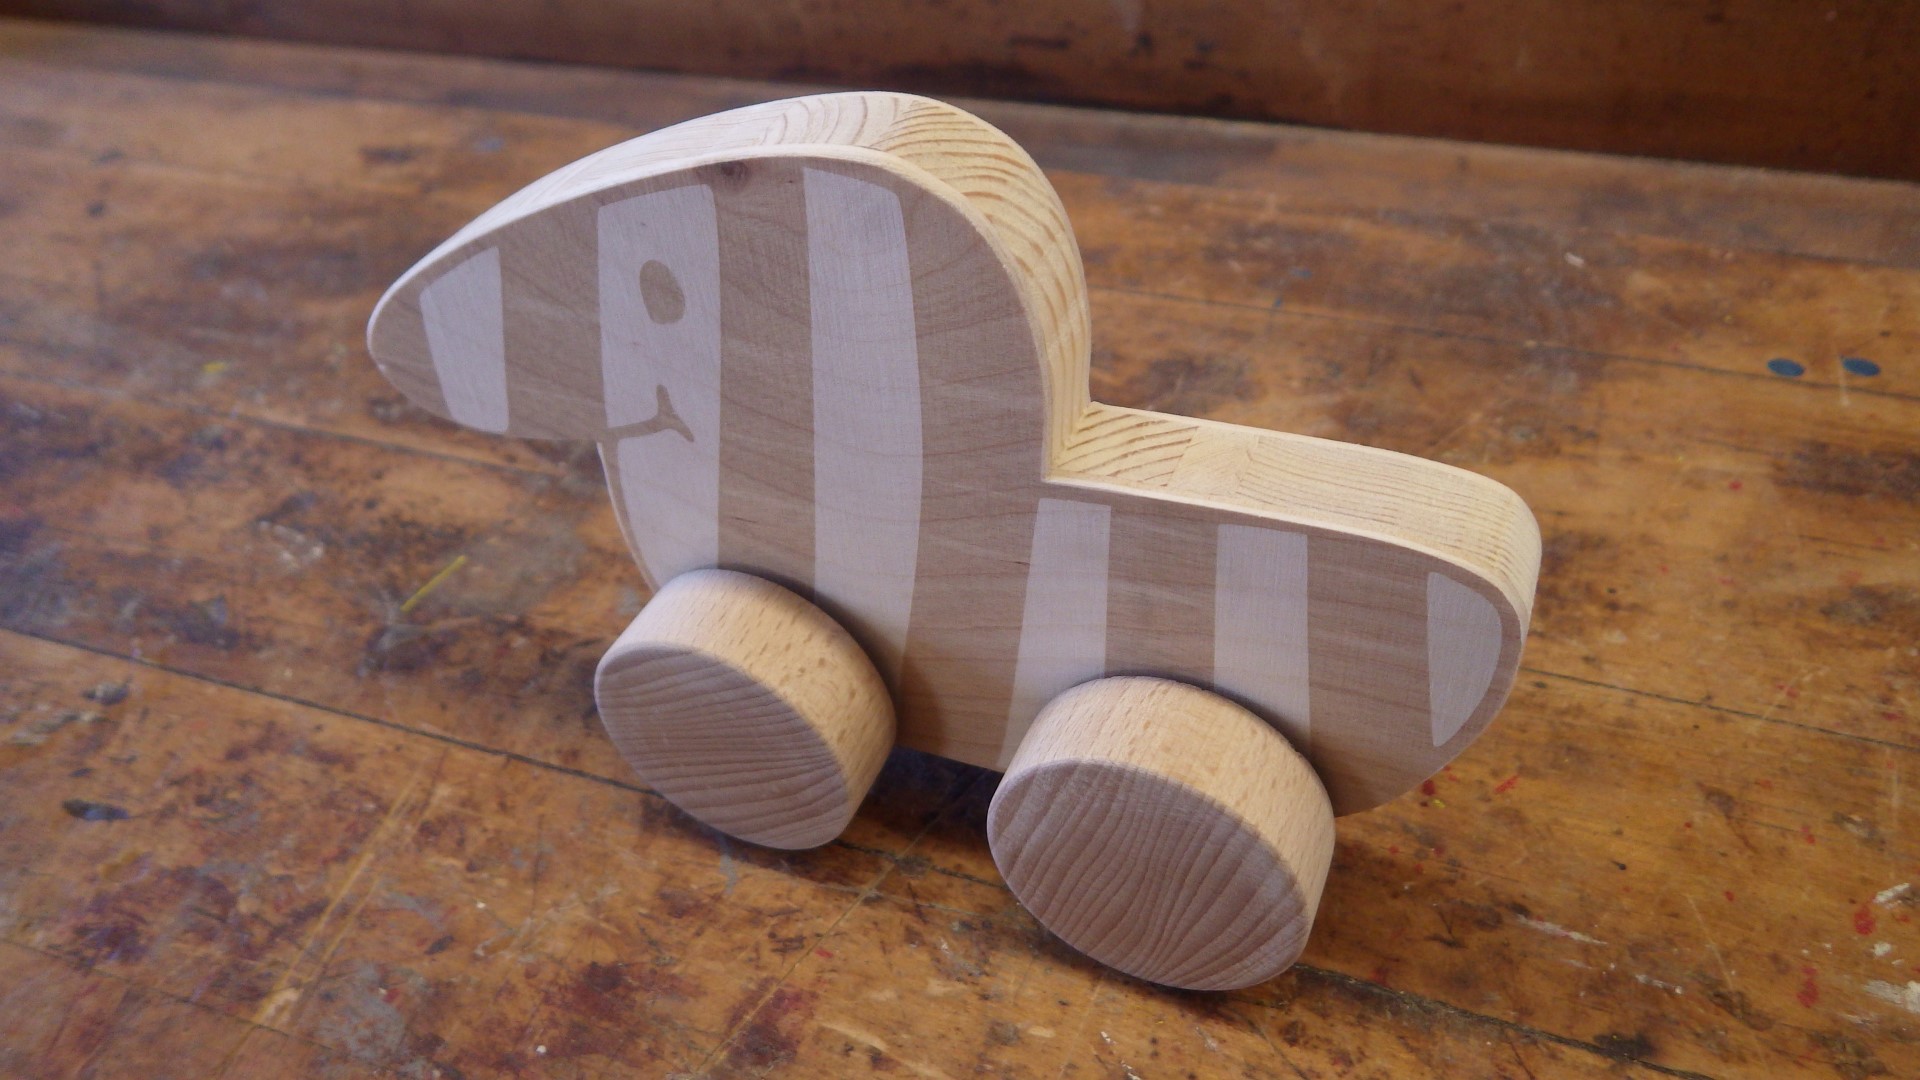
404 KB | Project:Tigerente laser engraved variation, step 2: test assembly after cutting (on the scroll saw as usual and drilling | 1 |
| 23:25, 28 May 2019 | Laser-Tigerente 1.JPG (file) |  |
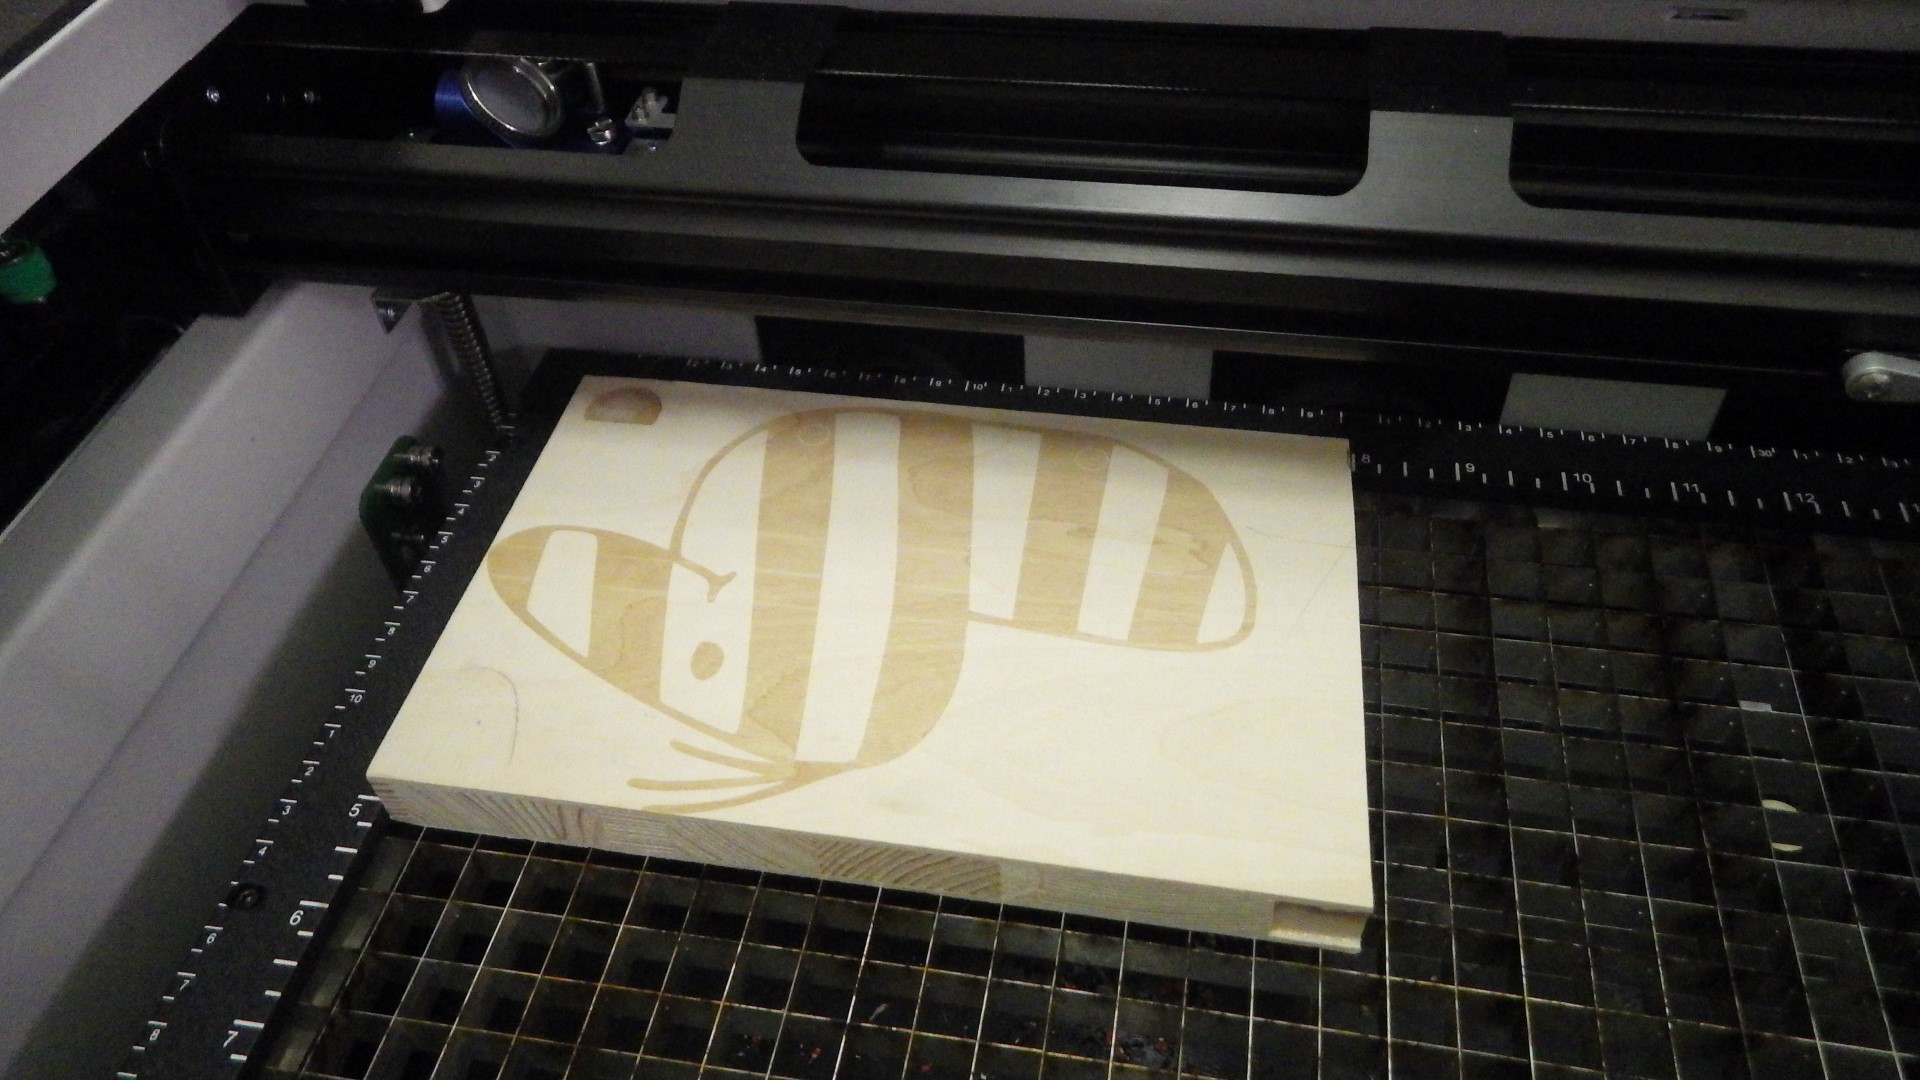
424 KB | Project:Tigerente laser engraved variation, step 1: engrave your design with a laser cutter | 1 |
| 23:19, 28 May 2019 | Eccentric sander motion.png (file) |  |
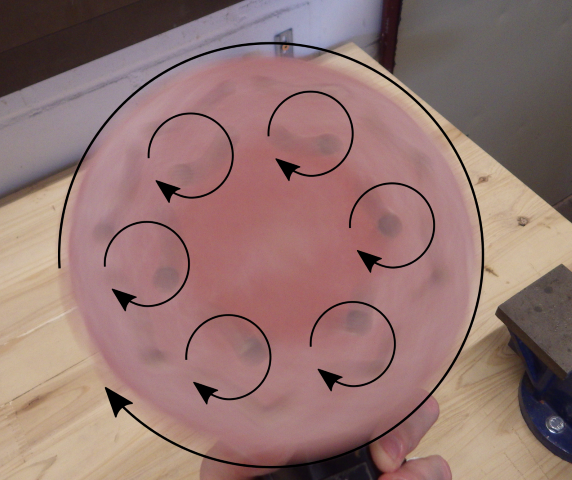
524 KB | an eccentric sander in motion (with schematic drawn over in Inkscape because you can't actually see what's happening) | 1 |
| 22:53, 28 May 2019 | Screw marking gauge.JPG (file) |  |
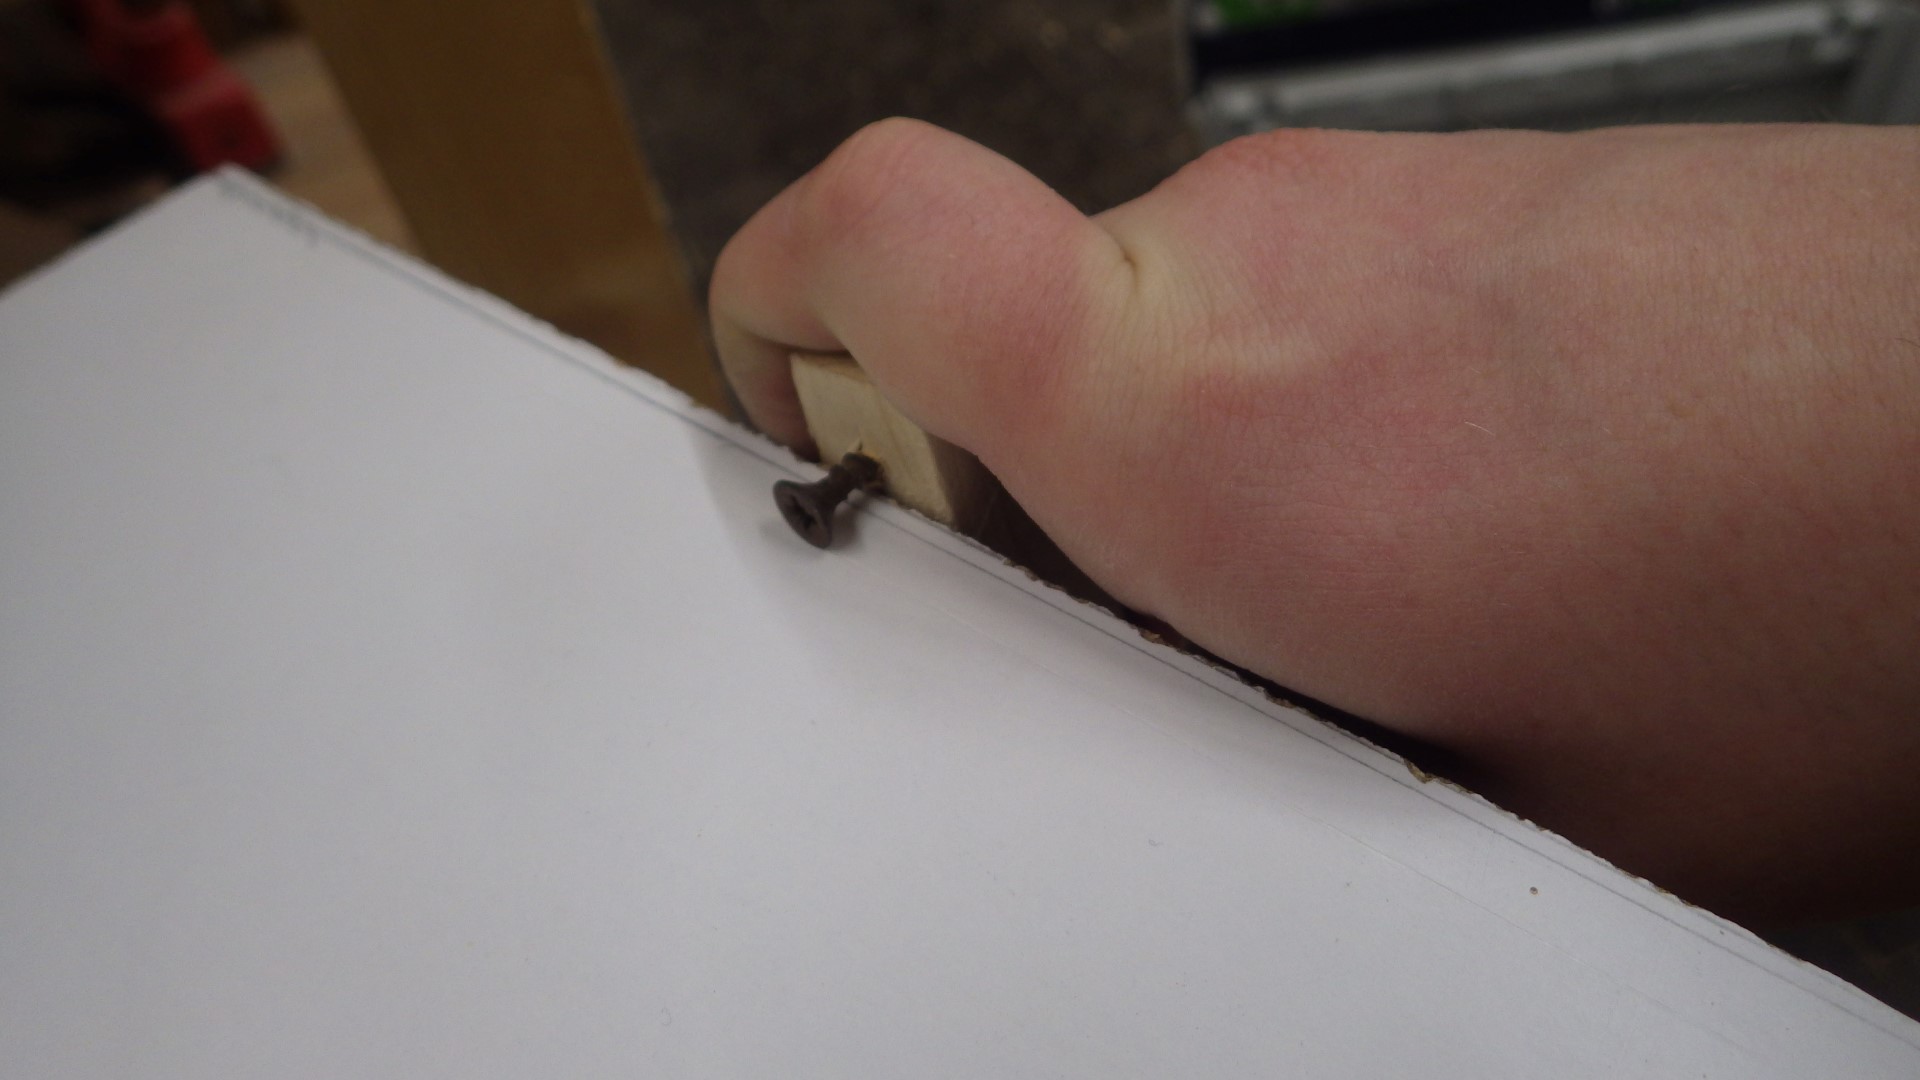
255 KB | quick and dirty marking gauge made from a screw in a piece of scrap wood | 1 |
| 18:39, 28 May 2019 | Bessey Winkelspanner.jpg (file) |  |
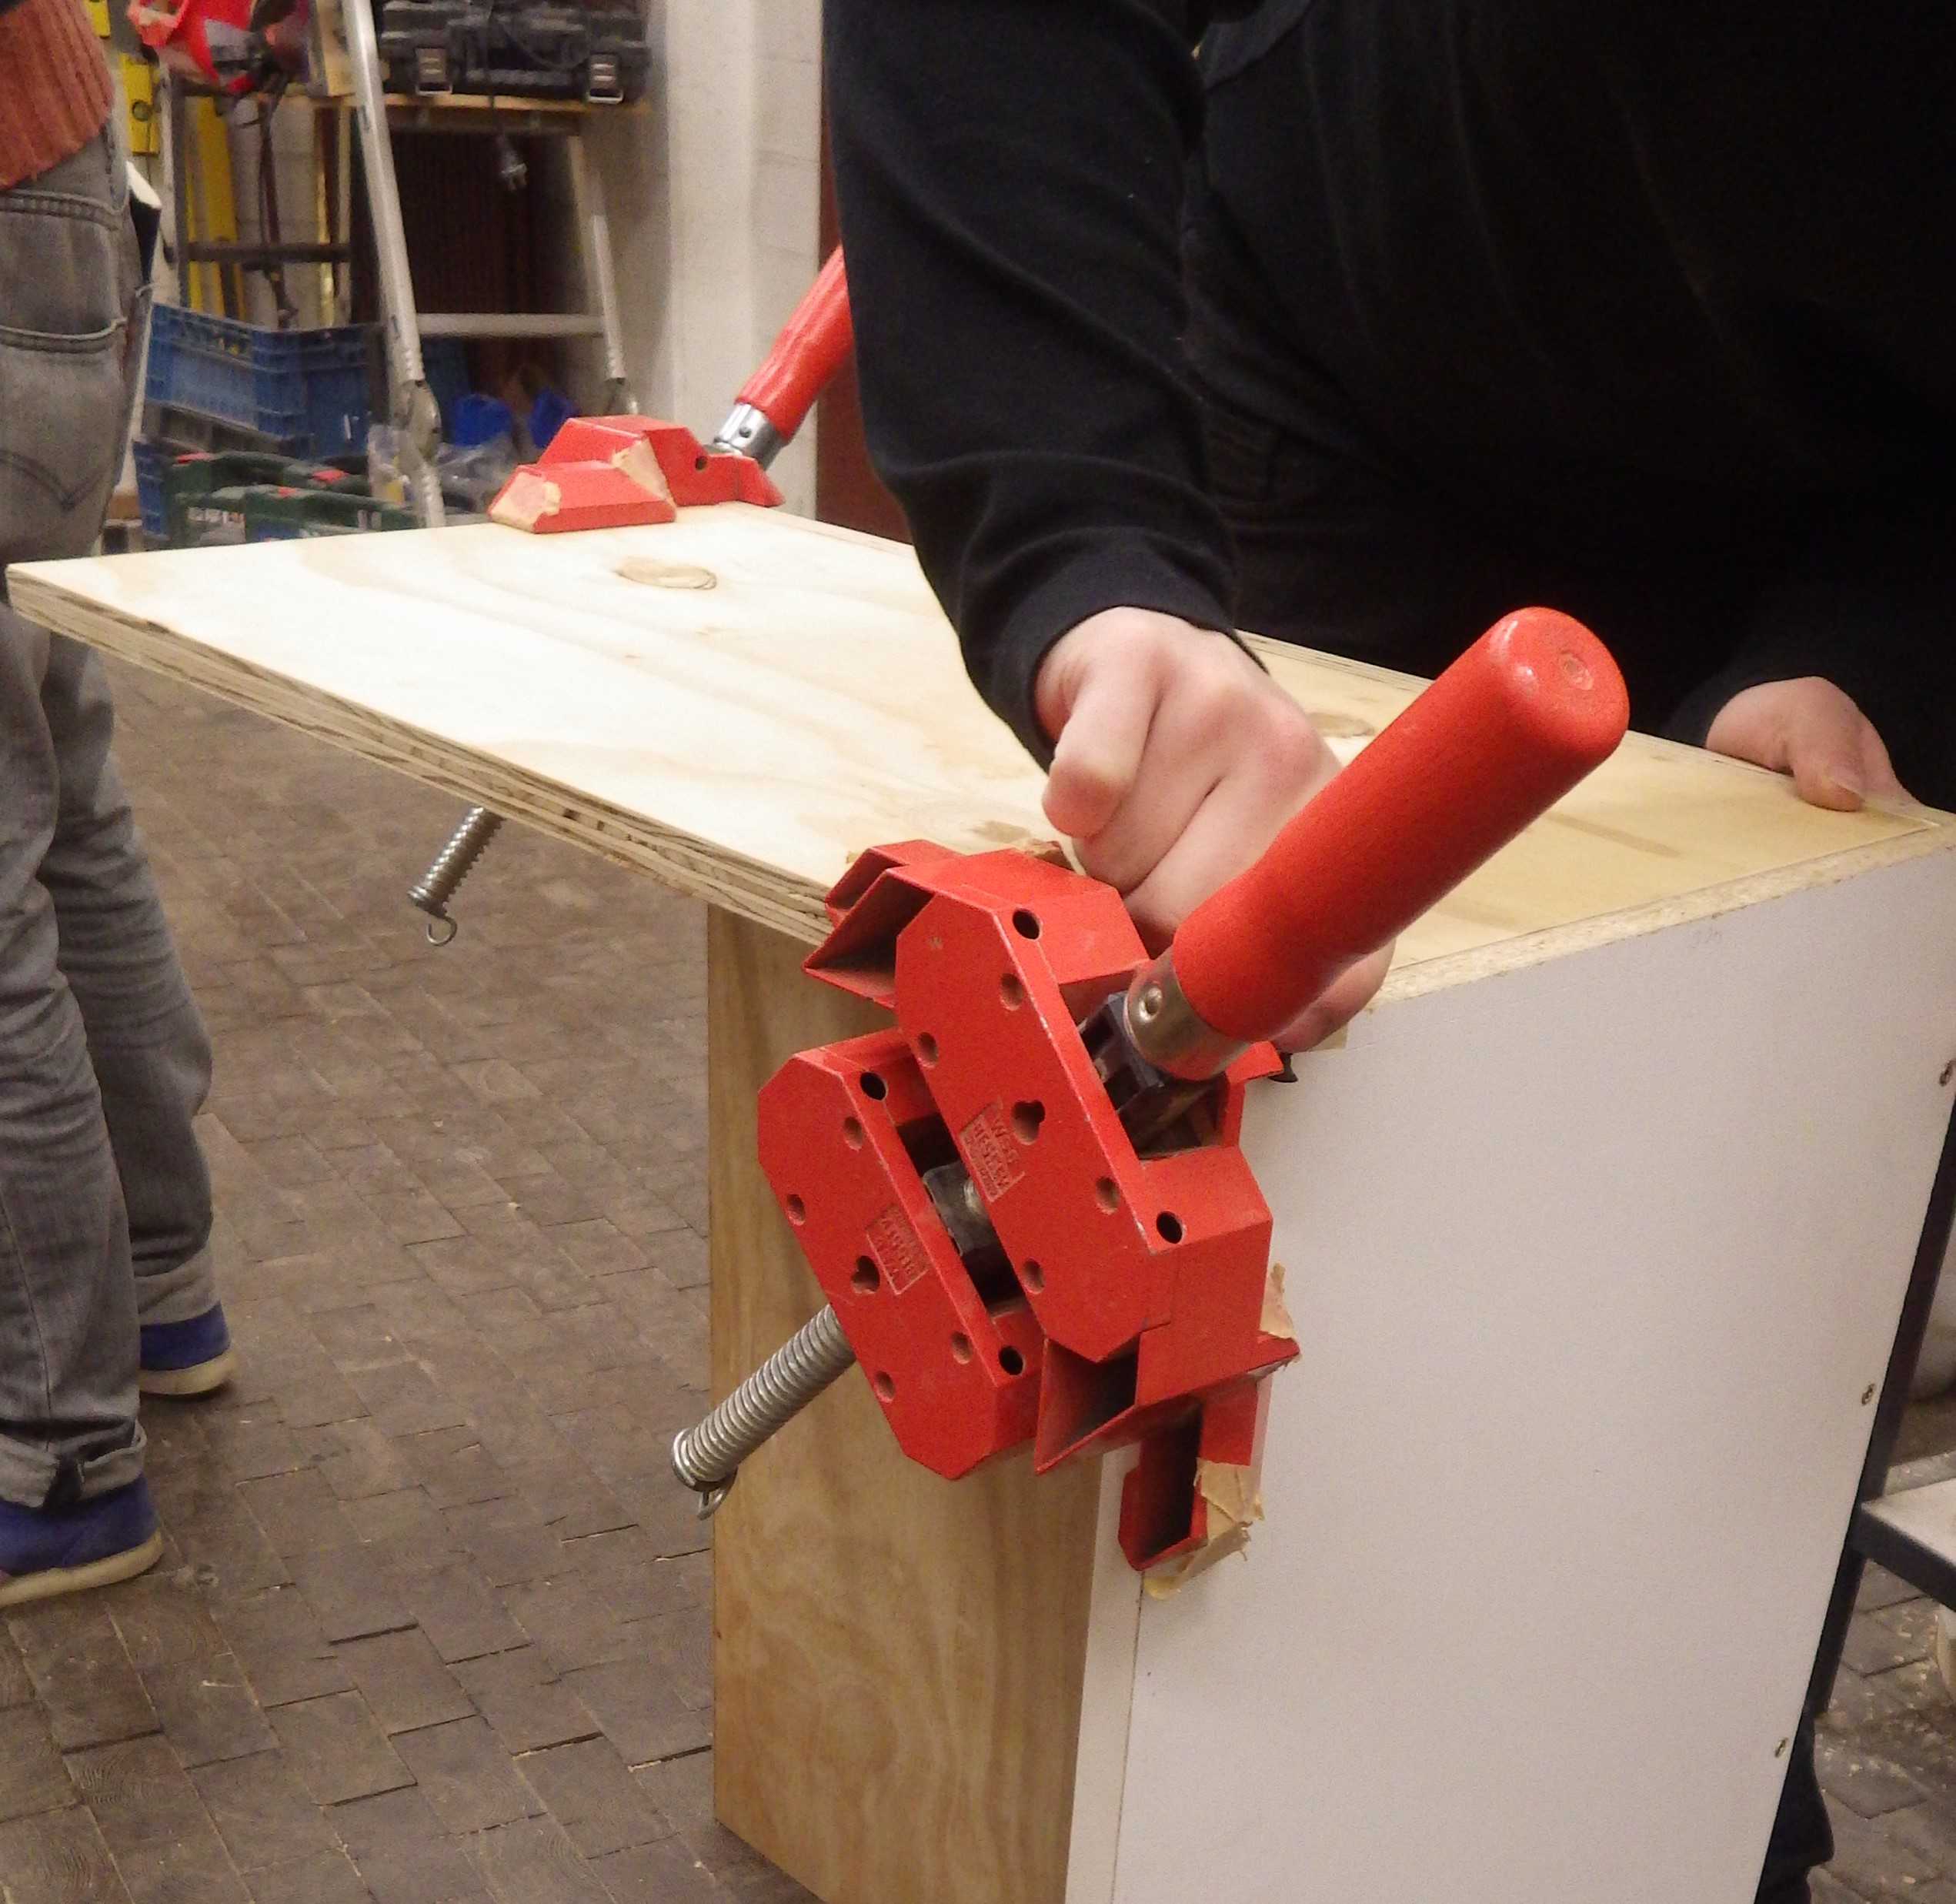
1.03 MB | two Bessey corner clamps (probably WS3) in use to assemble a simple cabinet Category:Furniture | 1 |
| 15:09, 8 May 2019 | Schwenkgrill einklappen.gif (file) |  |
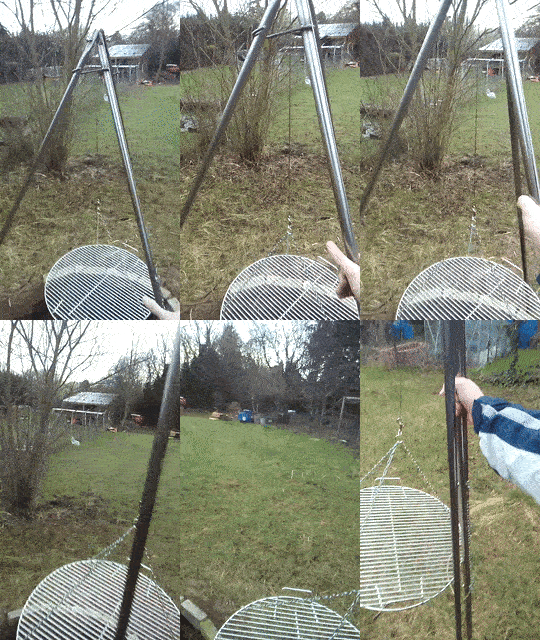
1.08 MB | Project:Schwenkgrill so einfach kann man den Grill zusammenklappen :-) (GIF mit [https://ezgif.com/ ezGIF.com] aus einem MP4-Video erstellt) | 1 |
| 14:58, 8 May 2019 | Schwenkgrill 16.JPG (file) |  |
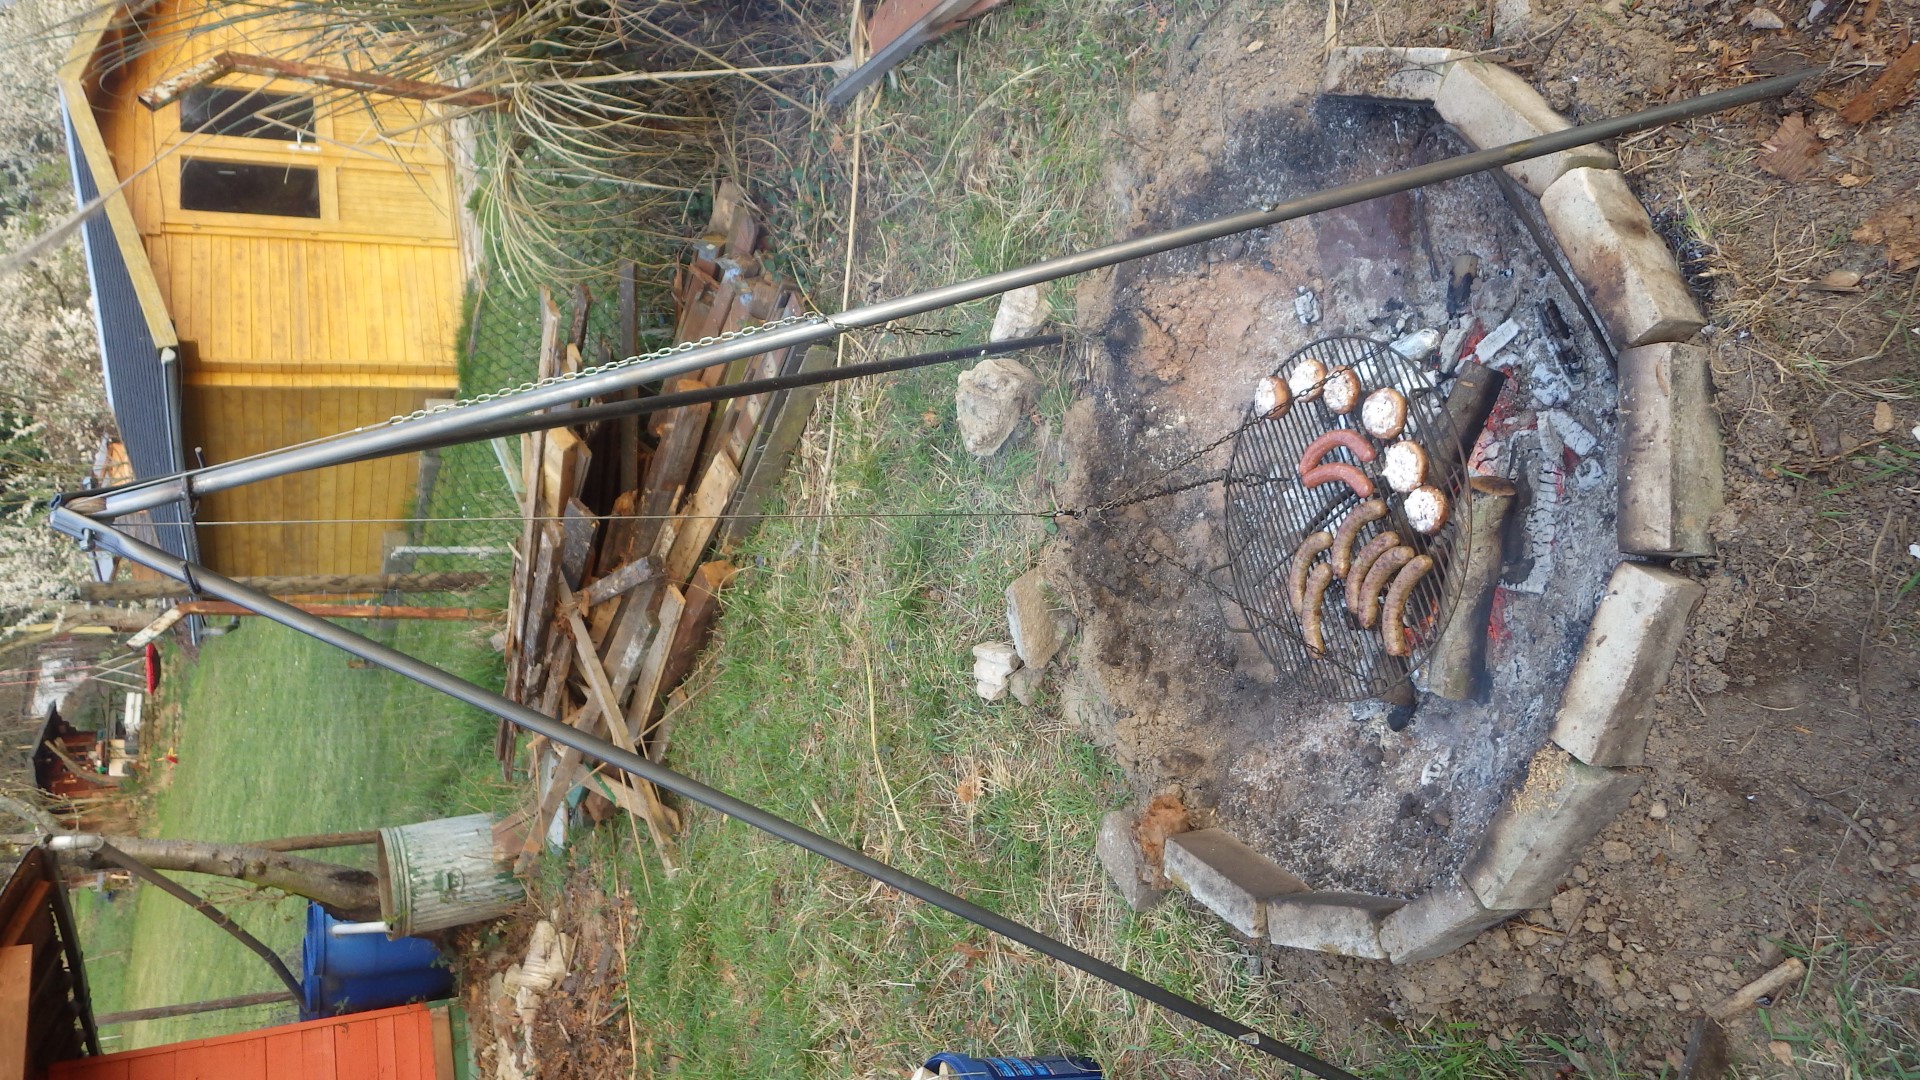
855 KB | Project:Schwenkgrill letzter Schritt: Feuer drunter & guten Hunger! | 1 |
| 14:06, 8 May 2019 | Schwenkgrill 15.JPG (file) |  |
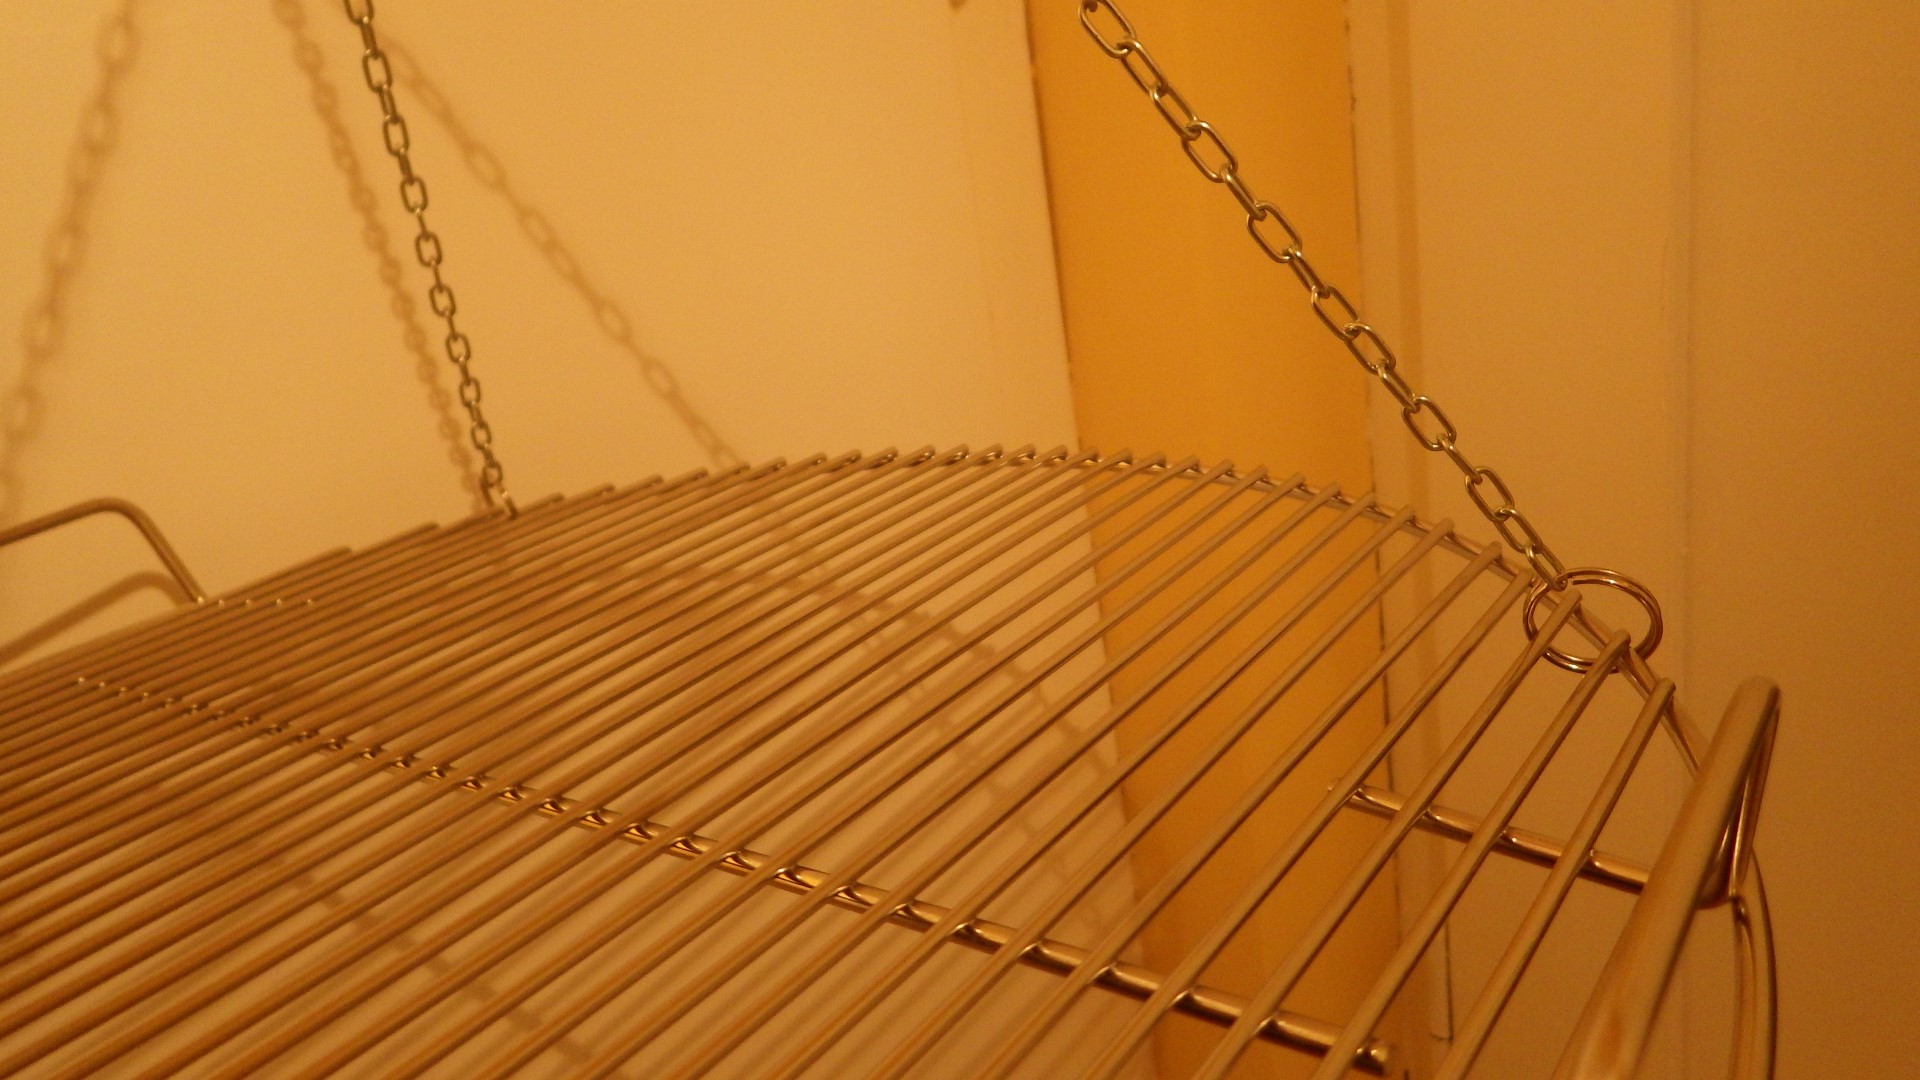
404 KB | Project:Schwenkgrill nach einem fehlgeschlagenen Versuch mit Vorhanghaken wurden die Enden der Kette mit Schlüsselringen am Rost festgemacht (passende Karabiner wären noch besser) | 1 |
| 14:04, 8 May 2019 | Schwenkgrill 14.JPG (file) |  |
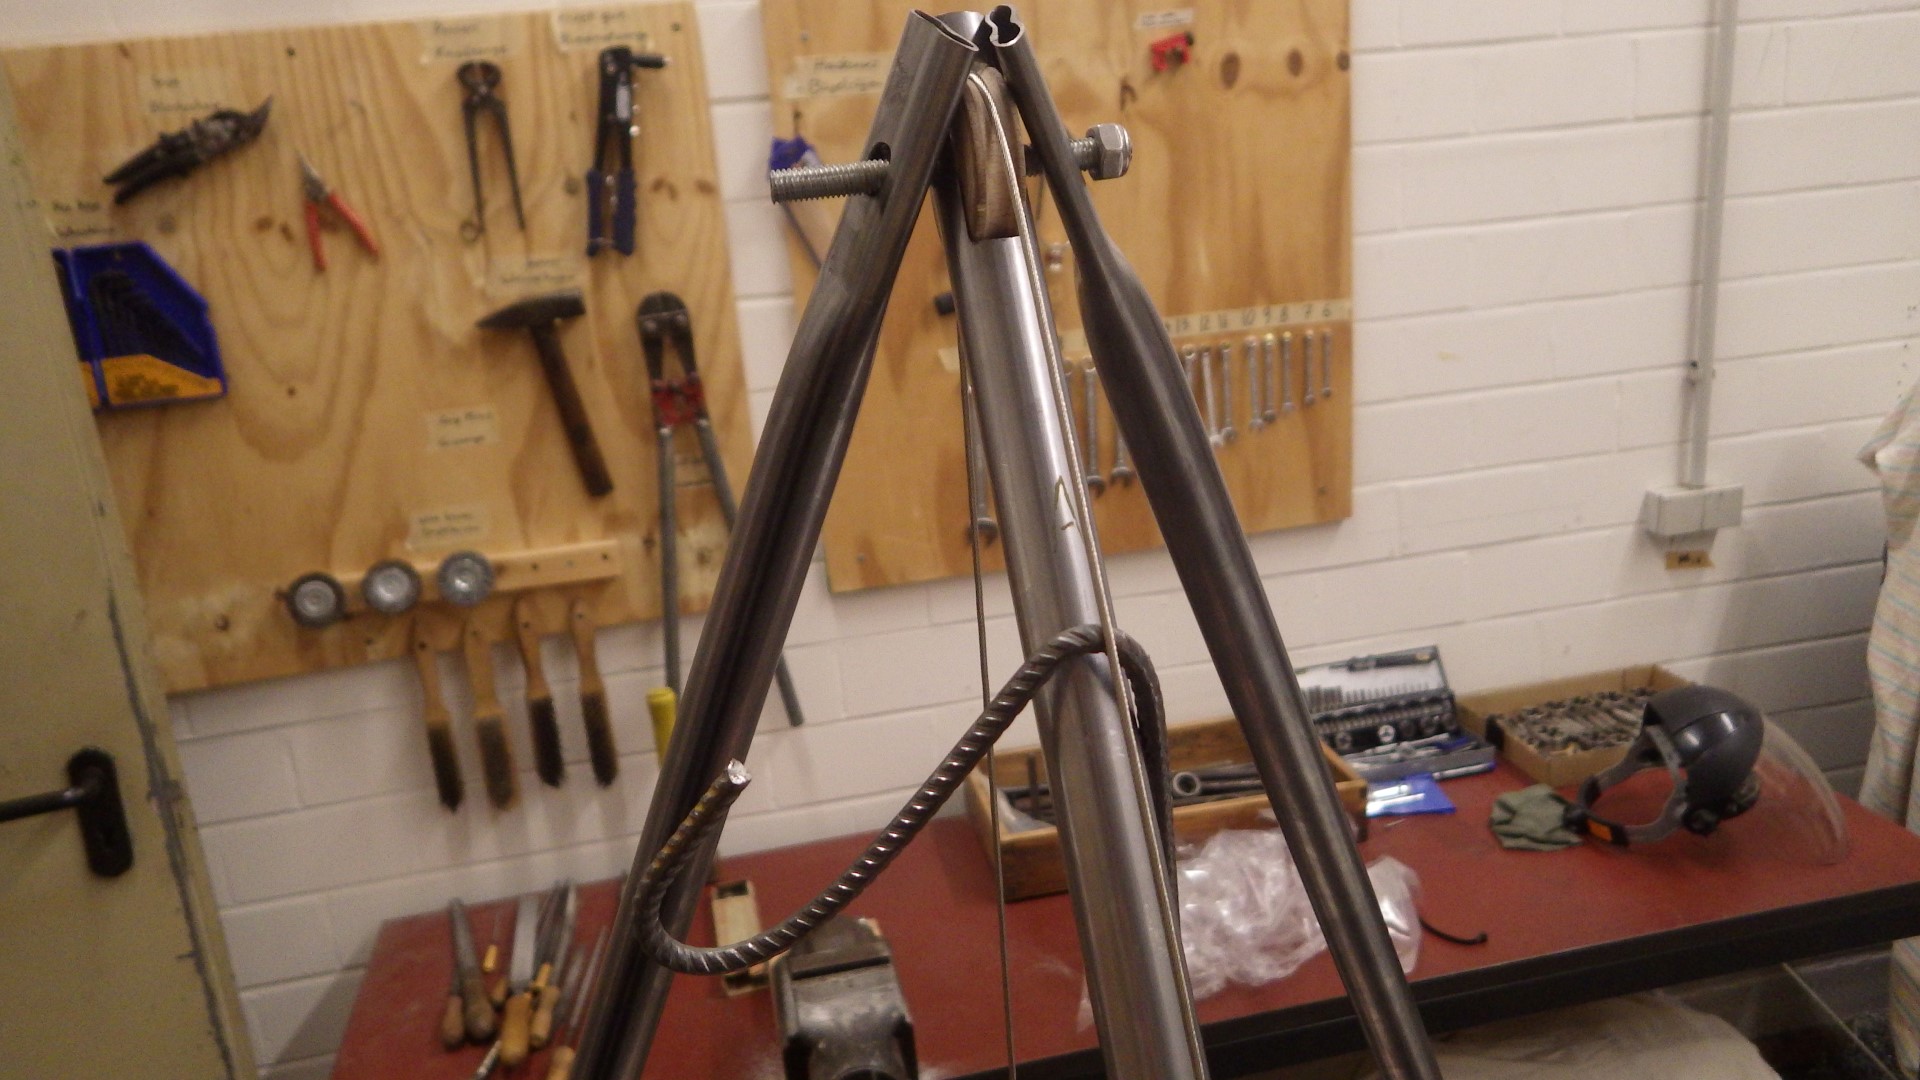
492 KB | Project:Schwenkgrill ein Stück Kette am Ende des Drahtseils kann zur Höhenverstellung an zwei Flügelmuttern verhakt werden | 1 |
| 14:02, 8 May 2019 | Schwenkgrill 13.JPG (file) |  |
447 KB | Project:Schwenkgrill in die "W"-Bögen hineinragende Enden eines weiteren Stücks Bewehrungsstahl müssen abgeschnitten werden, um nicht im Weg zu sein | 1 |
| 13:58, 8 May 2019 | Schwenkgrill 12.JPG (file) |  |
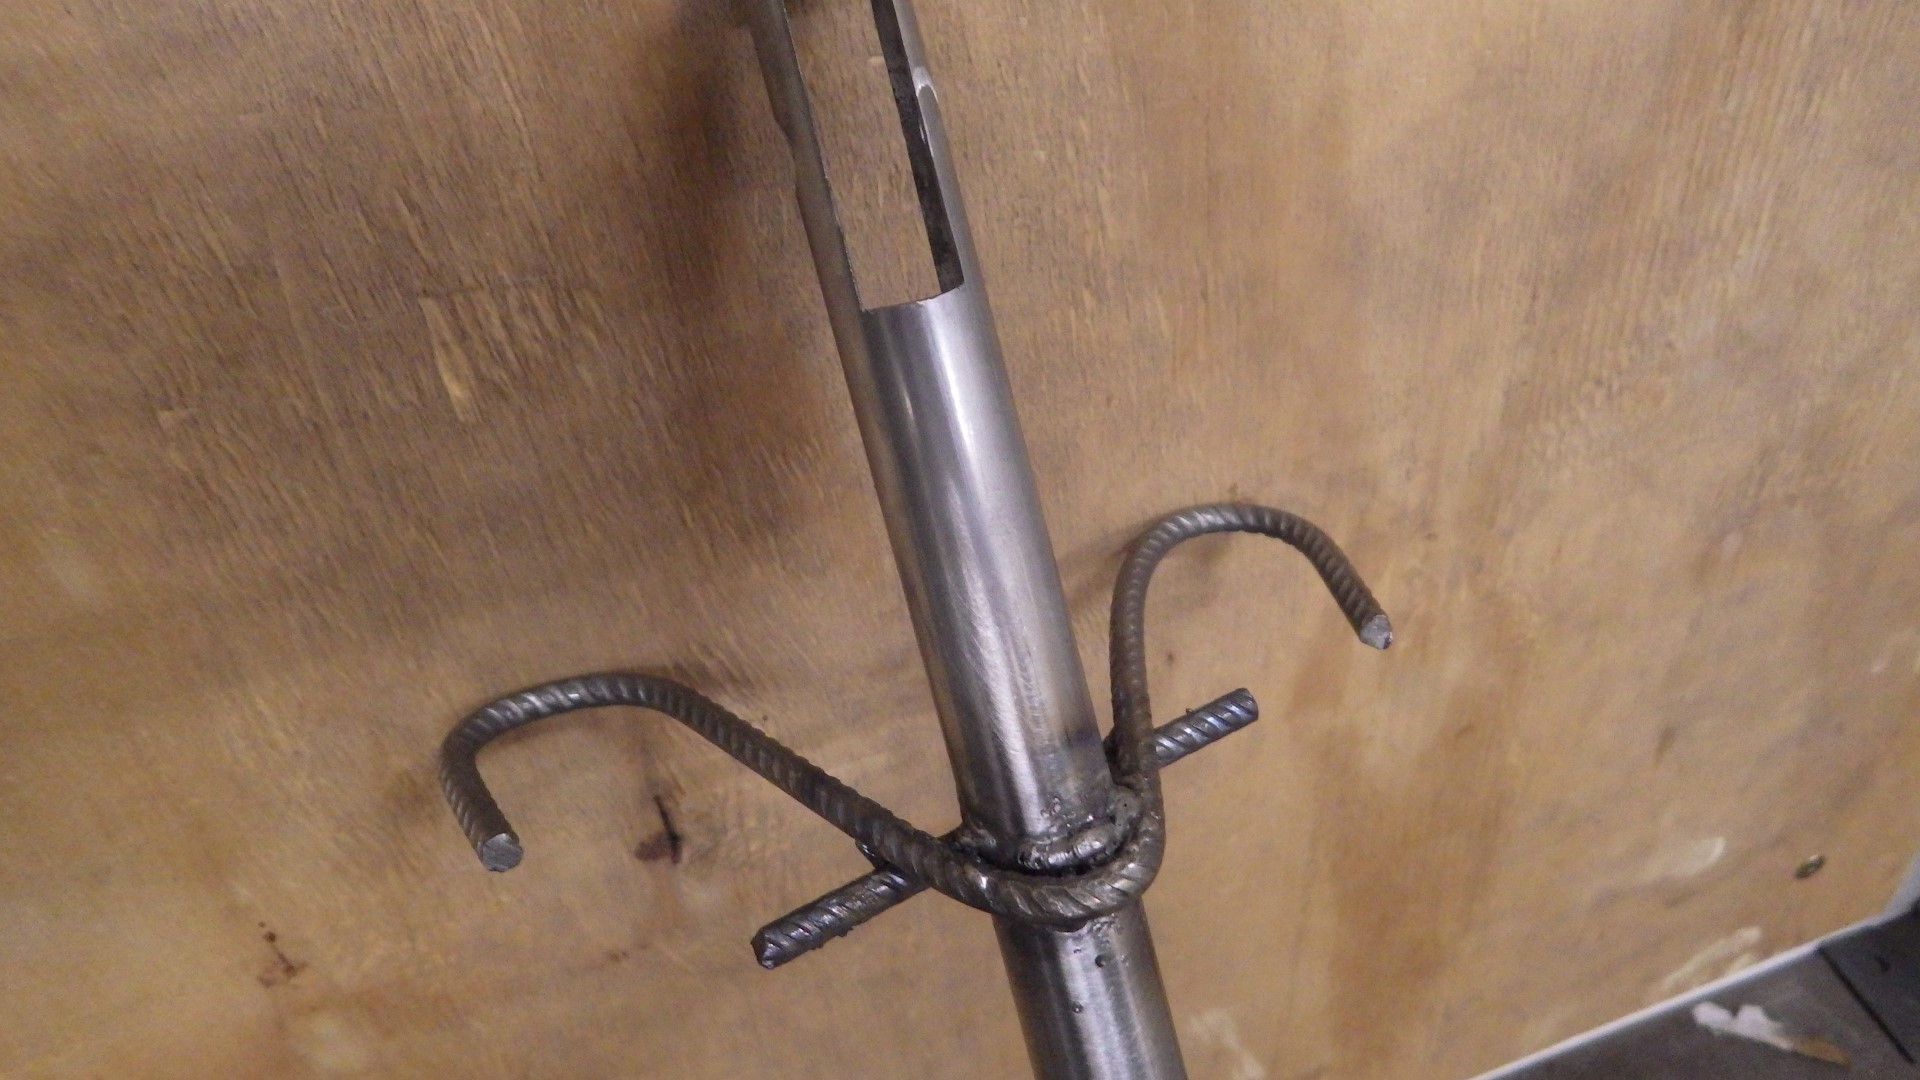
414 KB | Project:Schwenkgrill um das "W", das die Bewegung des Dreibeins am idealen Punkt stoppen soll, in der richtigen Position anzuschweißen, sollte man sich lieber ein paar helfende Hände holen... | 1 |
| 13:55, 8 May 2019 | Schwenkgrill 11.JPG (file) |  |
413 KB | Project:Schwenkgrill Testaufbau zur Ausrichtung des "W"-Stücks | 1 |
| 13:33, 8 May 2019 | Schwenkgrill 10.JPG (file) |  |
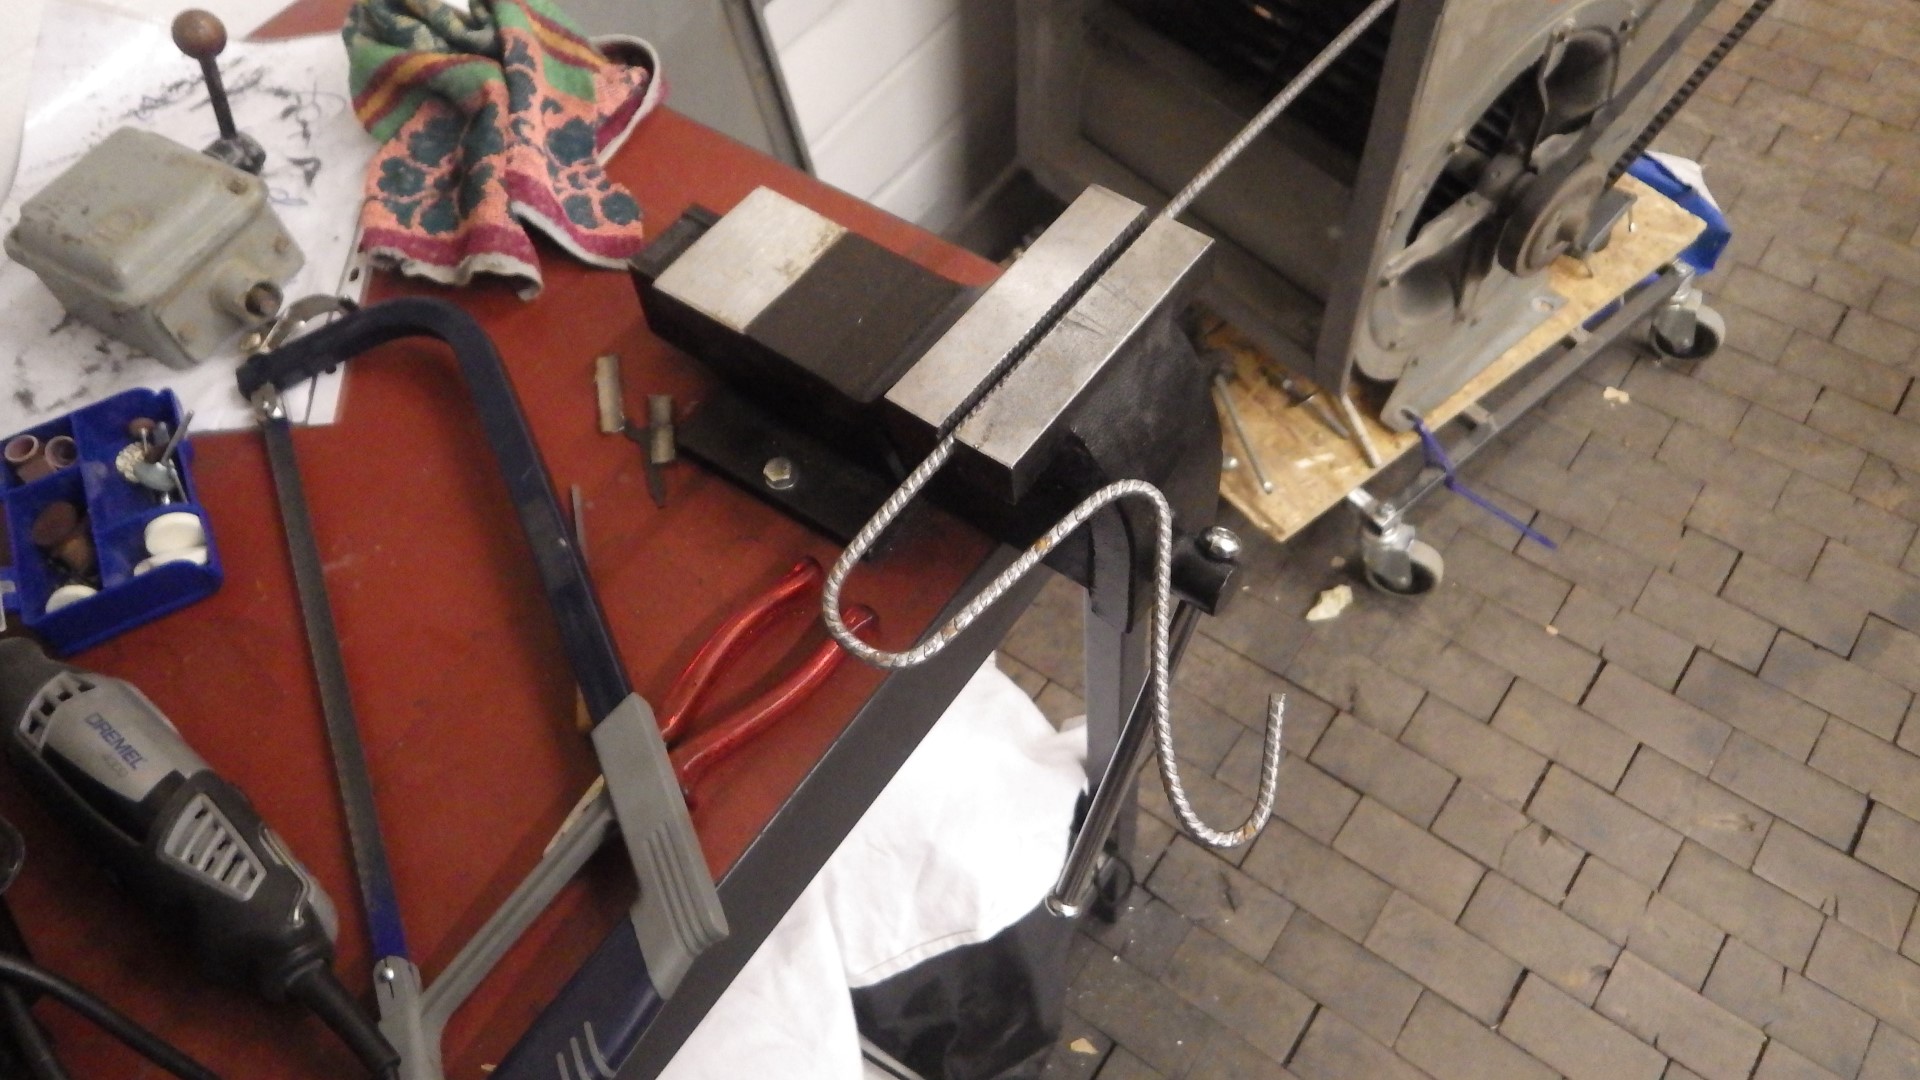
430 KB | Project:Schwenkgrill der Bewehrungsstahl wird in eine (ungefähr) symmetrische "W"-Form gebogen | 1 |
| 13:29, 8 May 2019 | Schwenkgrill 09.JPG (file) |  |
396 KB | Project:Schwenkgrill mit einem Bohrschleifer können kleine rechteckige Aussparungen für die Umlenkrolle in das mittlere Rohr geschnitten werden | 1 |
| 13:26, 8 May 2019 | Schwenkgrill 08.JPG (file) |  |
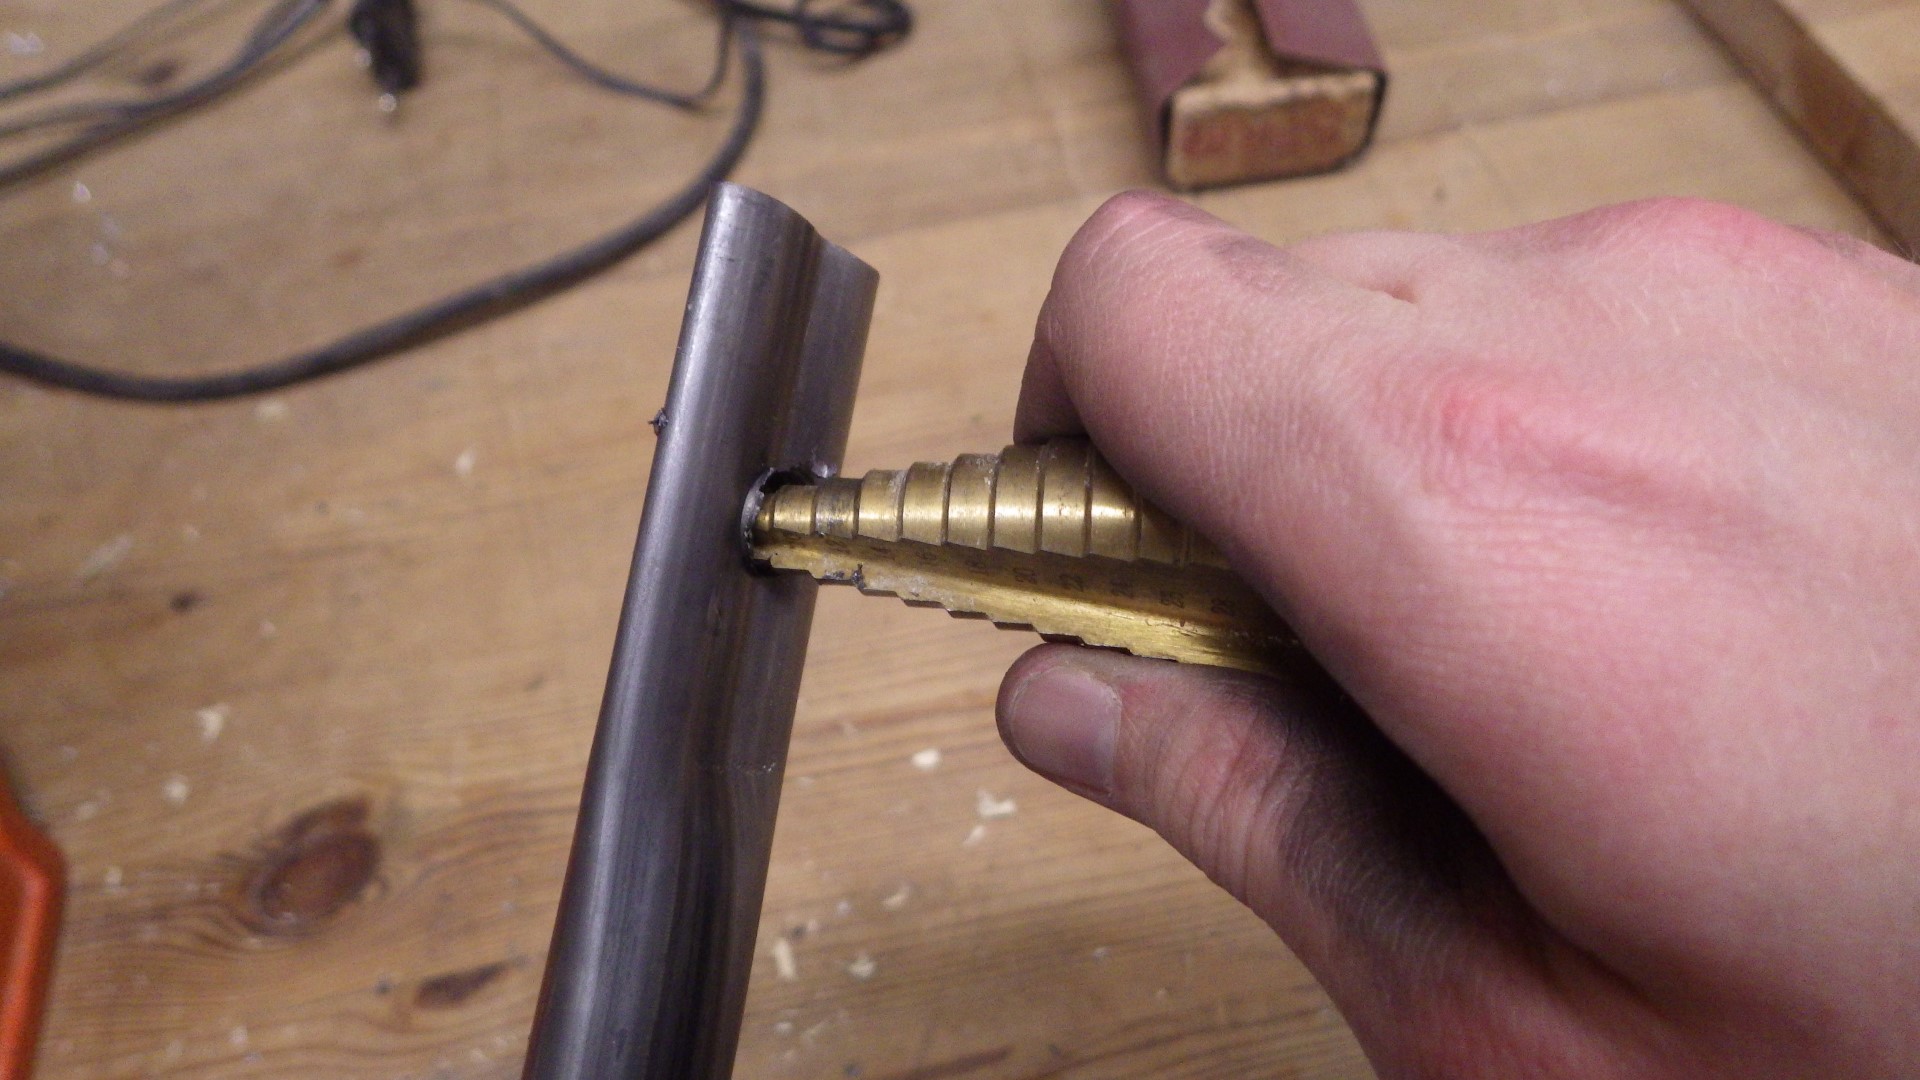
427 KB | Project:Schwenkgrill ein großer Stufenbohrer gibt einen ganz passablen handgeführten Entgrater ab... | 1 |
| 13:18, 8 May 2019 | Schwenkgrill 07.JPG (file) |  |
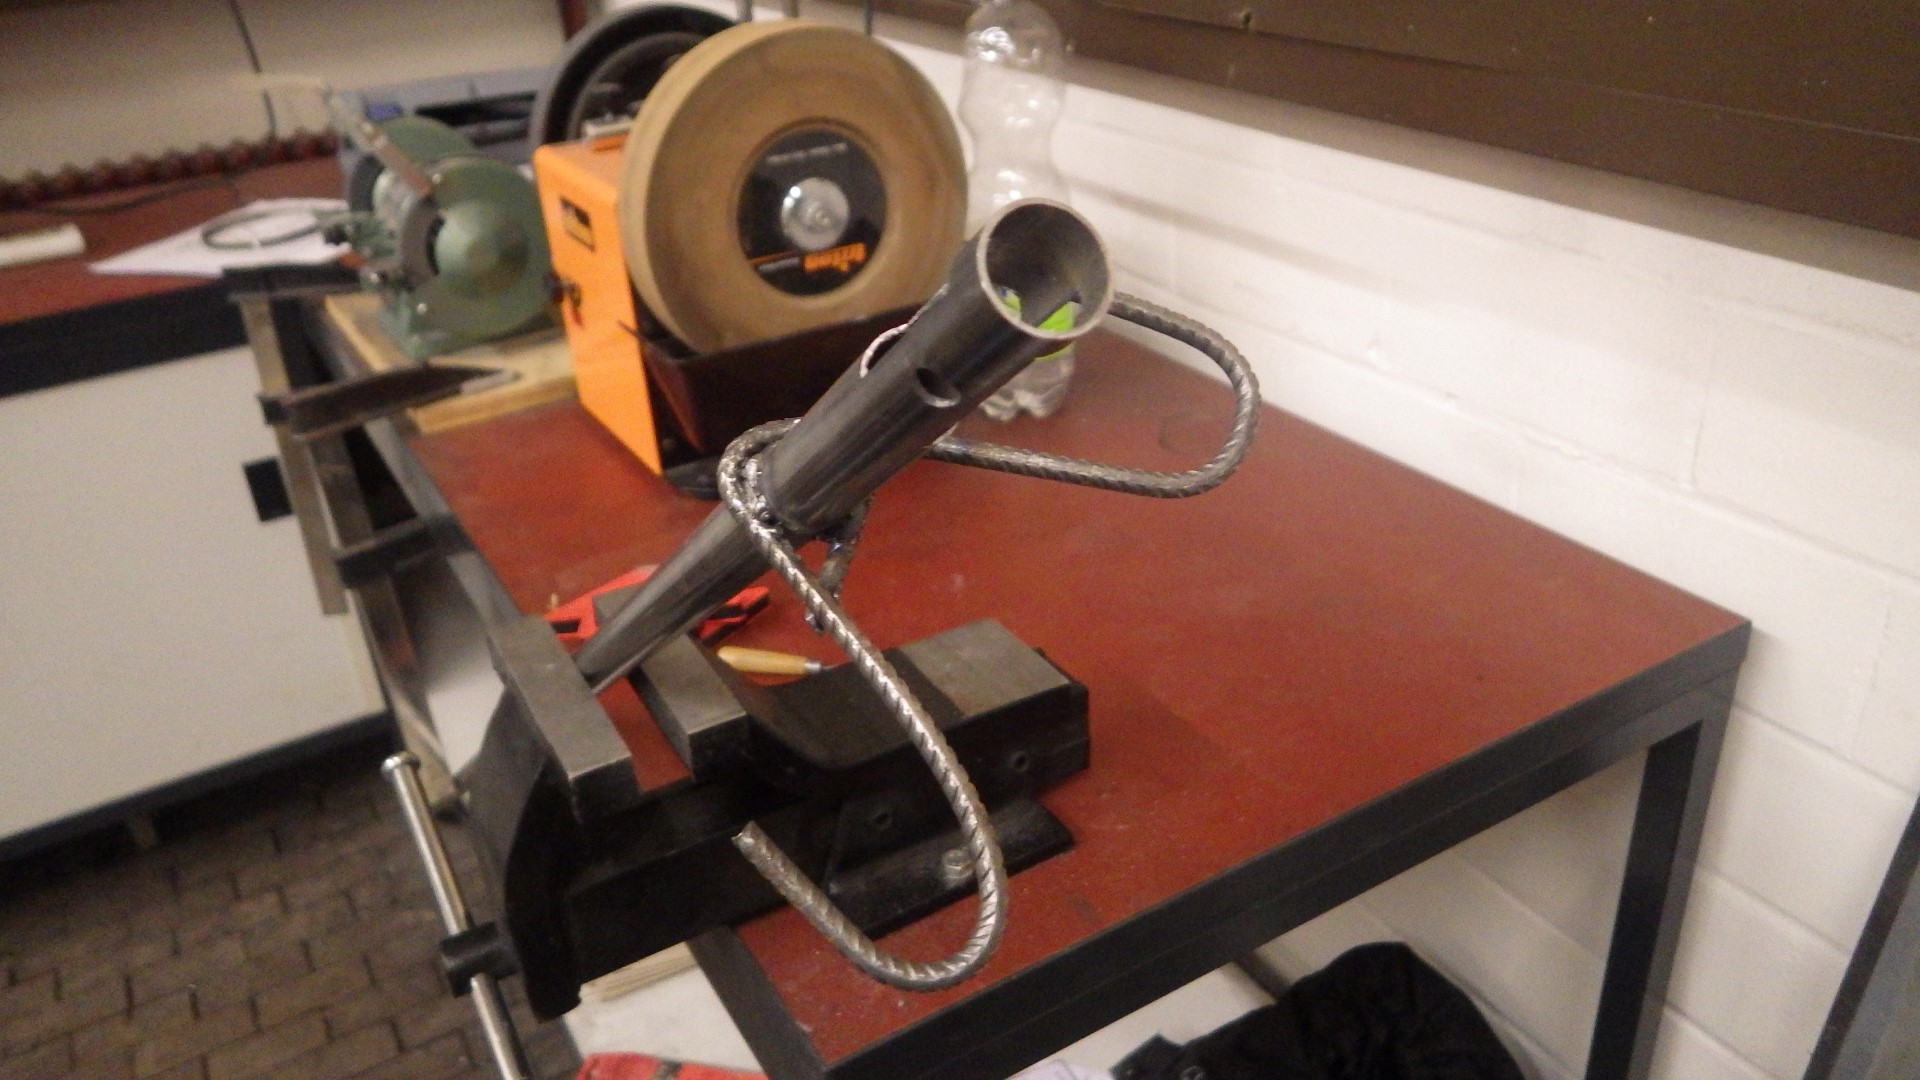
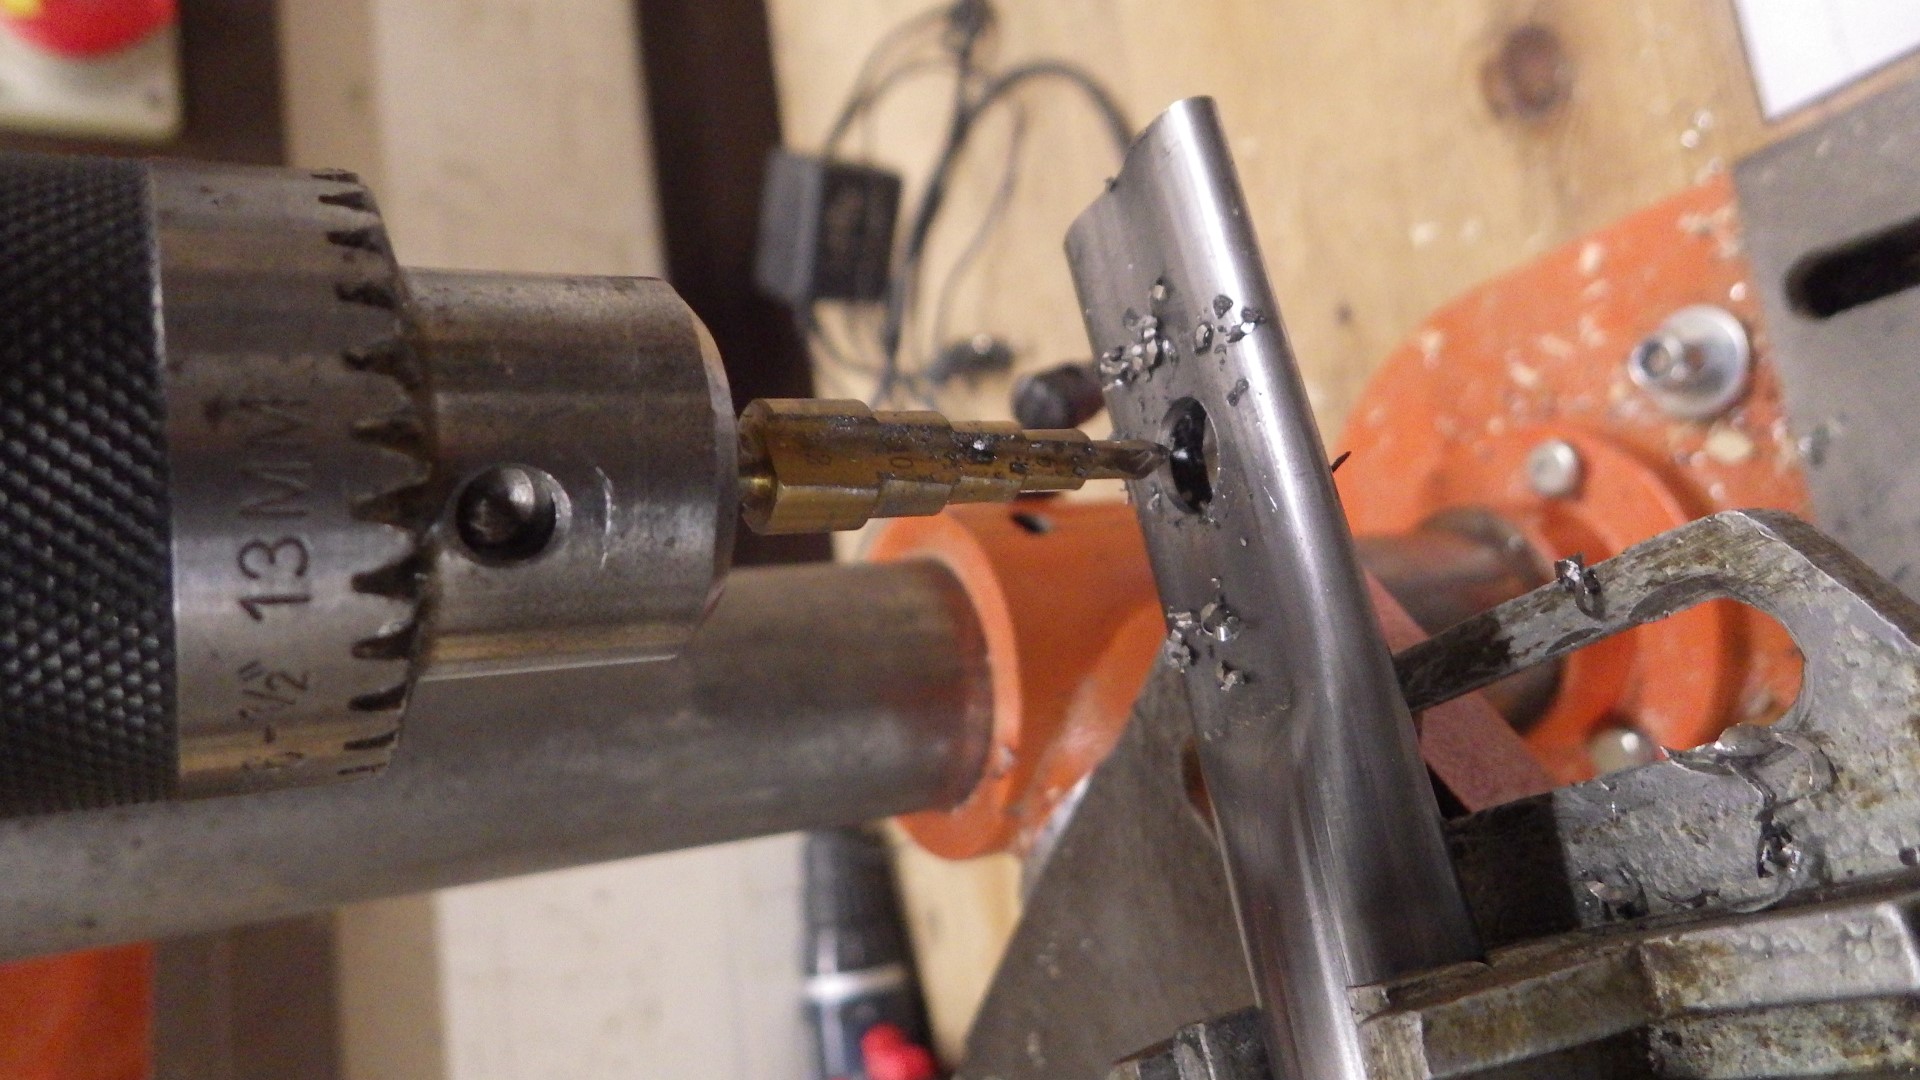
468 KB | Project:Schwenkgrill die flachgedrückten Stellen werden mit einem Stufenbohrer weit aufgebohrt, um sich gut um die Gewindestange bewegen zu können | 1 |
| 13:16, 8 May 2019 | Schwenkgrill 06.JPG (file) |  |
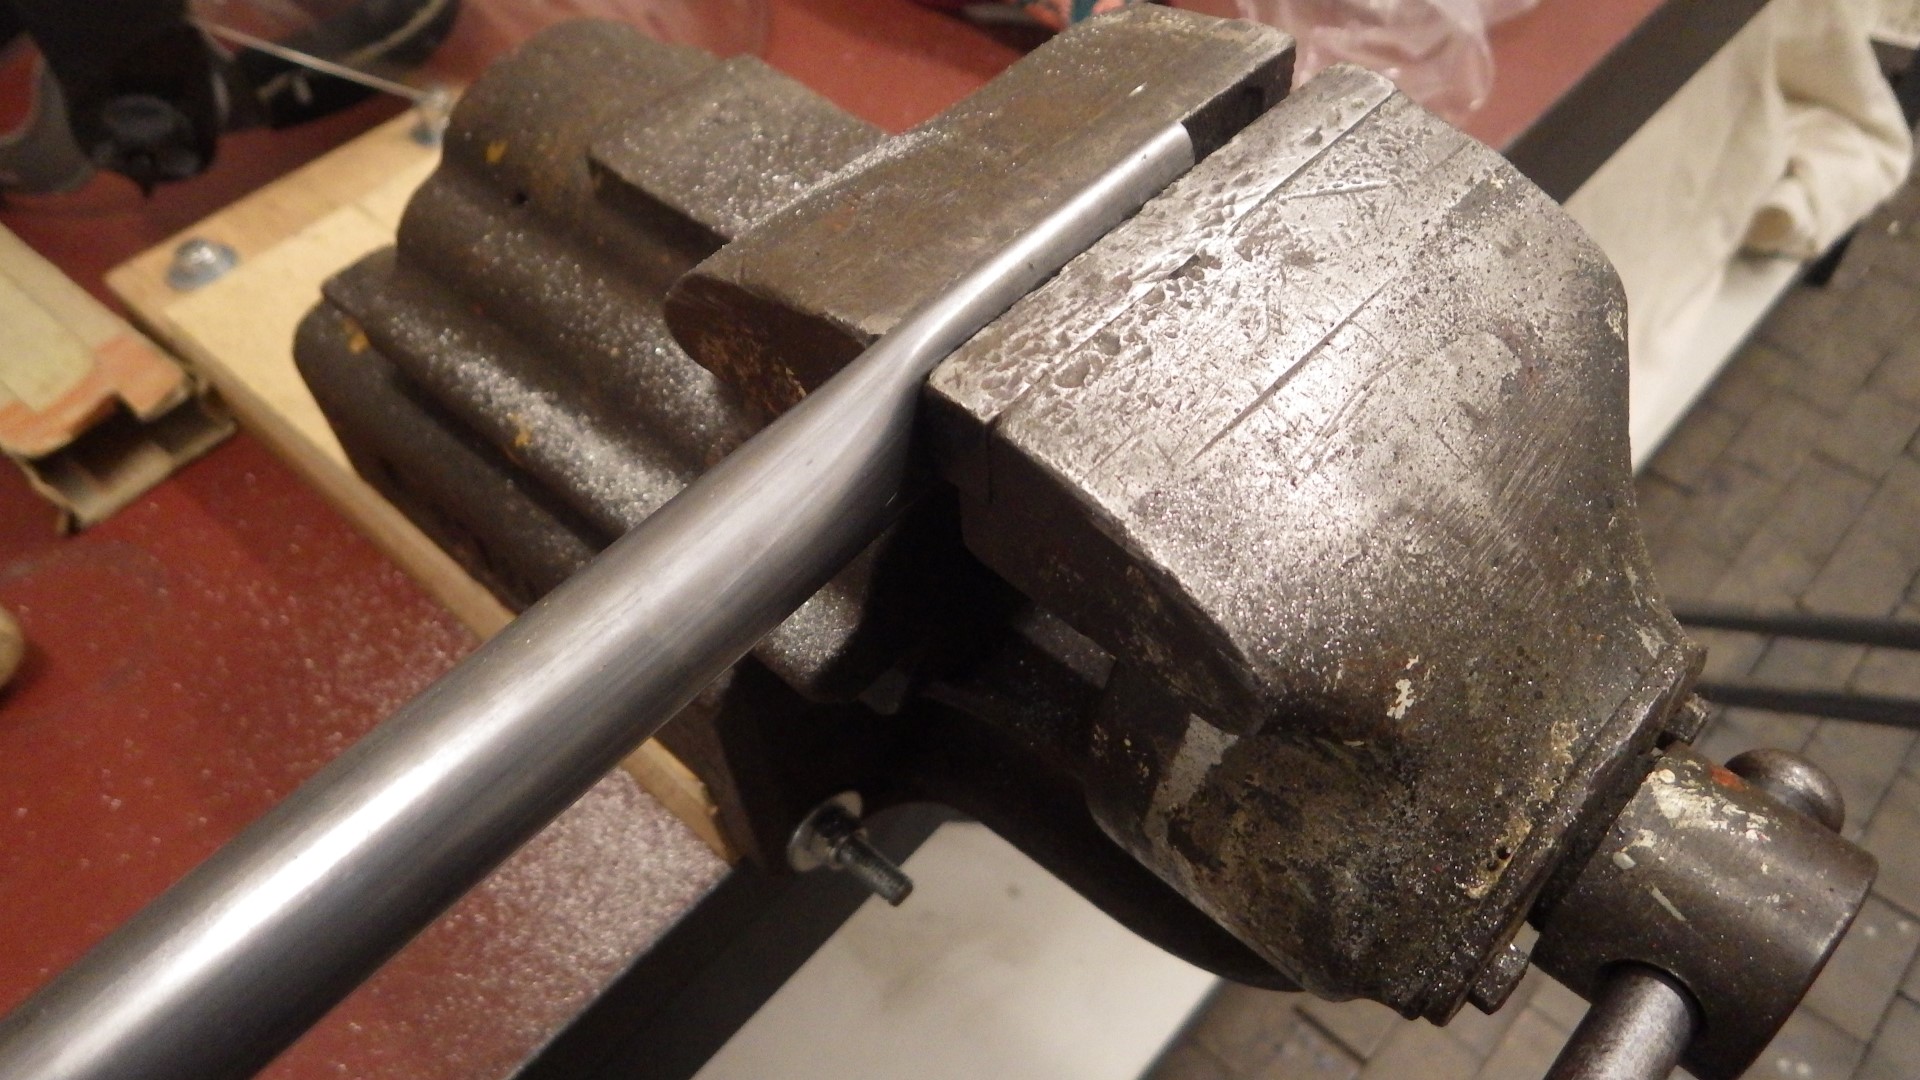
503 KB | Project:Schwenkgrill Die beiden äußeren Stahlrohre werden an einem Ende im Schraubstock flachgedrückt | 1 |
| 13:14, 8 May 2019 | Schwenkgrill 05.JPG (file) |  |
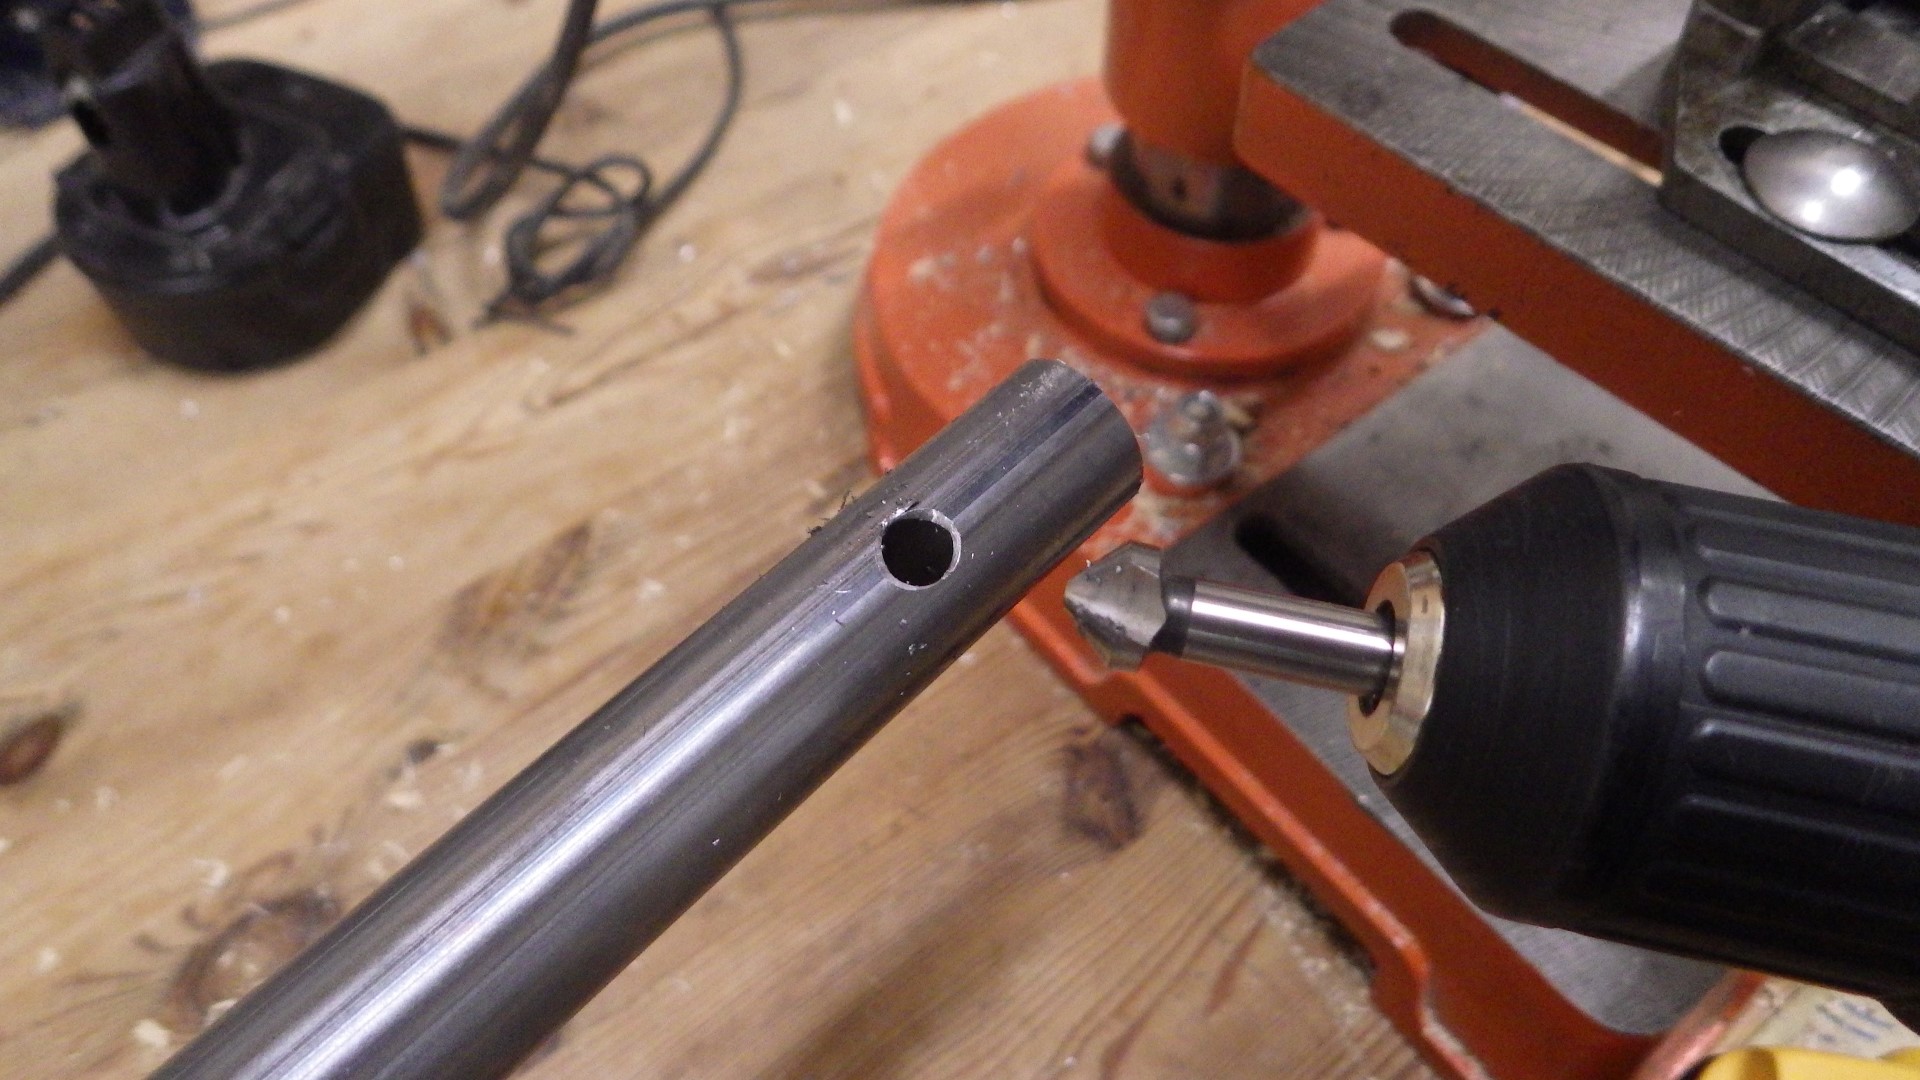
453 KB | Project:Schwenkgrill Bohrlöcher in Metall am besten immer gleich entgraten, um sich nicht zu verletzen! | 1 |
| 13:12, 8 May 2019 | Schwenkgrill 04.JPG (file) |  |
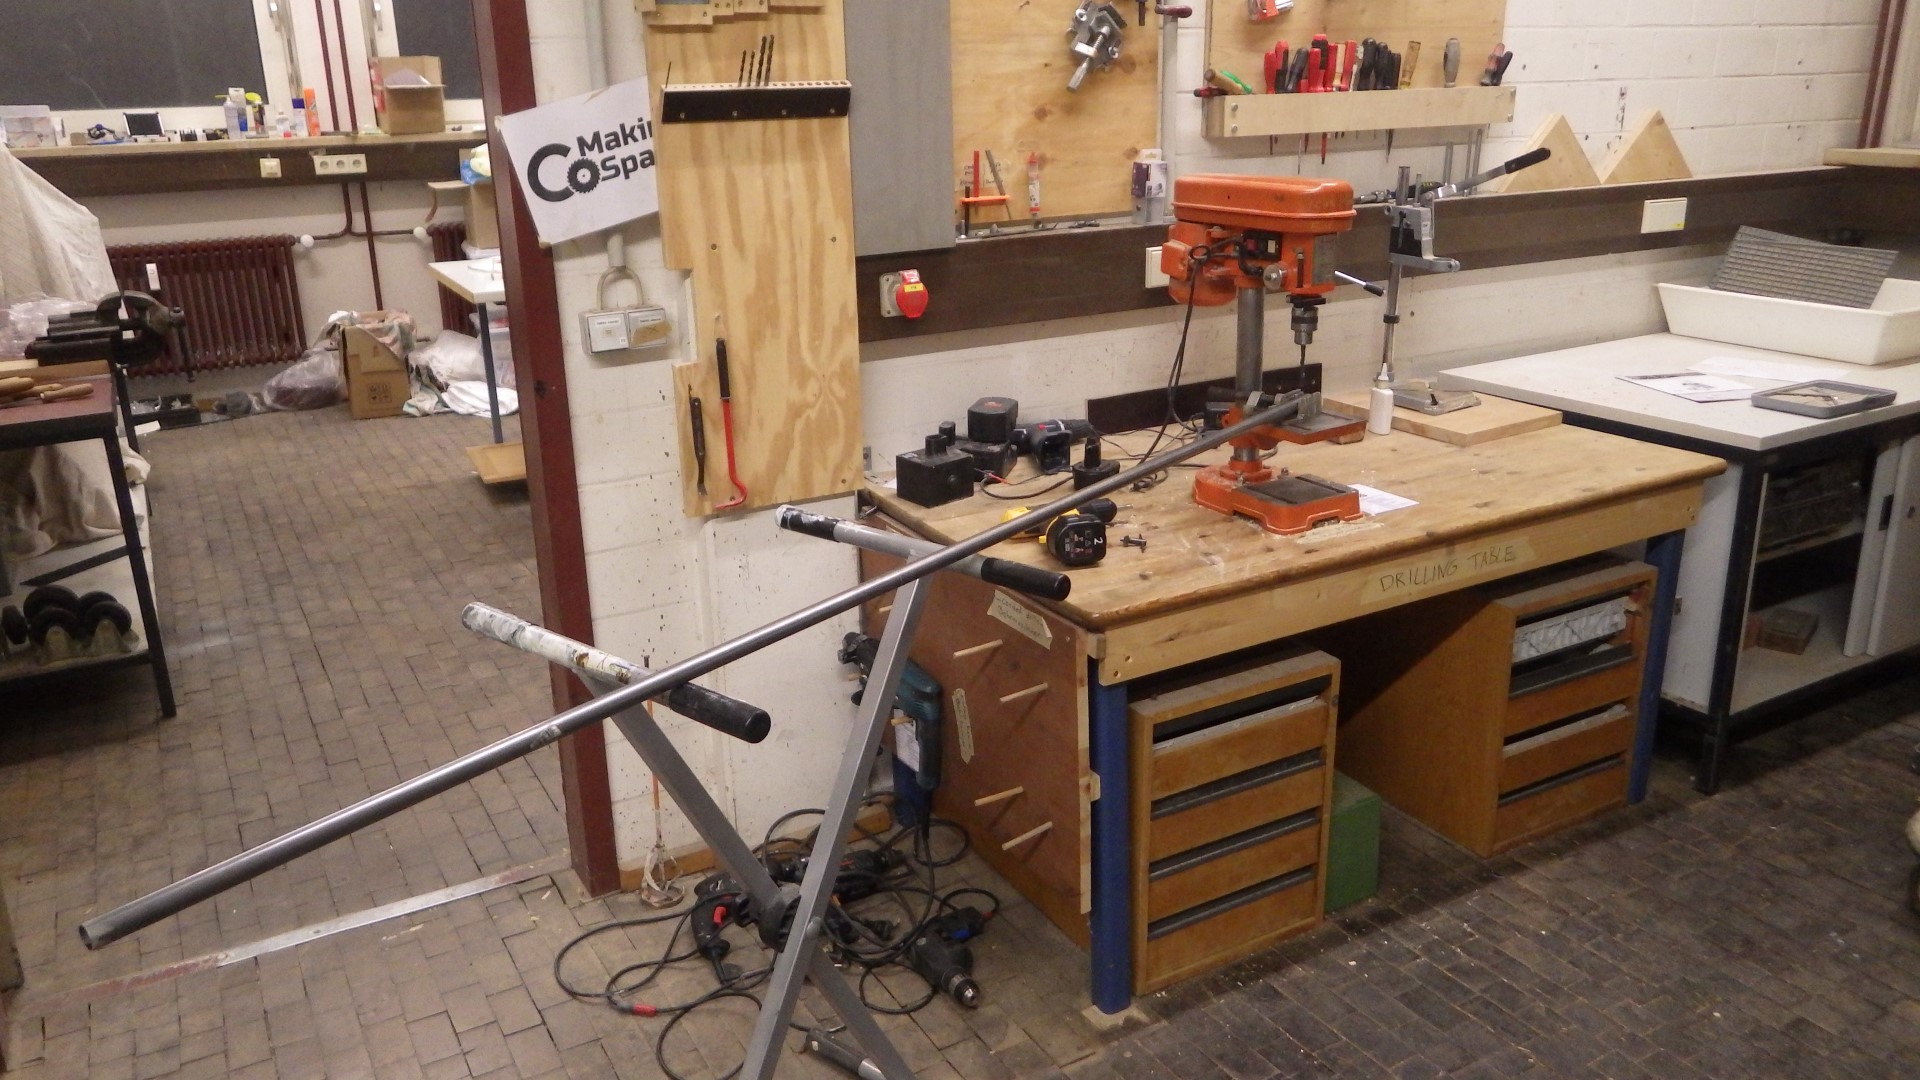
503 KB | Project:Schwenkgrill um in die Stahlrohre zu bohren sind ein Maschinenschraubstock und eine Tischverlängerung sinnvoll | 1 |
| 13:10, 8 May 2019 | Schwenkgrill 03.JPG (file) |  |
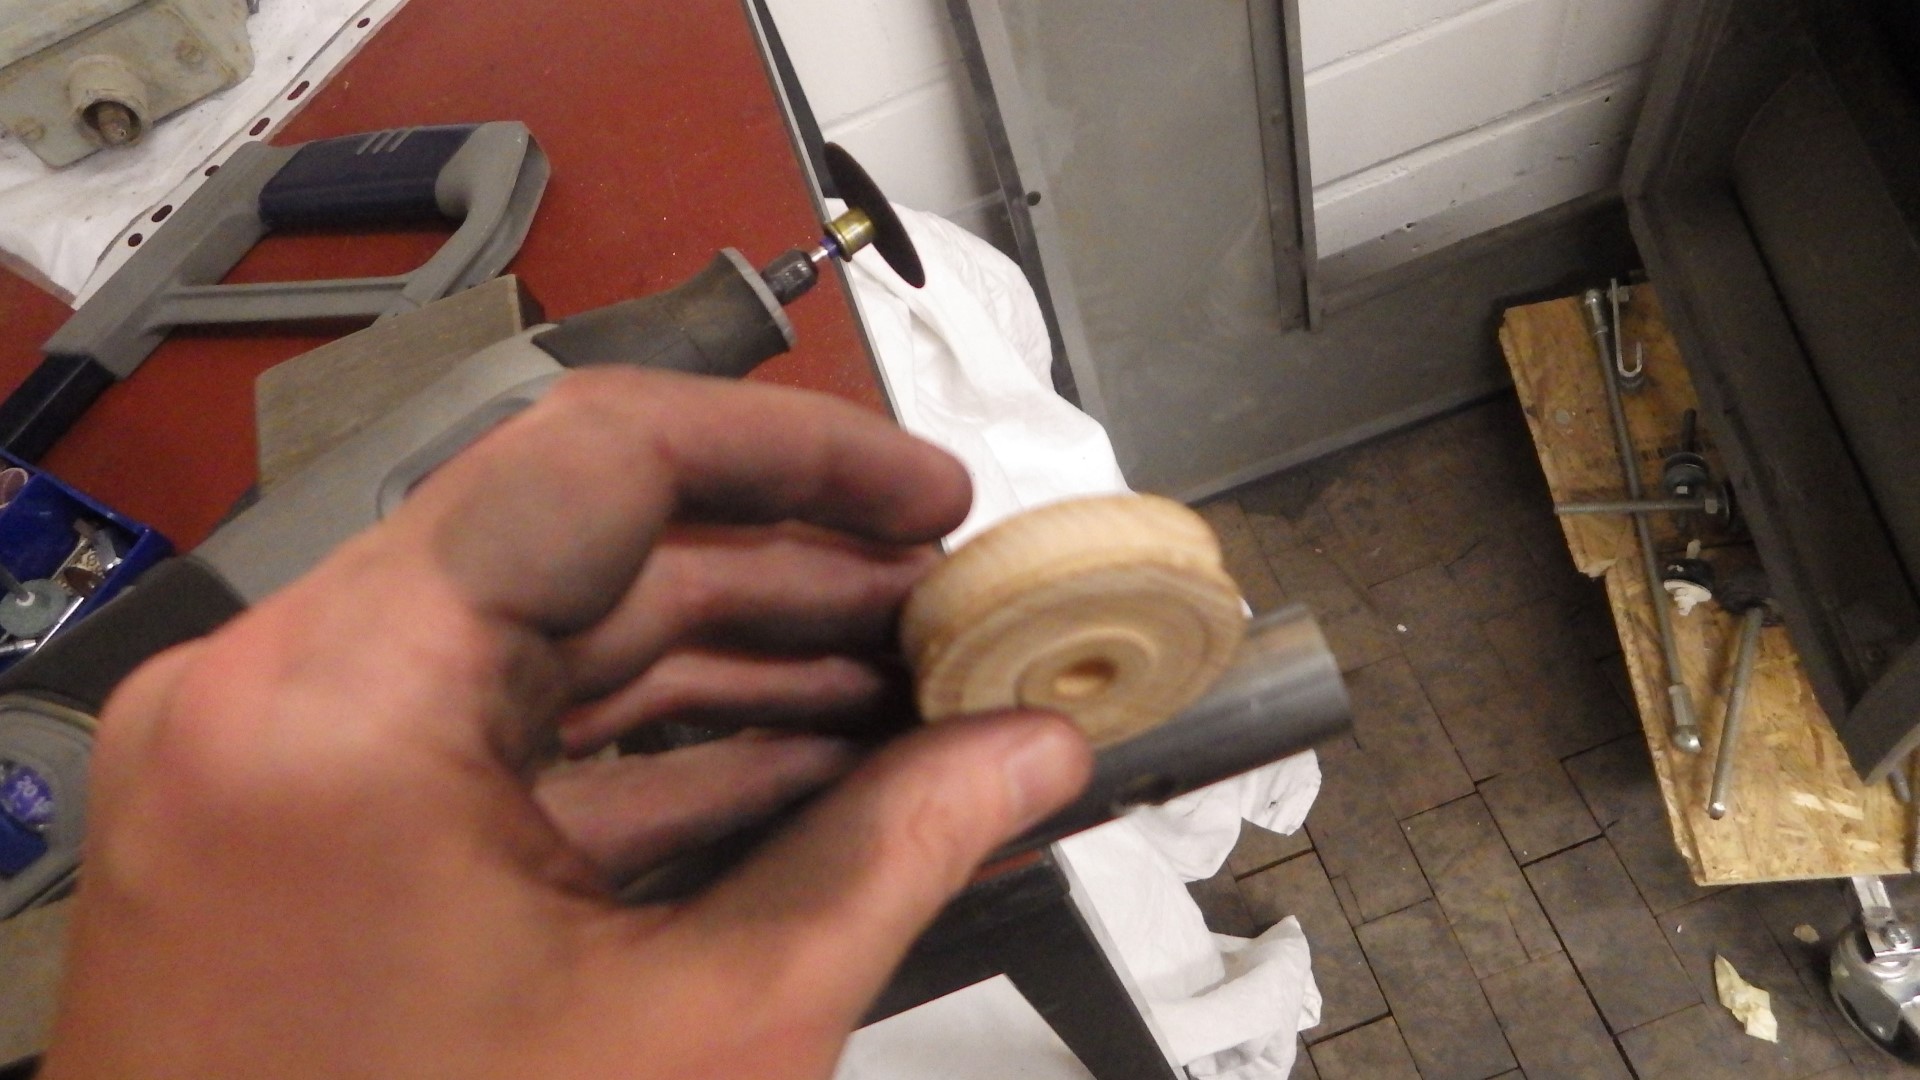
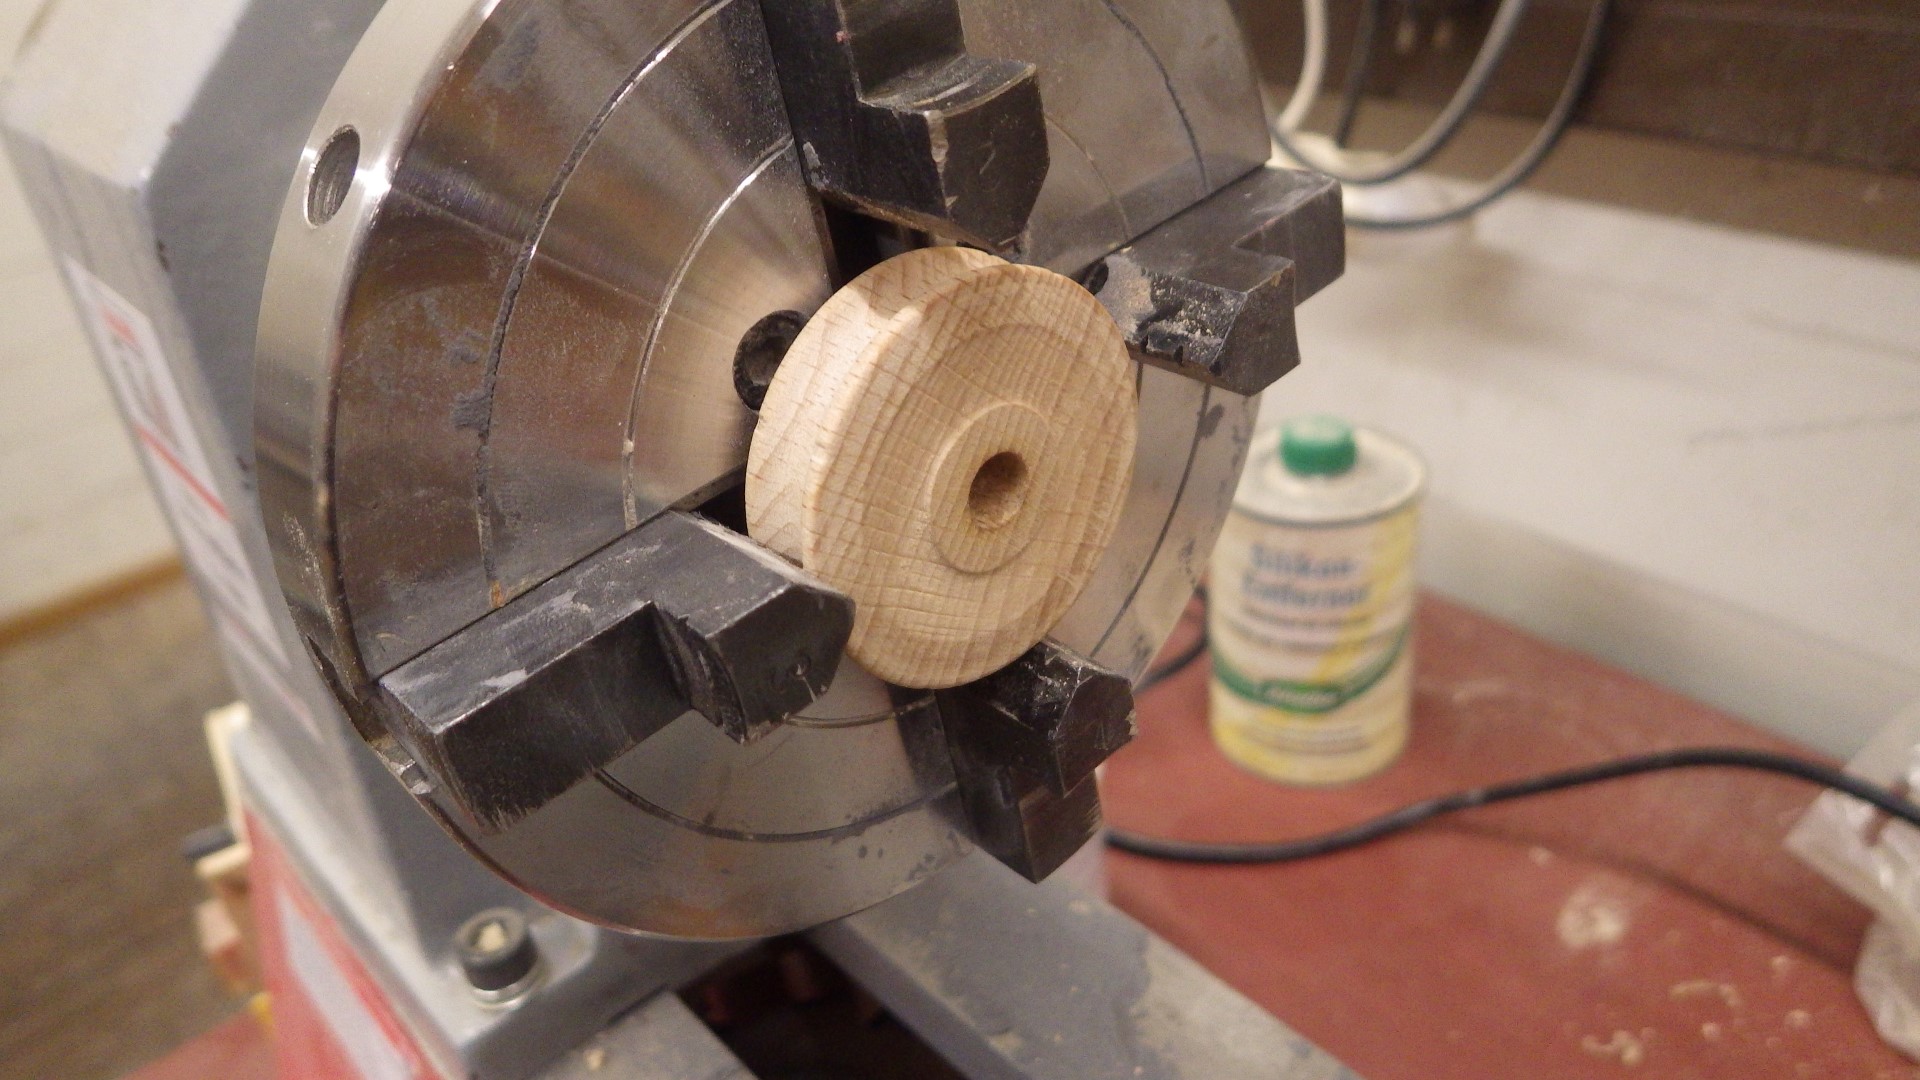
458 KB | Project:Schwenkgrill die Umlenkrolle braucht eine Bohrung für die Gewindestange (am besten schön zentriert auf der Drechselbank) | 1 |
| 13:04, 8 May 2019 | Schwenkgrill 02.JPG (file) |  |
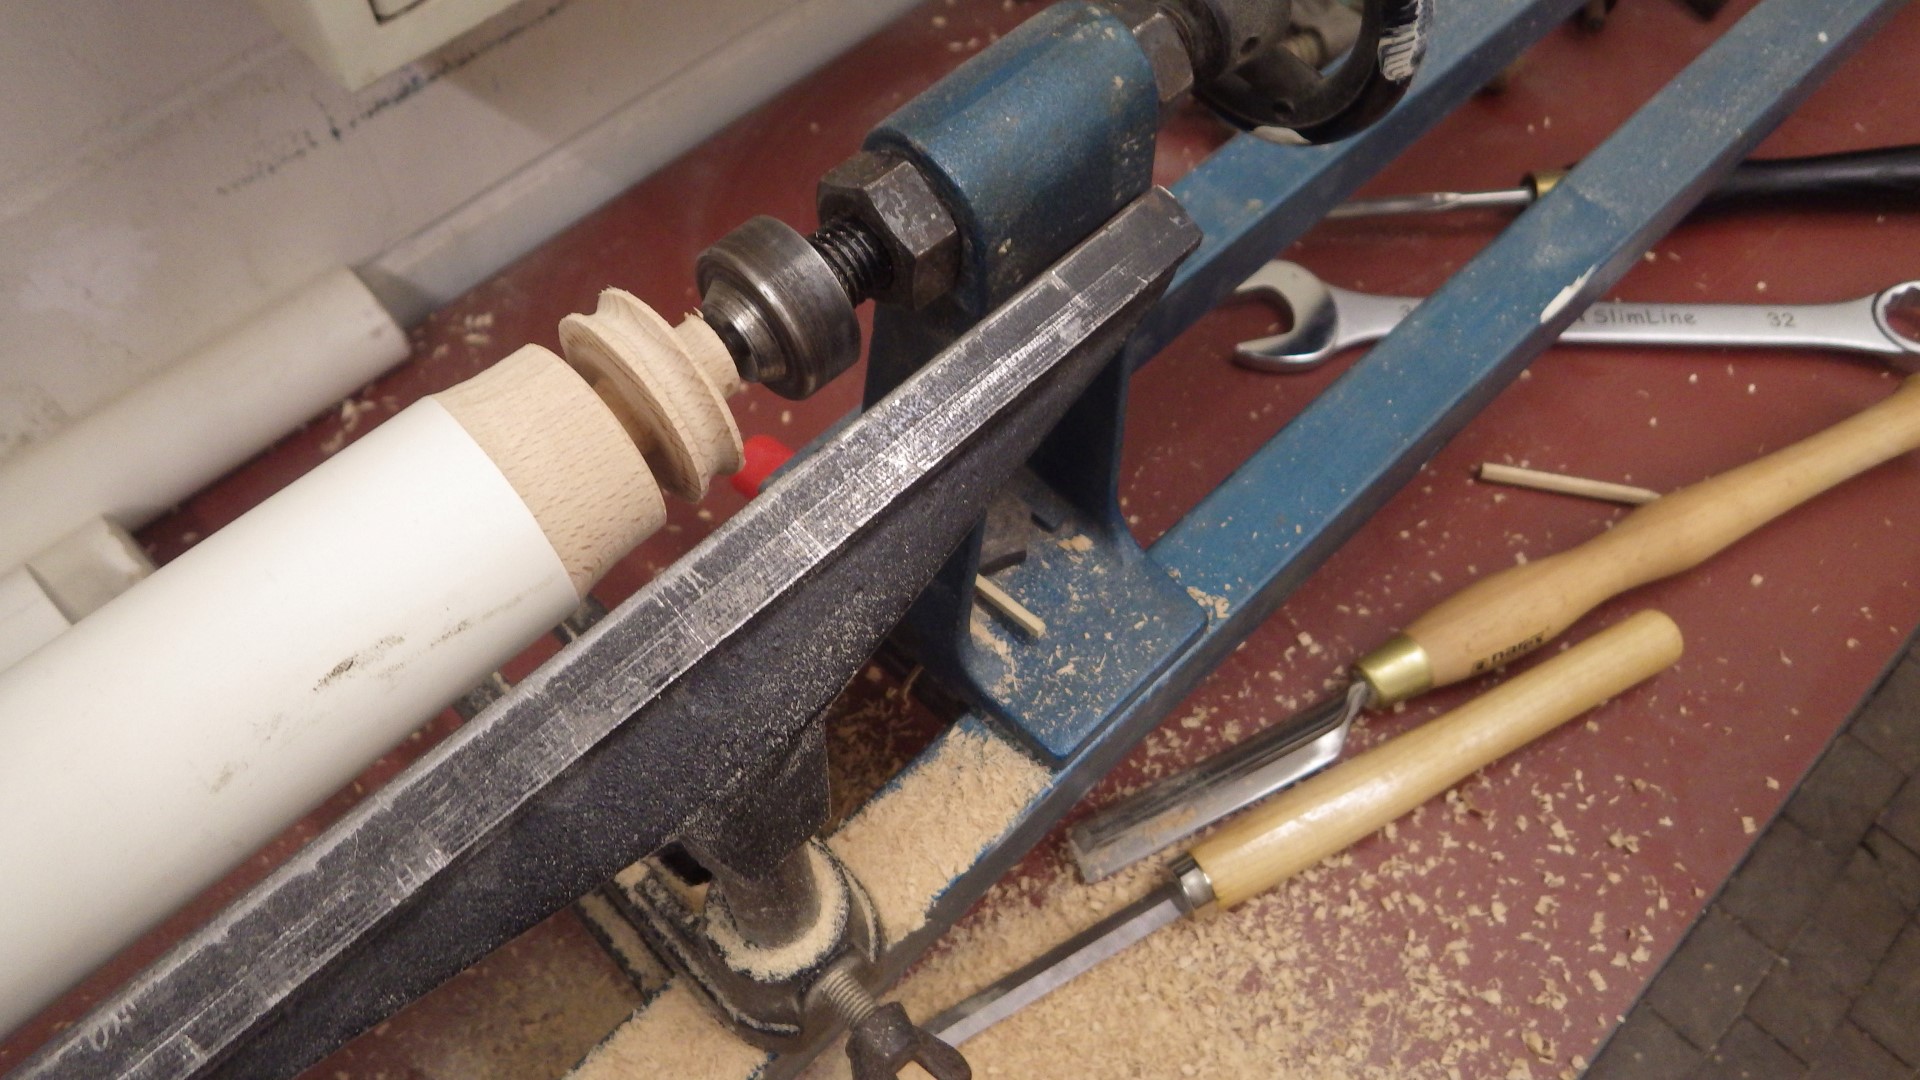
459 KB | Project:Schwenkgrill optional, aber cool: Umlenkrolle aus Buche drechseln | 1 |
| 12:58, 8 May 2019 | Schwenkgrill 01.JPG (file) |  |
356 KB | Project:Schwenkgrill (fast) das gesamte Material zu Beginn | 1 |
| 17:26, 2 May 2019 | Abused woodturning tools.JPG (file) |  |
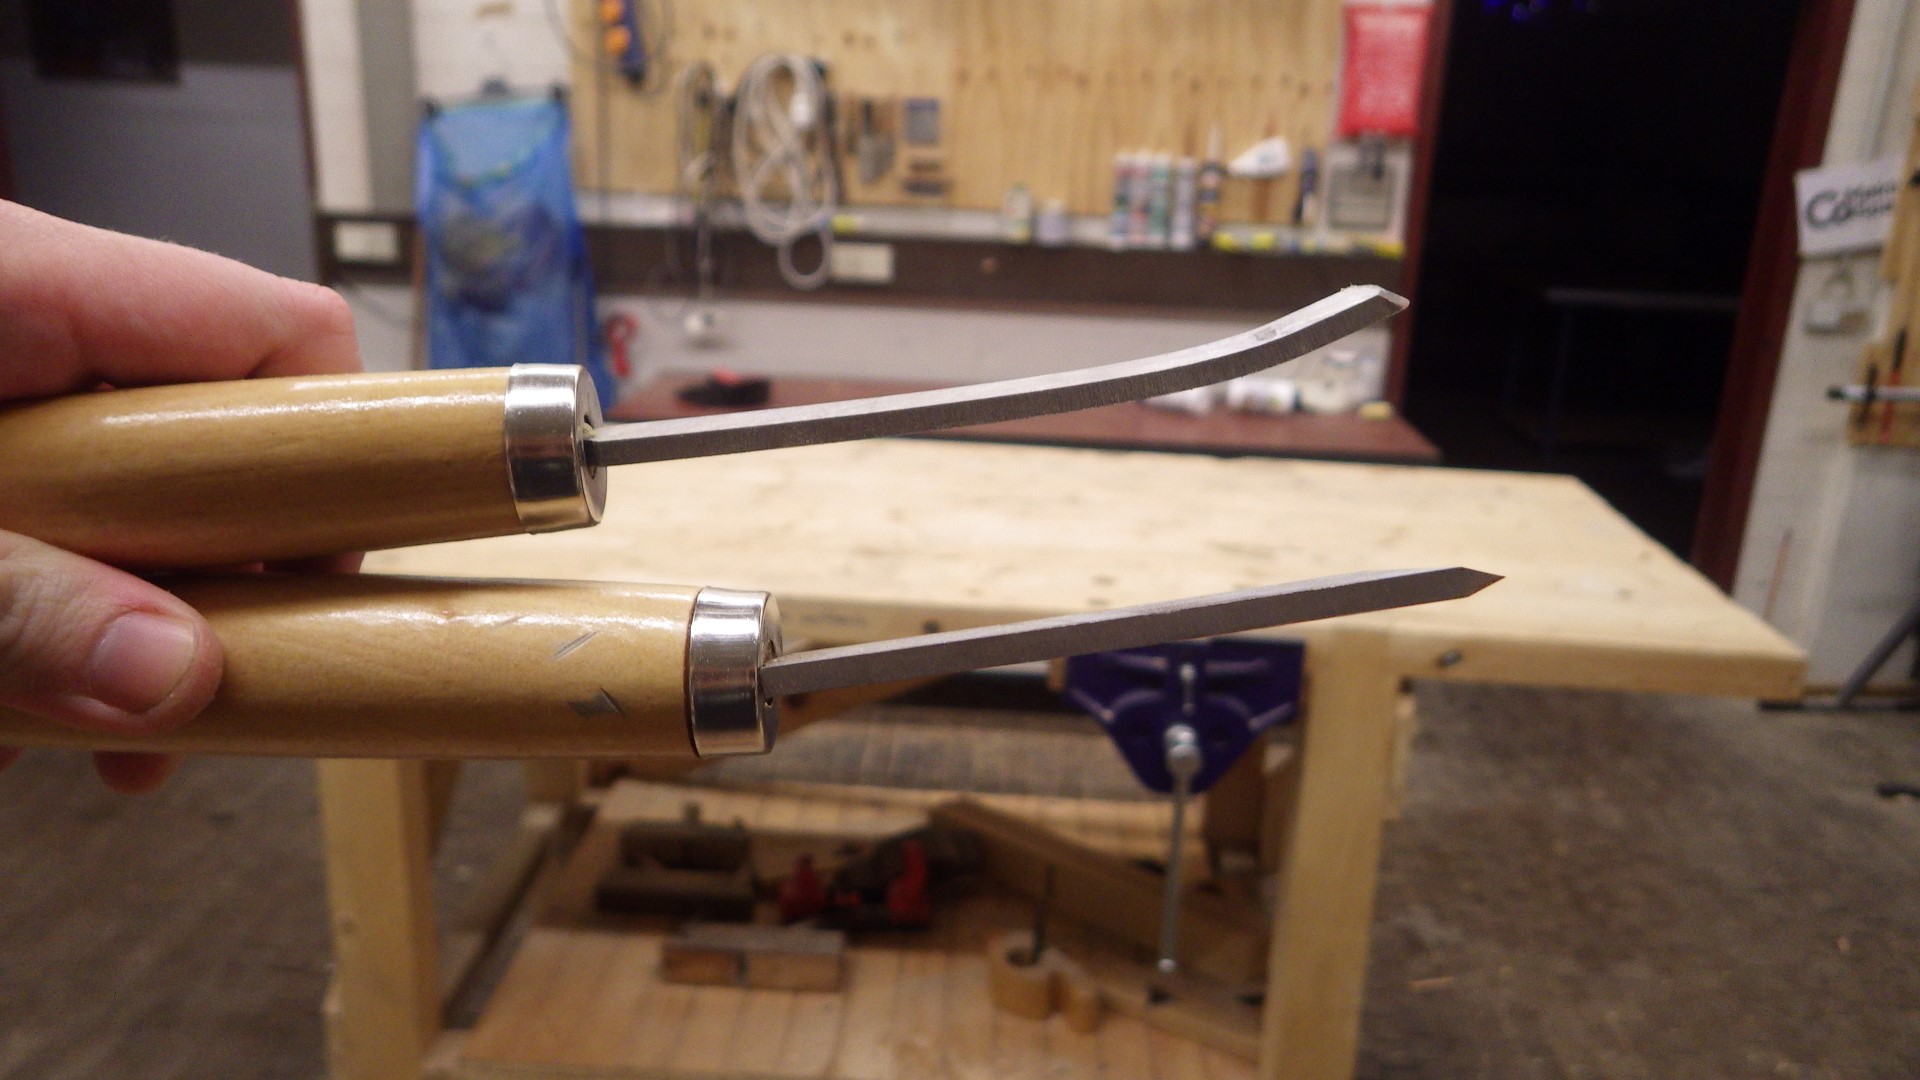
380 KB | woodturning tools that were abused and bent :-( | 1 |
| 17:15, 2 May 2019 | Panel carrying.JPG (file) |  |
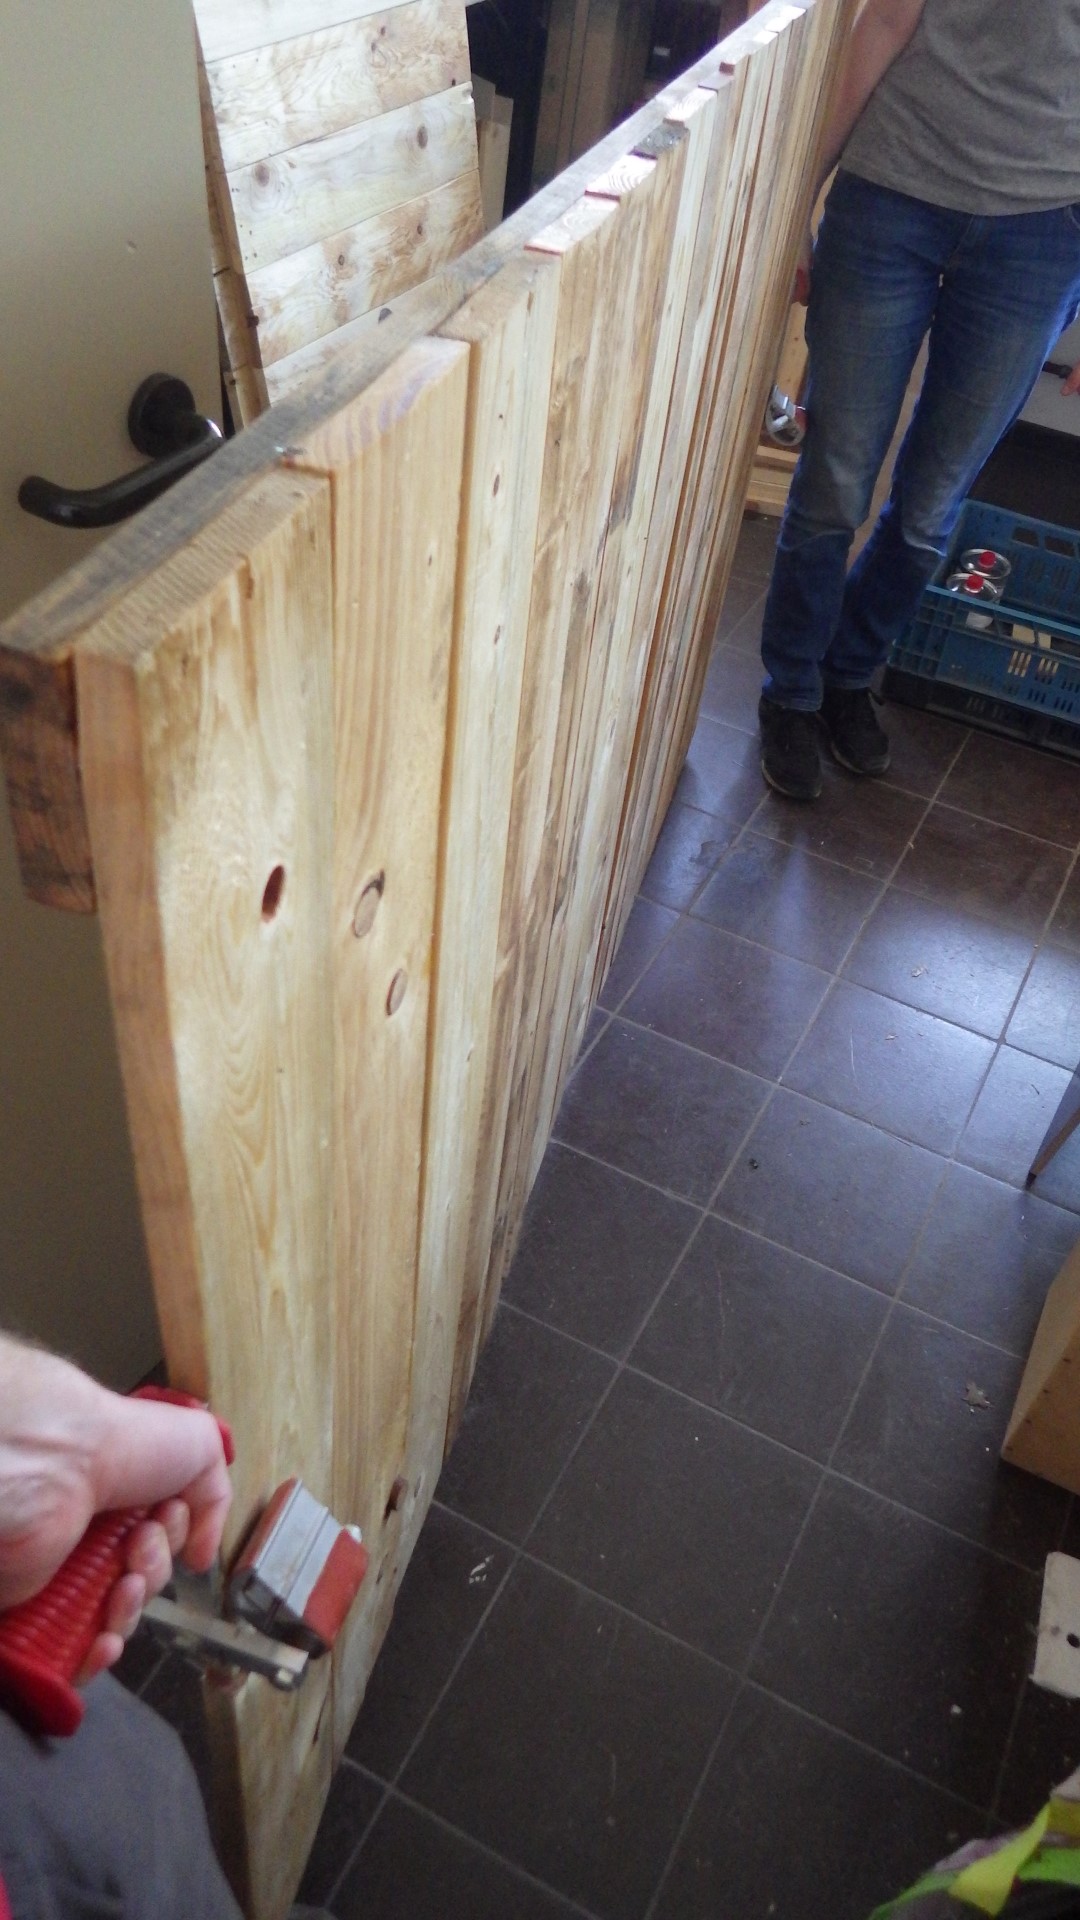
433 KB | using panel carriers to move a large workpiece out of the CoMaking room | 1 |
| 17:08, 2 May 2019 | Panel carriers.JPG (file) |  |
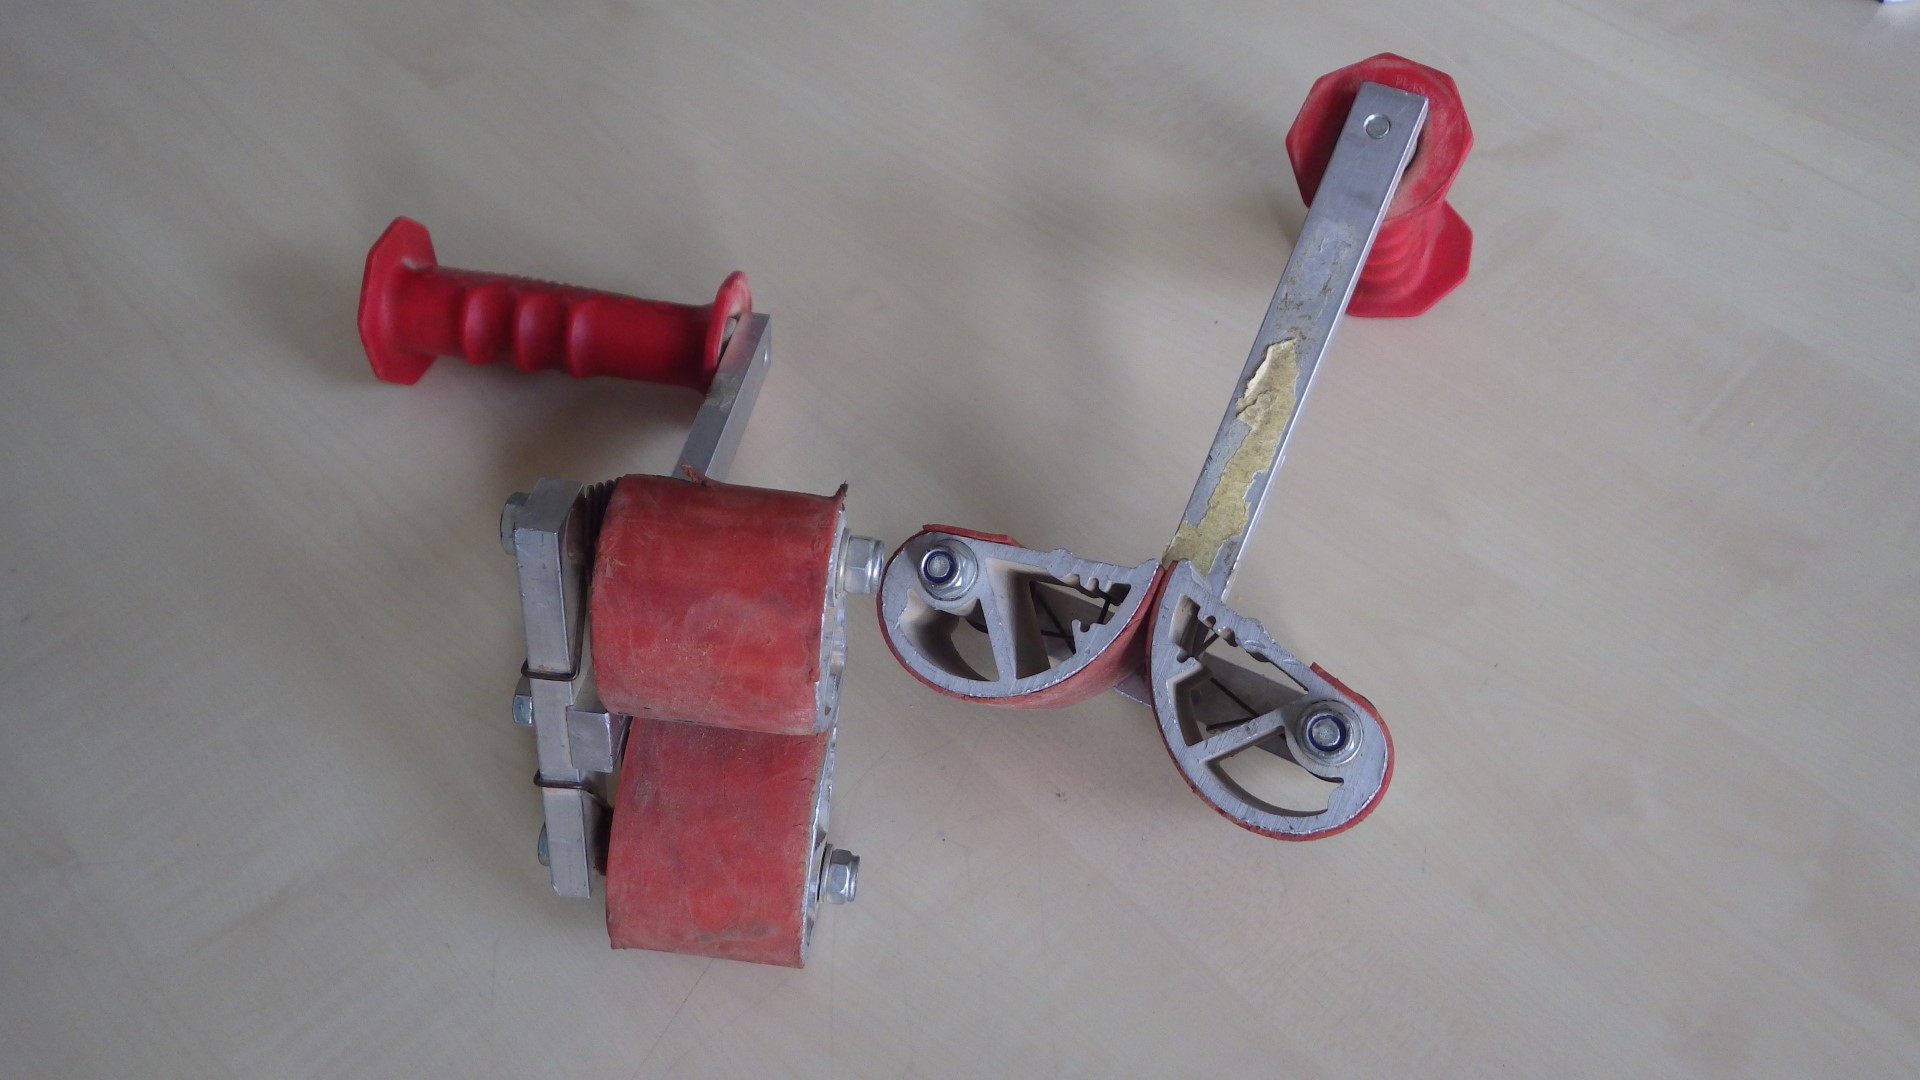
301 KB | two panel carriers on a table | 1 |
| 16:57, 2 May 2019 | Fretsaws.JPG (file) |  |
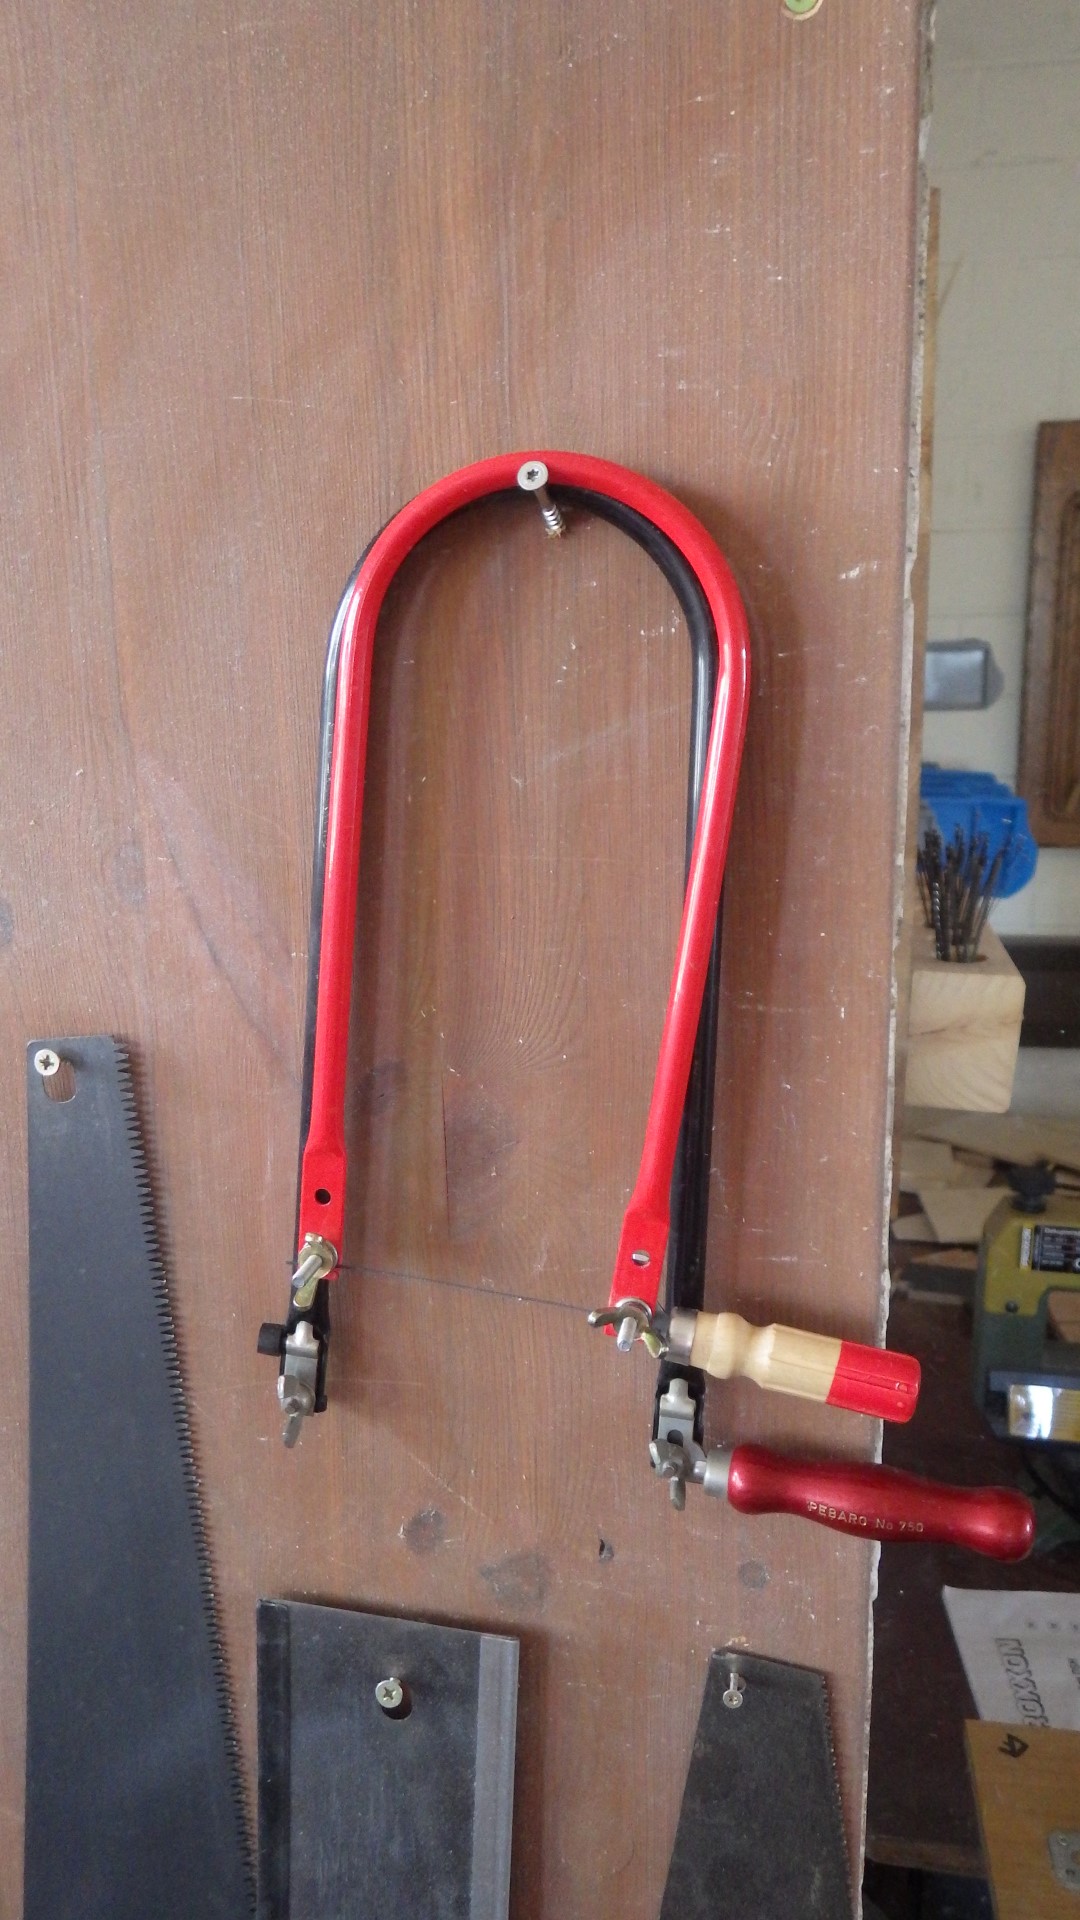
463 KB | two fretsaws (one without a blade) on the wall | 1 |
| 15:01, 17 April 2019 | Waxwrap5.JPG (file) |  |
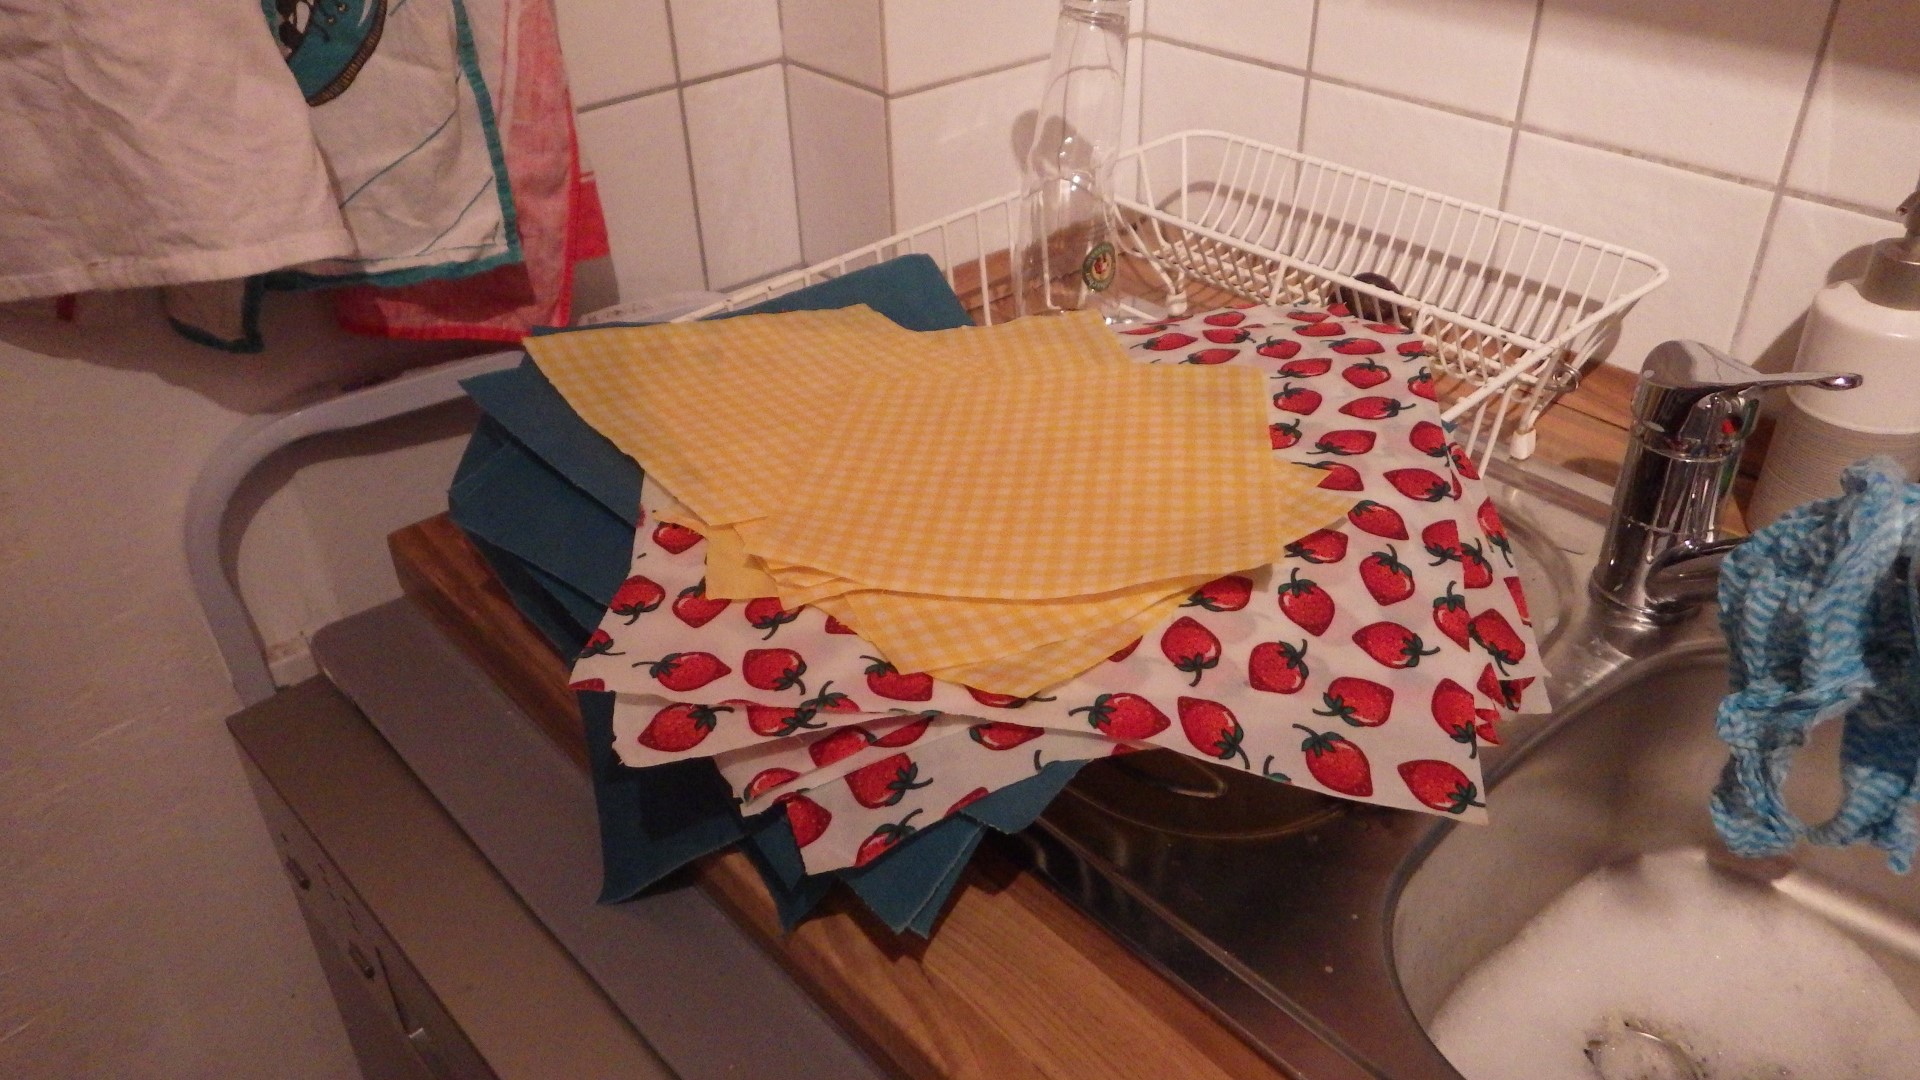
509 KB | Project:Beeswax Wrap the finished beeswax wrap can be cleaned with soapy water (not too hot!) | 1 |
| 14:57, 17 April 2019 | Waxwrap4.JPG (file) |  |
564 KB | Project:Beeswax Wrap The warmth of your hands should now be sufficient to shape your beeswax wrap around pretty much anything! If it doesn't keep its shape, add more wax. | 1 |
| 14:54, 17 April 2019 | Waxwrap3.JPG (file) |  |
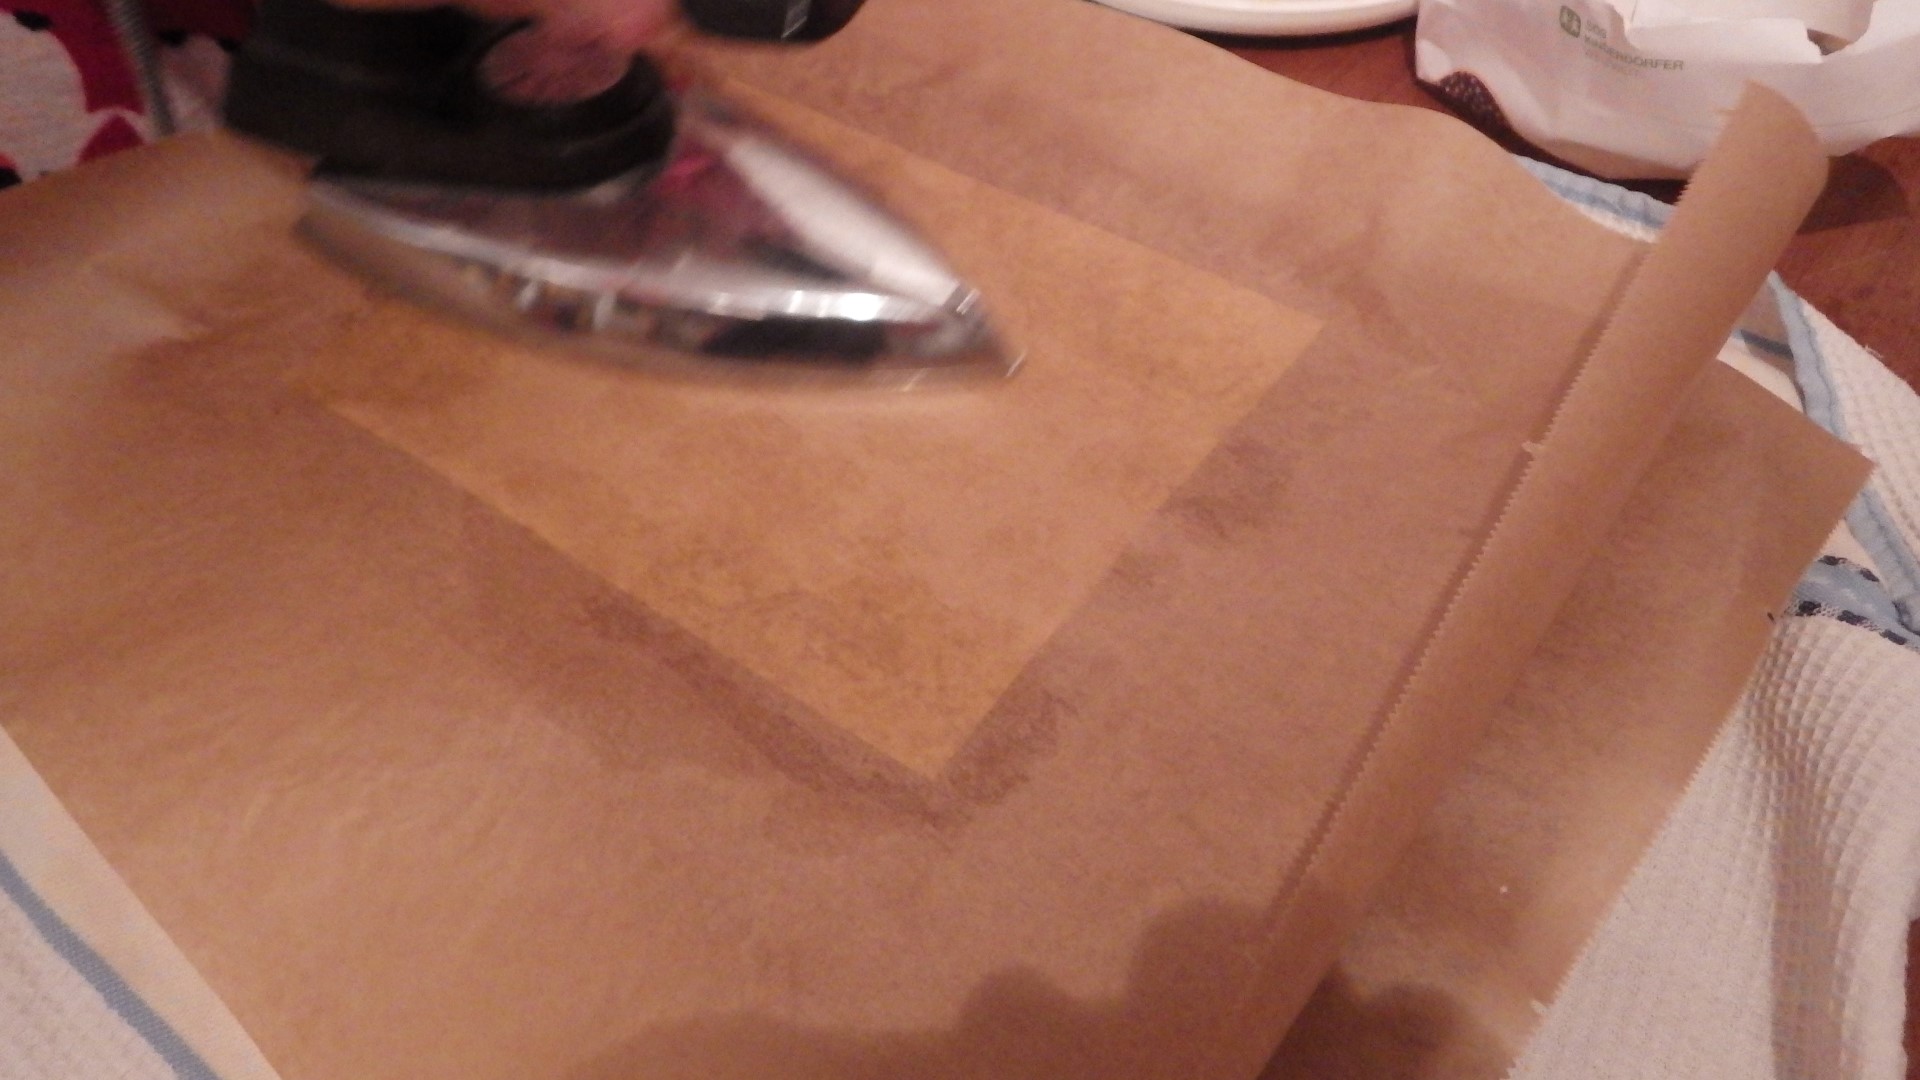
349 KB | Project:Beeswax Wrap place the beeswax-covered fabric between to sheets of baking paper and use a flatiron to melt the wax into it | 1 |
| 14:31, 17 April 2019 | Waxwrap2.JPG (file) |  |
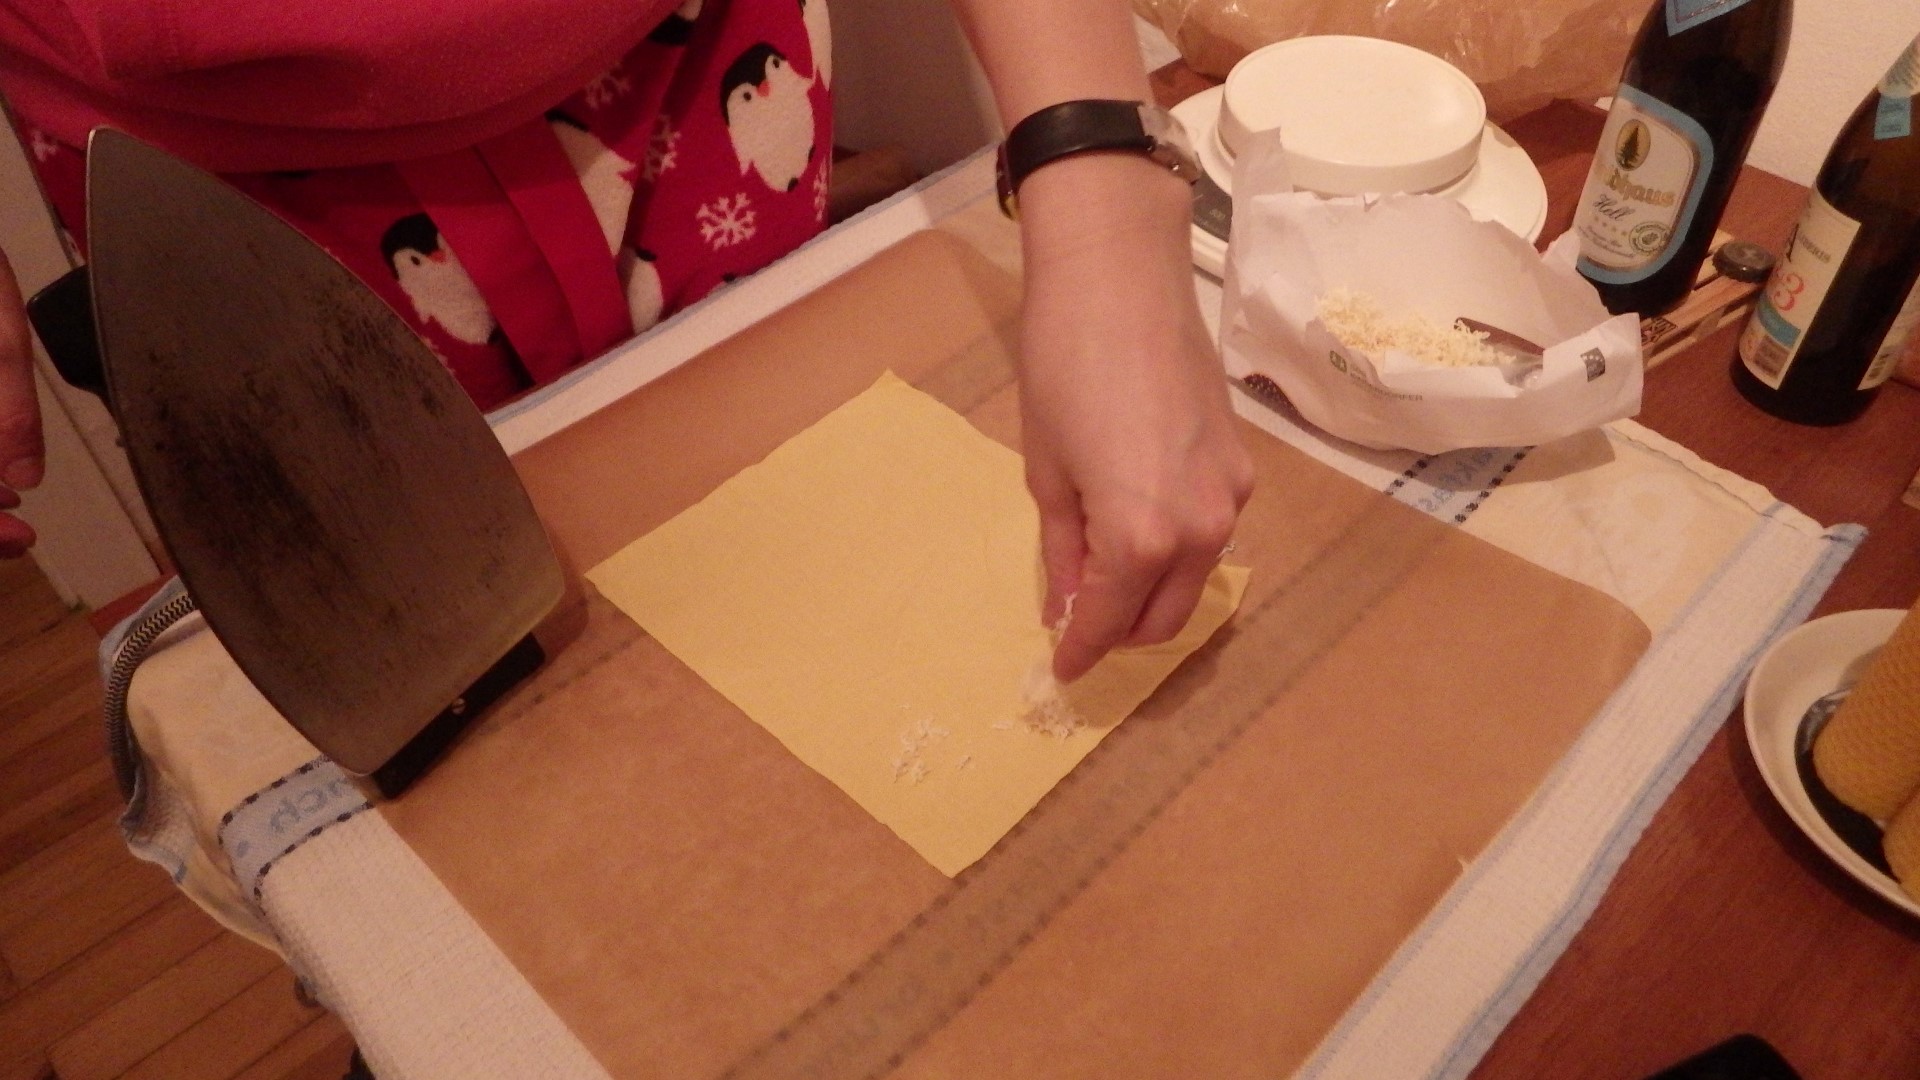
440 KB | Project:Beeswax Wrap spread the beeswax flakes onto a piece of cotton fabric | 1 |
| 14:28, 17 April 2019 | Waxwrap1.JPG (file) |  |
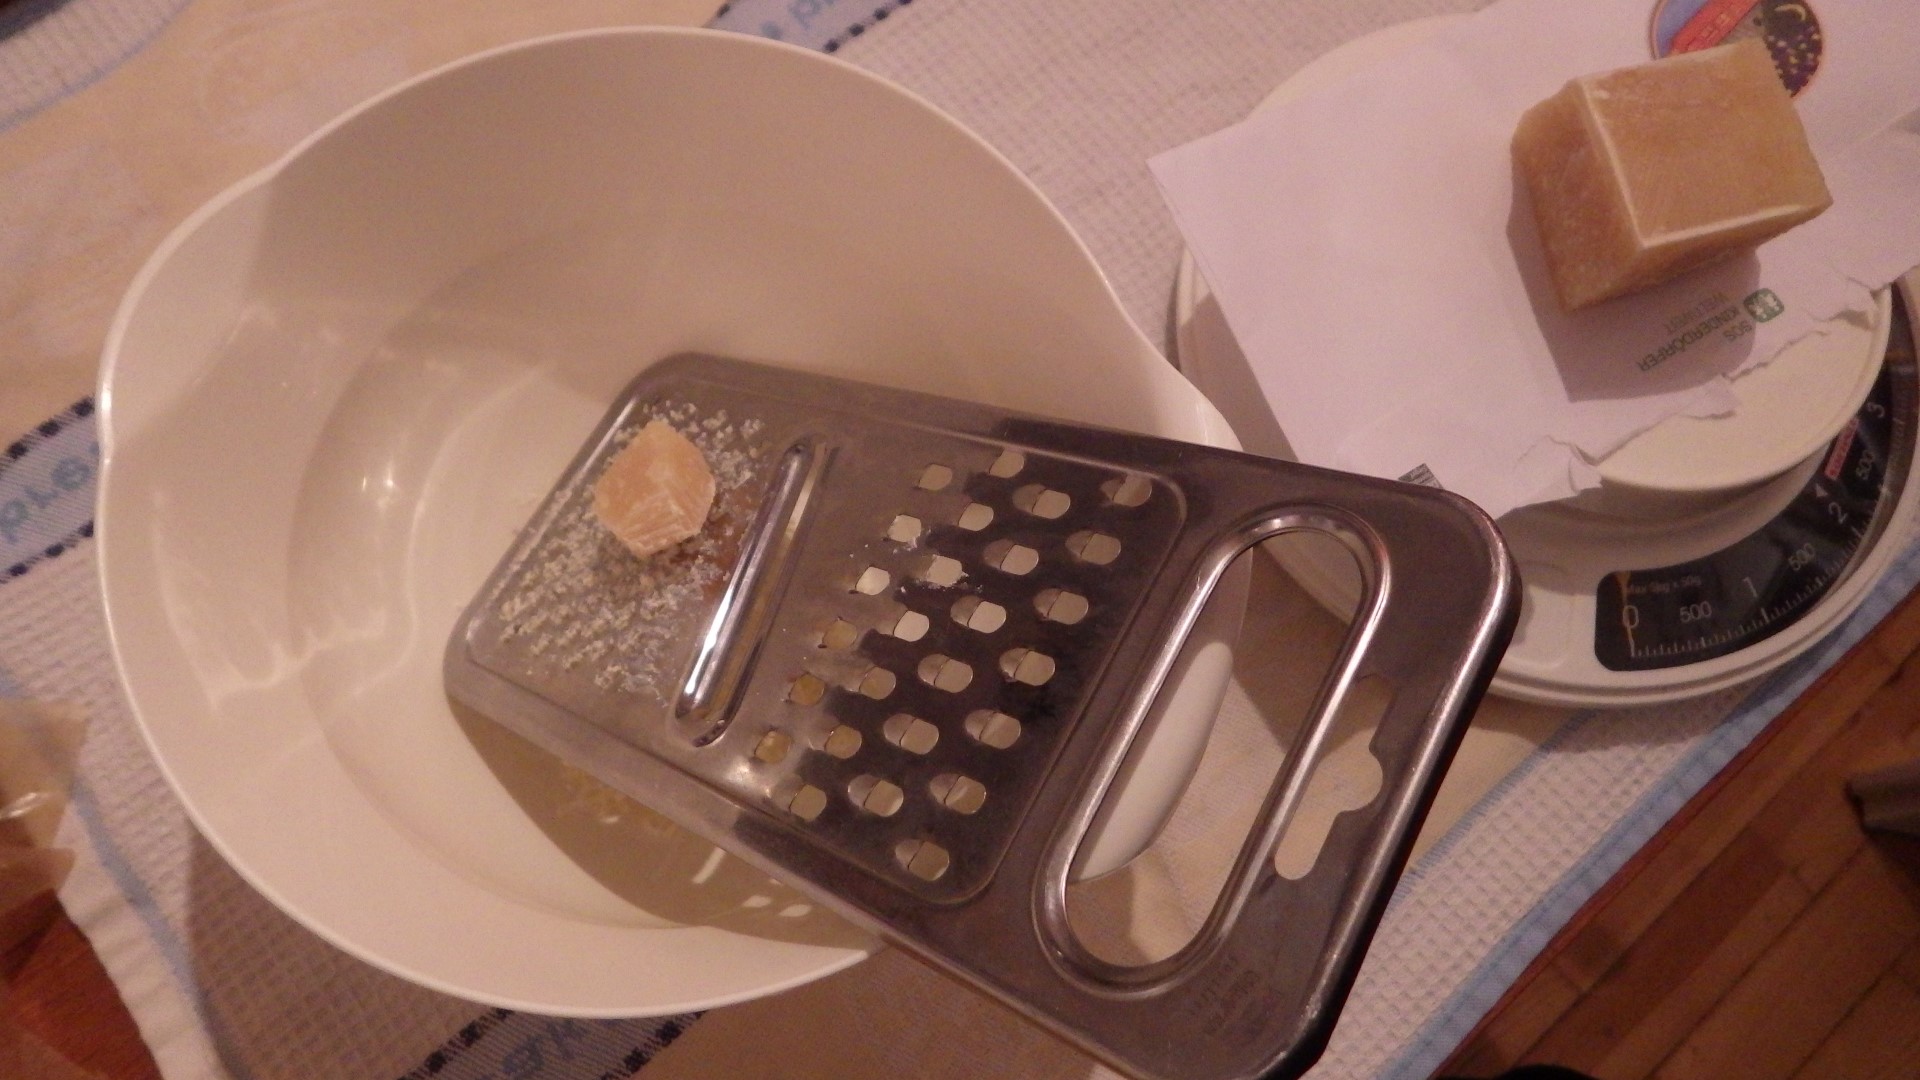
405 KB | Project:Beeswax Wrap first of all, the beeswax needed to be shredded into workable pieces | 1 |
| 01:15, 14 March 2019 | Schwenkgrill Vorbild.JPG (file) |  |
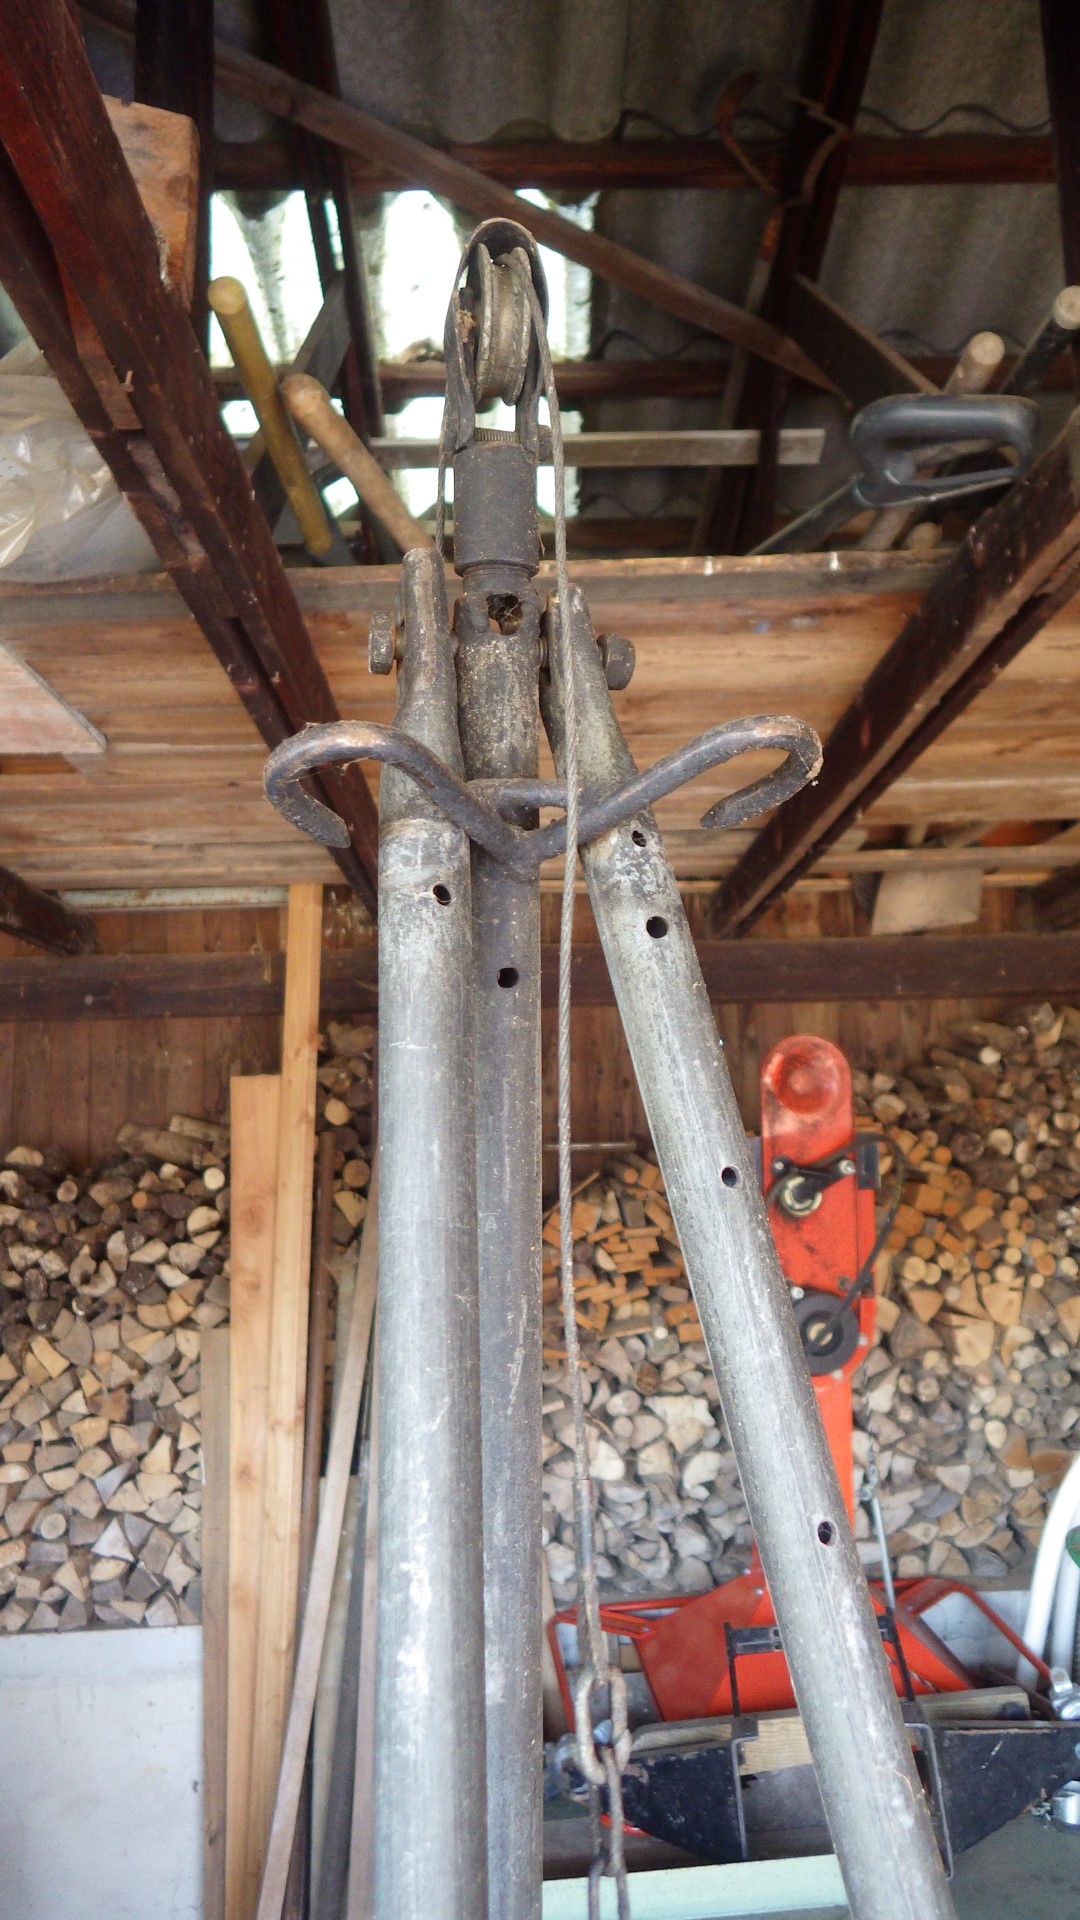
540 KB | Project:Schwenkgrill Opas selbstgebauter Schwenkgrill, den ich in einigen Punkten kopieren möchte! | 1 |
| 00:22, 9 March 2019 | Toy wheel turning 6.JPG (file) |  |
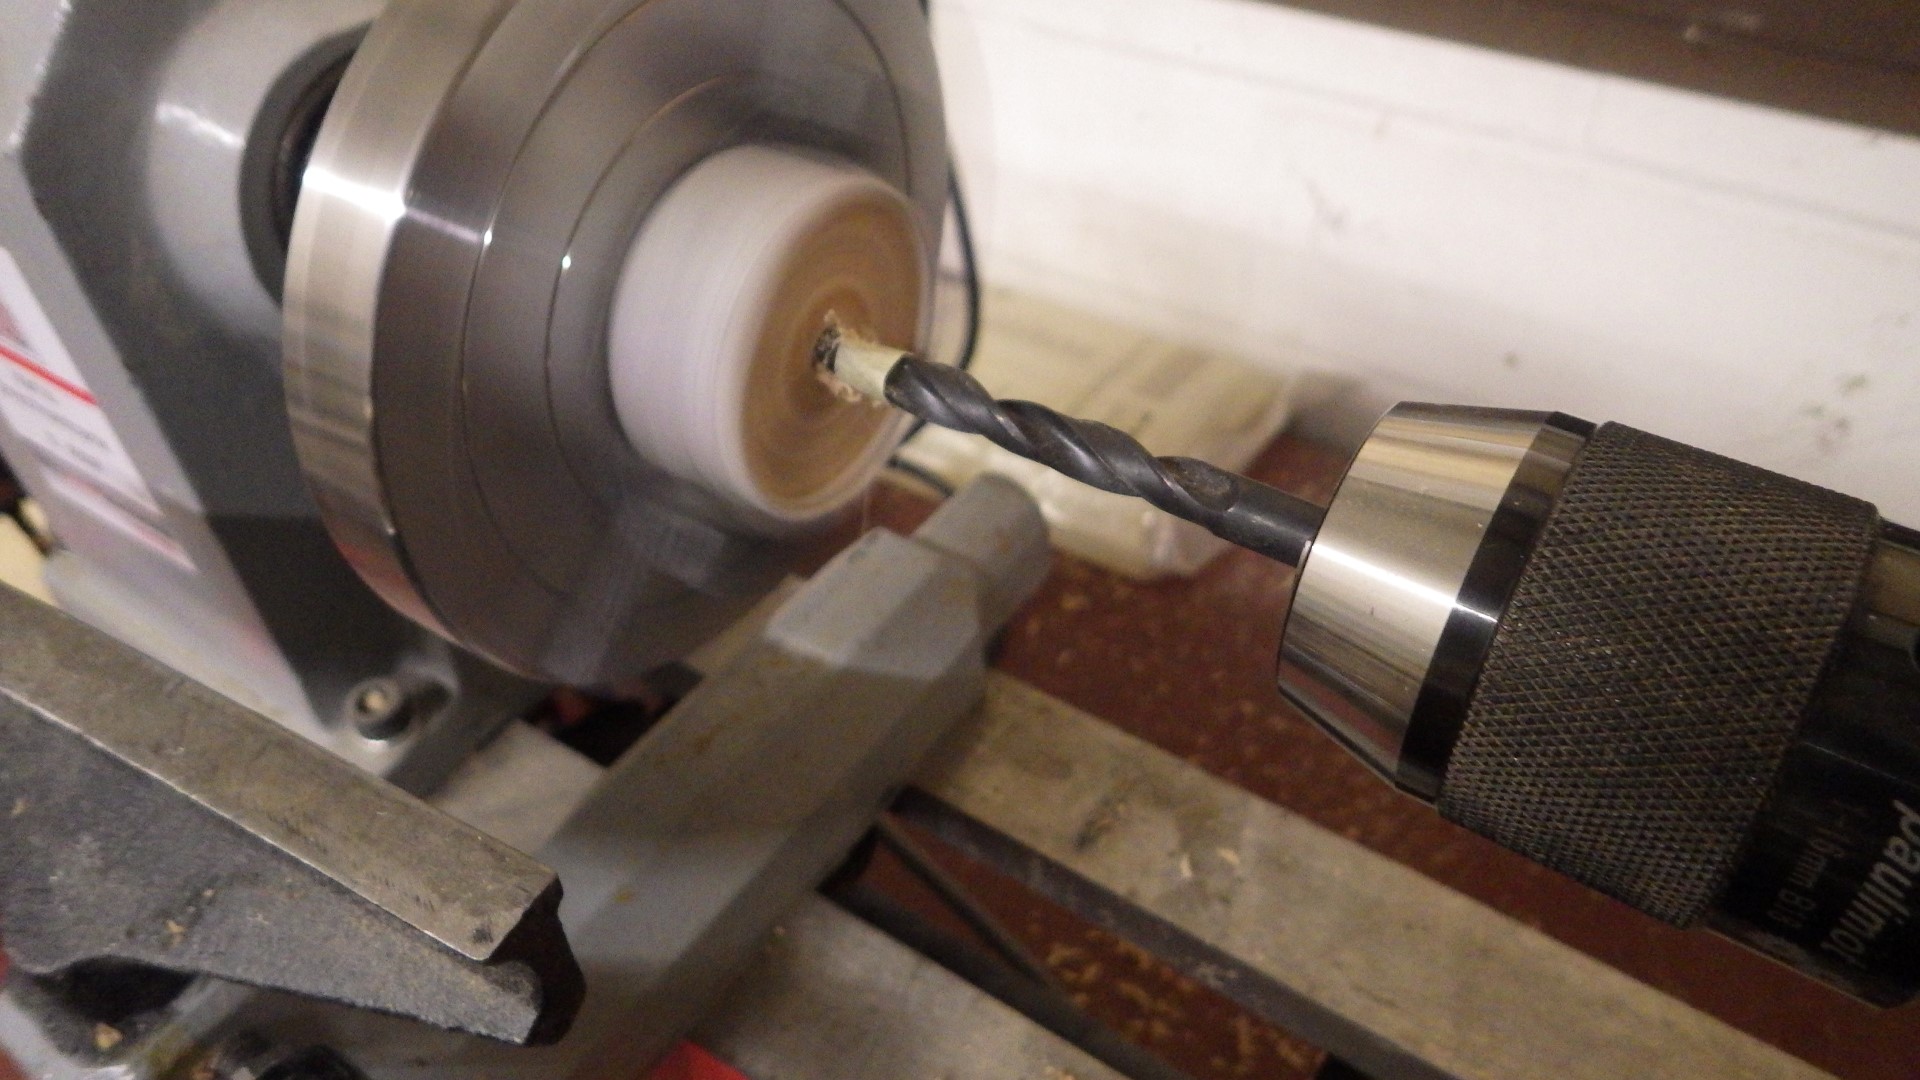
436 KB | turning wheels for a toy (Project:Tigerente) step 6: drill a perfectly centered hole using a drill chuck on the wood lathe! | 1 |
| 00:19, 9 March 2019 | Toy wheel turning 5.JPG (file) |  |
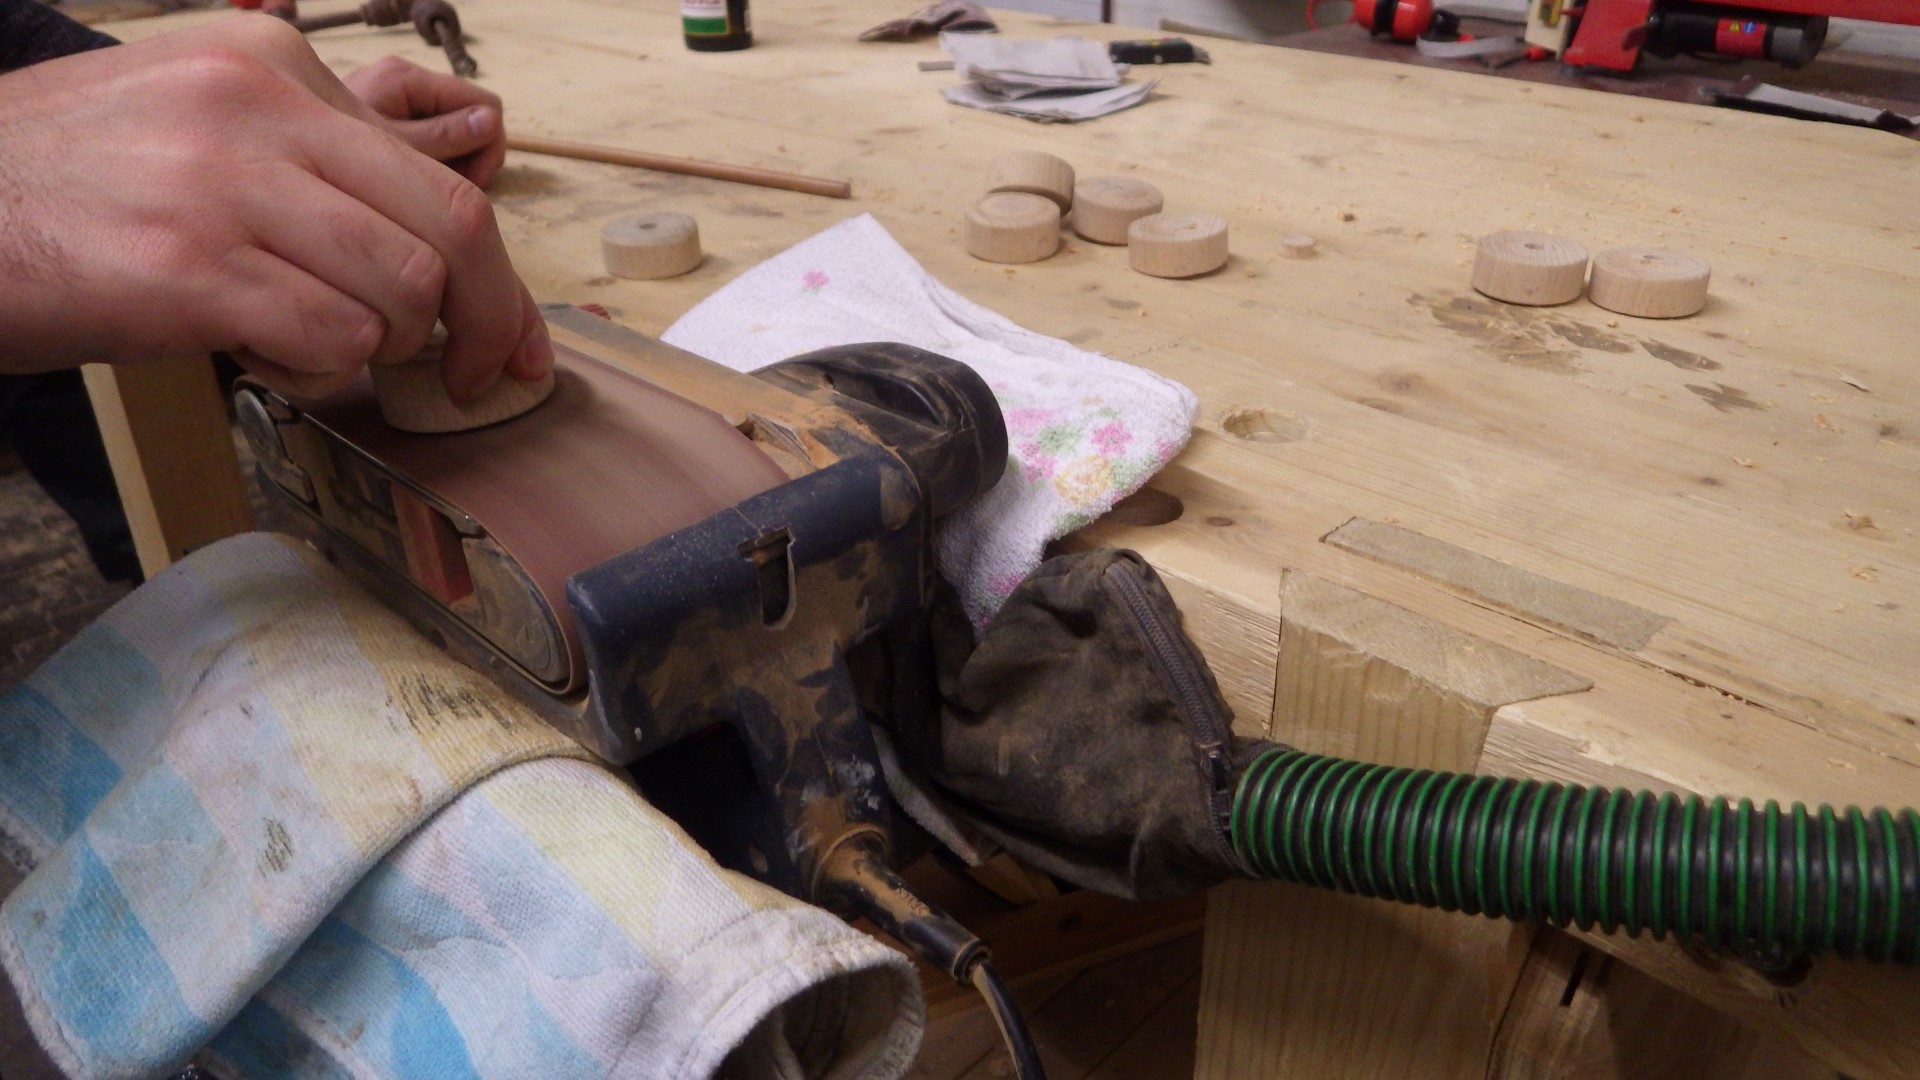
427 KB | turning wheels for a toy (Project:Tigerente) step 5: sand off the central roughness, e.g. with a clamped-down belt sander (we did not have a disc sander yet) | 1 |
| 00:17, 9 March 2019 | Toy wheel turning 4.JPG (file) |  |
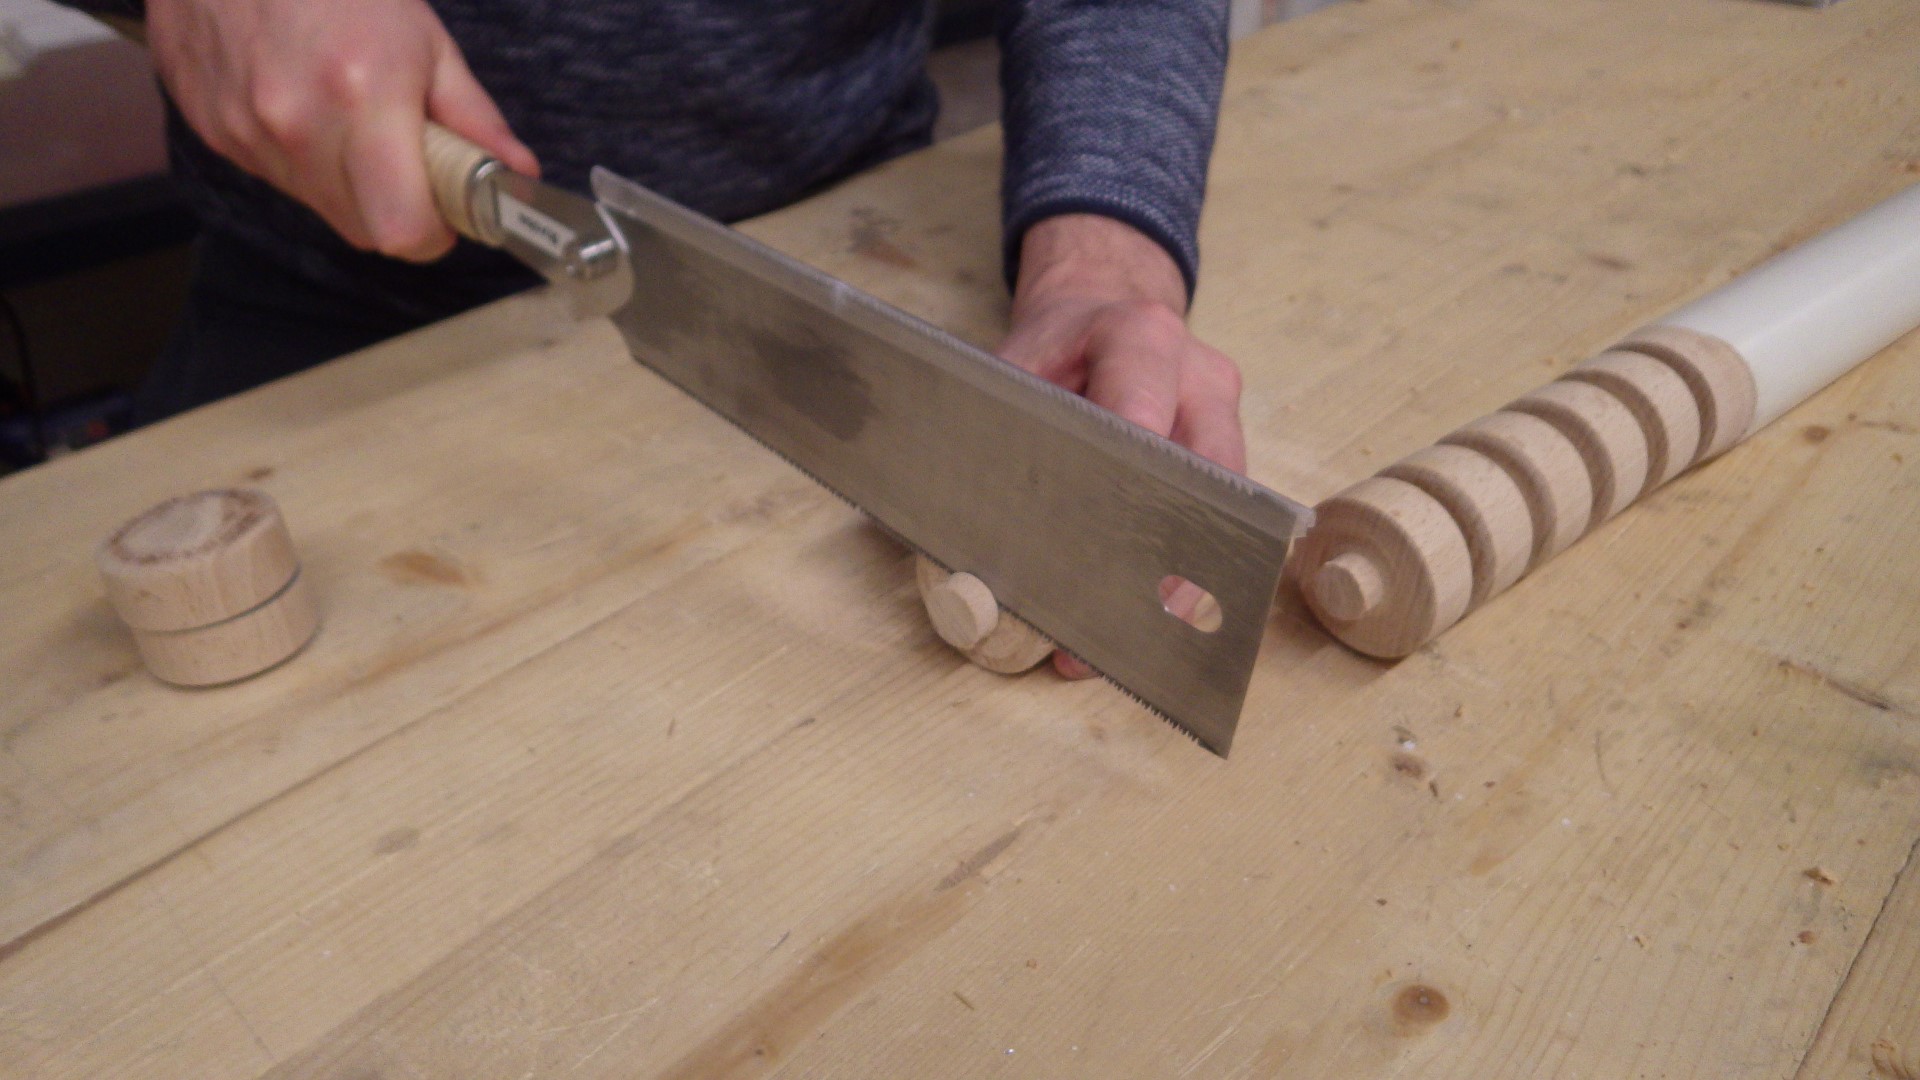
389 KB | turning wheels for a toy (Project:Tigerente) step 4: finish the parting cut off the lathe, using a Japanese saw for example | 1 |
| 00:13, 9 March 2019 | Toy wheel turning 3.JPG (file) |  |
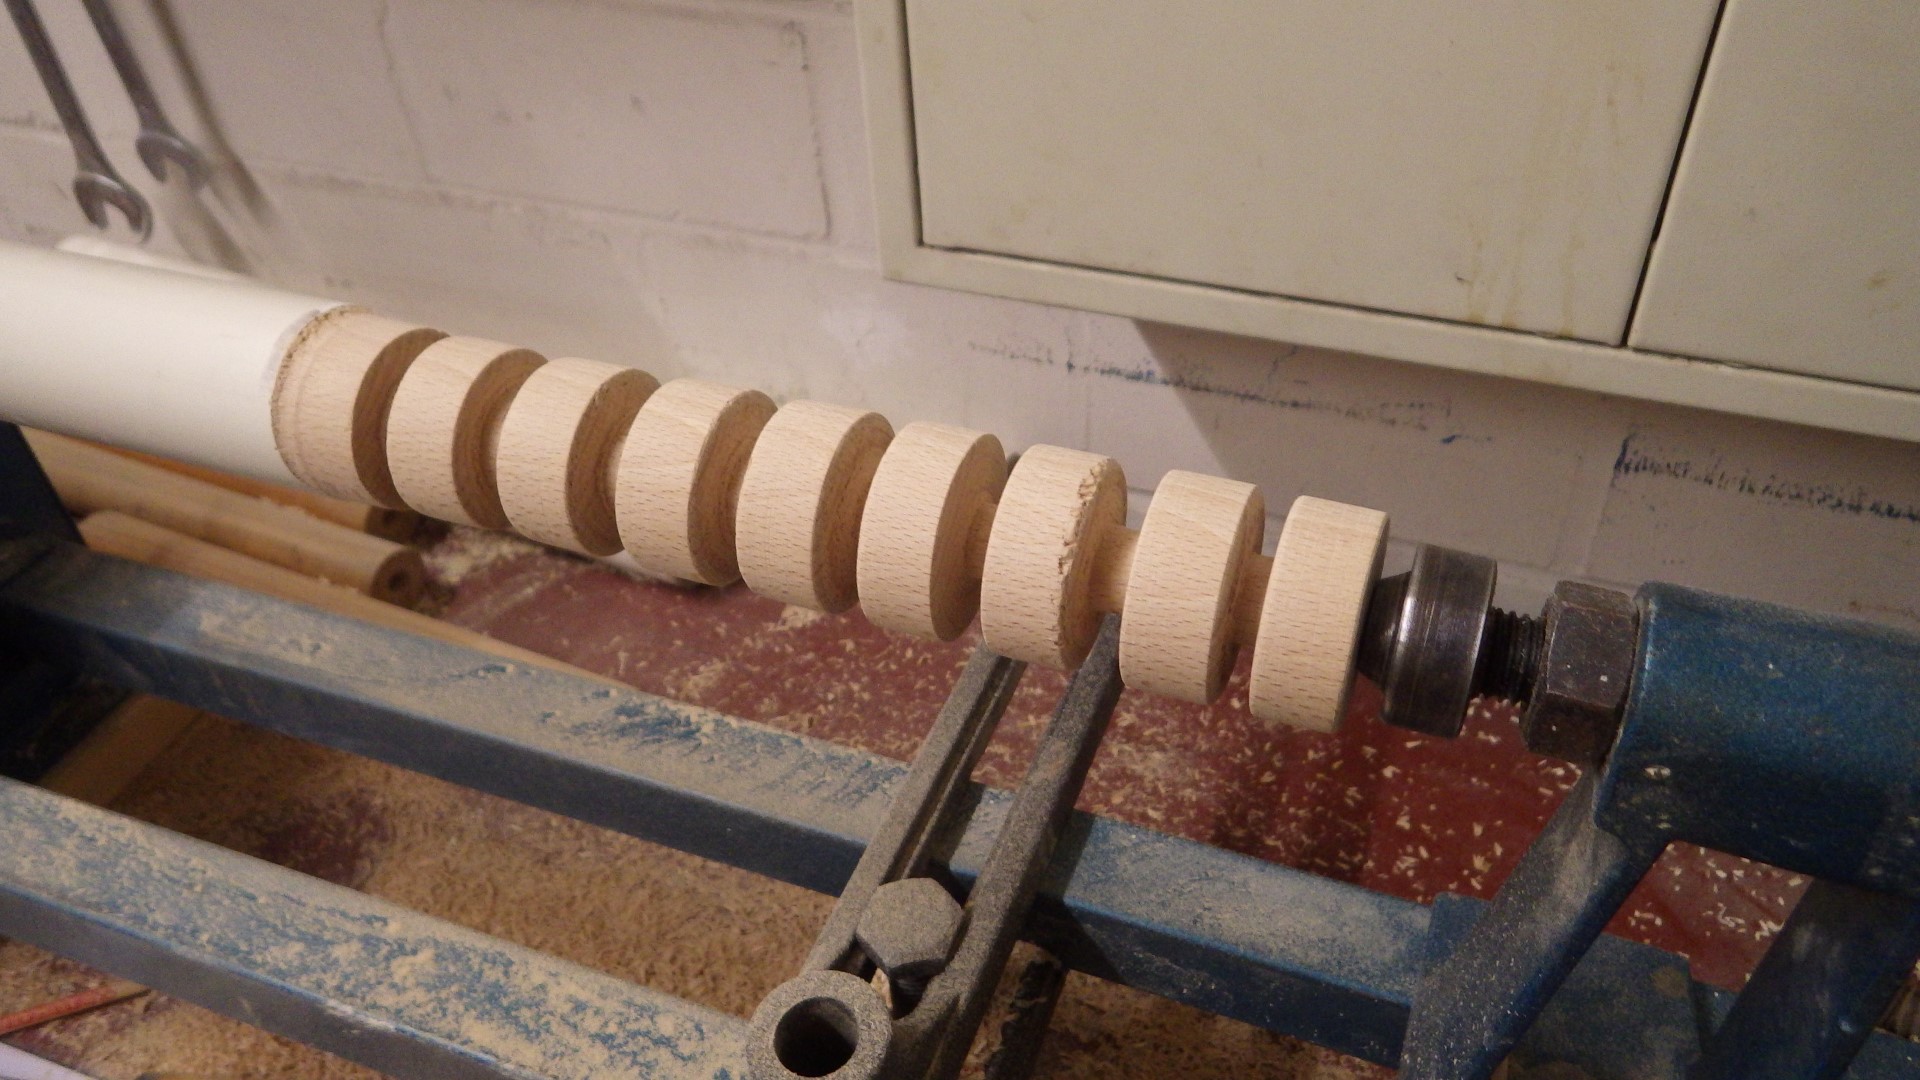
457 KB | turning wheels for a toy (Project:Tigerente) step 3: repeat parting until there are enough recognizable wheels | 1 |
| 00:11, 9 March 2019 | Toy wheel turning 2.JPG (file) |  |
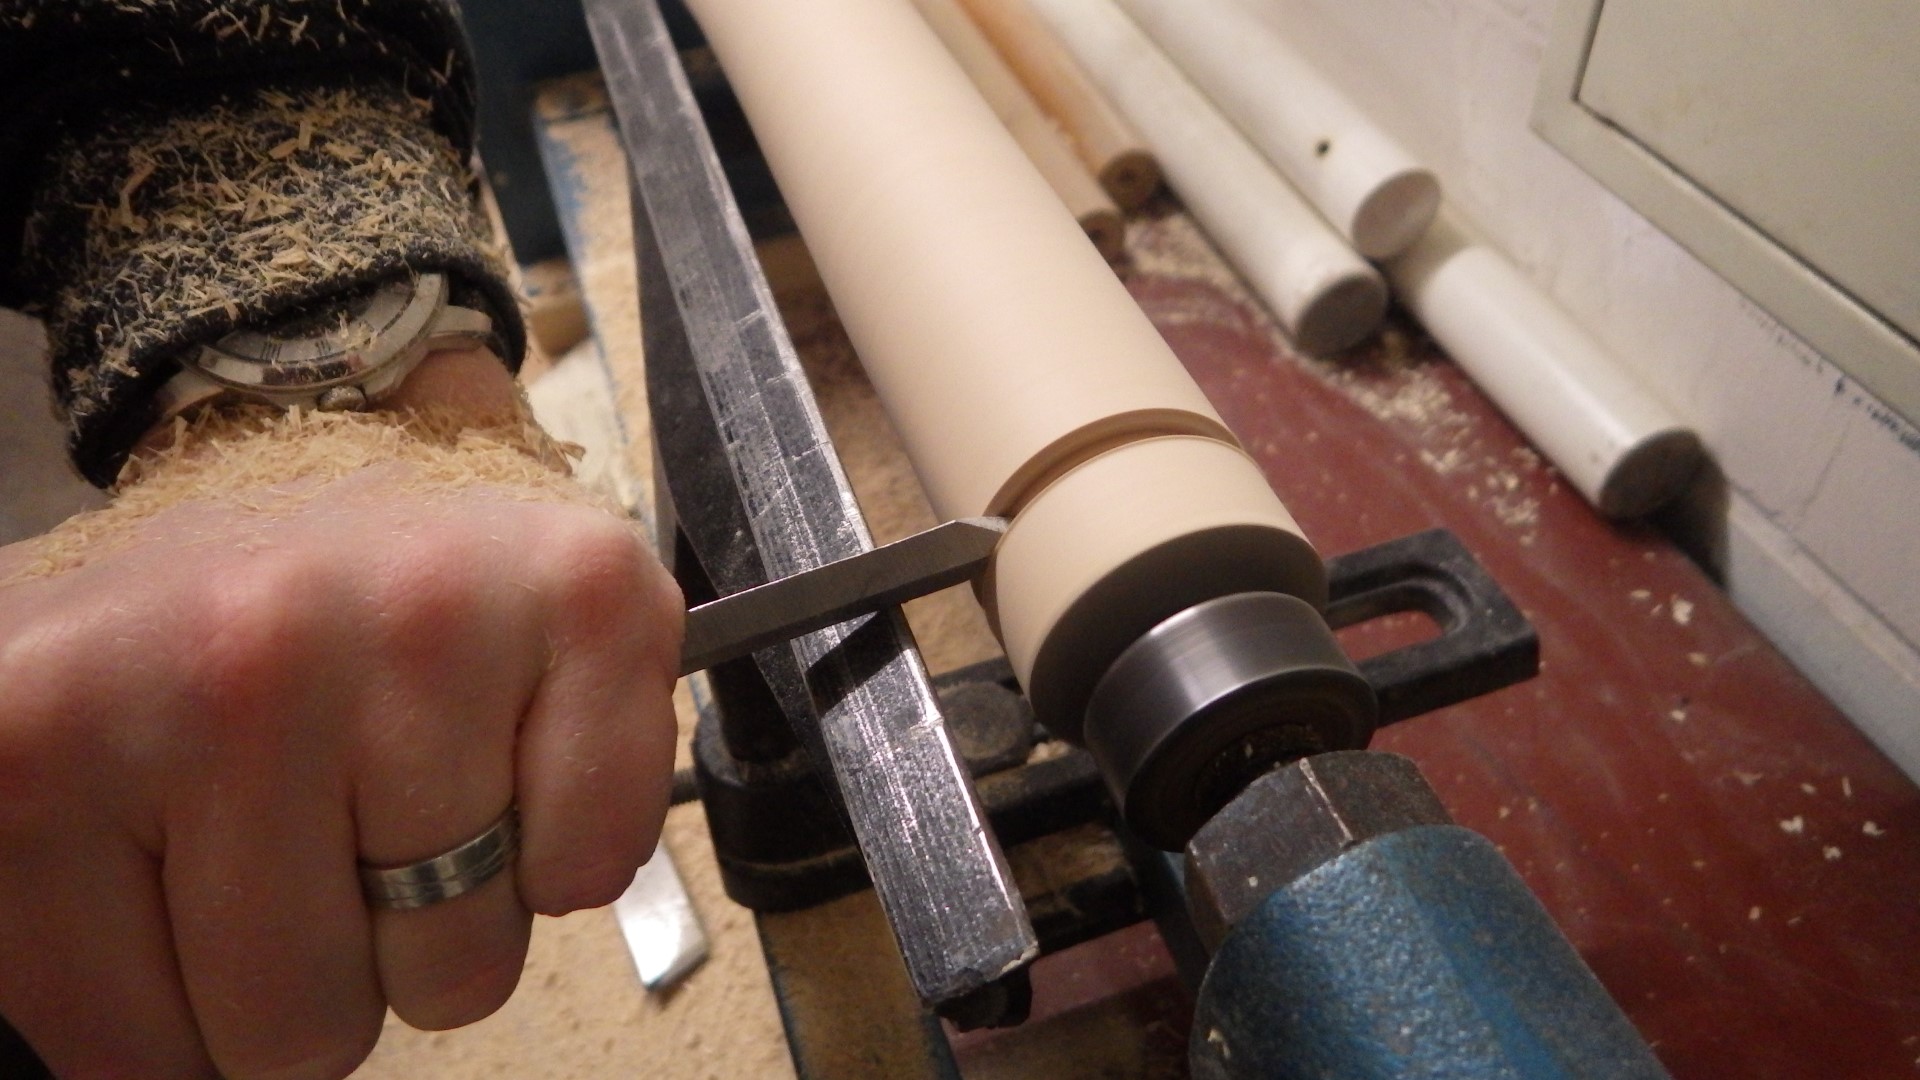
410 KB | turning wheels for a toy (Project:Tigerente) step 2: use a parting tool to define the wheels | 1 |
| 00:09, 9 March 2019 | Toy wheel turning 1.JPG (file) |  |
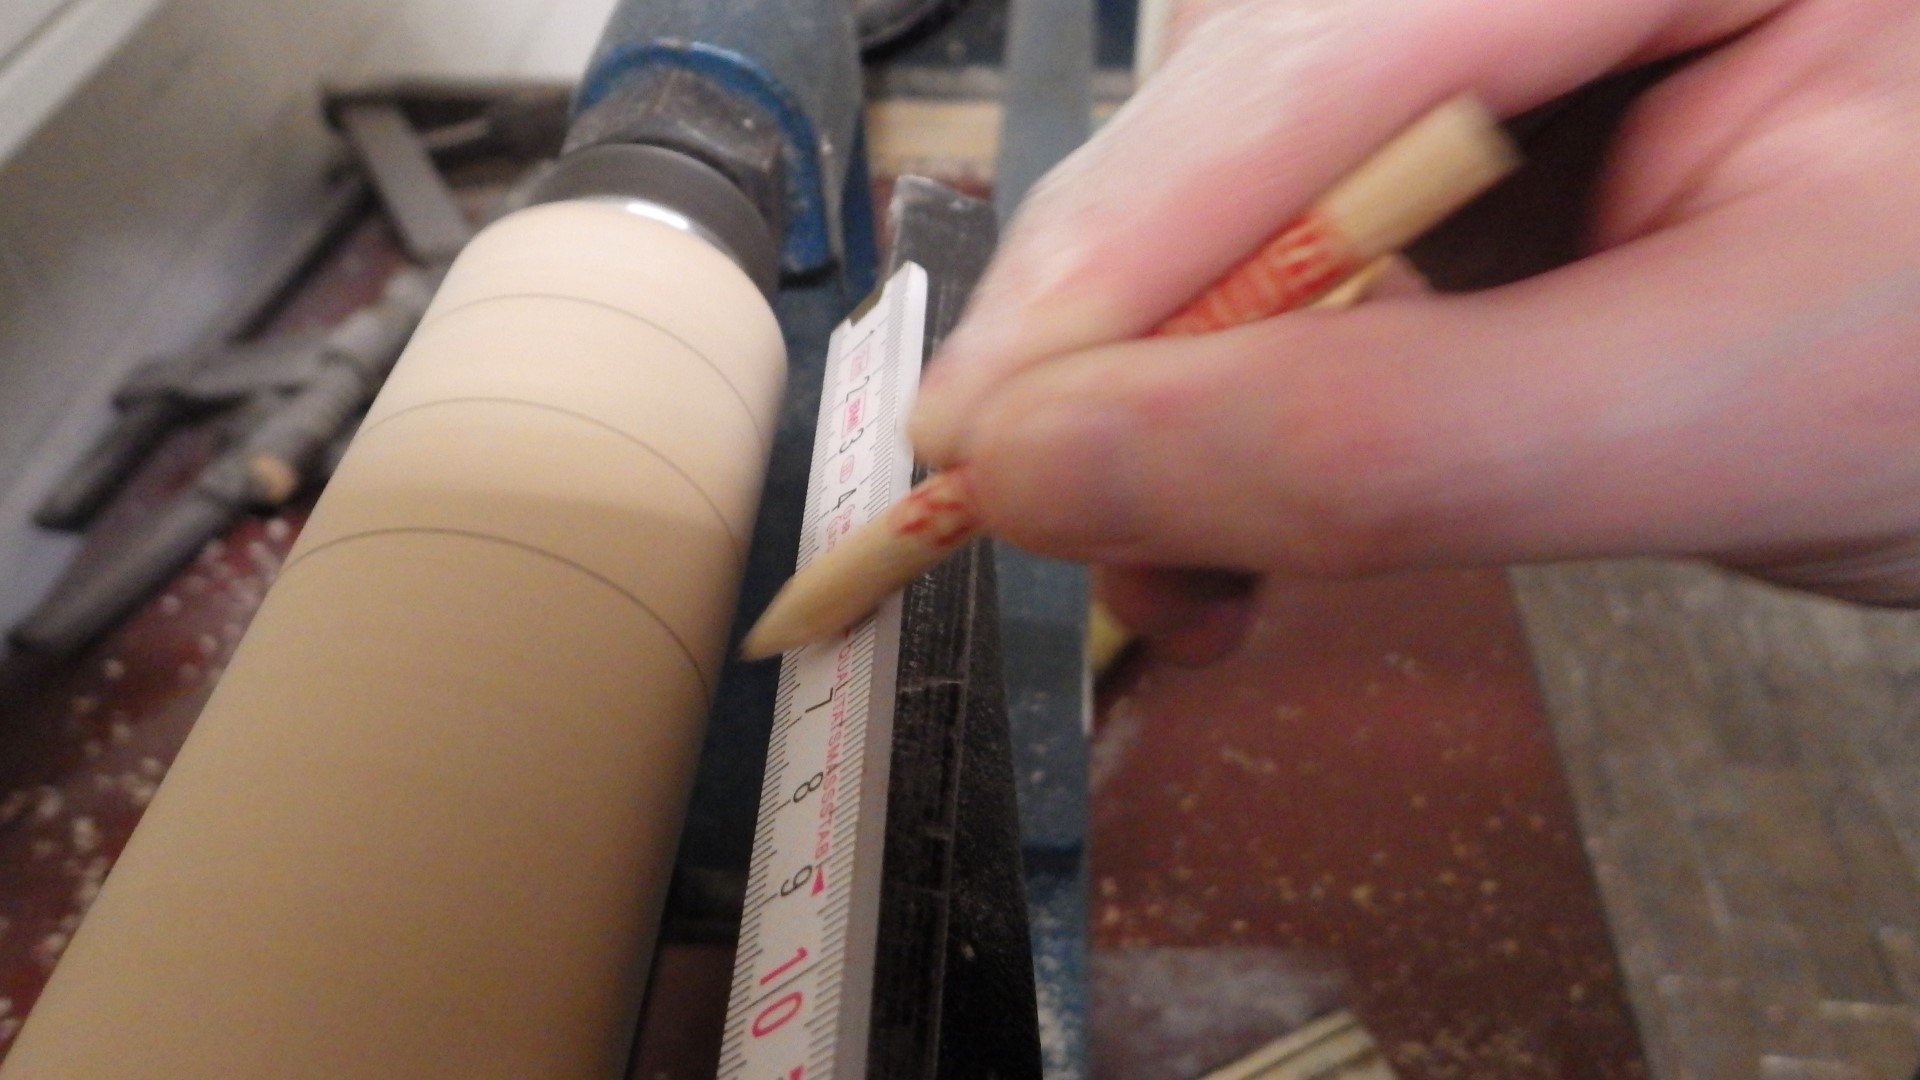
354 KB | turning wheels for a toy (Project:Tigerente) step 1 (after your blank becomes round): mark what to keep/where to part | 1 |
| 19:07, 7 March 2019 | Center finder on log.JPG (file) |  |
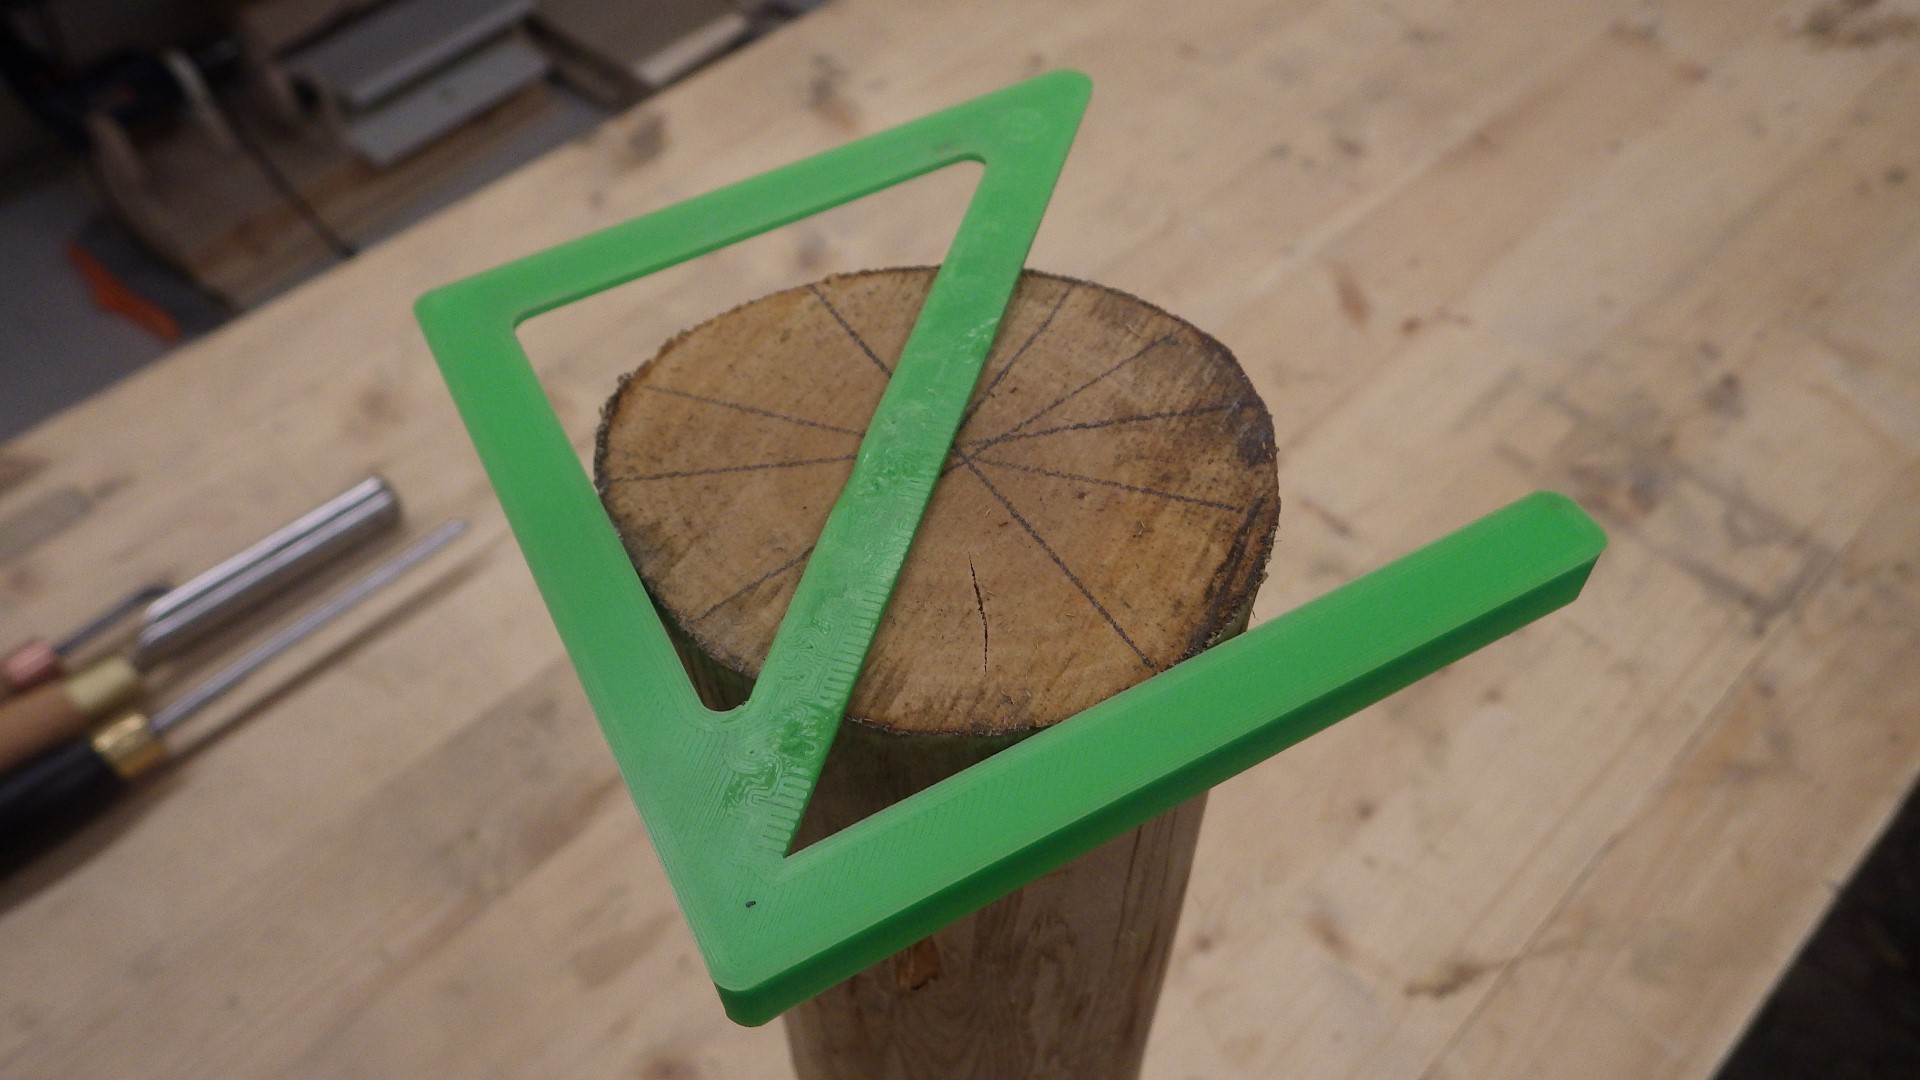
366 KB | using a 3D printed "center finder" to estimate the center of a not exactly round apple log | 1 |
| 18:55, 7 March 2019 | Squaring up 2.JPG (file) |  |
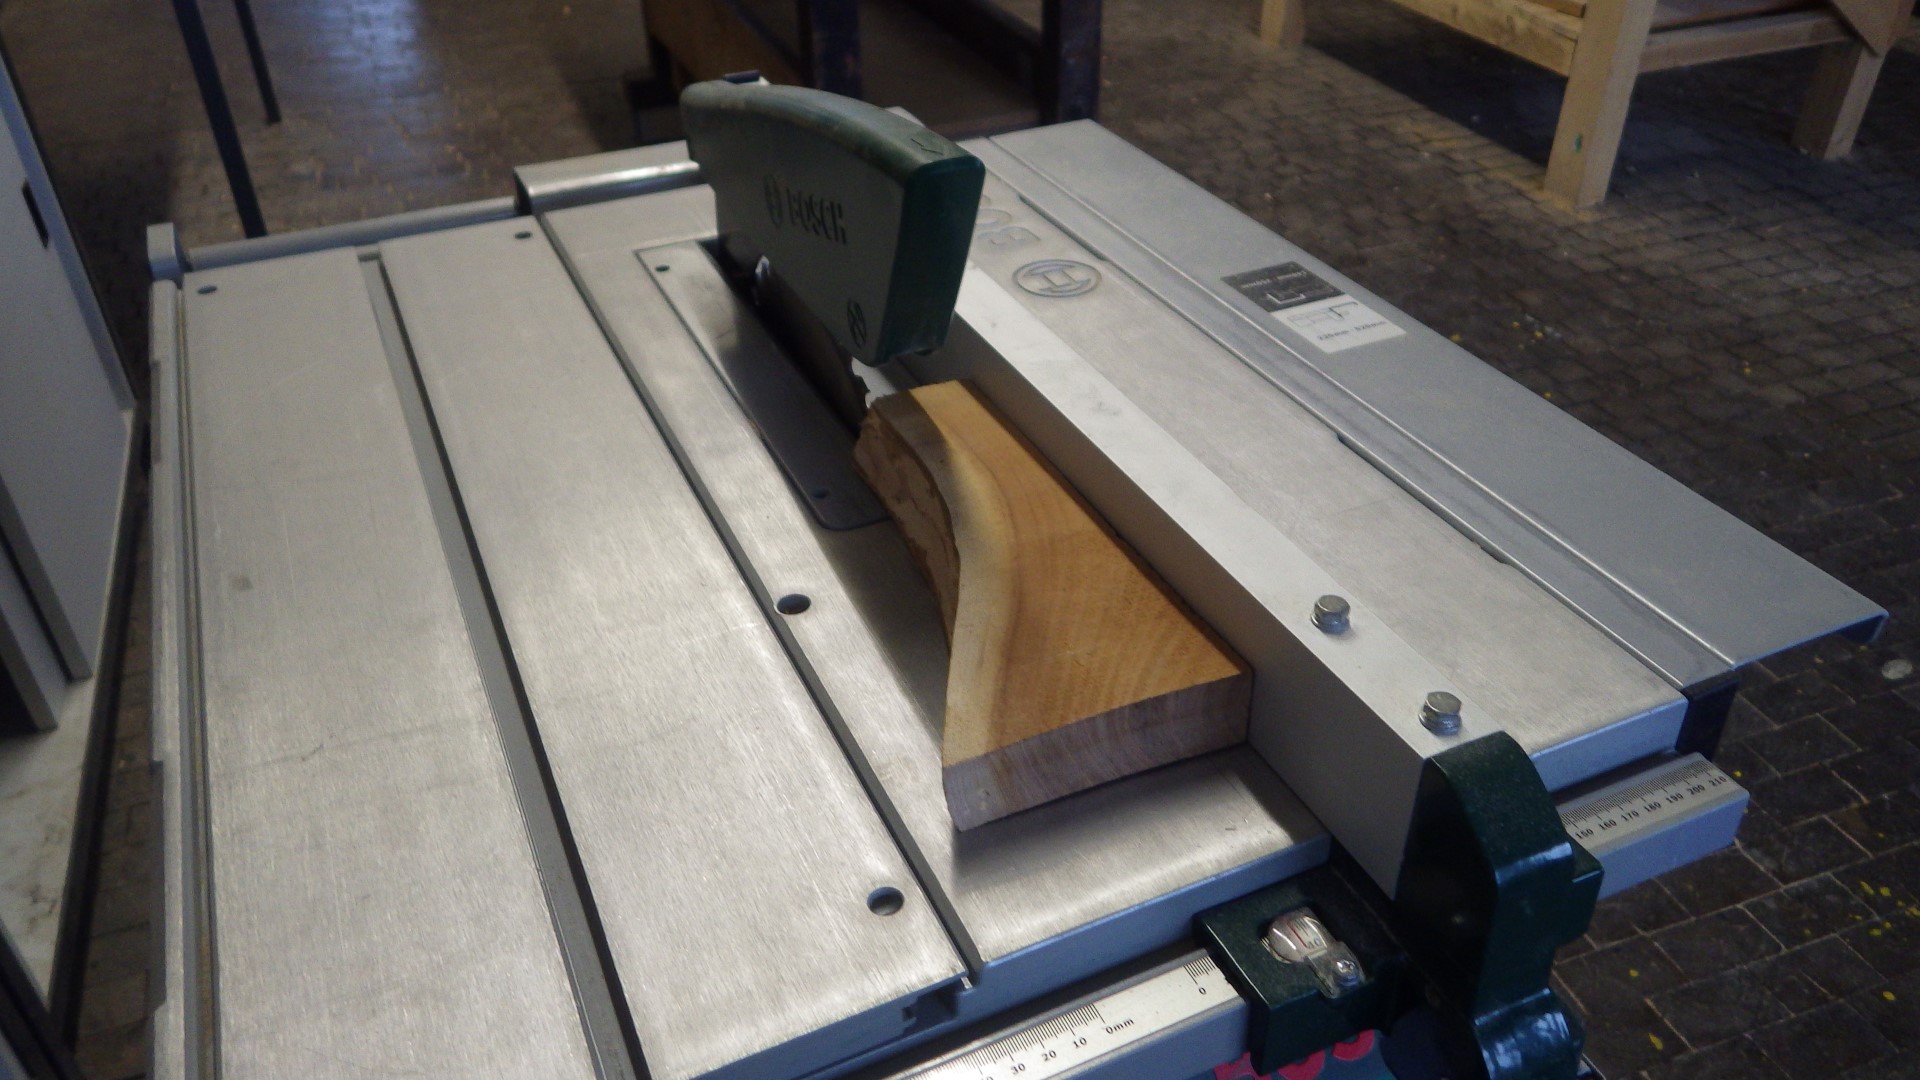
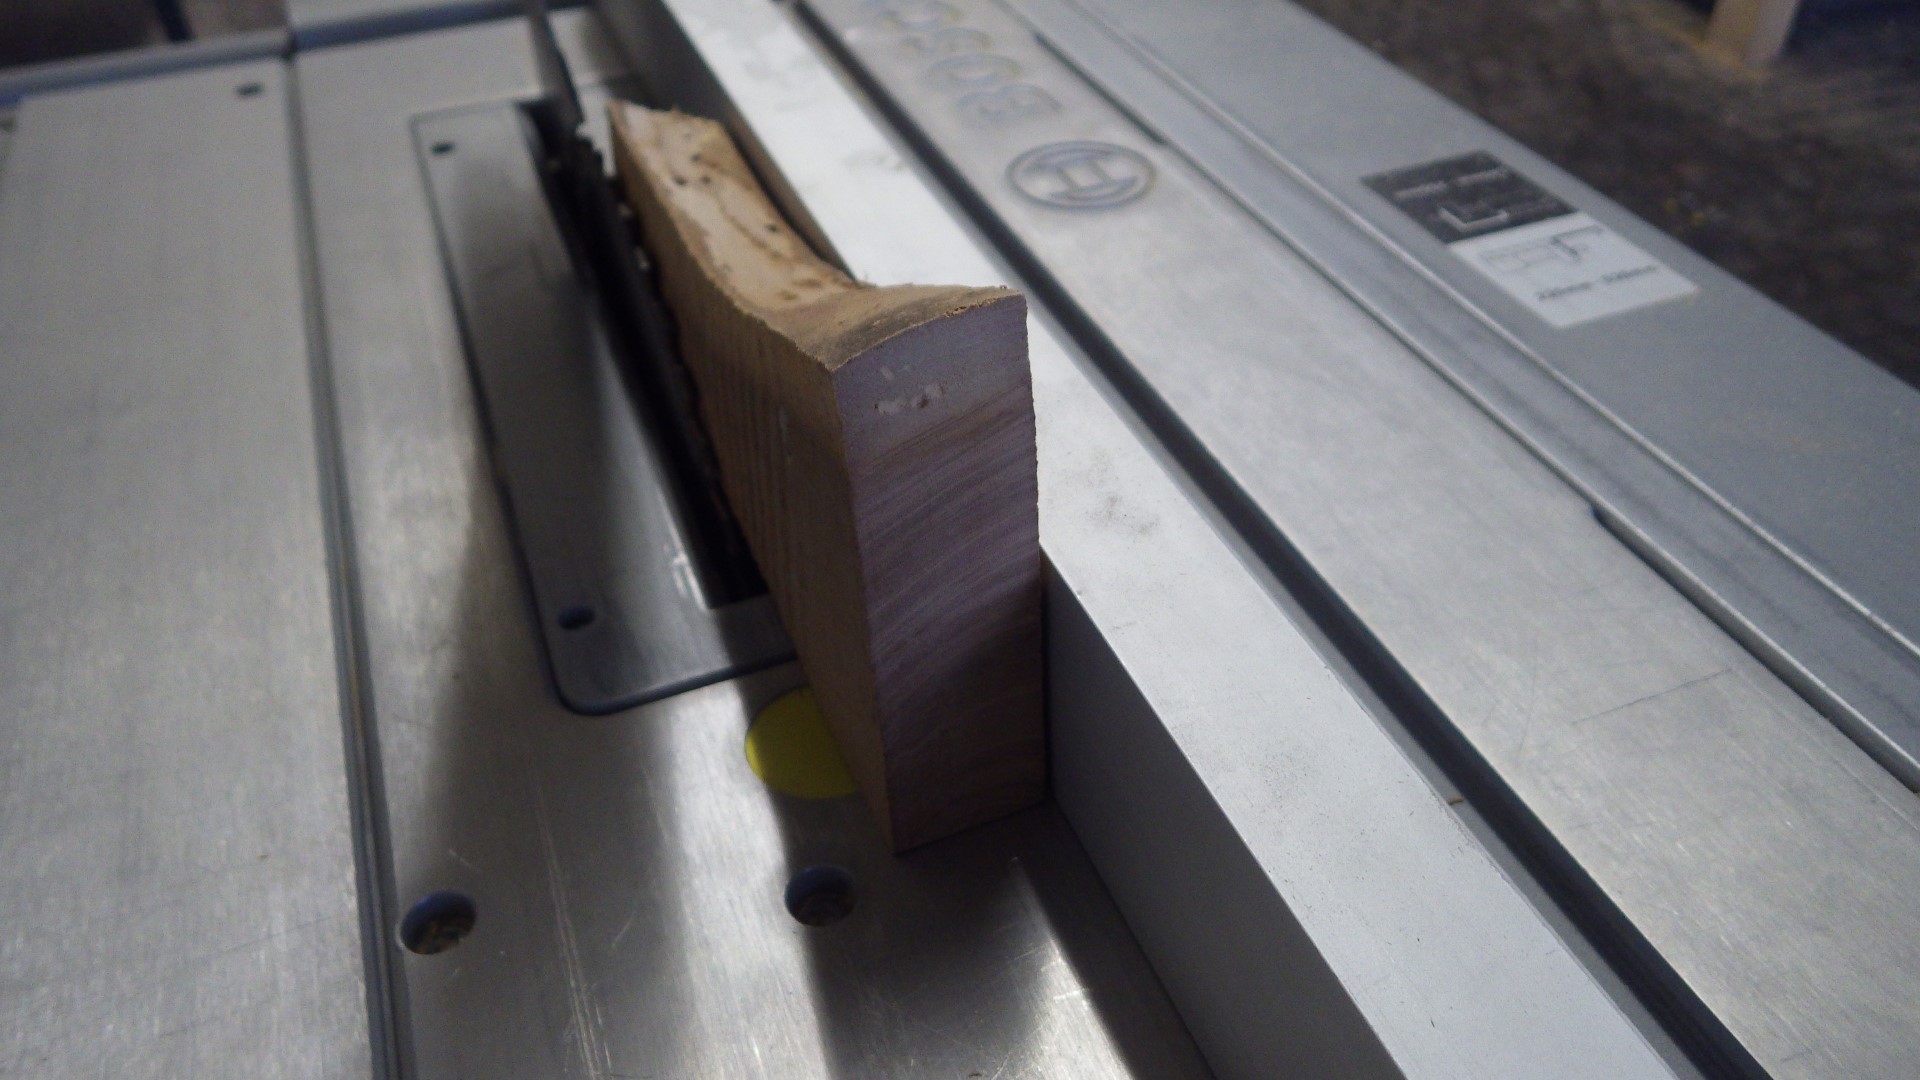
432 KB | squaring up a woodturning blank, step 2: cut your stock using the previously set parallel fence - not too difficult ;-) | 1 |
| 18:48, 7 March 2019 | Squaring up 1.JPG (file) |  |
390 KB | squaring up a woodturning blank, step 1: use the narrower width of your stock to set the table saw's parallel fence | 1 |
| 18:42, 7 March 2019 | Softwood spindle blanks.JPG (file) |  |
390 KB | spindle woodturning blanks cut from various softwood scraps - good for practicing (e.g. file handles, but not suited for complex shapes | 1 |
| 18:07, 7 March 2019 | Composite woodturning blank.JPG (file) |  |
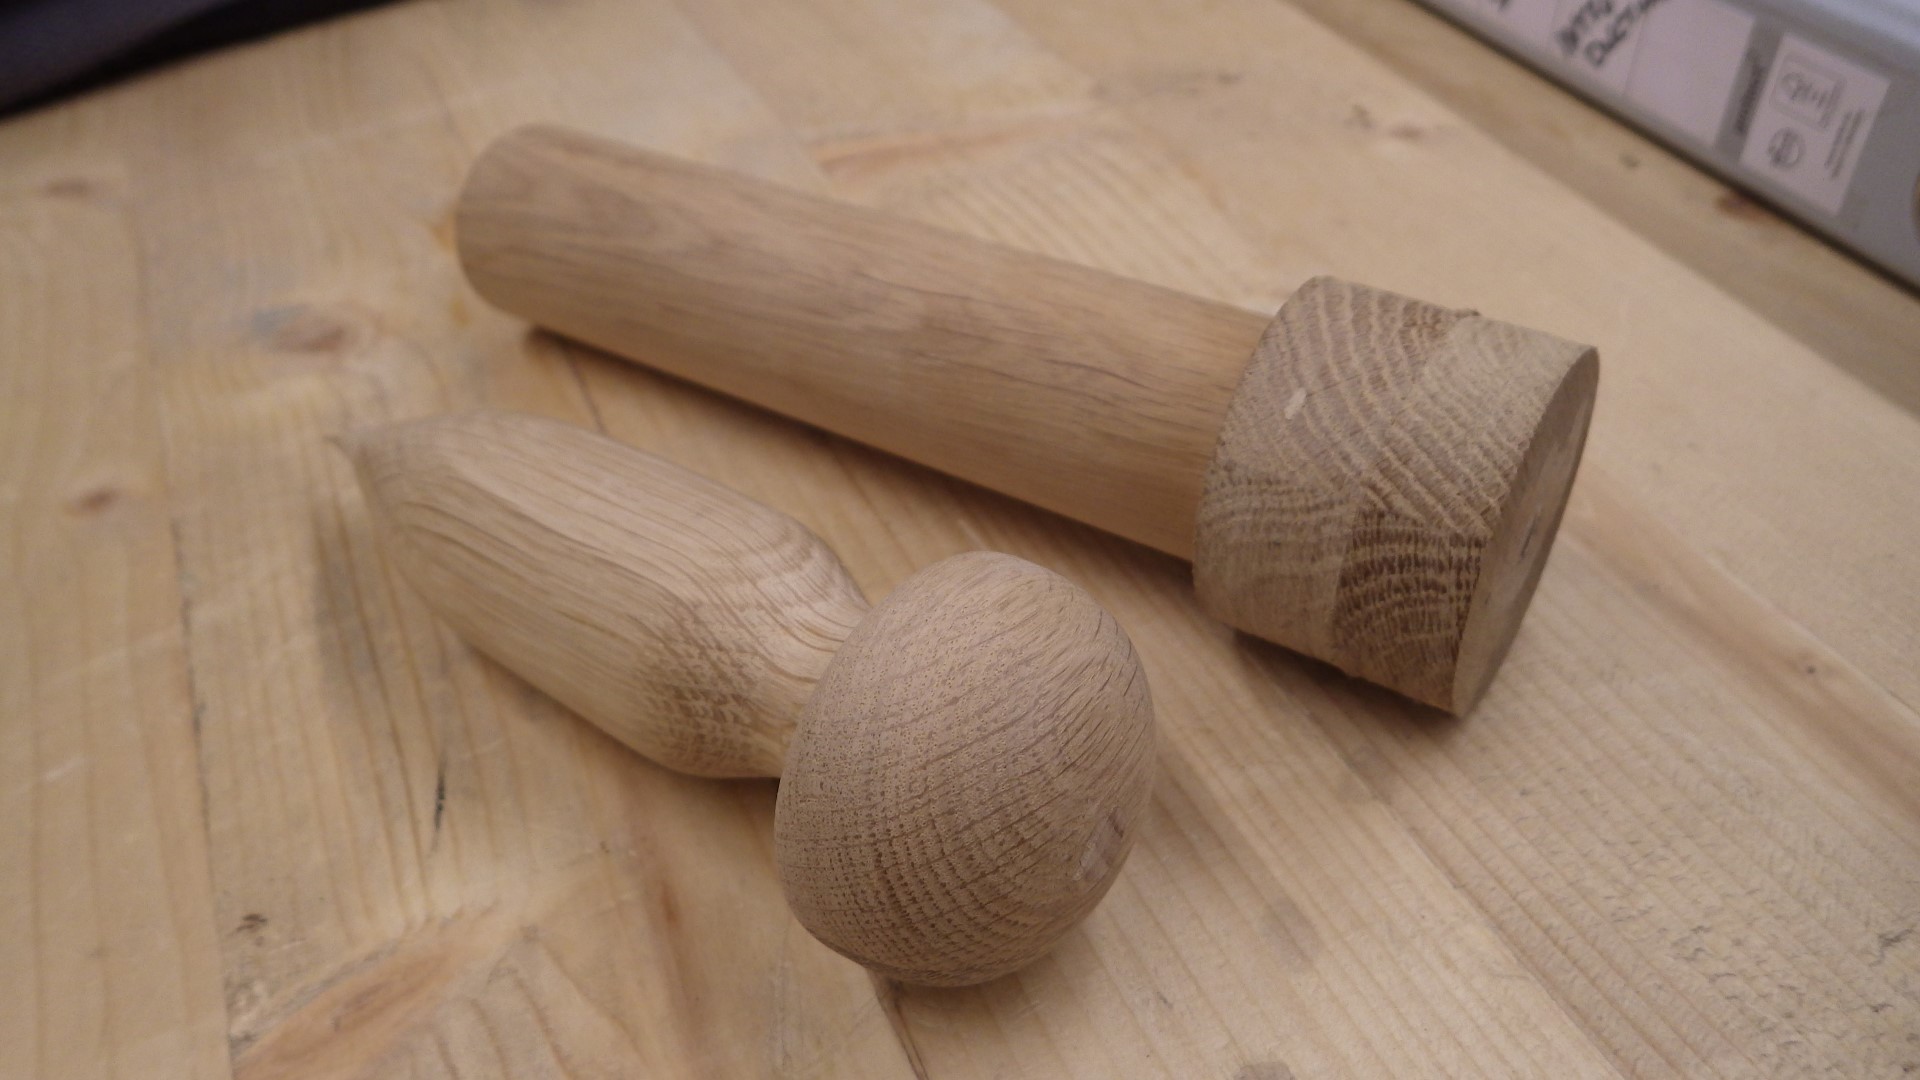
320 KB | composite woodturning blank (top) and the resulting gardening tool - lots of wood was saved here by only gluing on a thicker section where needed! woodturning credit goes to Axel ;-) | 1 |
| 17:58, 7 March 2019 | Pear branch cut faces.JPG (file) |  |
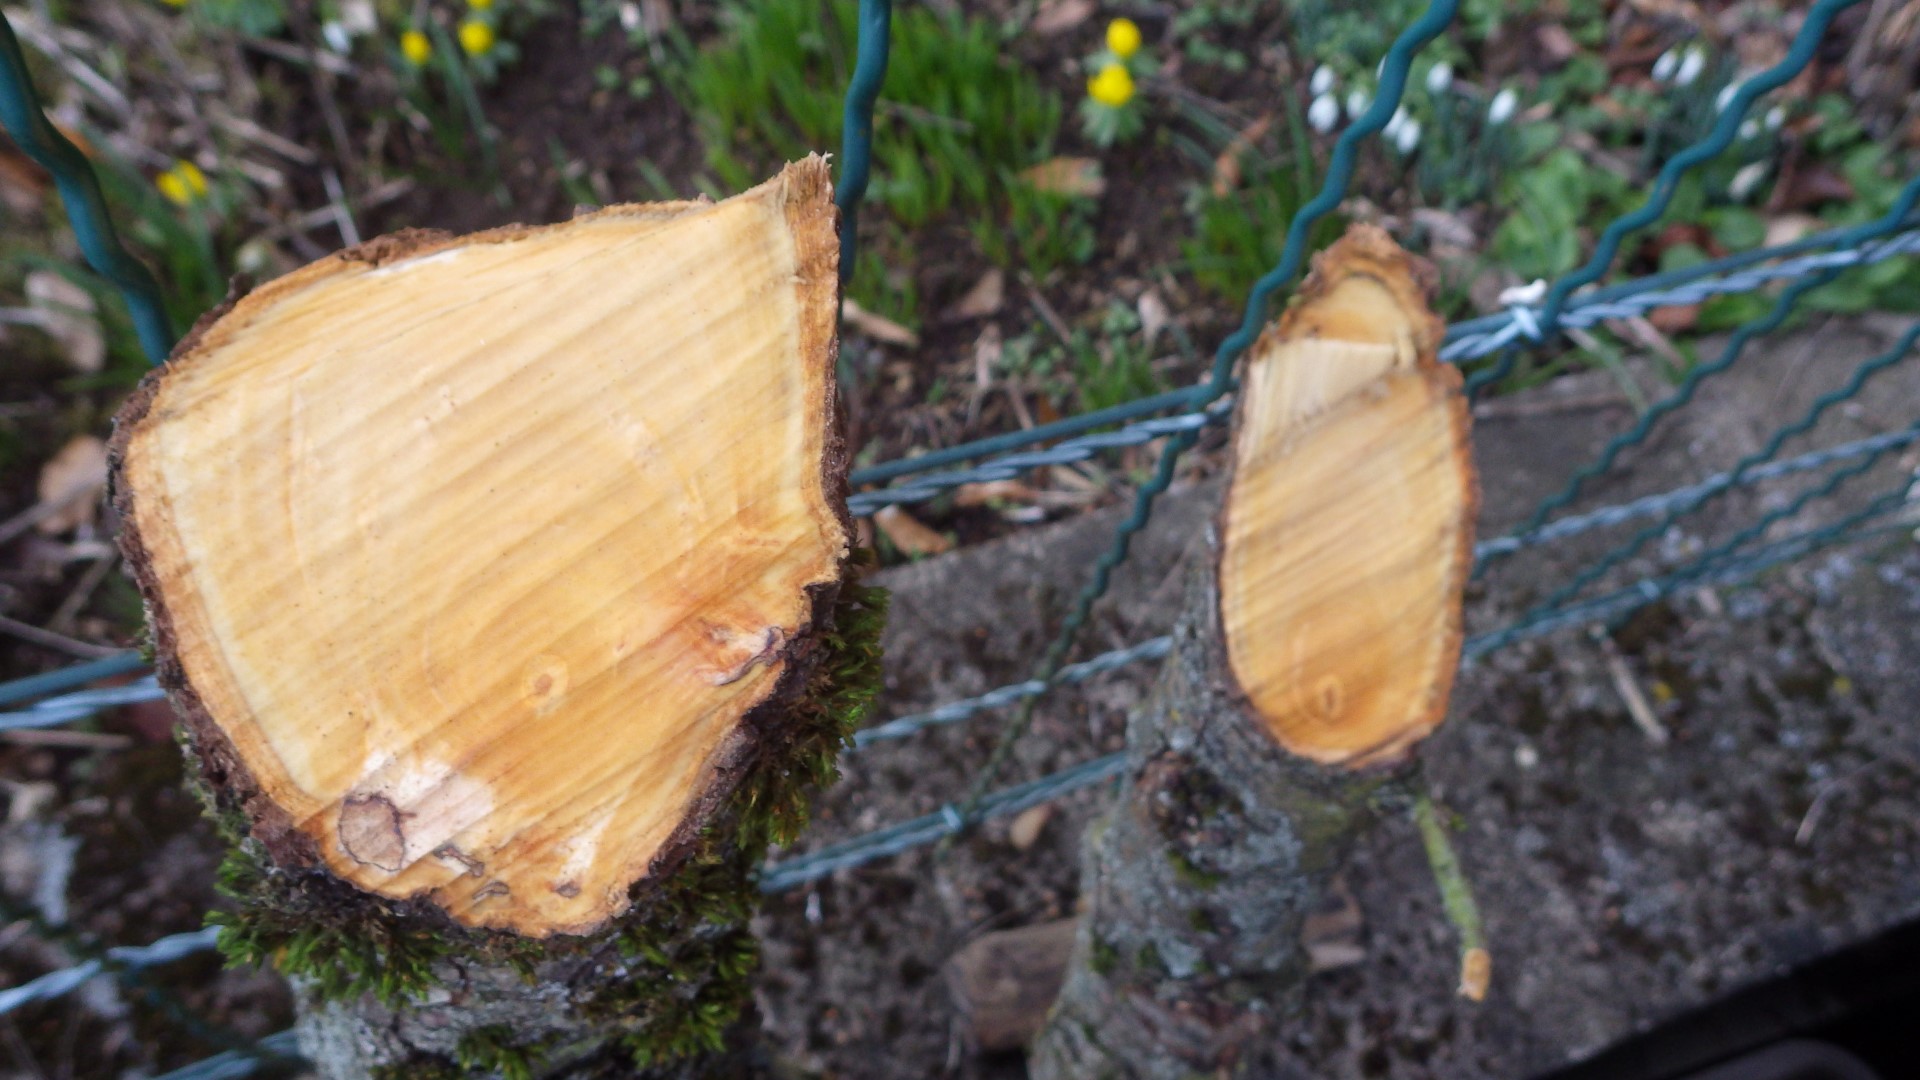
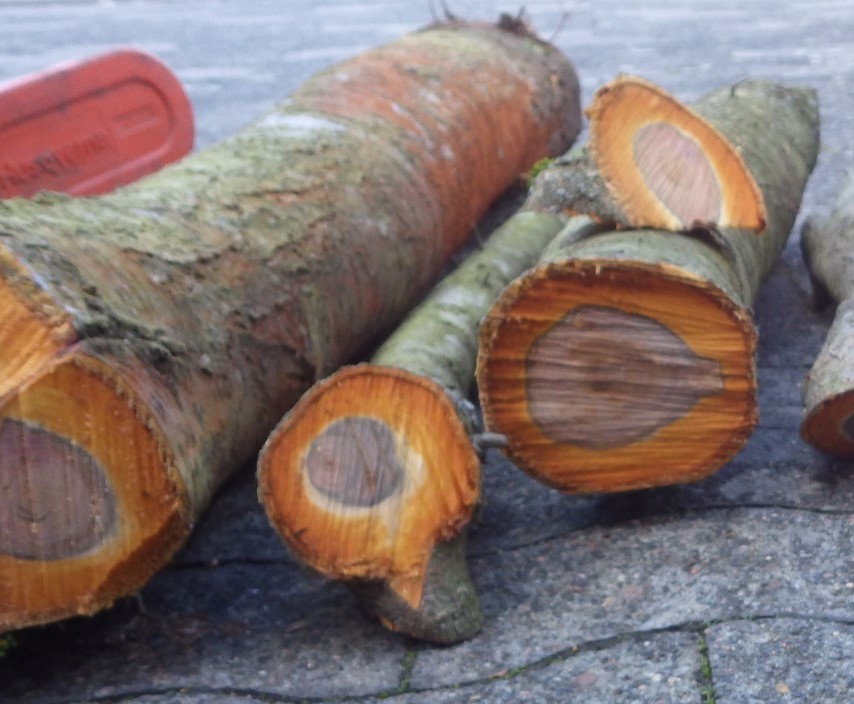
425 KB | Project:Drying Timber cut faces of two pear branches before they were sealed for drying | 1 |
| 17:57, 7 March 2019 | Cut up zwetschge before sealing.JPG (file) |  |
186 KB | Project:Drying Timber (some) pieces of a zwetschge tree that had to go, but will hopefully get a second life as the result of various woodworking projects! | 1 |
| 17:46, 7 March 2019 | Kim's mystery timber.JPG (file) |  |
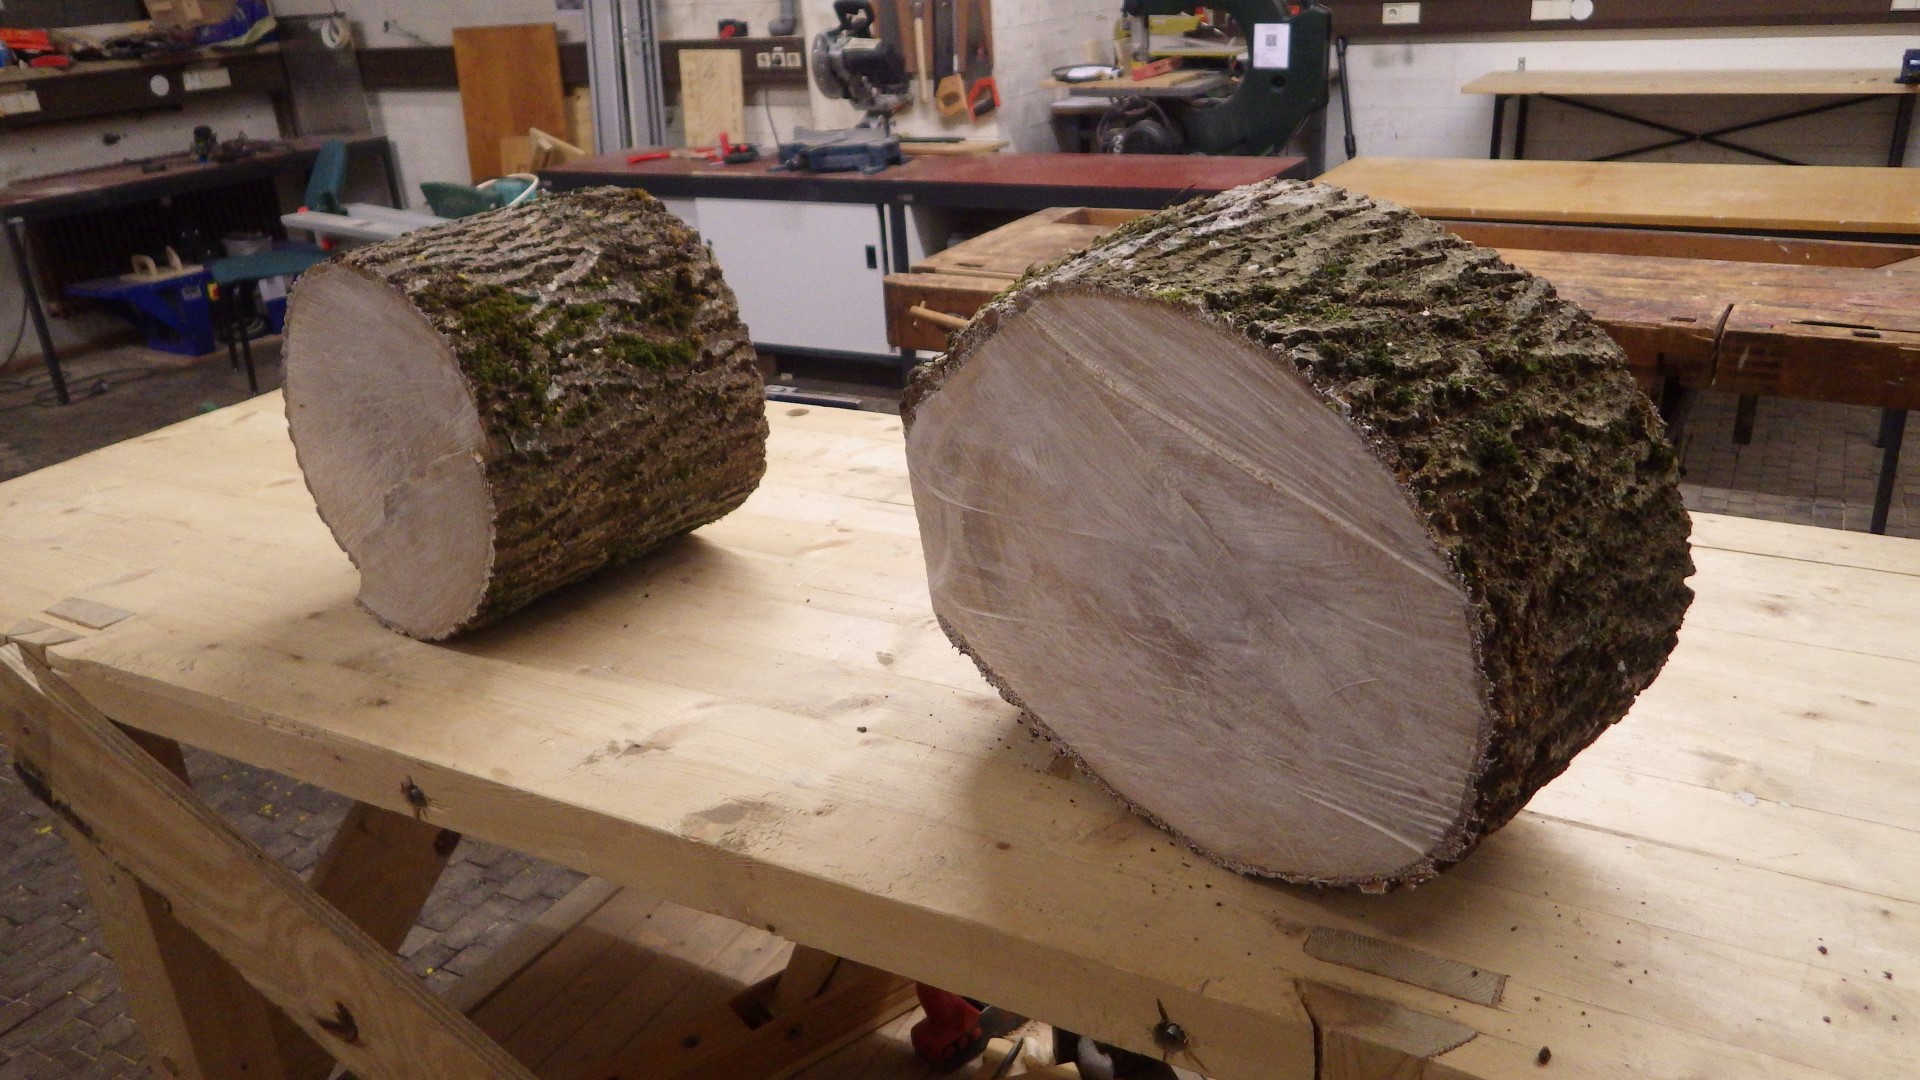
533 KB | Project:Drying Timber two glue-sealed large pieces of a not yet identified tree which unfortunately turned out to be infested with beetles | 1 |
| 17:30, 7 March 2019 | Putative apple log + glue.JPG (file) |  |
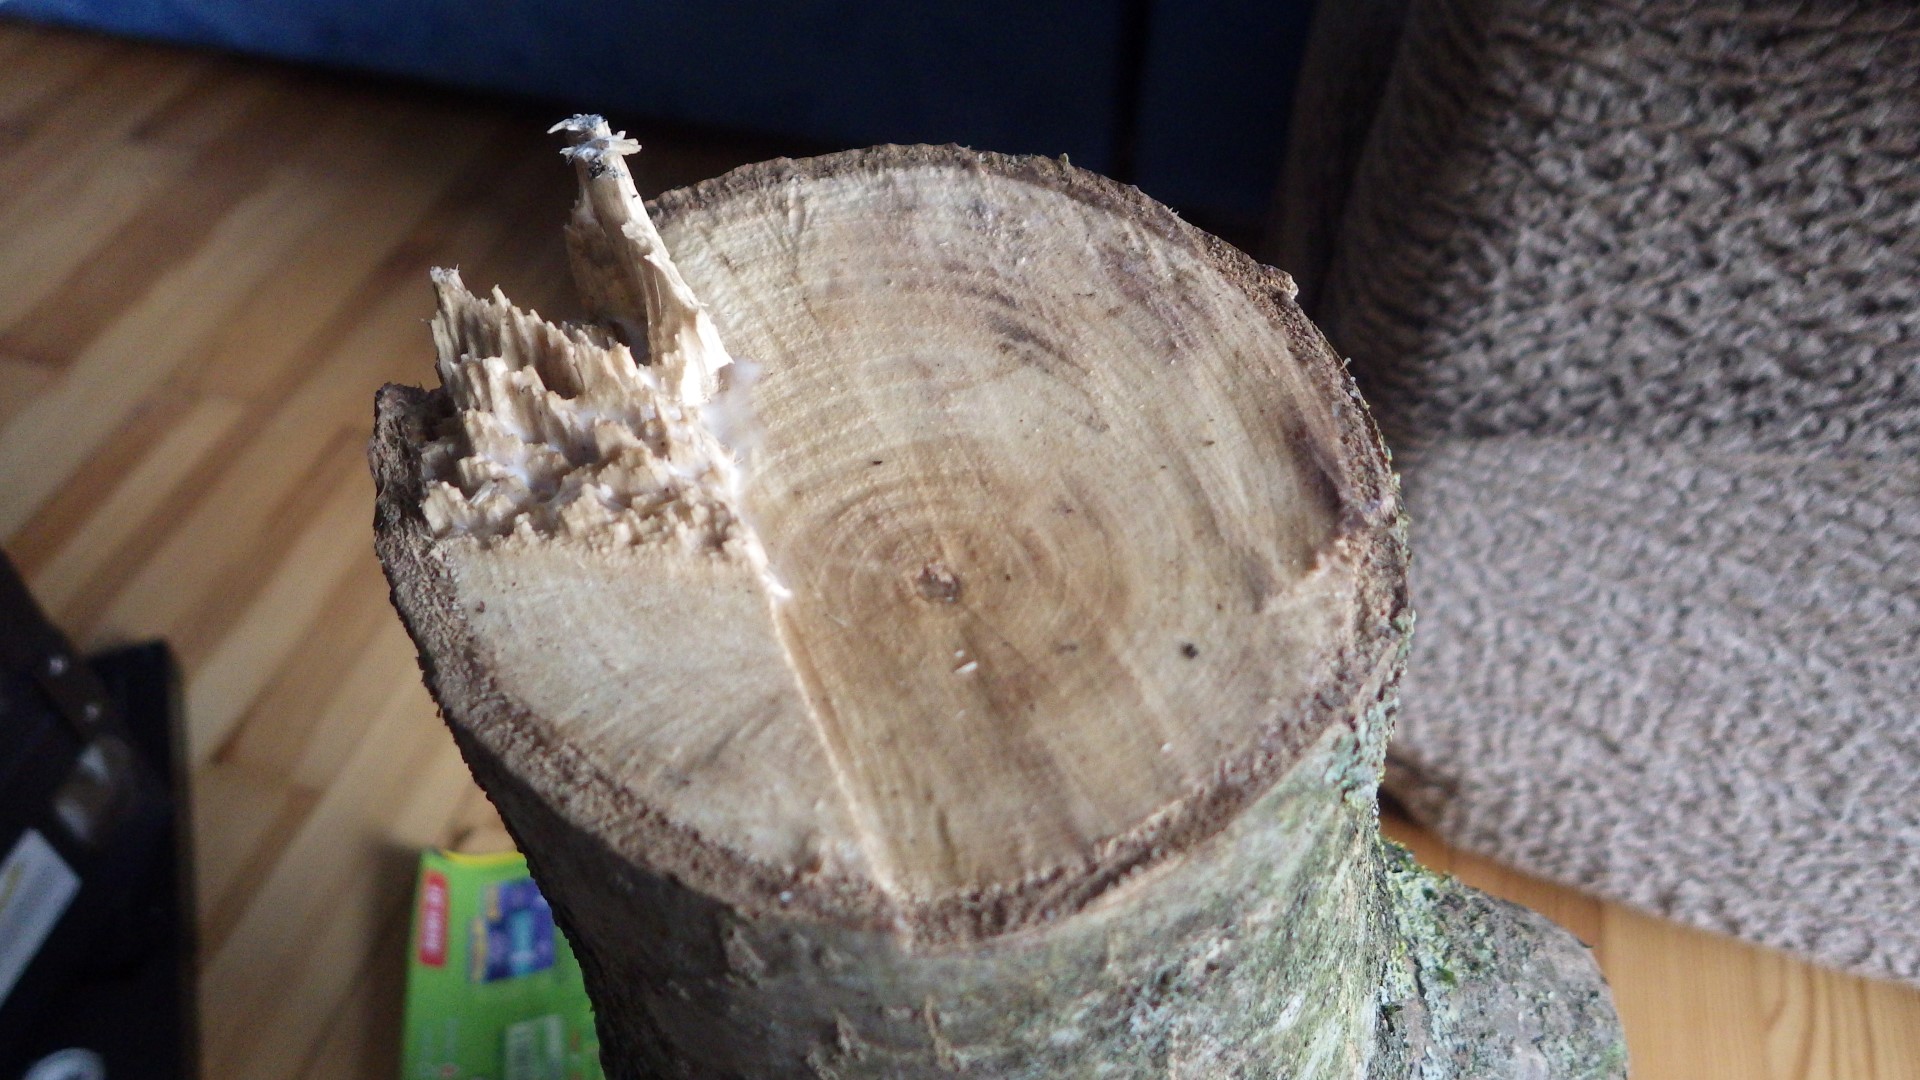
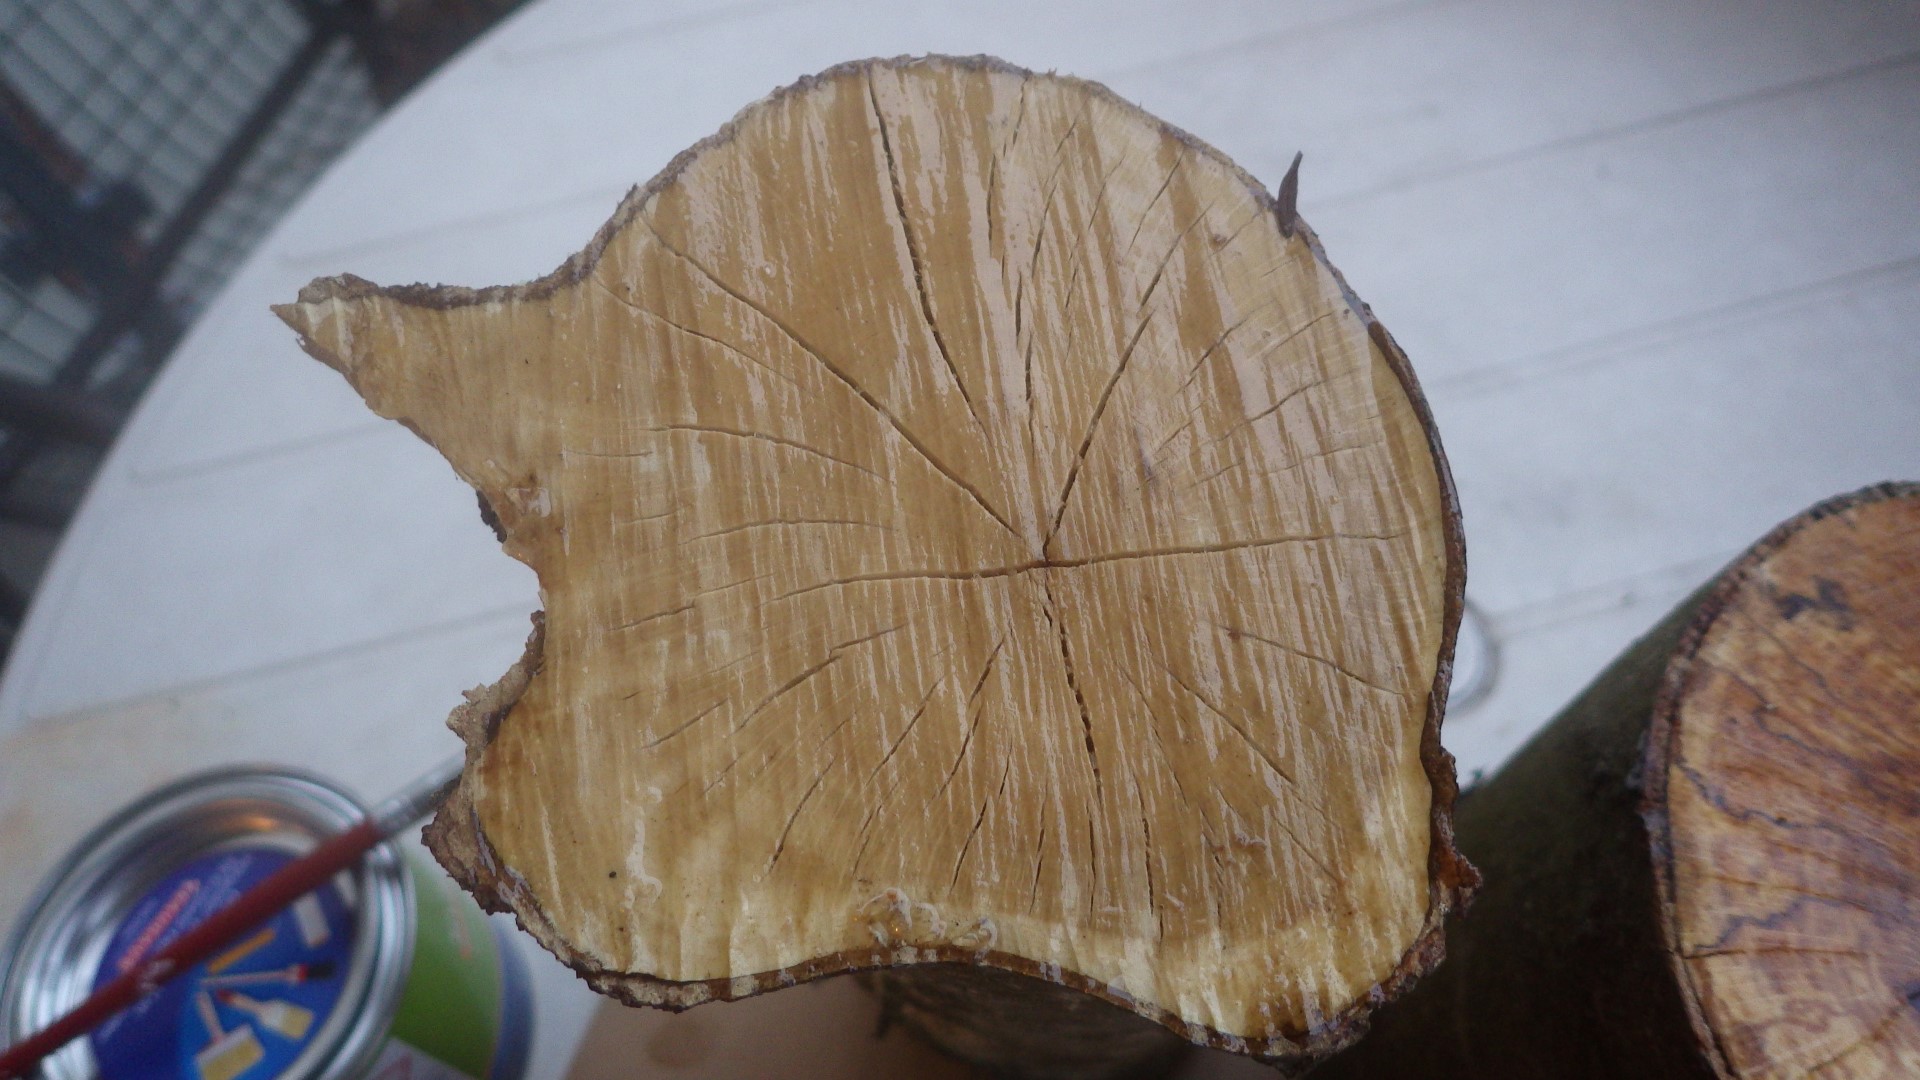
511 KB | Project:Drying Timber piece of apple (maybe) just after applying wood glue to seal the ends | 1 |
| 17:25, 7 March 2019 | Spalted beech painted.JPG (file) |  |
490 KB | Project:Drying Timber piece of beech with some interesting spalting, painted with clear lacquer a bit late: there were already some checks | 1 |
| 17:23, 7 March 2019 | Checked cherry painted.JPG (file) |  |
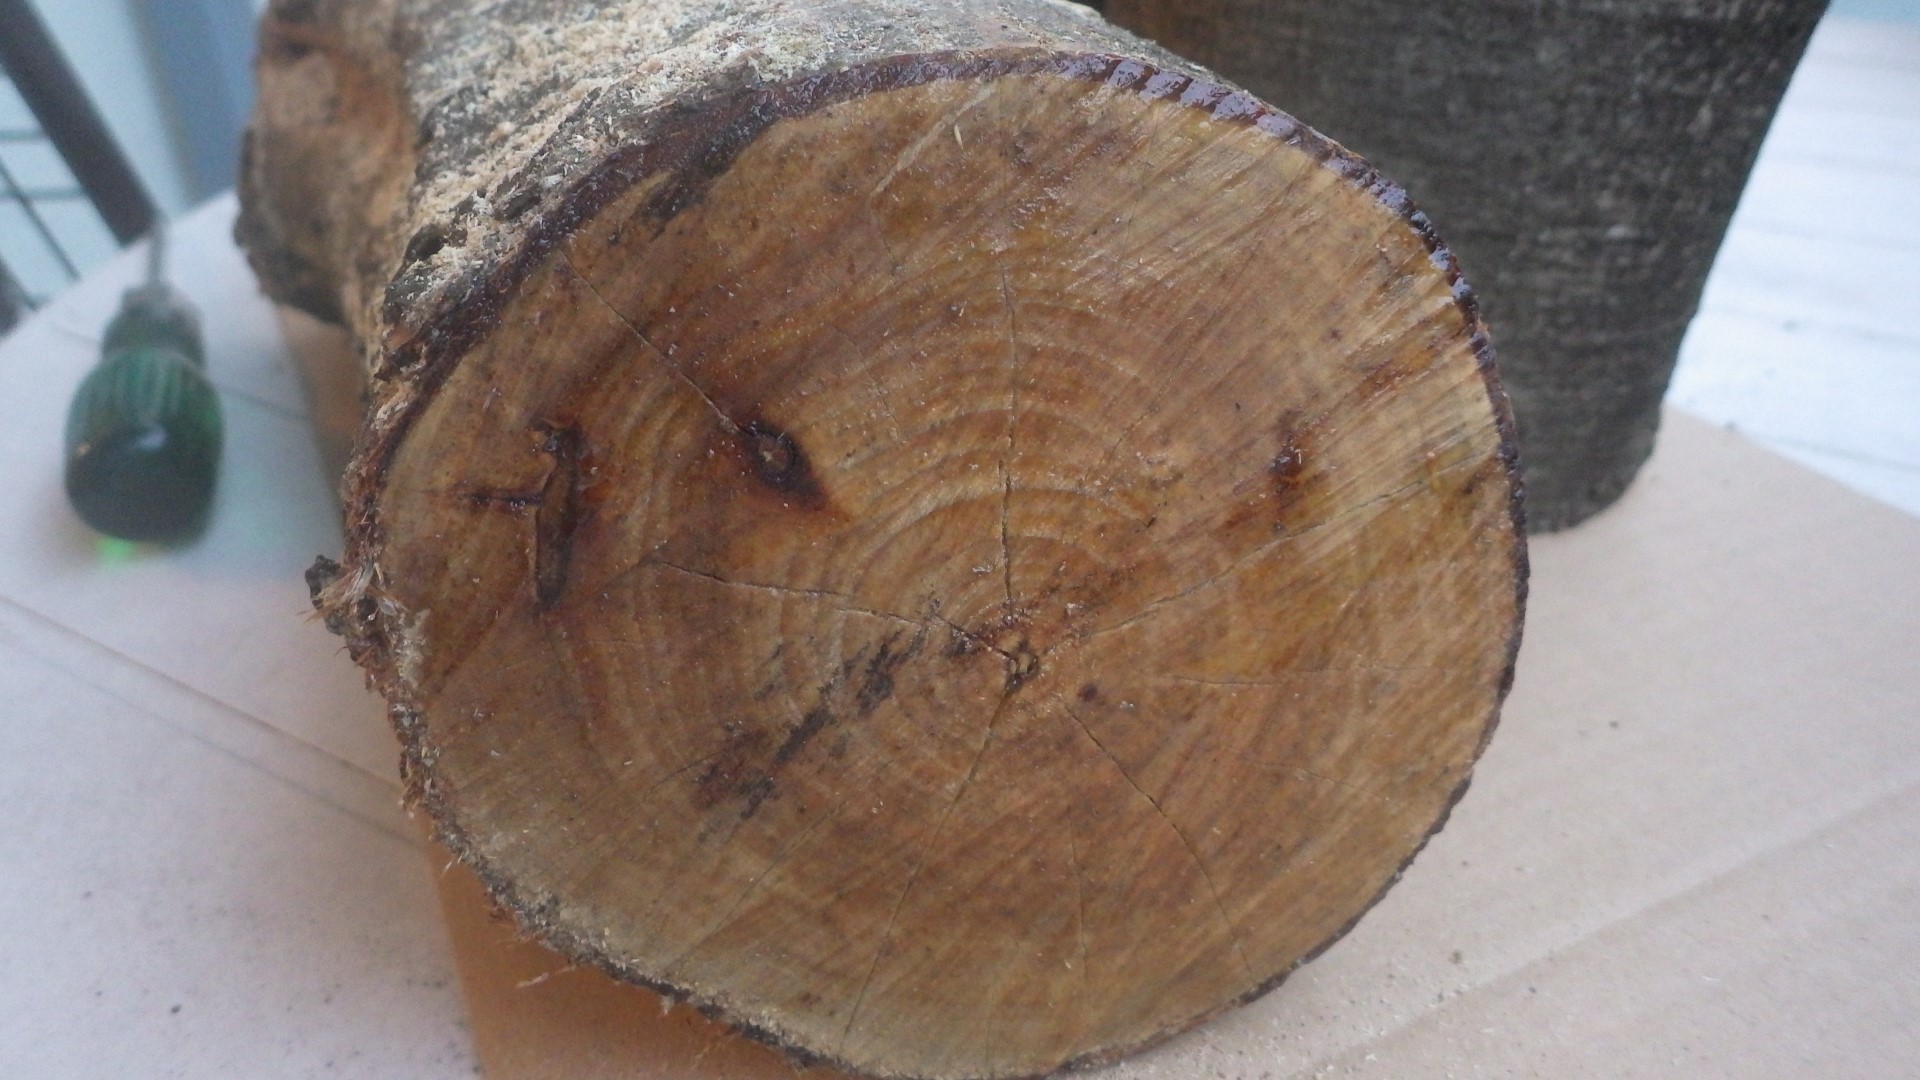
439 KB | Project:Drying Timber piece of cherry that was painted with clear lacquer a bit late: there were already some checks | 1 |
| 17:22, 7 March 2019 | Checked maple painted.JPG (file) |  |
448 KB | Project:Drying Timber piece of maple that was painted with clear lacquer a bit late: there were already some checks | 1 |