Uploads by Lukas
From CoMakingSpace Wiki
This special page shows all uploaded files.
| Date | Name | Thumbnail | Size | Description | Versions |
|---|---|---|---|---|---|
| 13:37, 21 August 2017 | TwitterLogo.png (file) |  |
99 KB | A self-made Twitter icon by Patrick. | 1 |
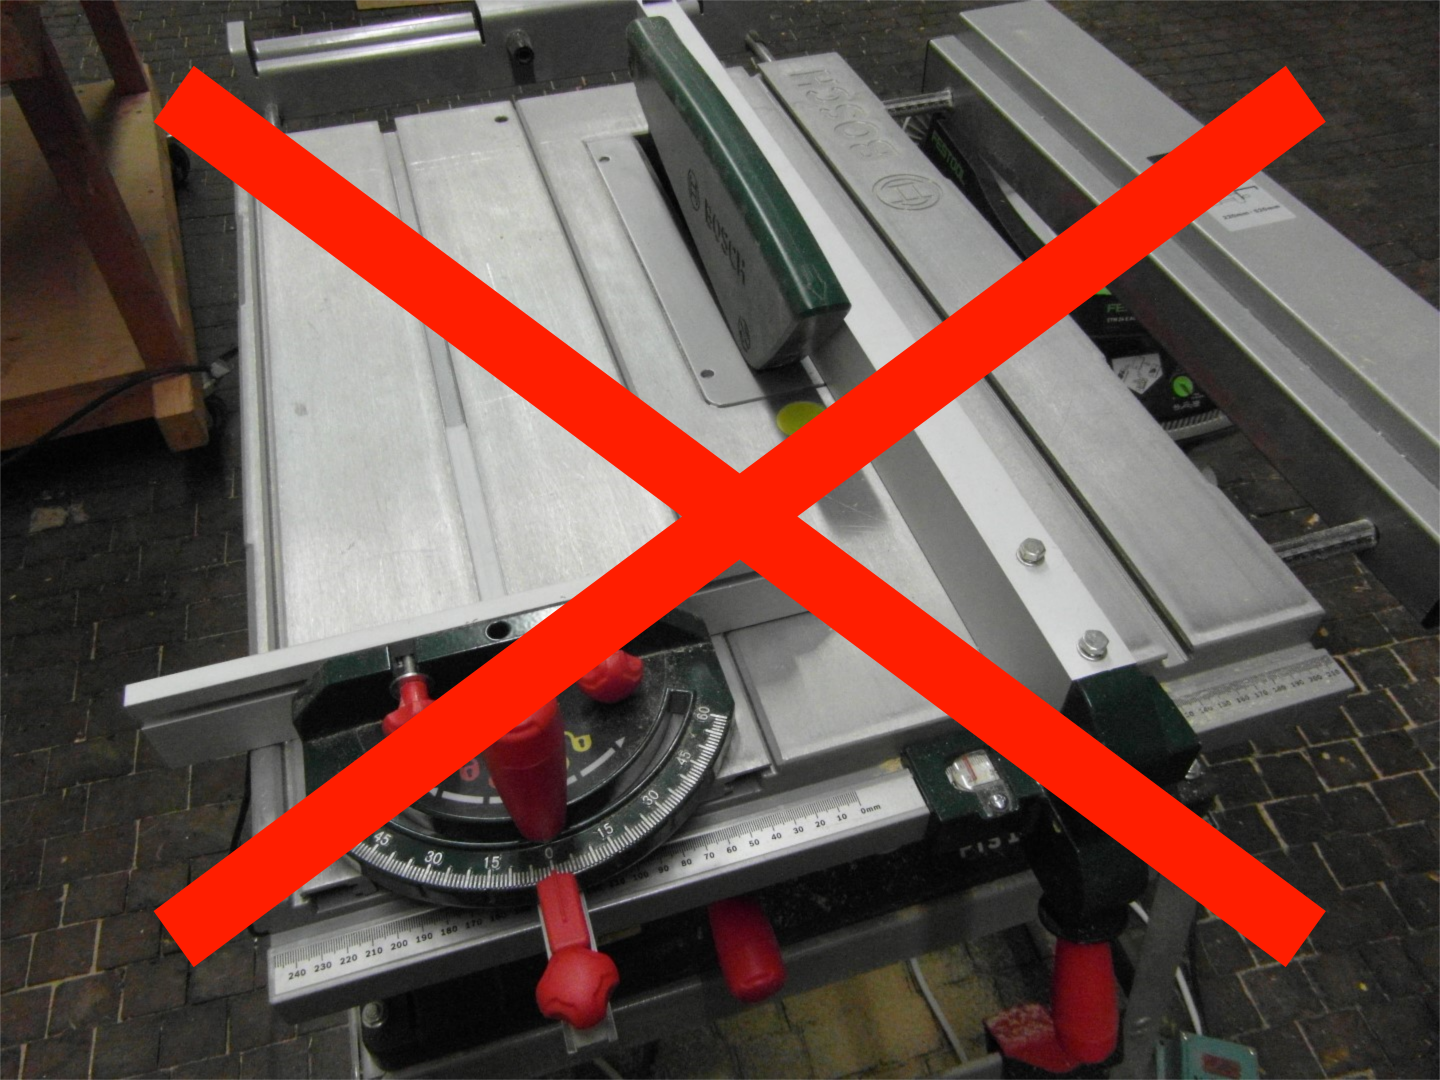
| 10:30, 3 June 2018 | Two table saw fences.png (file) |  |
1.83 MB | As described in the table saw introduction, DO NOT use both table saw fences at once or you could experience kickback! Photo edited with Inkscape. | 2 |
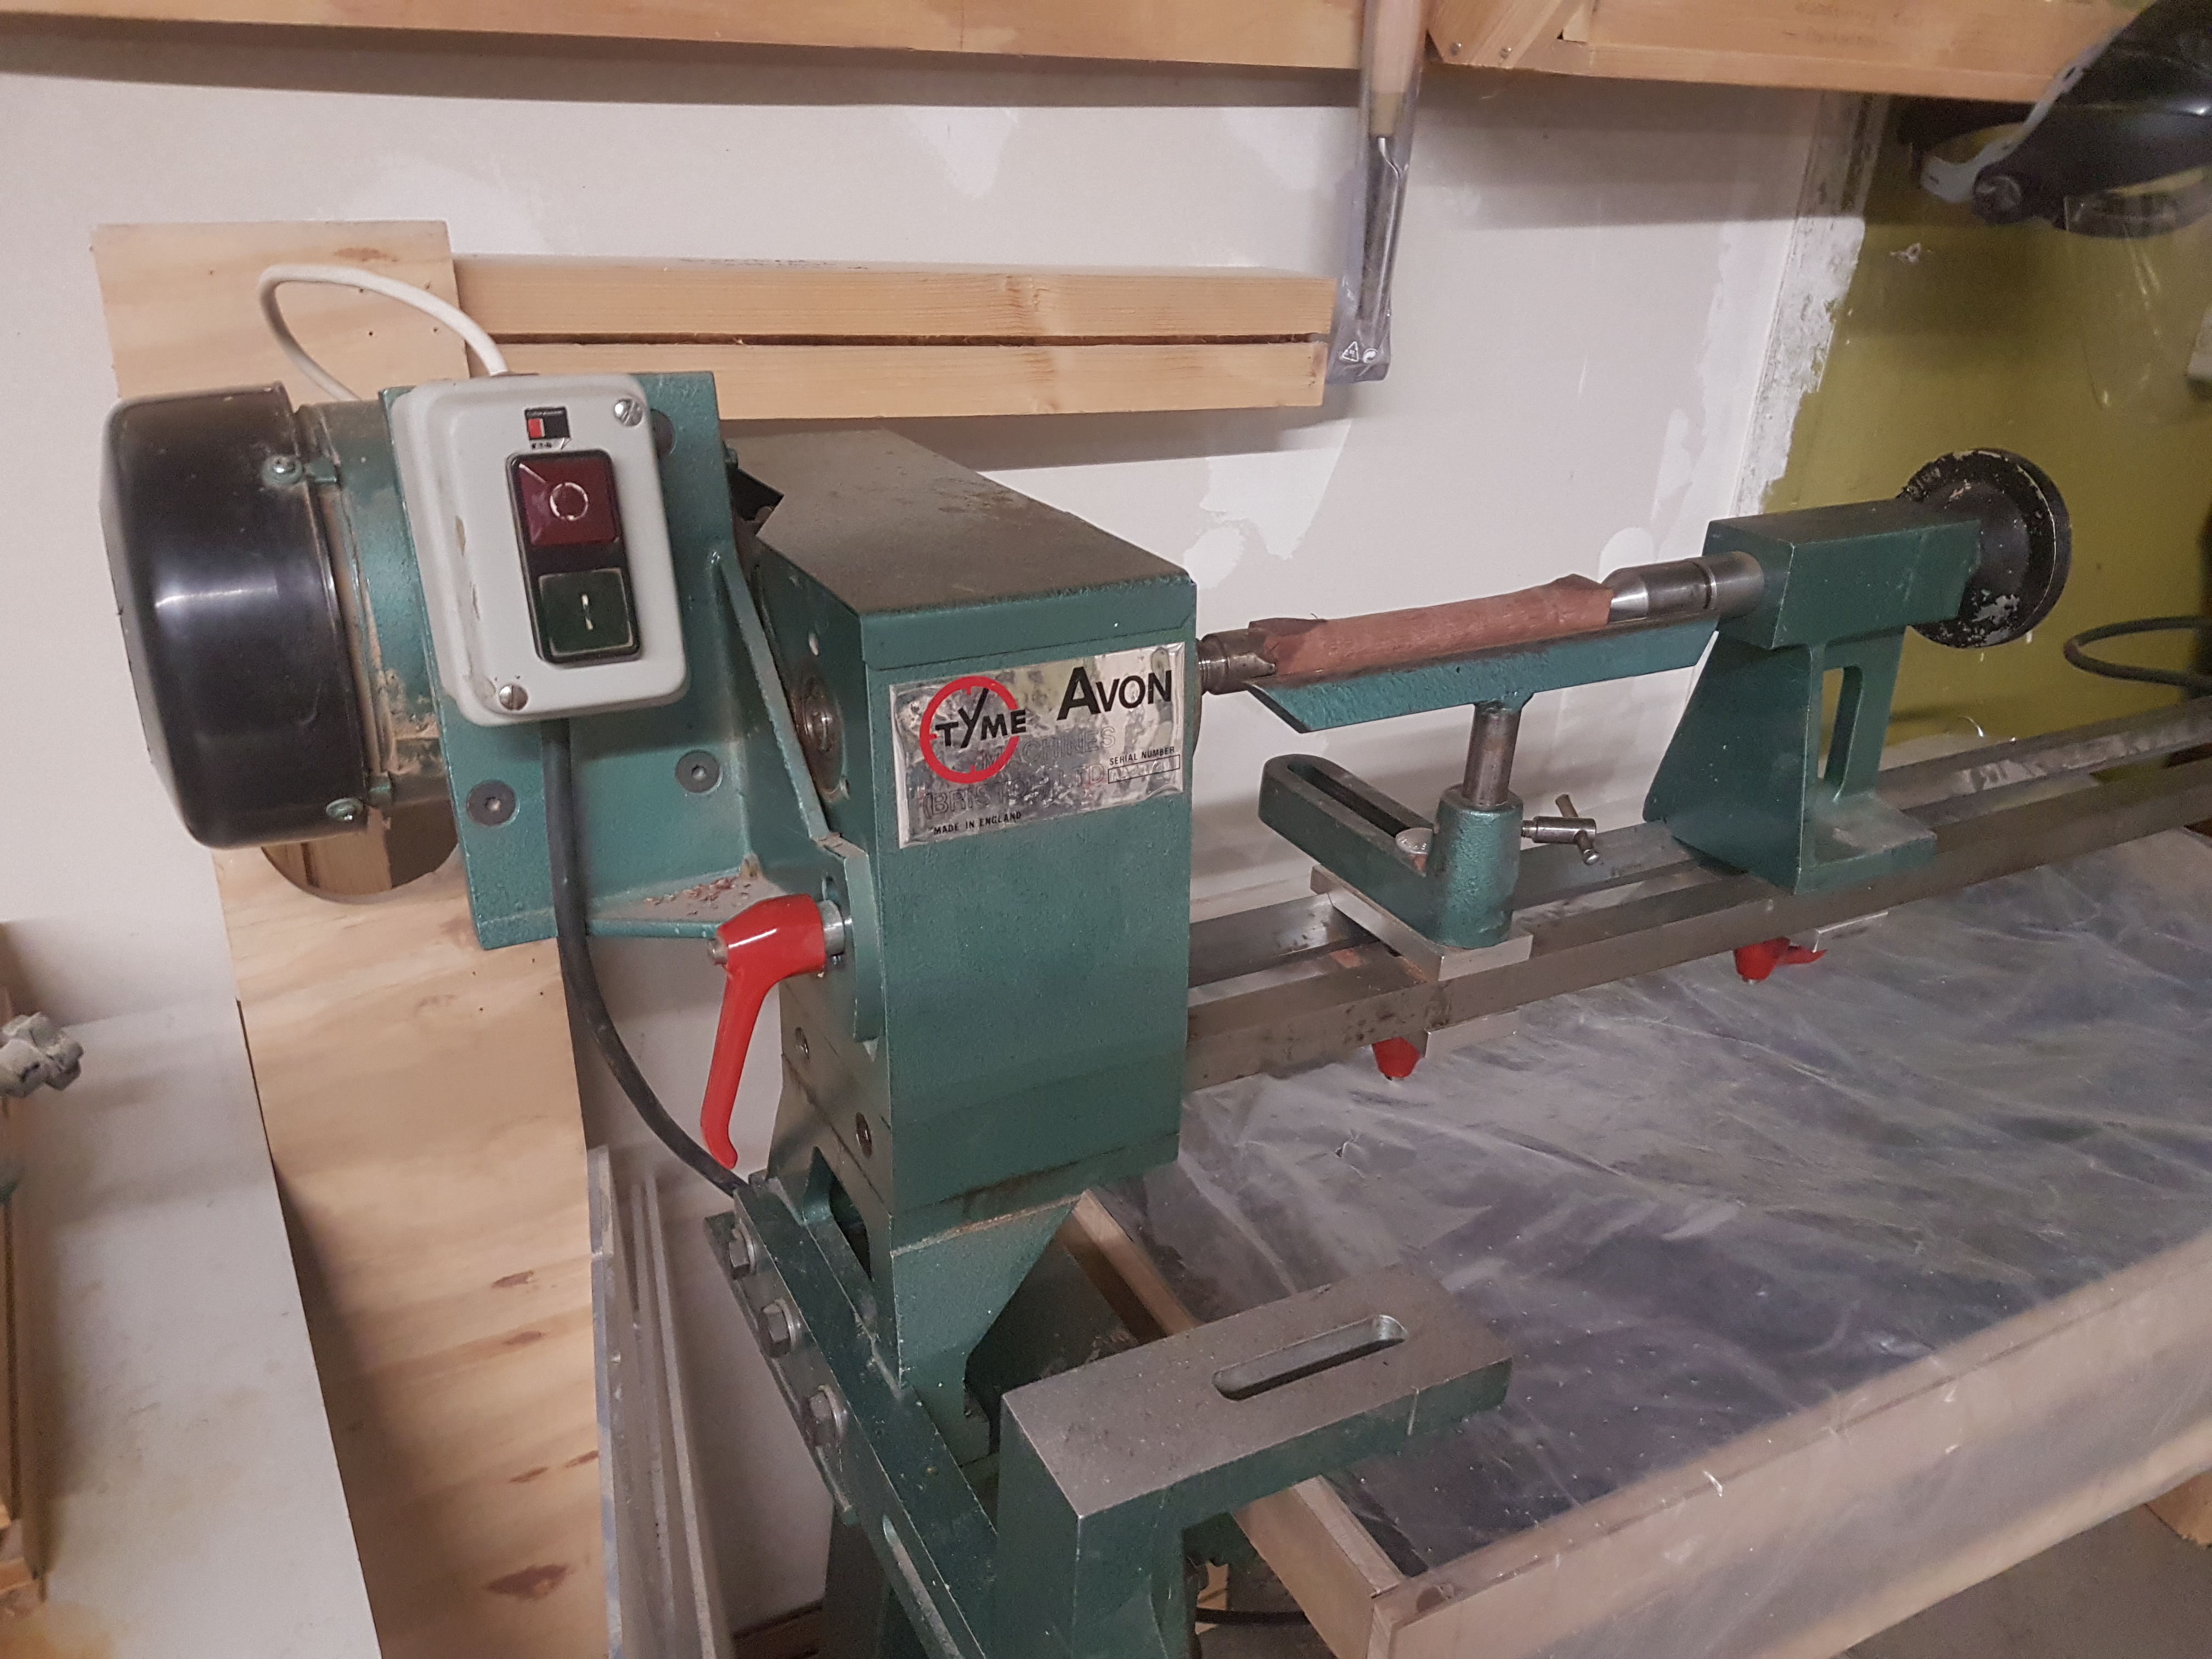
| 04:08, 24 September 2022 | Tyme Avon ATL301.jpg (file) |  |
4.12 MB | our Tyme Avon ATL301 wood lathe. | 1 |
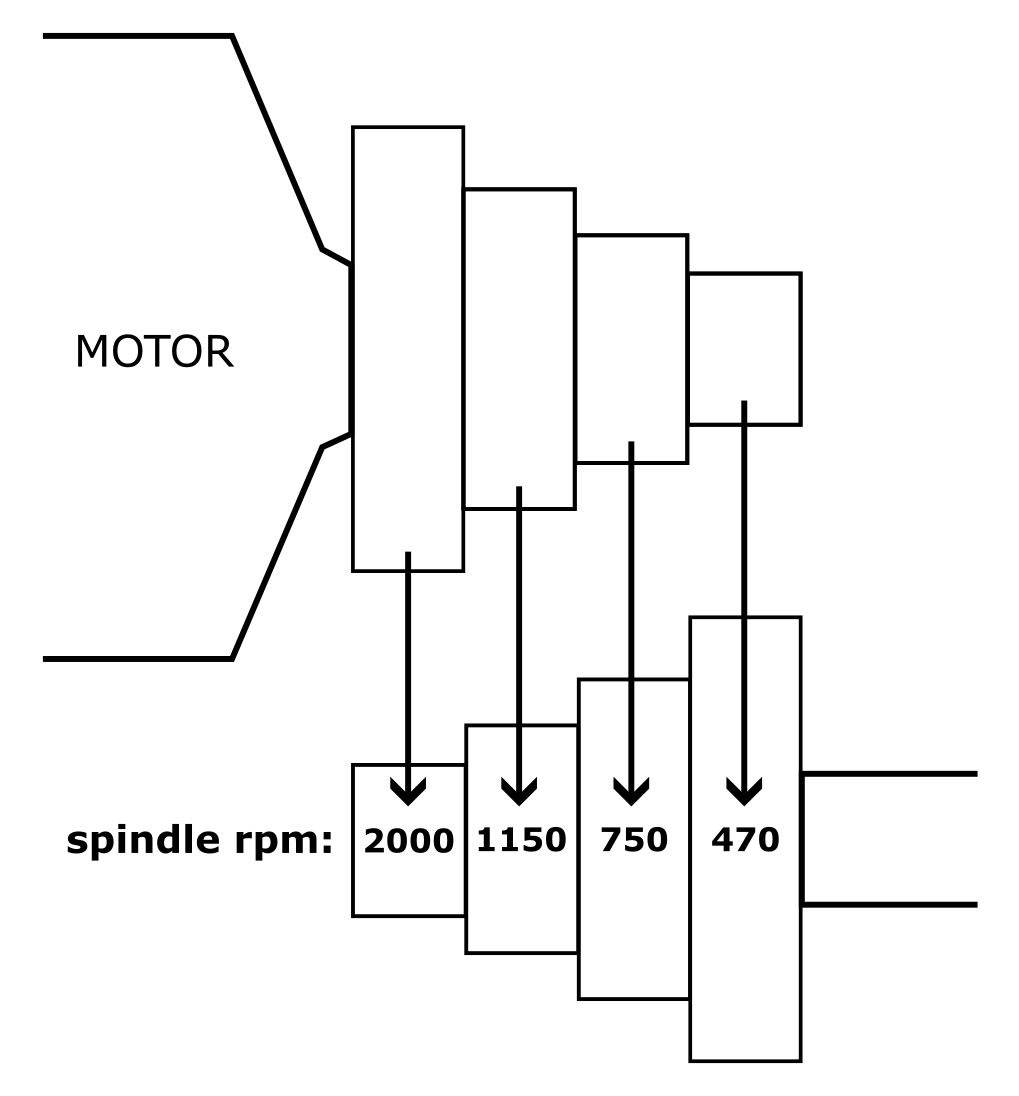
| 13:39, 25 September 2022 | Tyme Avon speeds.png (file) |  |
28 KB | PNG version of File:Tyme_Avon_speeds.svg because either the wiki or this version of Inkscape messes up the drawing... | 1 |
| 13:31, 25 September 2022 | Tyme Avon speeds.svg (file) |  |
10 KB | sketch of the spindle speeds resulting from each belt position on the Tyme Avon wood lathe drawn in Inkscape | 1 |
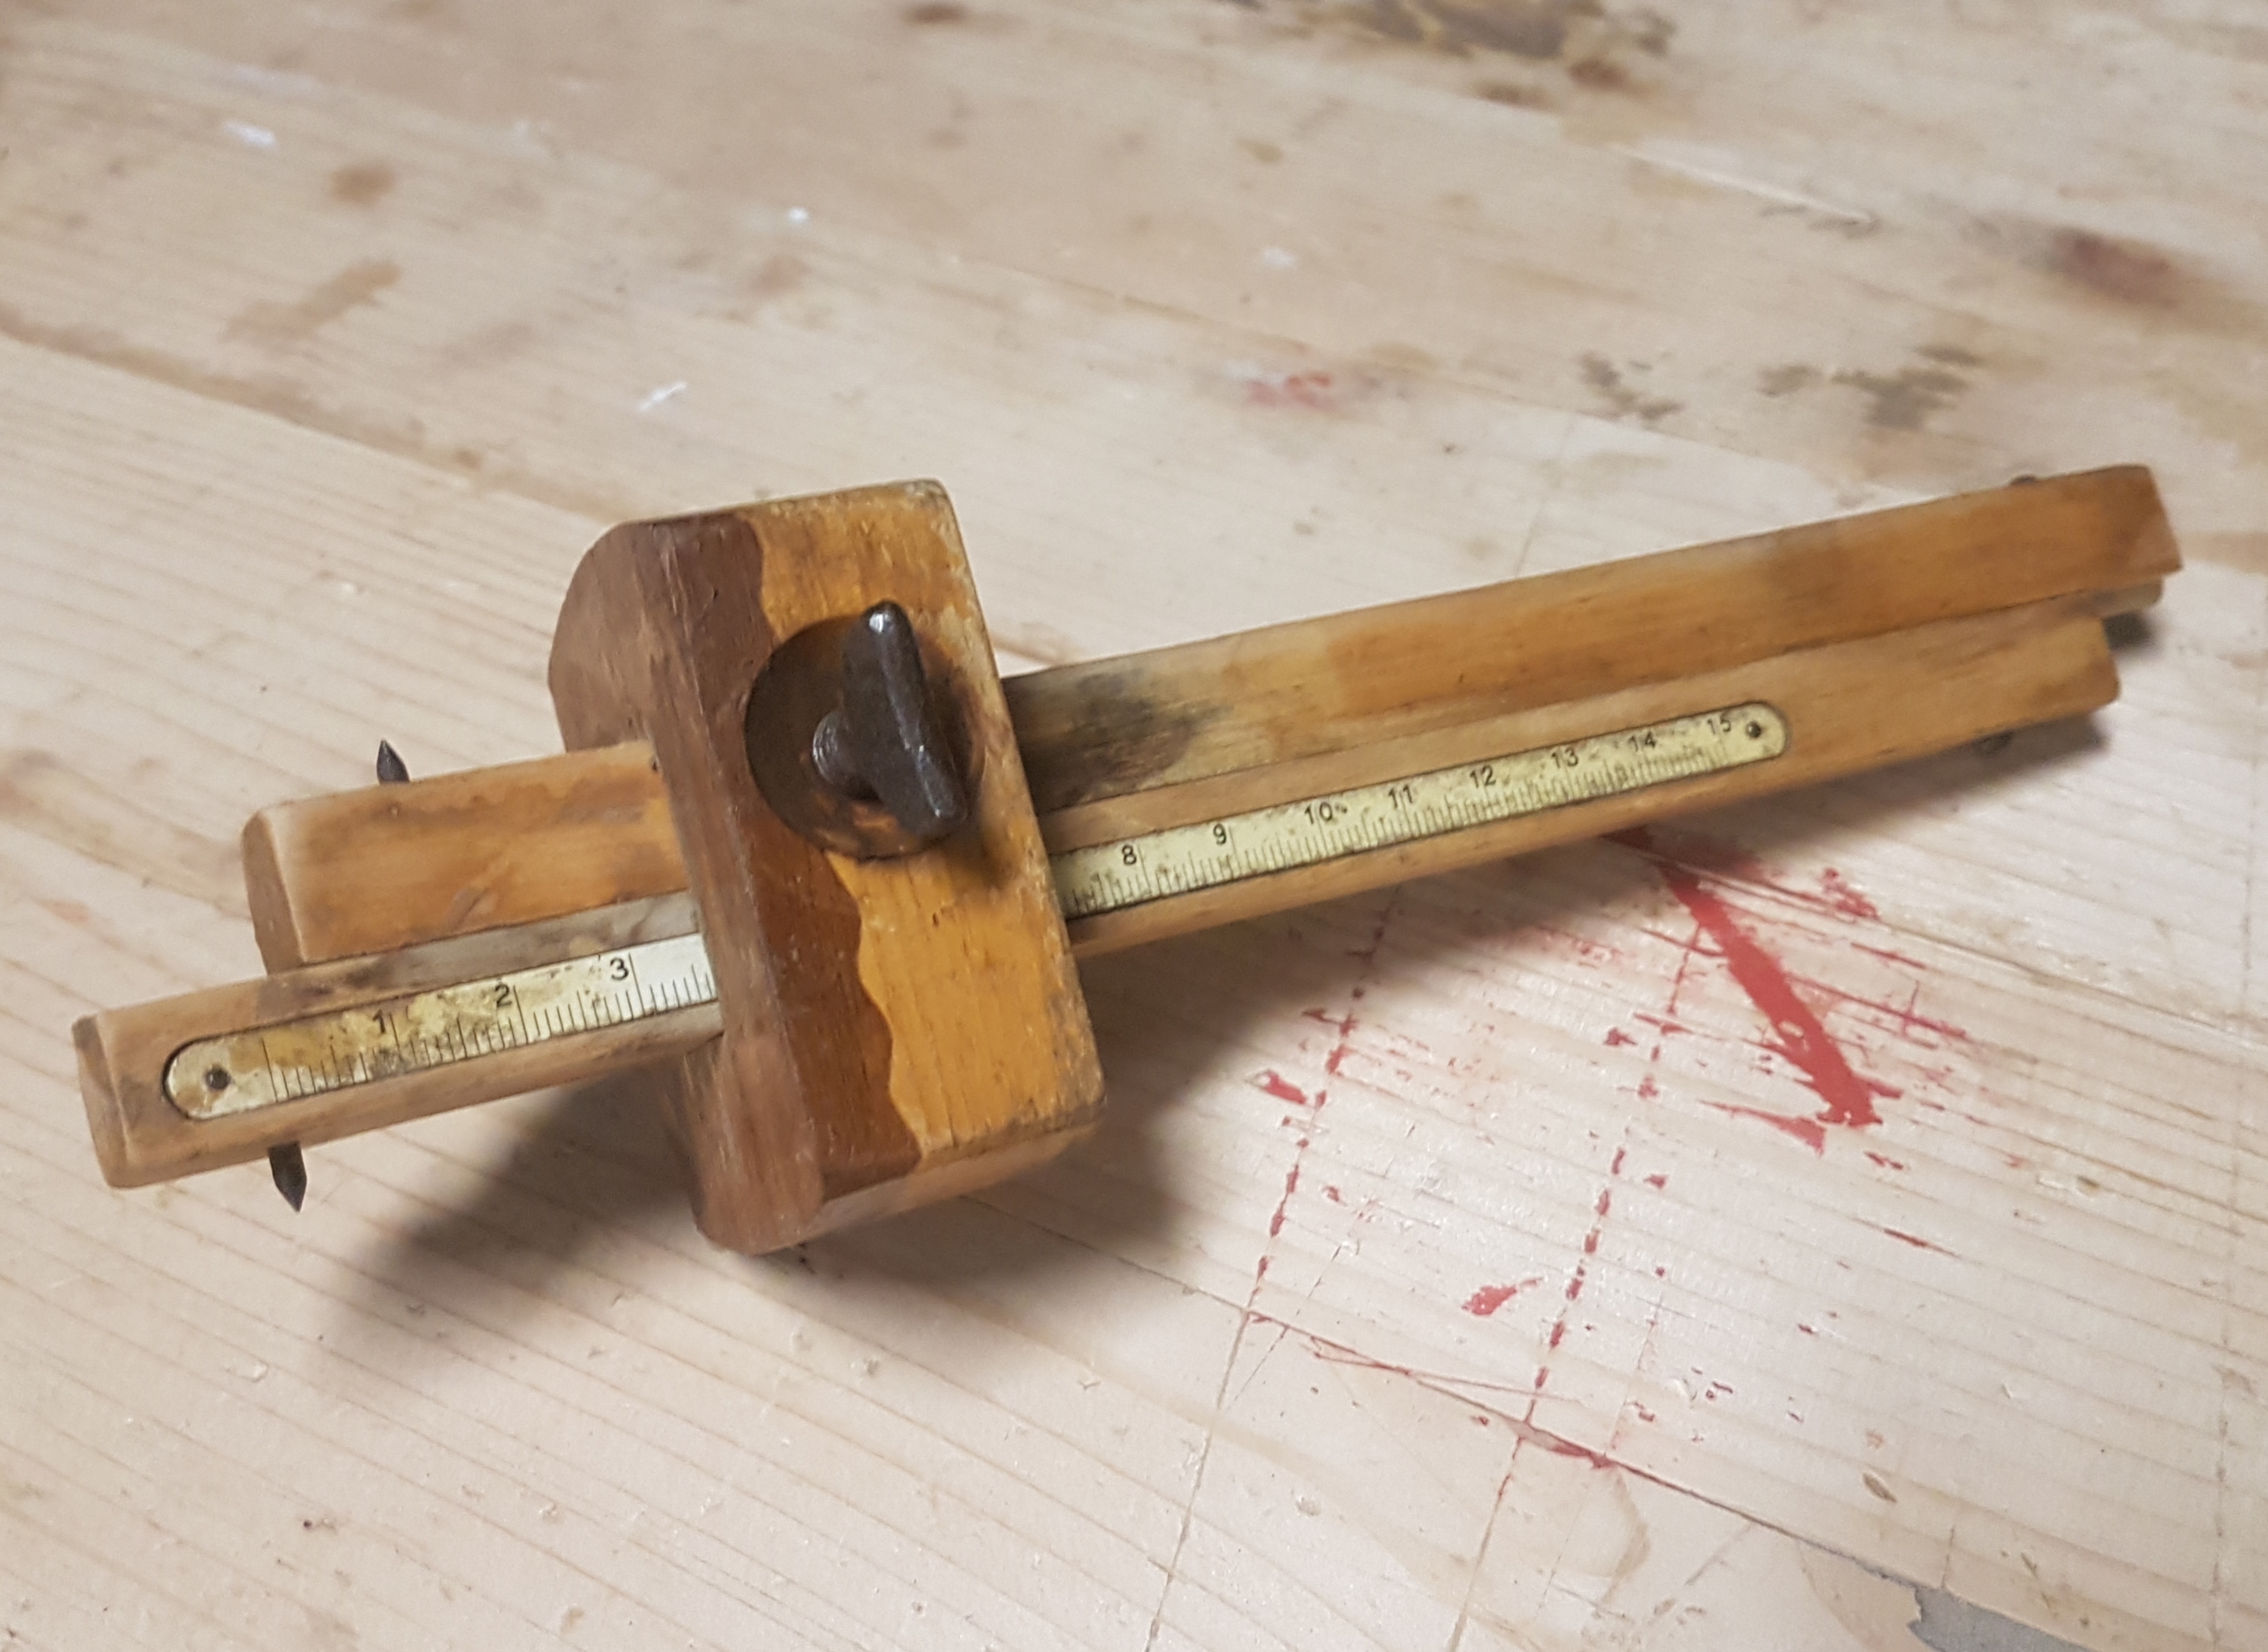
| 03:57, 18 March 2023 | Ulmia Doppelstreichmaß.jpg (file) |  |
2.74 MB | "Ulmia" Doppelstreichmaß, freshly restored | 1 |
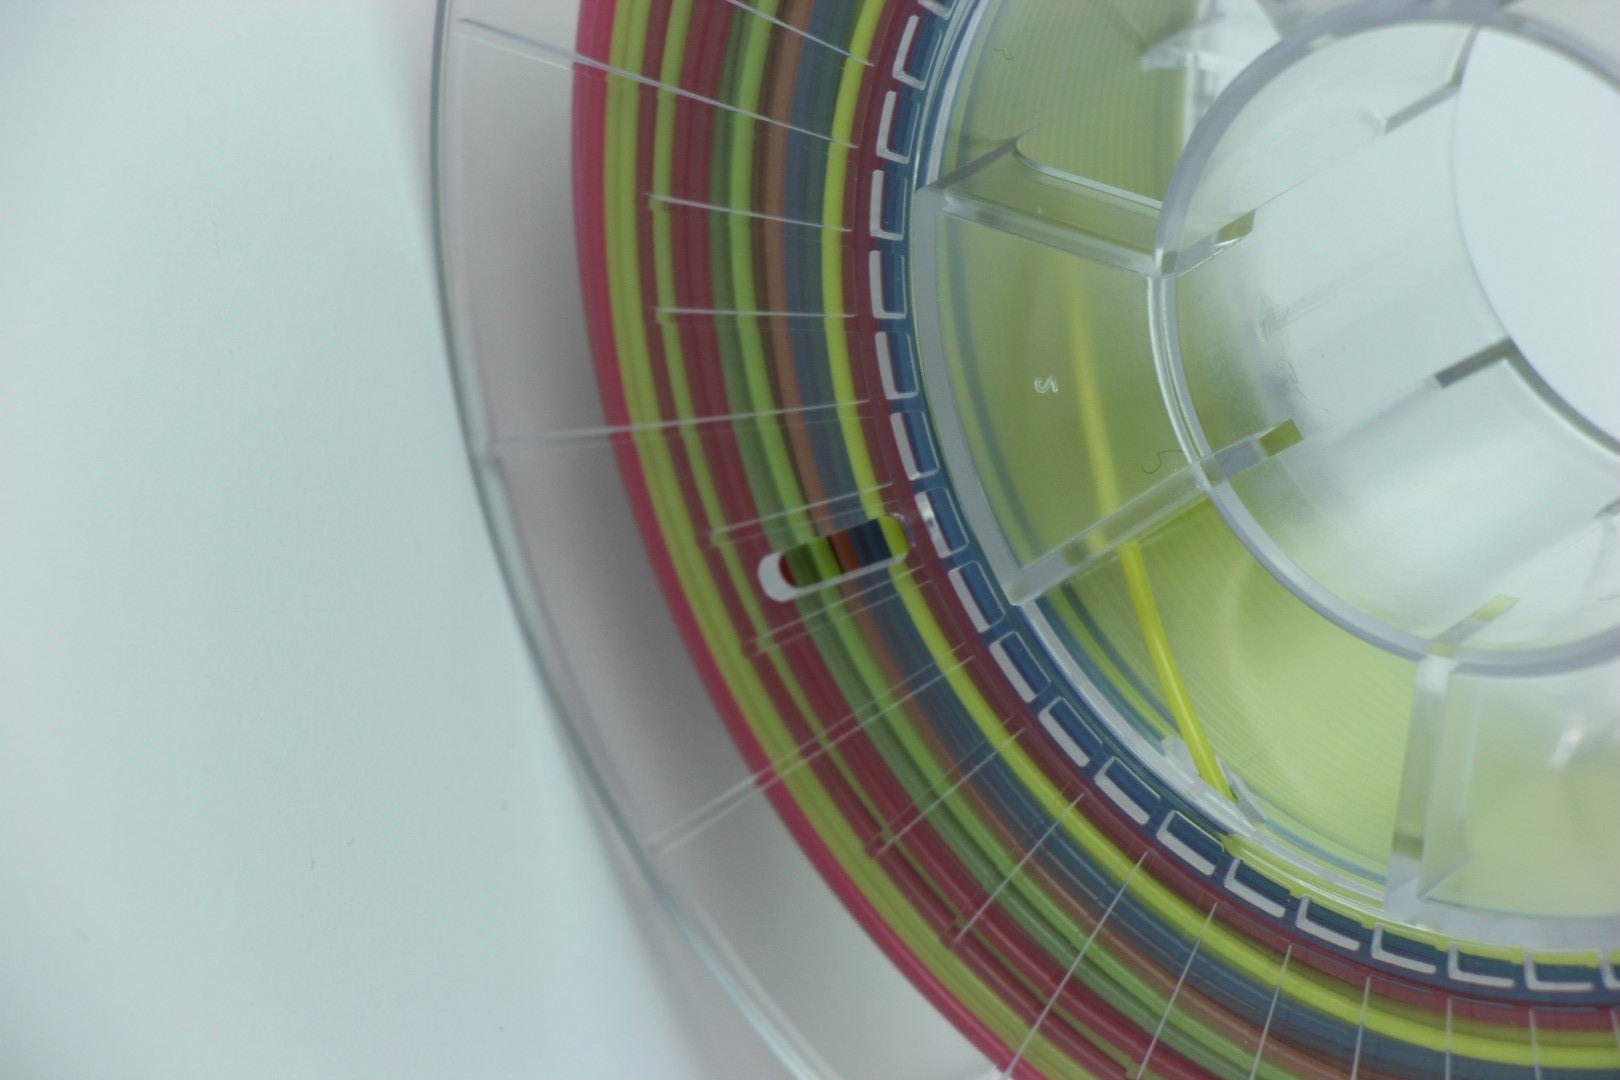
| 10:49, 13 November 2017 | UniCoFil rainbow.JPG (file) |  |
212 KB | a spool of "rainbow" PLA filament from UniCoFil | 1 |
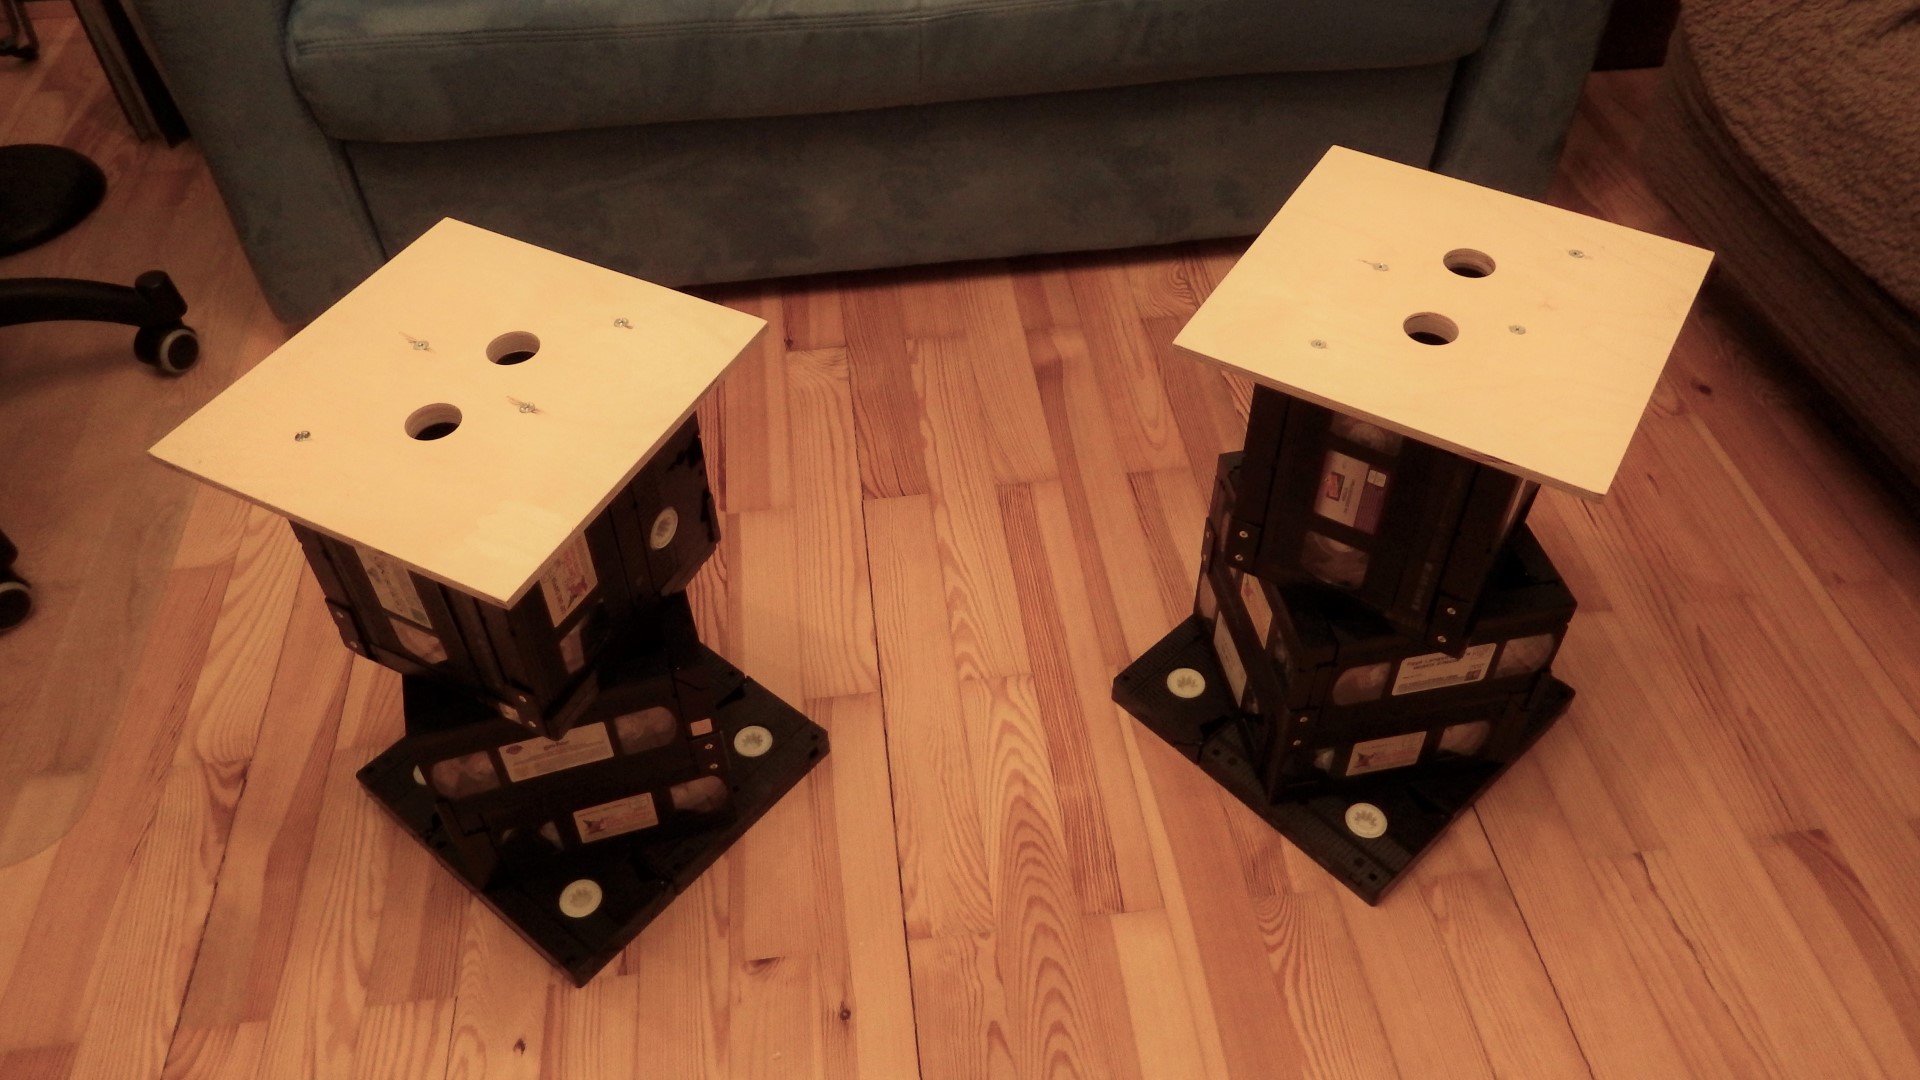
| 17:35, 31 October 2018 | VHS couch table legs finished.JPG (file) |  |
340 KB | 4:3 aspect ratio for Main Page/Slideshow | 2 |
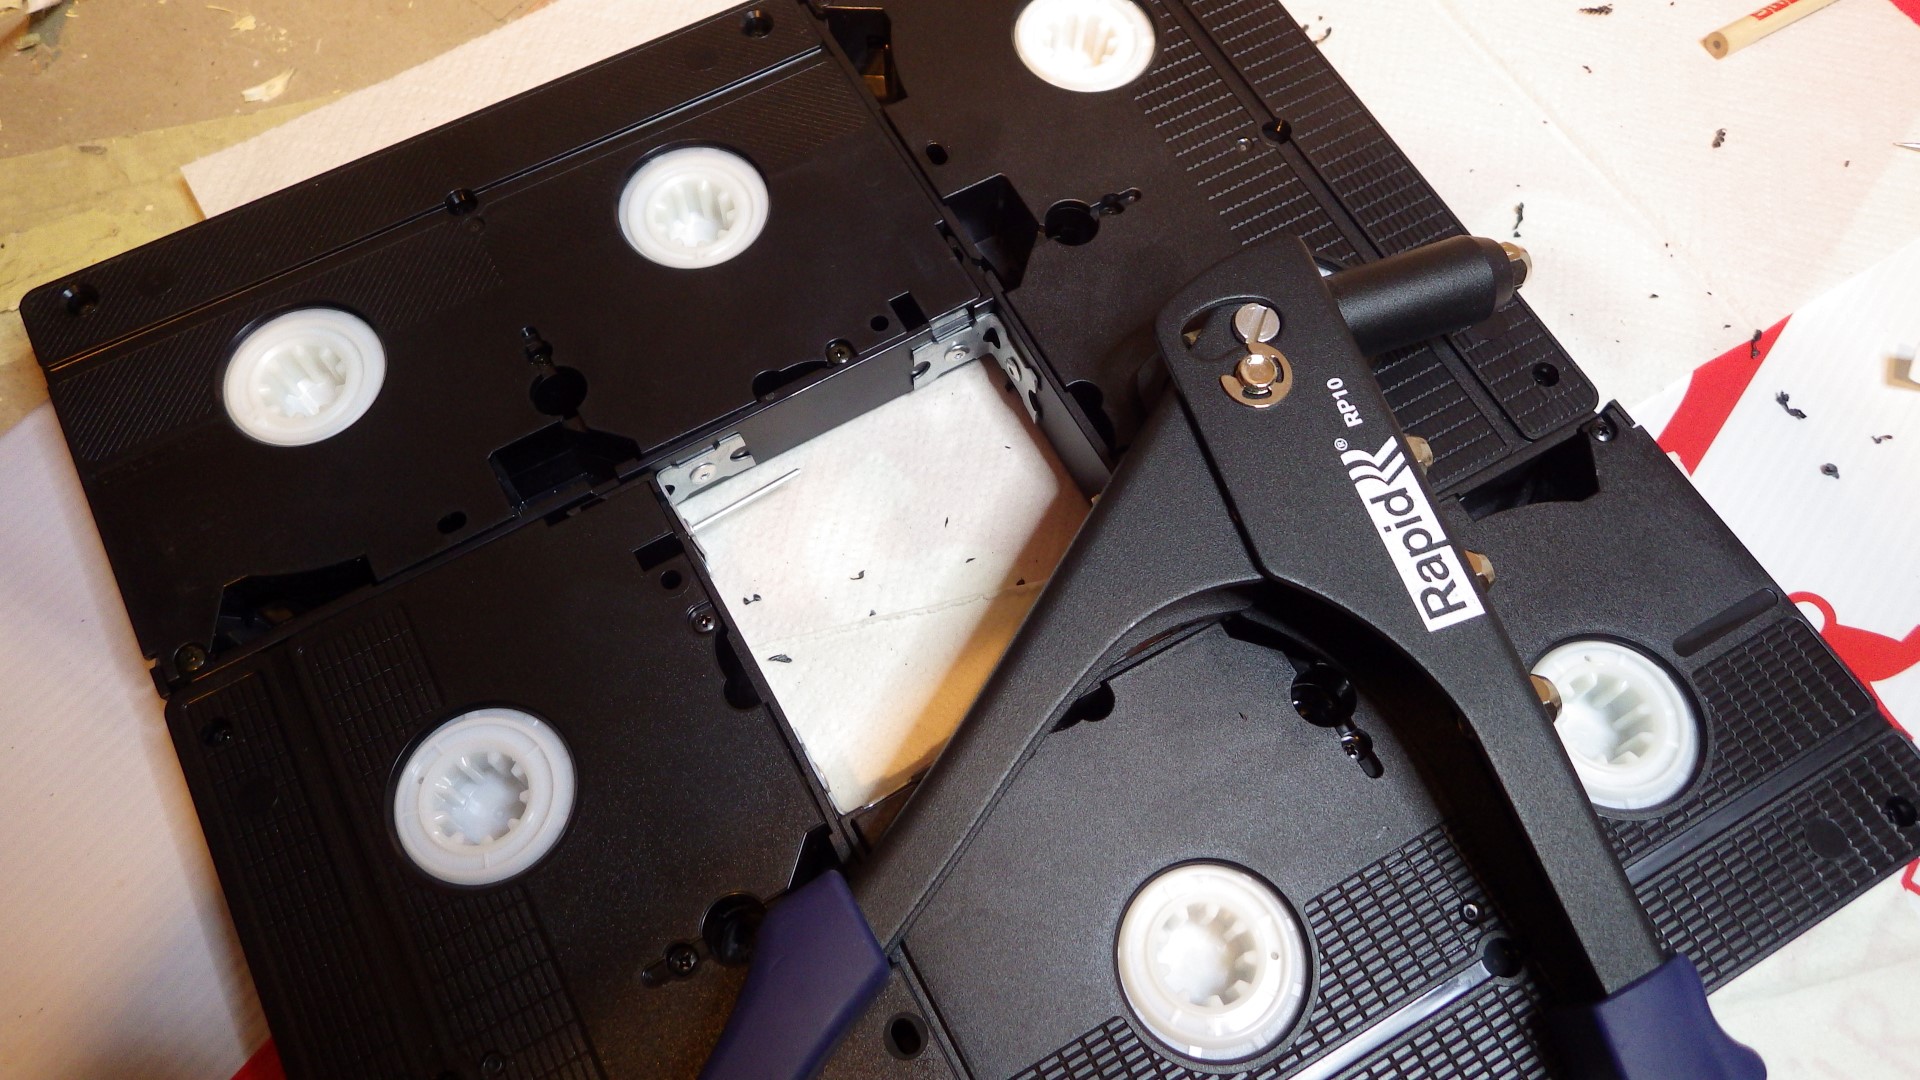
| 21:18, 27 September 2018 | VHS table 01.JPG (file) |  |
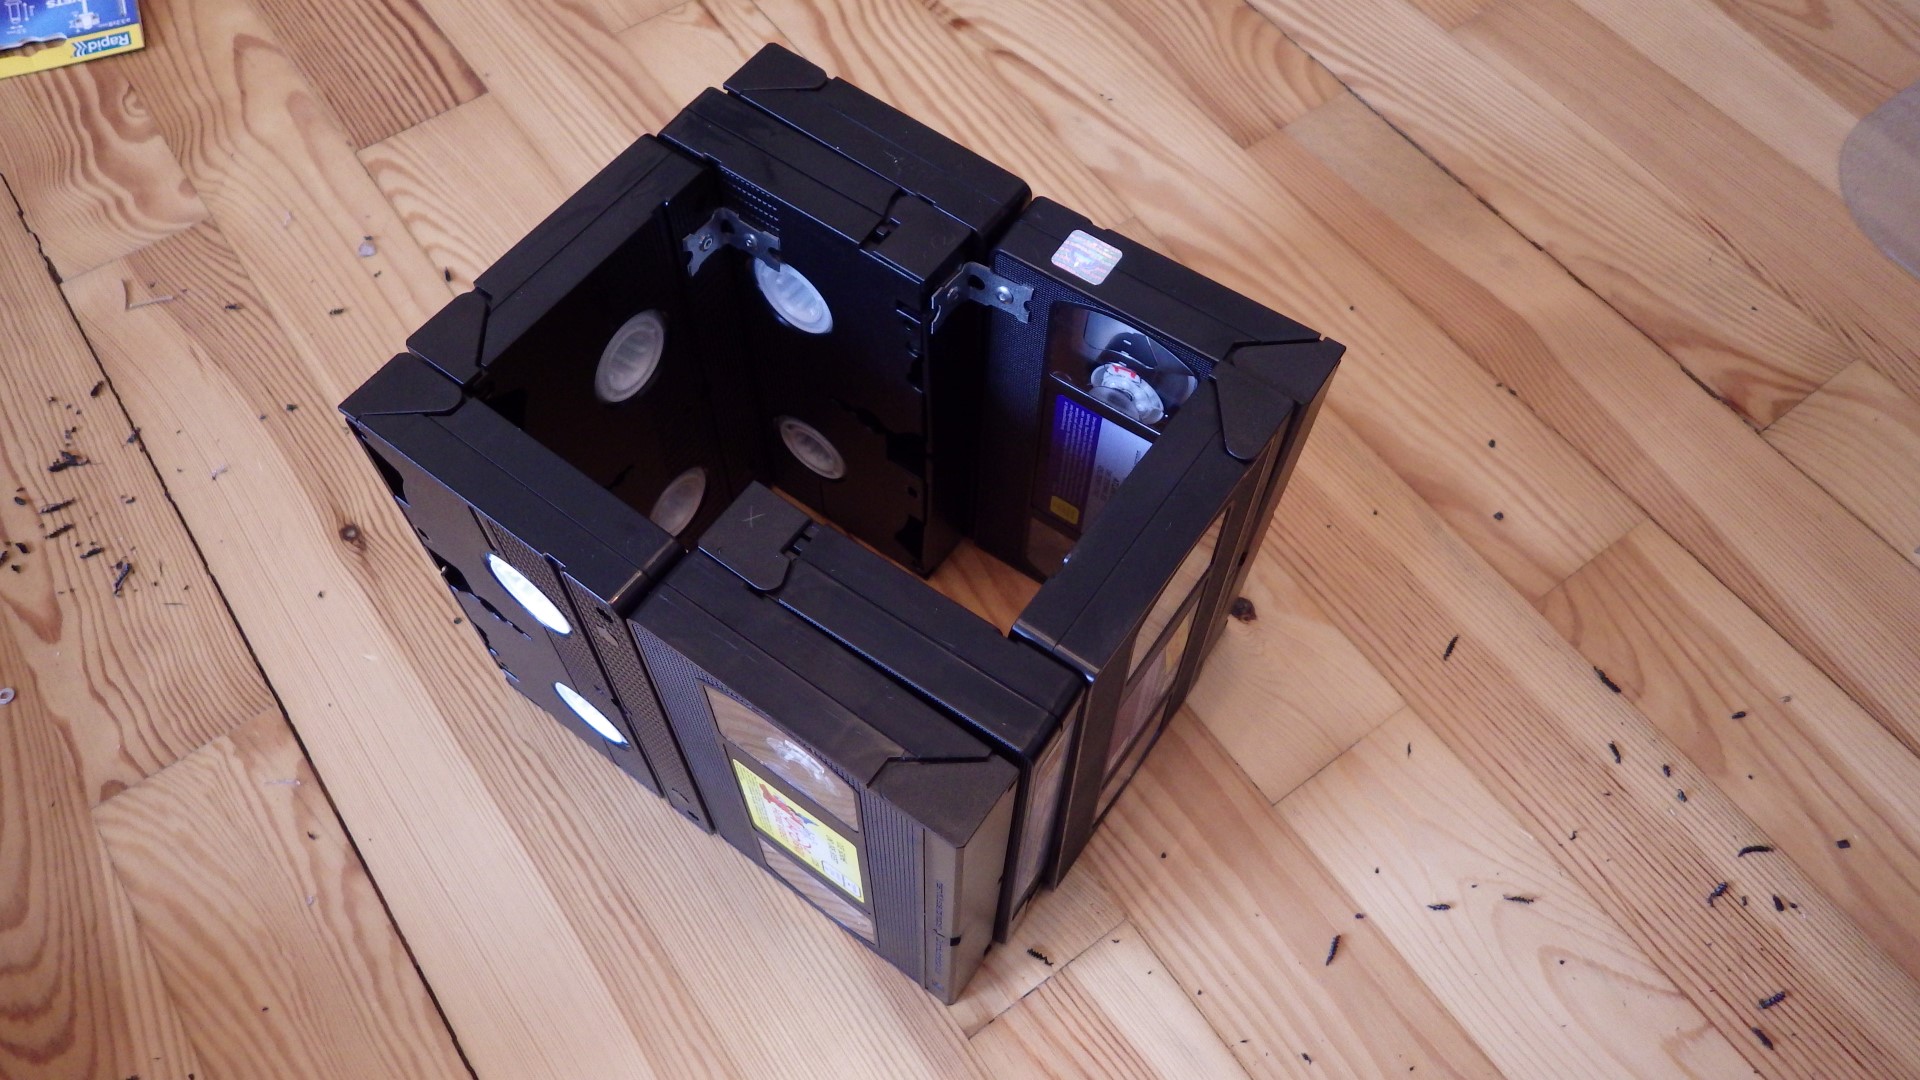
507 KB | assembling four VHS tapes in a square with a rivet gun - this will be the base of a couch table leg | 1 |
| 21:18, 27 September 2018 | VHS table 02.JPG (file) |  |
558 KB | the second layer of a VHS couch table leg: four tapes on their long edge (labels nicely visible!) | 1 |
| 21:20, 27 September 2018 | VHS table 03.JPG (file) |  |
506 KB | third and fourth layer of a VHS couch table leg: two tapes lying flat (they will be hidden later, don't choose your favorite ones) on top of another ring as was also used for the second layer | 1 |
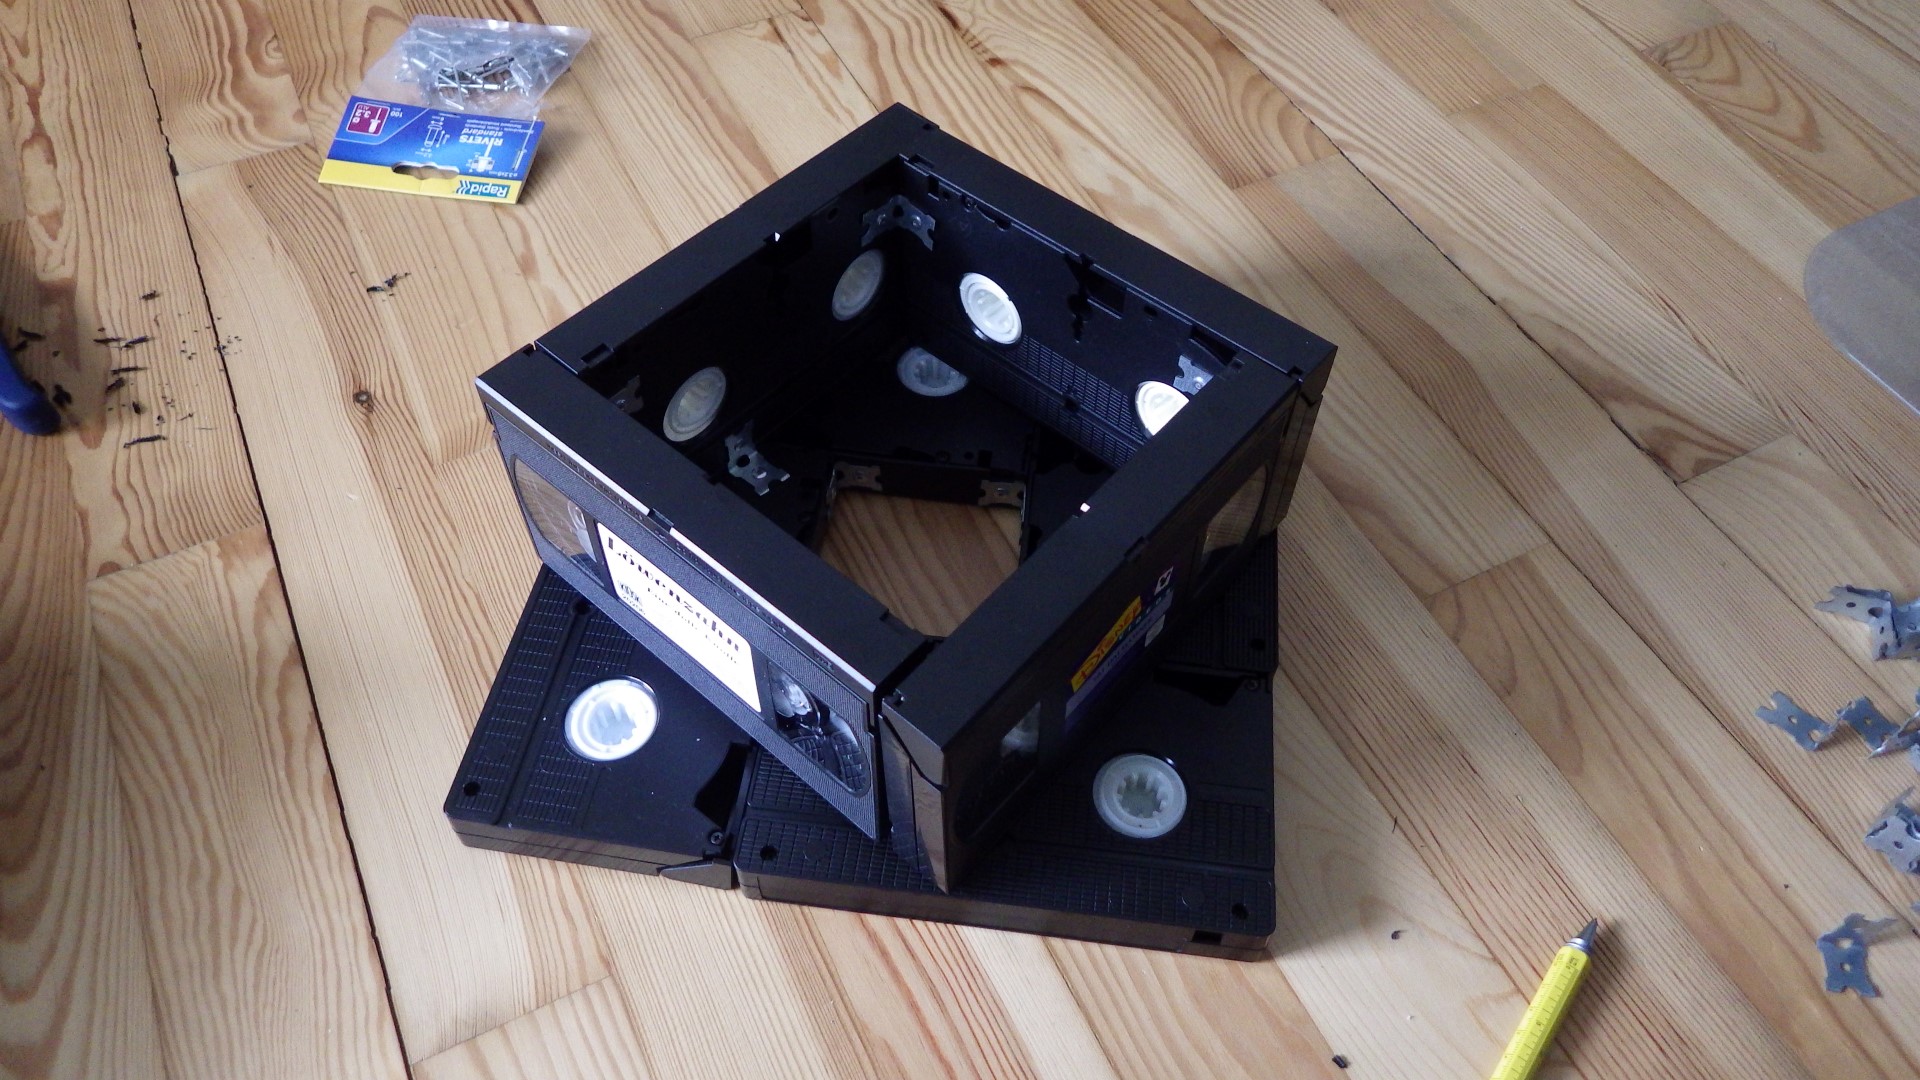
| 21:21, 27 September 2018 | VHS table 04.JPG (file) |  |
483 KB | Fifth and most complicated layer of a VHS couch table leg: two sets of two sandwiched tapes and four single ones standing on their short edge, forming something like a rectangle. This weird arrangement was necessary to gain... | 1 |
| 21:25, 27 September 2018 | VHS table 05.JPG (file) |  |
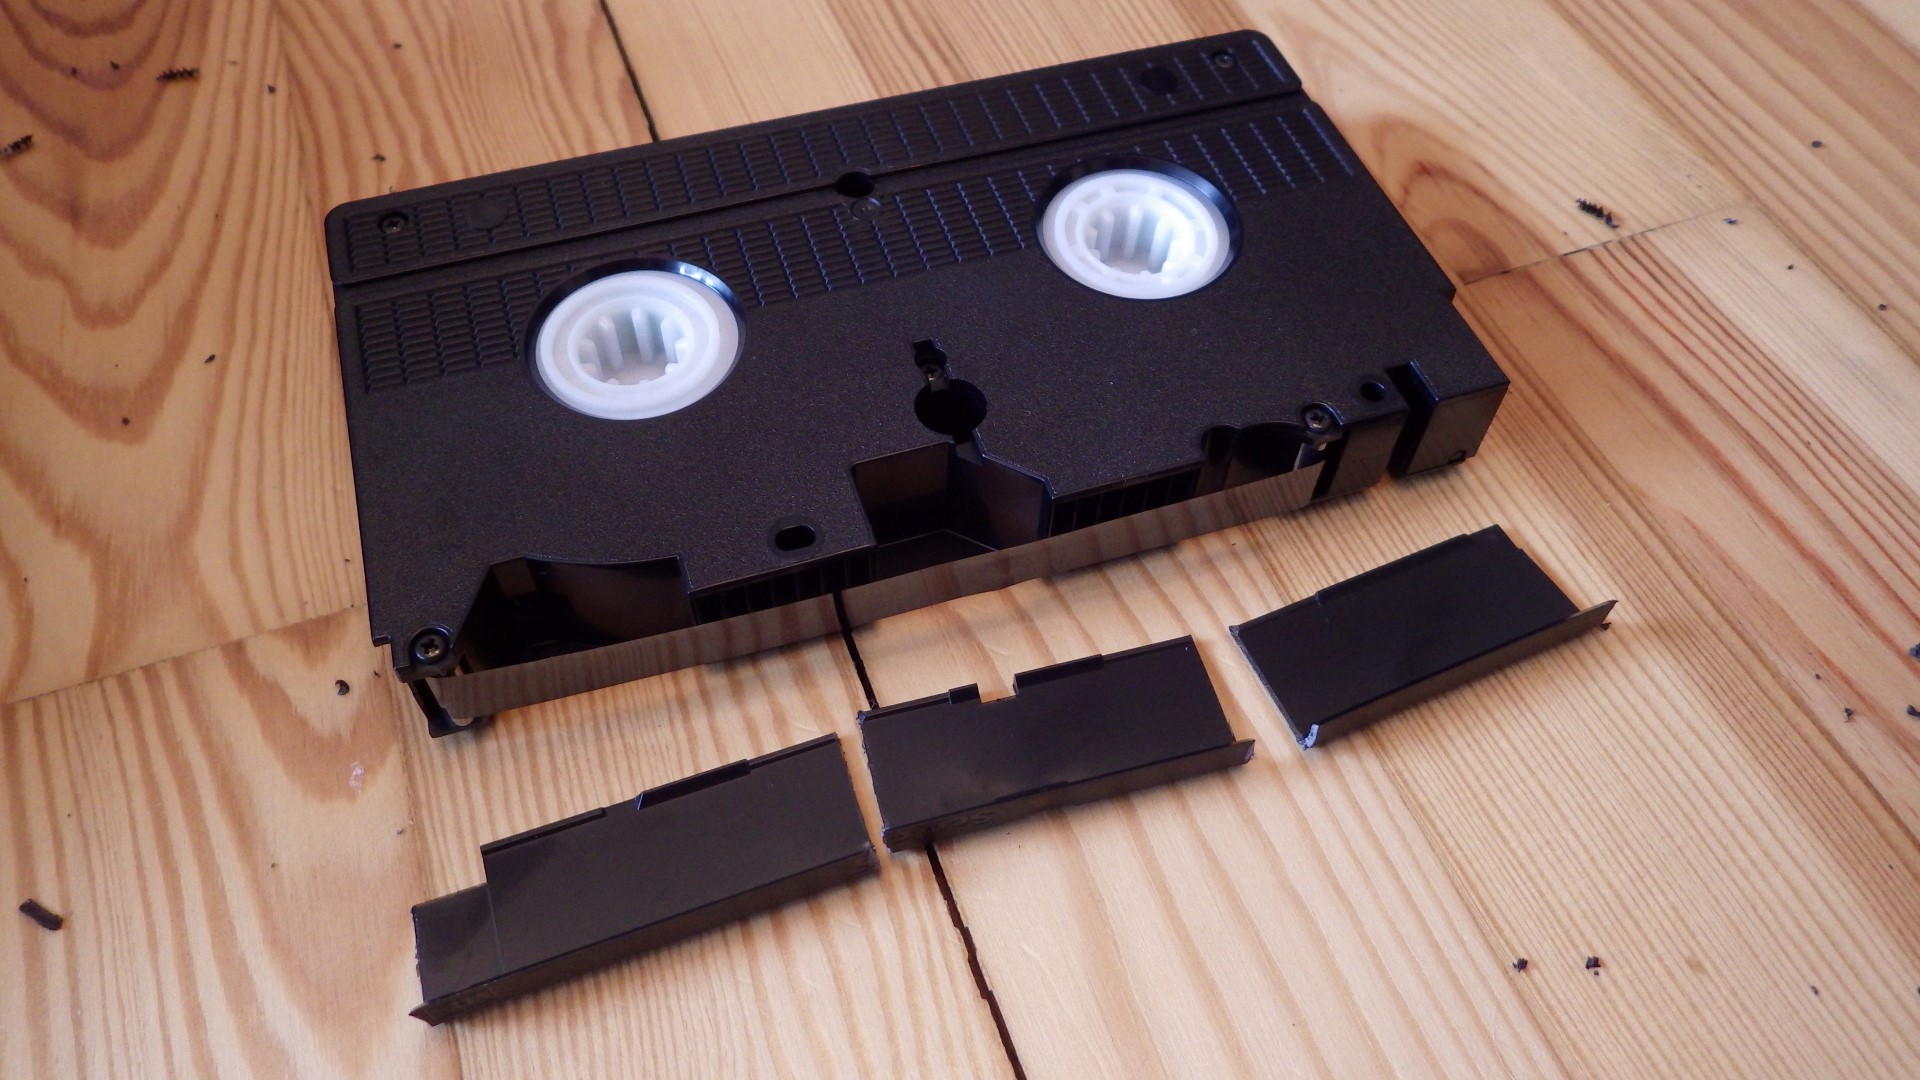
447 KB | to connect the different layers of VHS couch table legs with rivets, makeshift brackets out of some surplus tapes proved efficient (and nearly invisible in the end) | 1 |
| 21:27, 27 September 2018 | VHS table 06.jpg (file) |  |
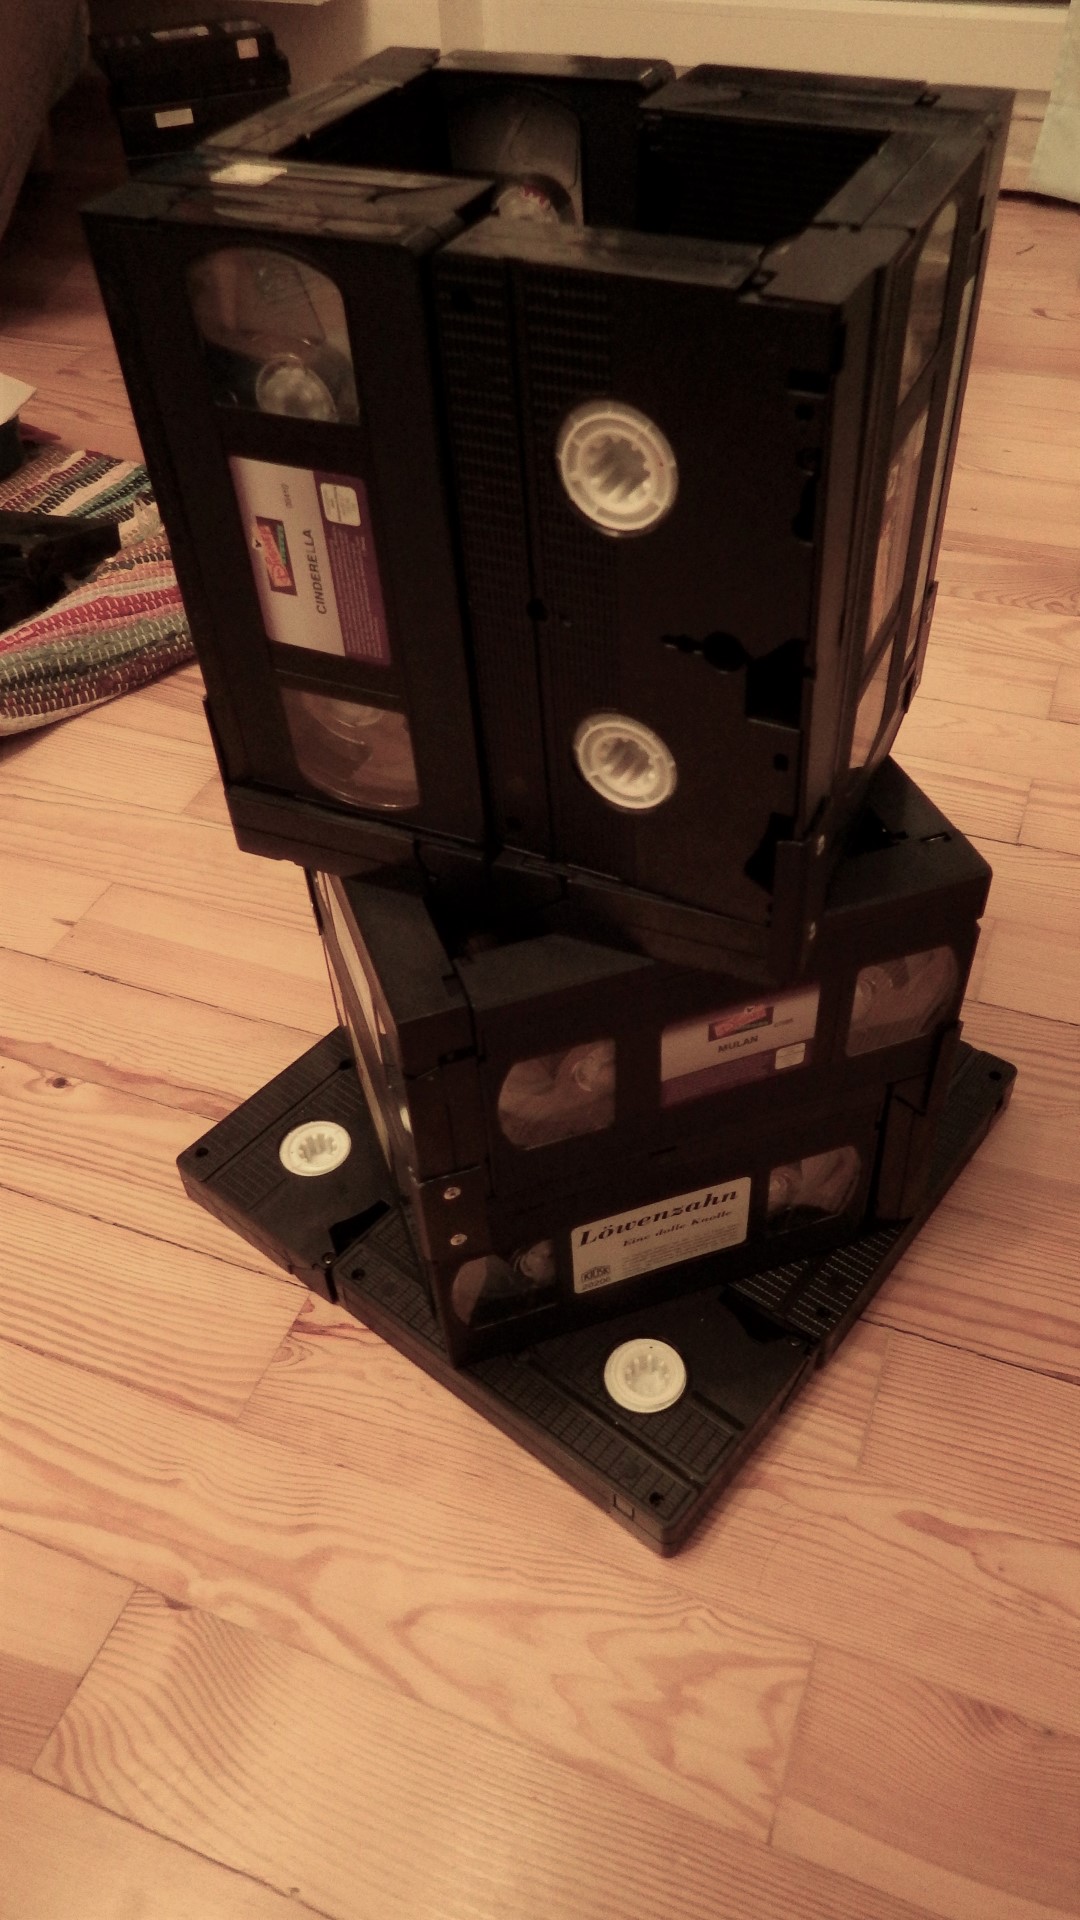
435 KB | finished tape assembly for a VHS couch table leg | 1 |
| 21:30, 27 September 2018 | VHS table 07.JPG (file) |  |
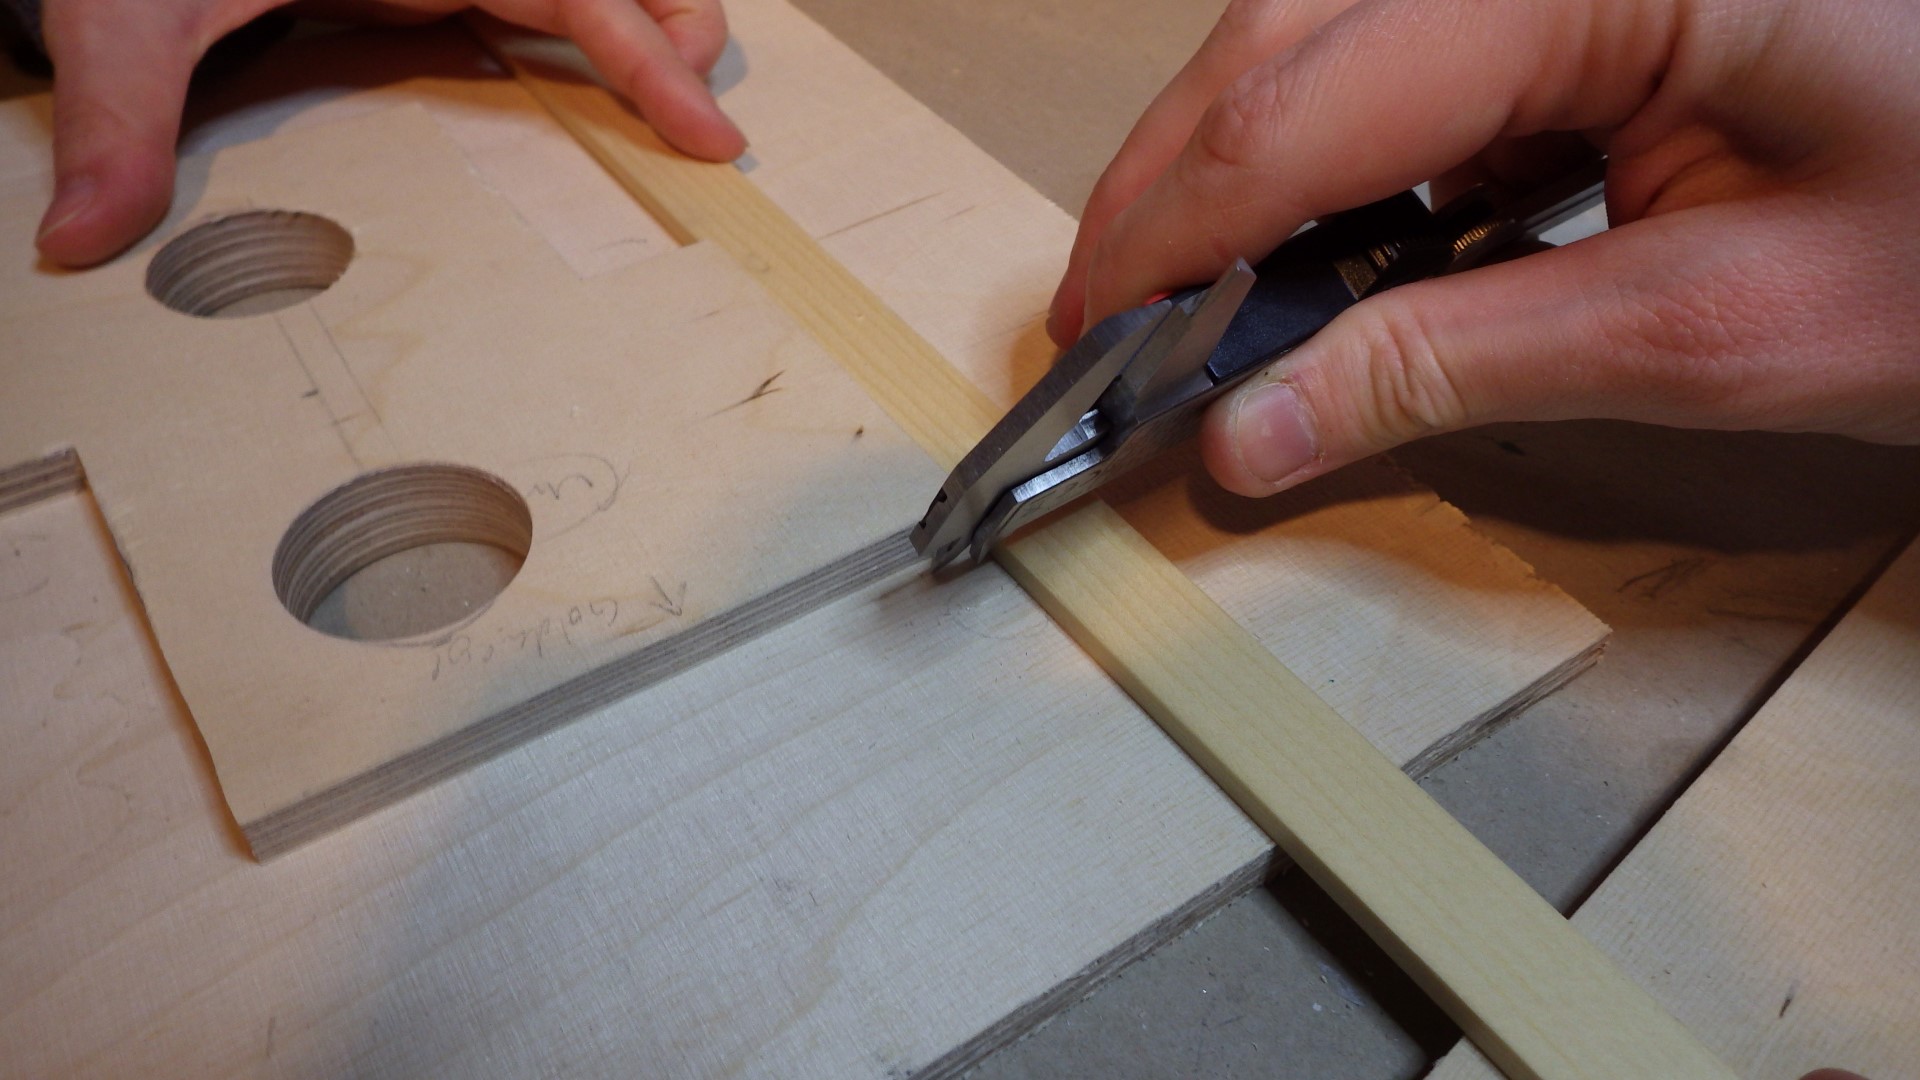
349 KB | the top board of a VHS couch table leg is made of two carefully laid out pieces to give a bit of extra stability from the inside and let each leg double as a side table when the large top is removed | 1 |
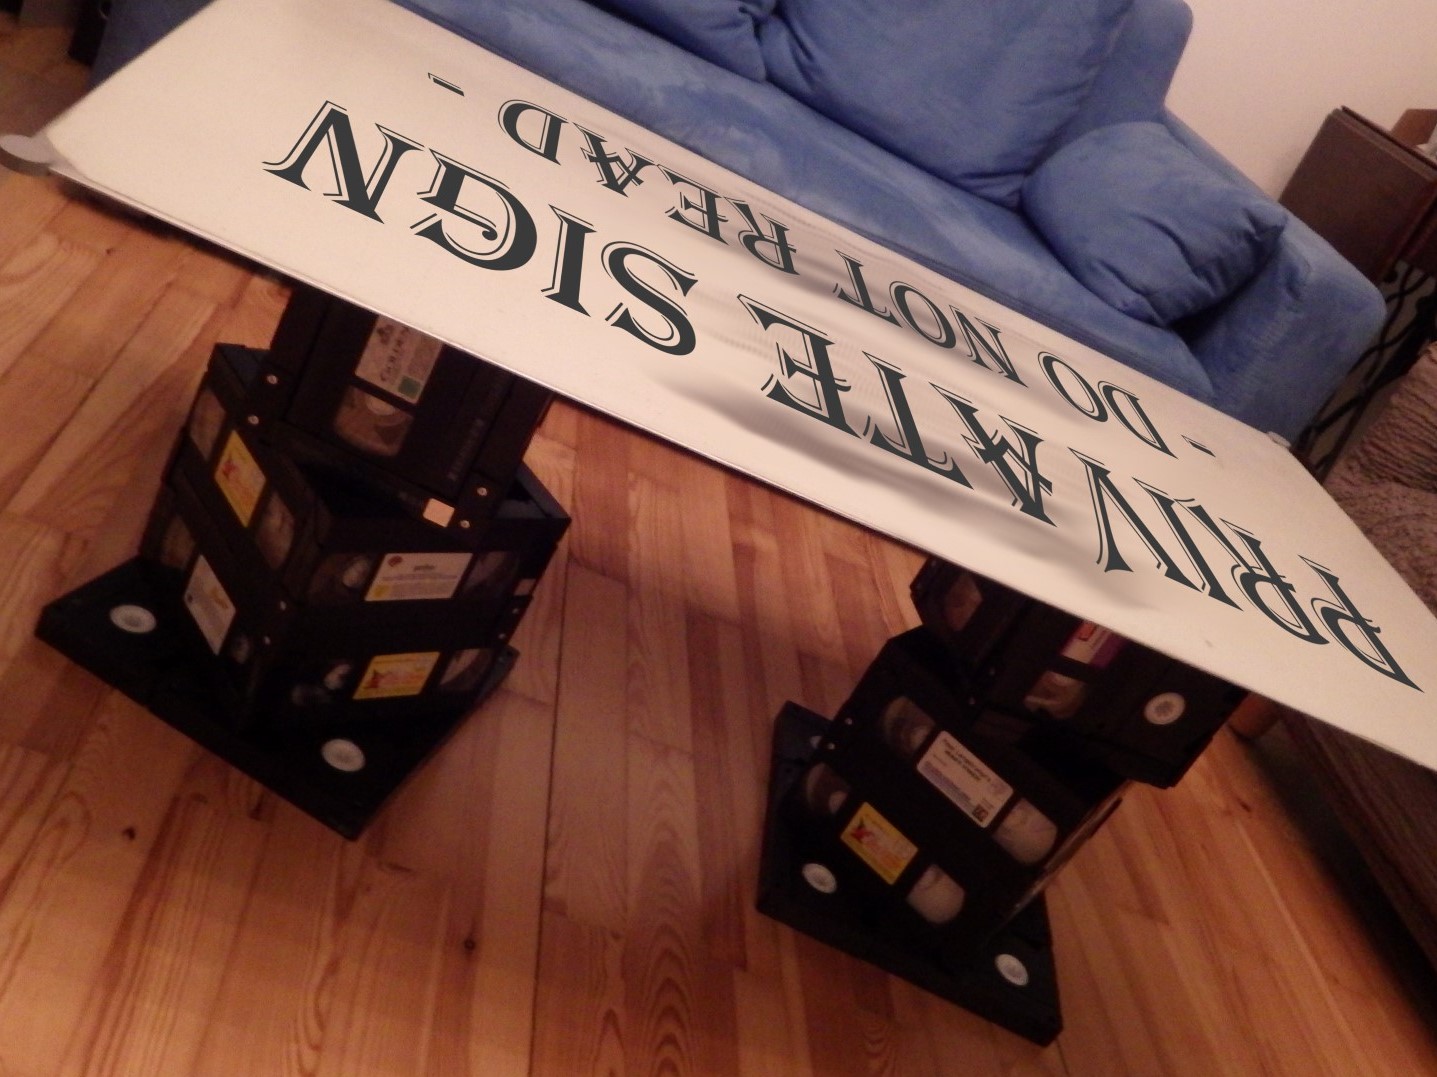
| 21:33, 27 September 2018 | VHS table 08.jpg (file) |  |
392 KB | both VHS couch table legs finished and in front of their couch | 1 |
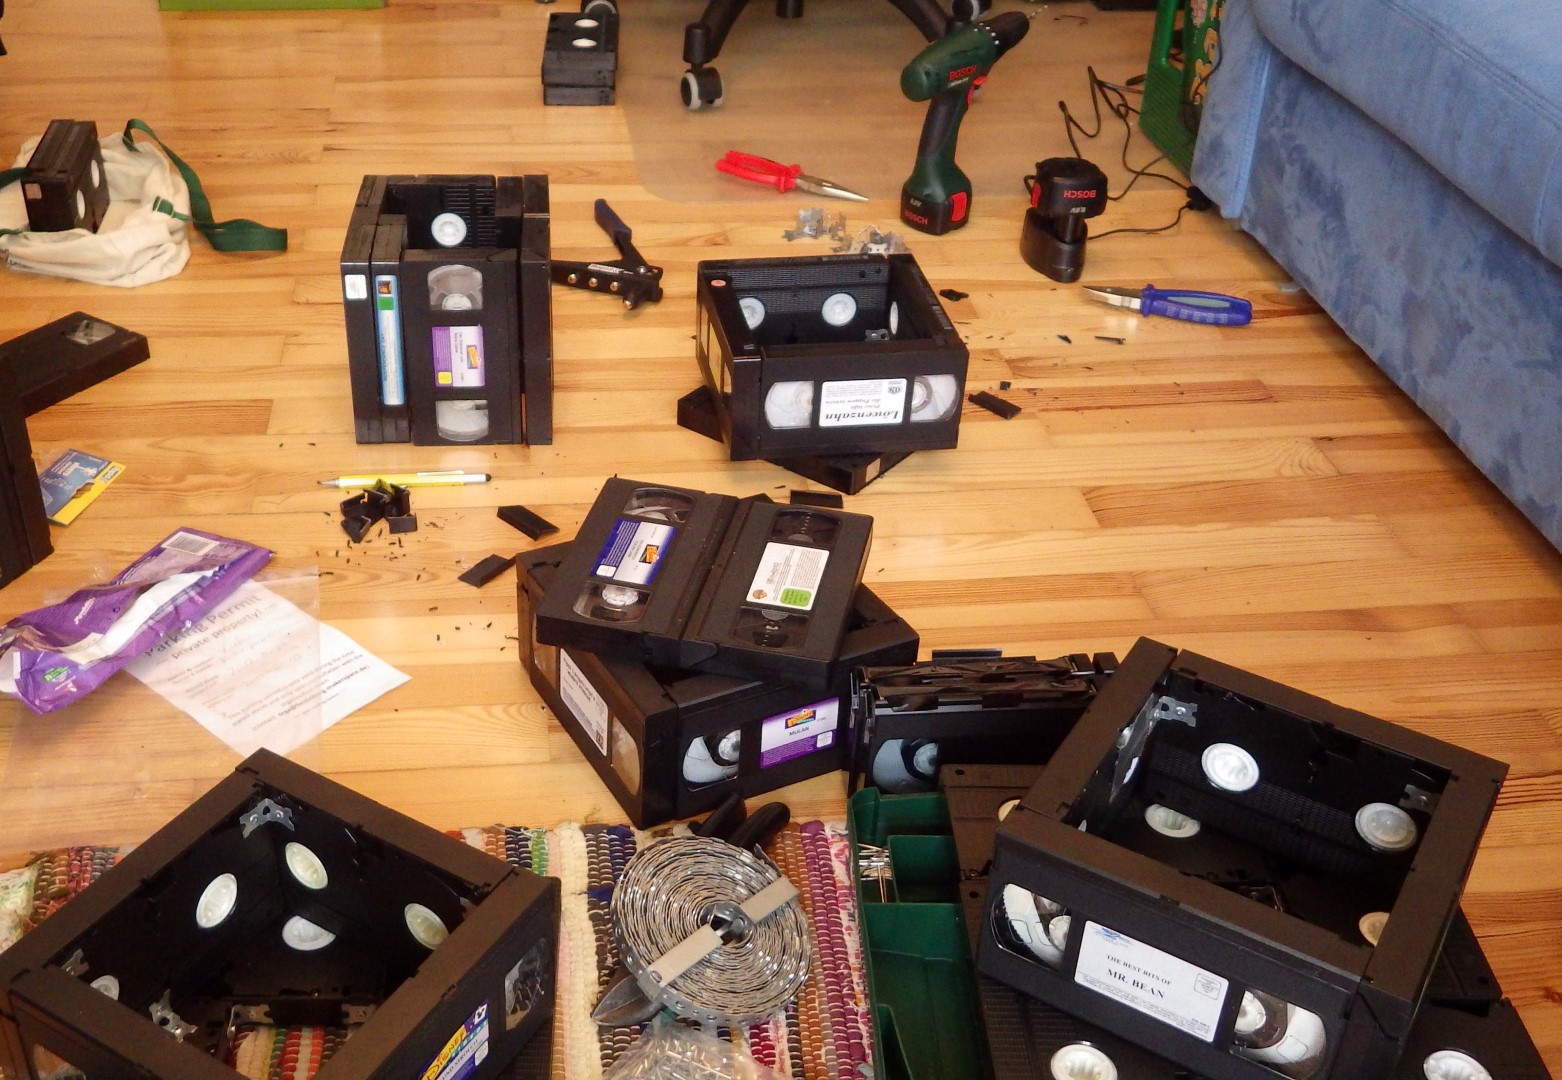
| 22:42, 4 September 2017 | VHS table assembly site.jpg (file) |  |
457 KB | == Summary == halfway through assembling the VHS couch table legs == Licensing == {{CC-by-sa-4.0}} | 1 |
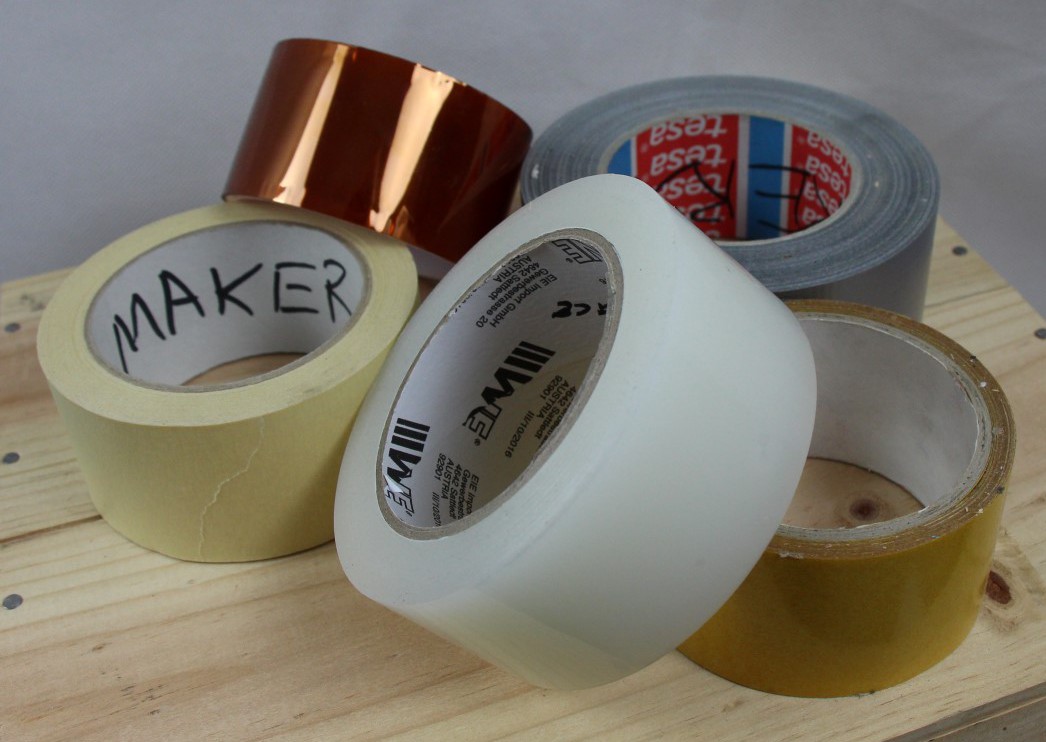
| 22:43, 4 September 2017 | Various adhesive tapes.JPG (file) |  |
129 KB | == Summary == Our most commonly used adhesive tape varieties. Check out the clickable version on its material page! == Licensing == {{CC-by-sa-4.0}} | 1 |
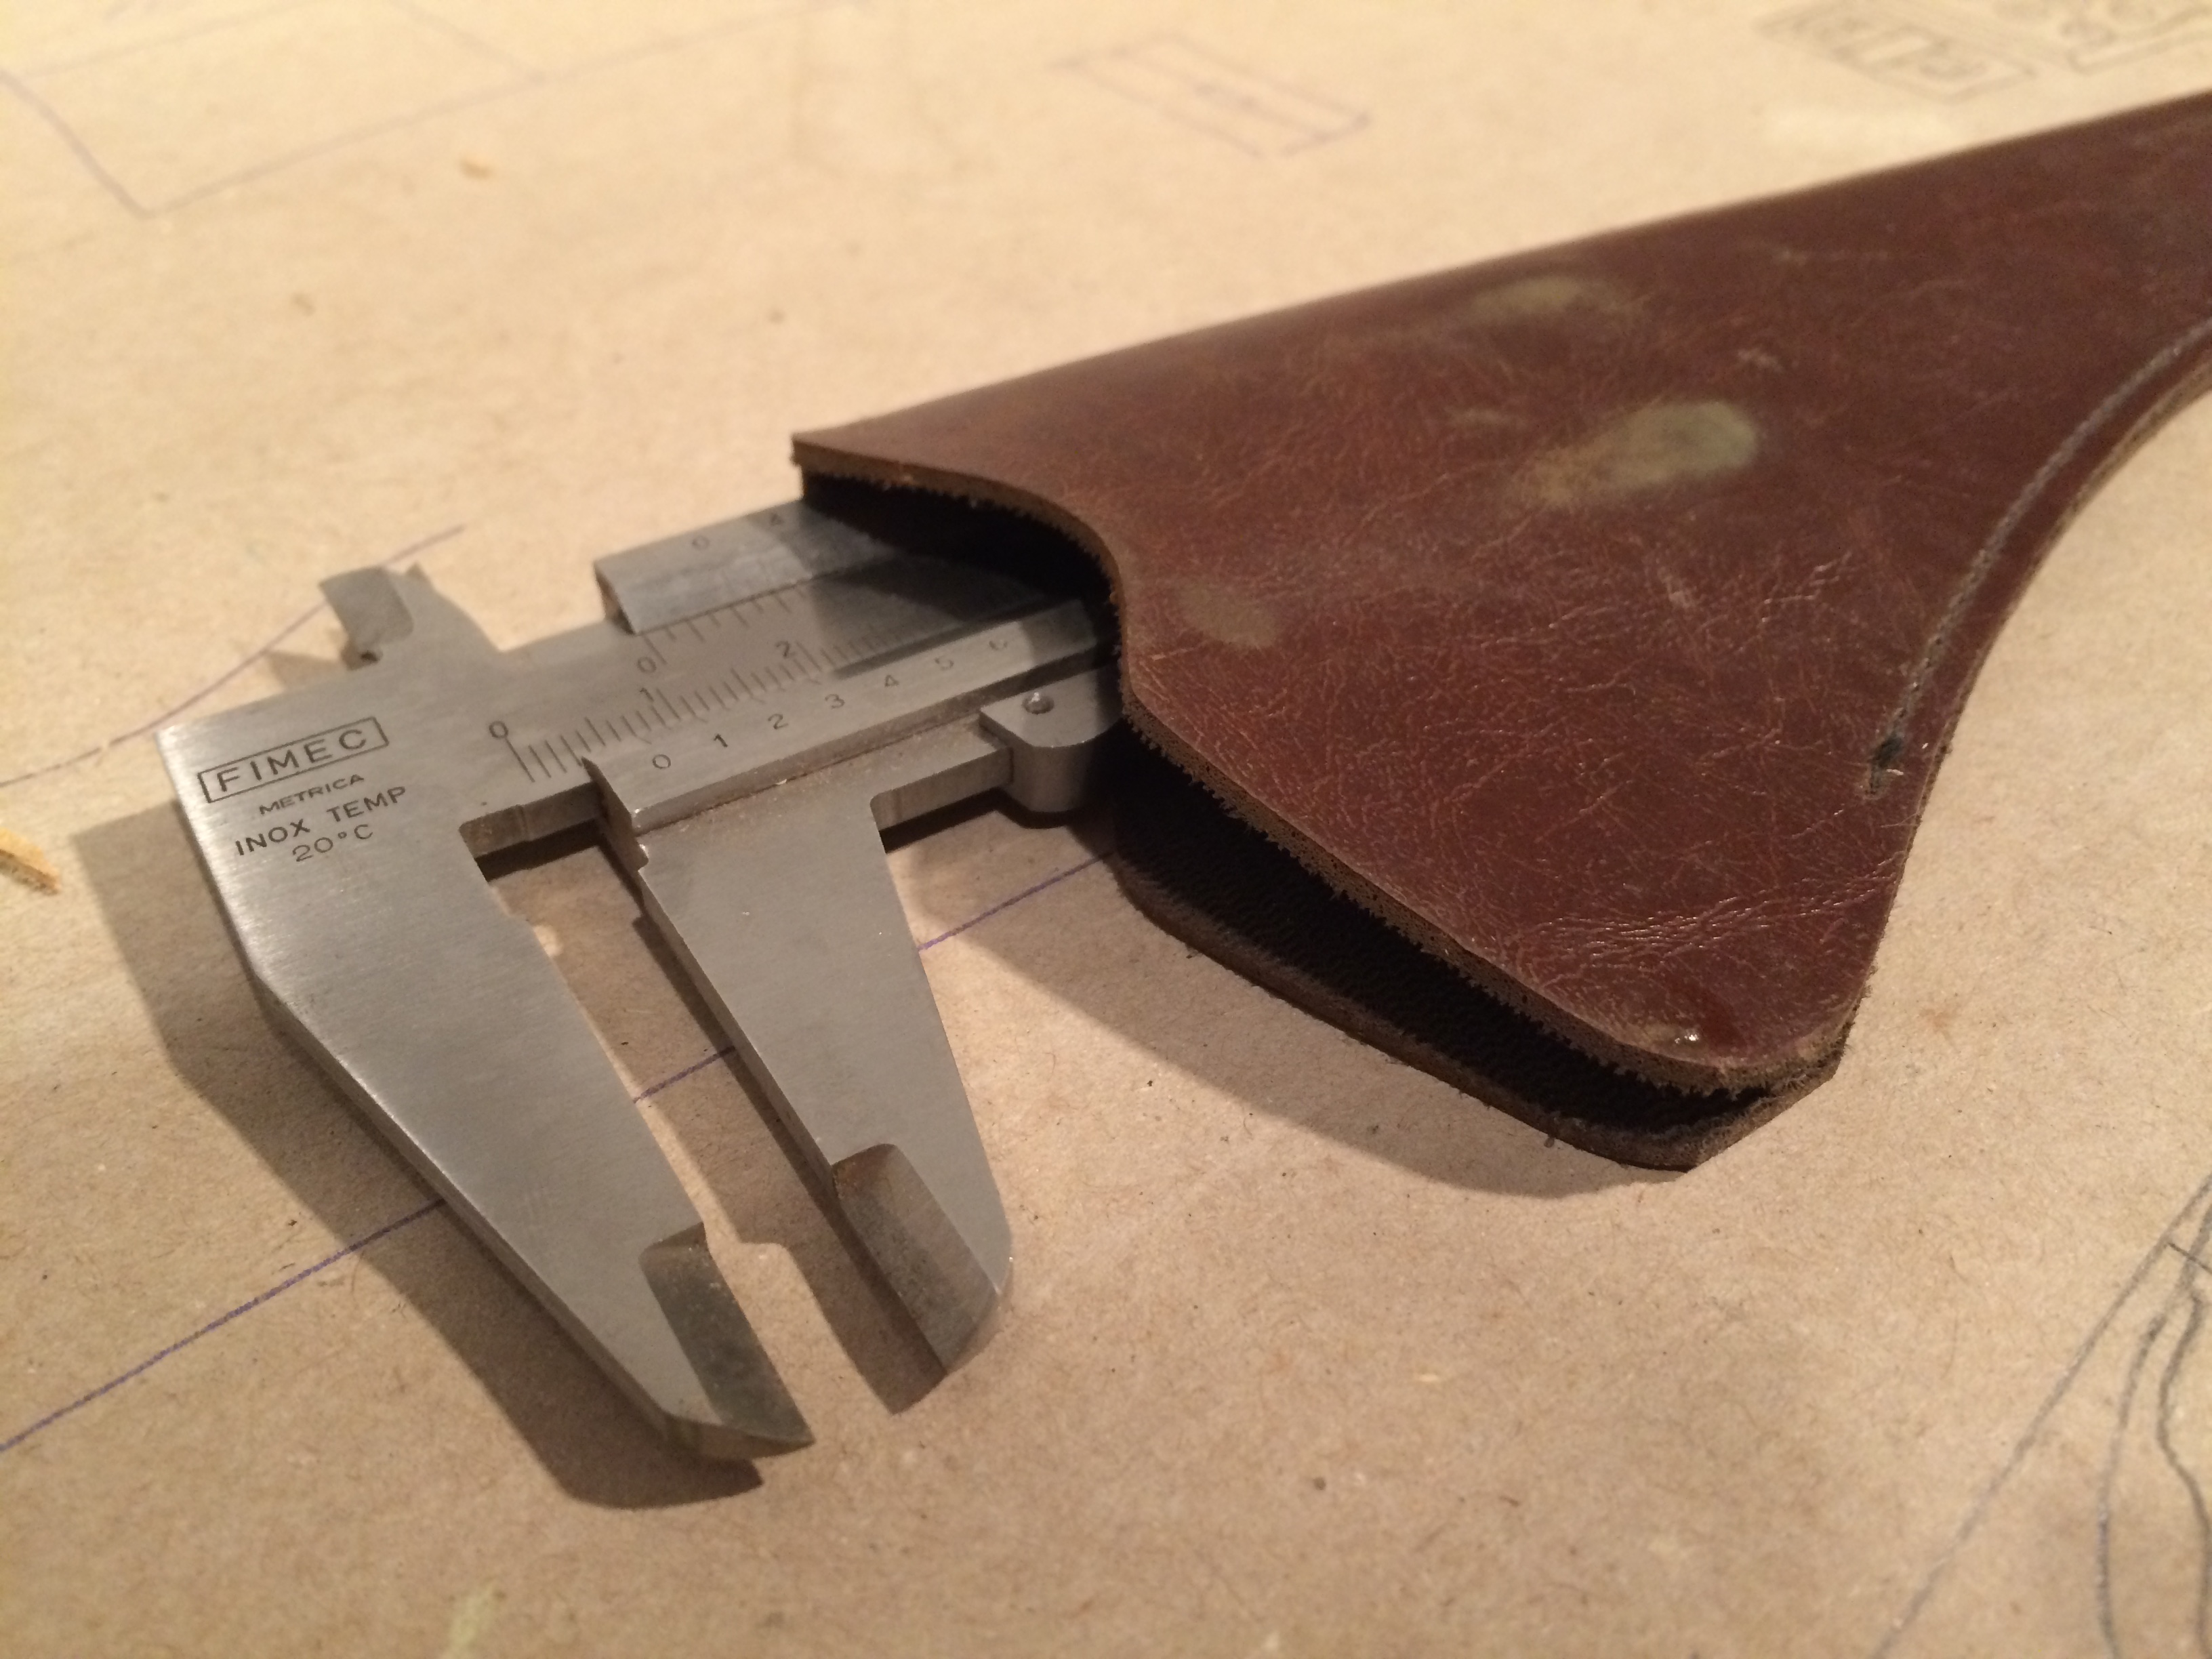
| 17:08, 5 September 2017 | Vernier Caliper.JPG (file) |  |
1.25 MB | a Vernier caliper sticking out of its protective leather sheath Photo by Janik M. Dietz | 1 |
| 12:56, 20 September 2017 | Vertical approach.PNG (file) |  |
38 KB | Sketch for lockers with one shared vertical frame per six locker unit (doors omitted for simplicity) - designed in SketchUp. | 1 |
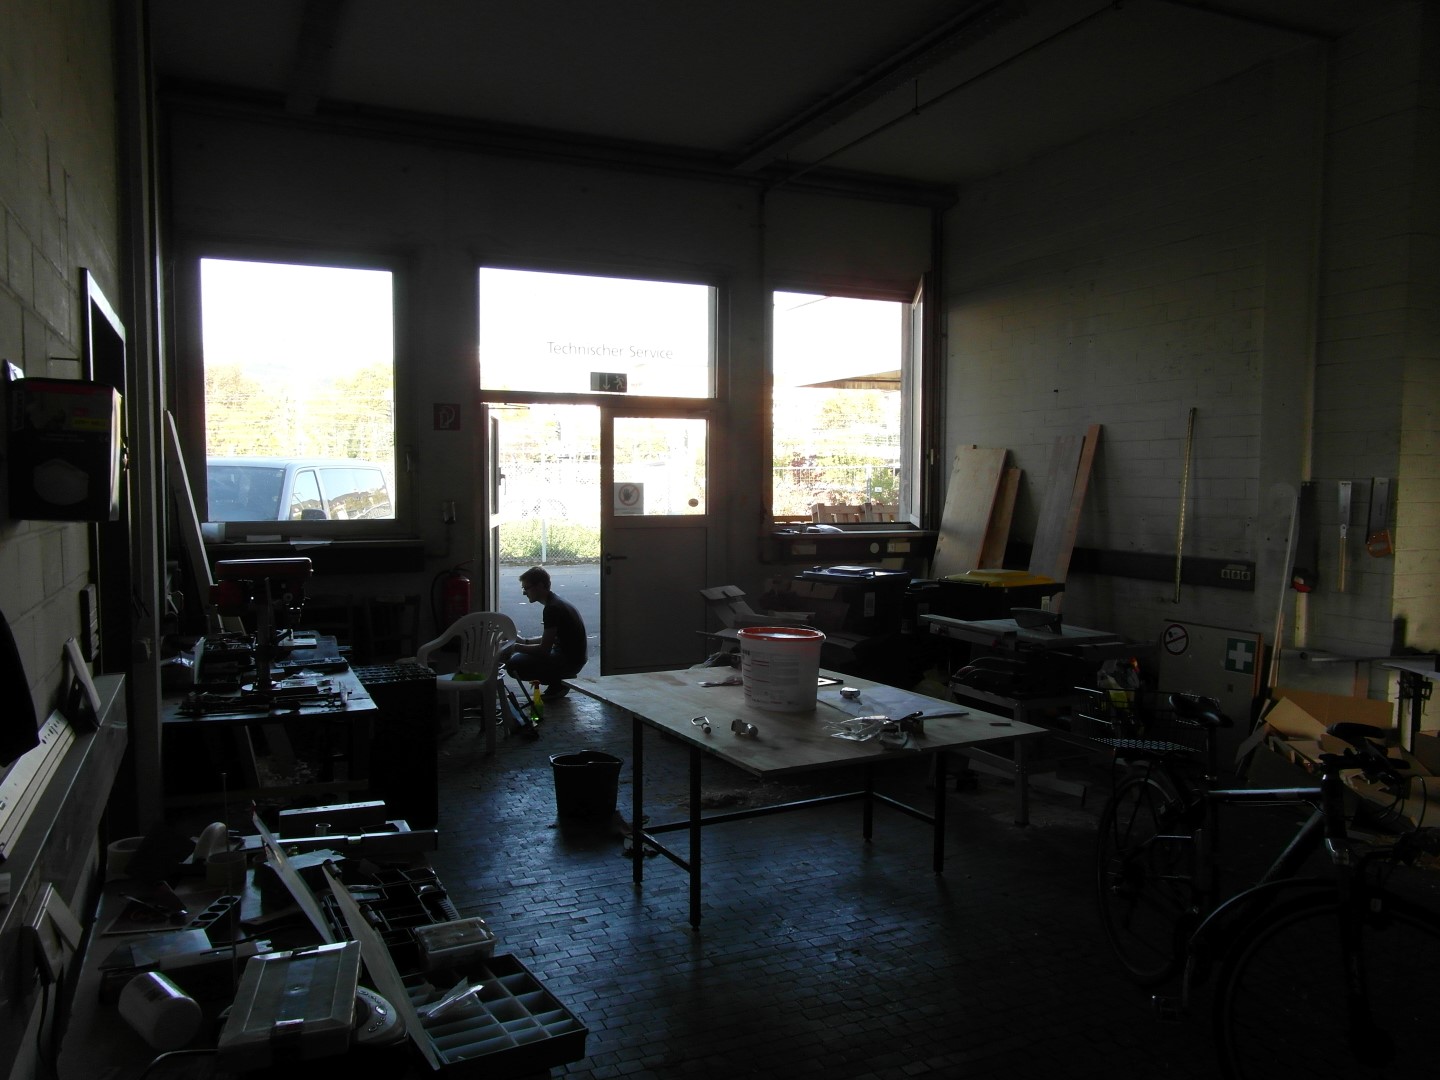
| 11:24, 31 December 2017 | Very early woodshop.JPG (file) |  |
260 KB | our wood workshop was used for all kinds of work (and storage) before we could build better options - so it never looked very tidy... | 1 |
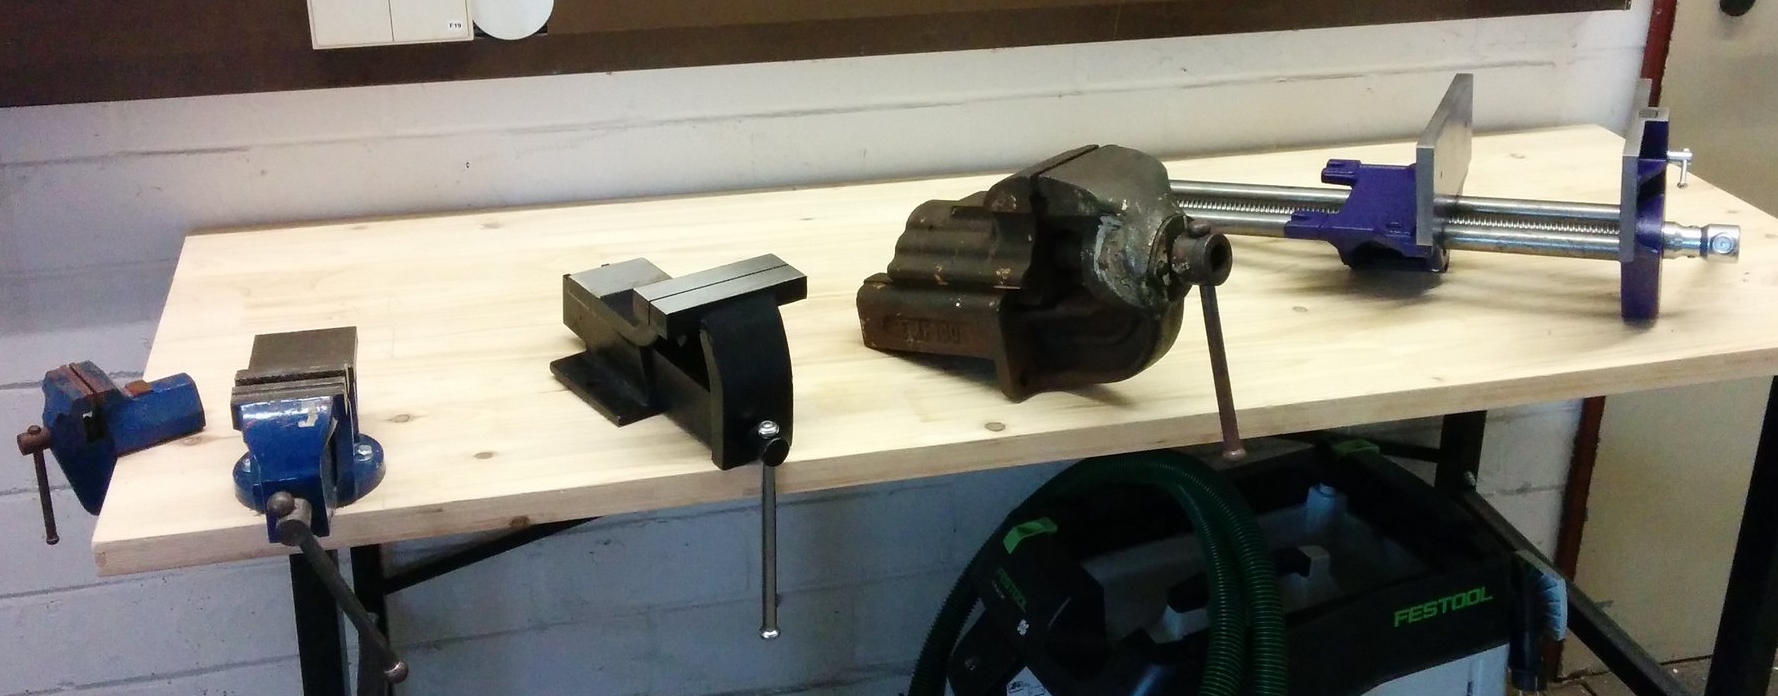
| 18:36, 28 November 2017 | Vise family.jpg (file) |  |
743 KB | a couple of bench vises and a woodworking vise before they found their home on various workbenches (tweeted by @comakingspace on 2017-11-05 - [https://twitter.com/comakingspace/status/927154888777388032 link]) | 1 |
| 09:48, 5 September 2017 | Visicut-Icon.png (file) | 12 KB | From the Visicut repository: The VisiCut Icon "icon.png" is from the icon pack "Pry System" by "Jonas Rask Design" and licensed under "Freeware Non-commercial" | 1 | |
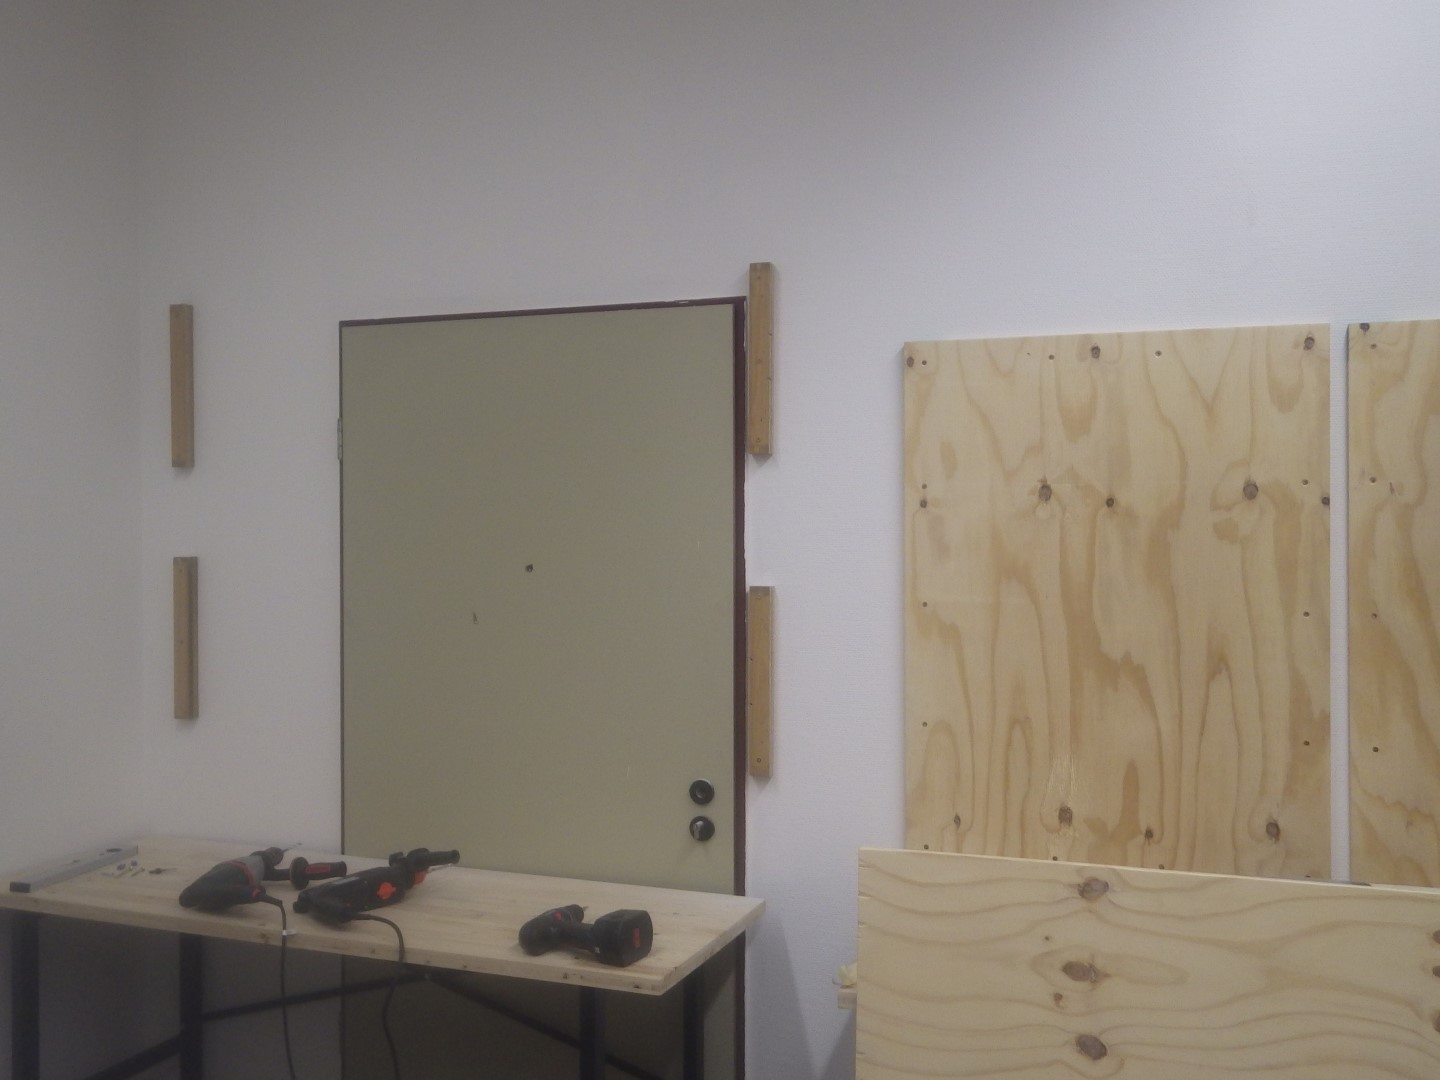
| 18:09, 29 December 2017 | Wall mounting panels.jpg (file) |  |
222 KB | early on, we installed some large plywood or scrap wood panels on our walls for convenient mounting options (here in the CoMaking room) | 1 |
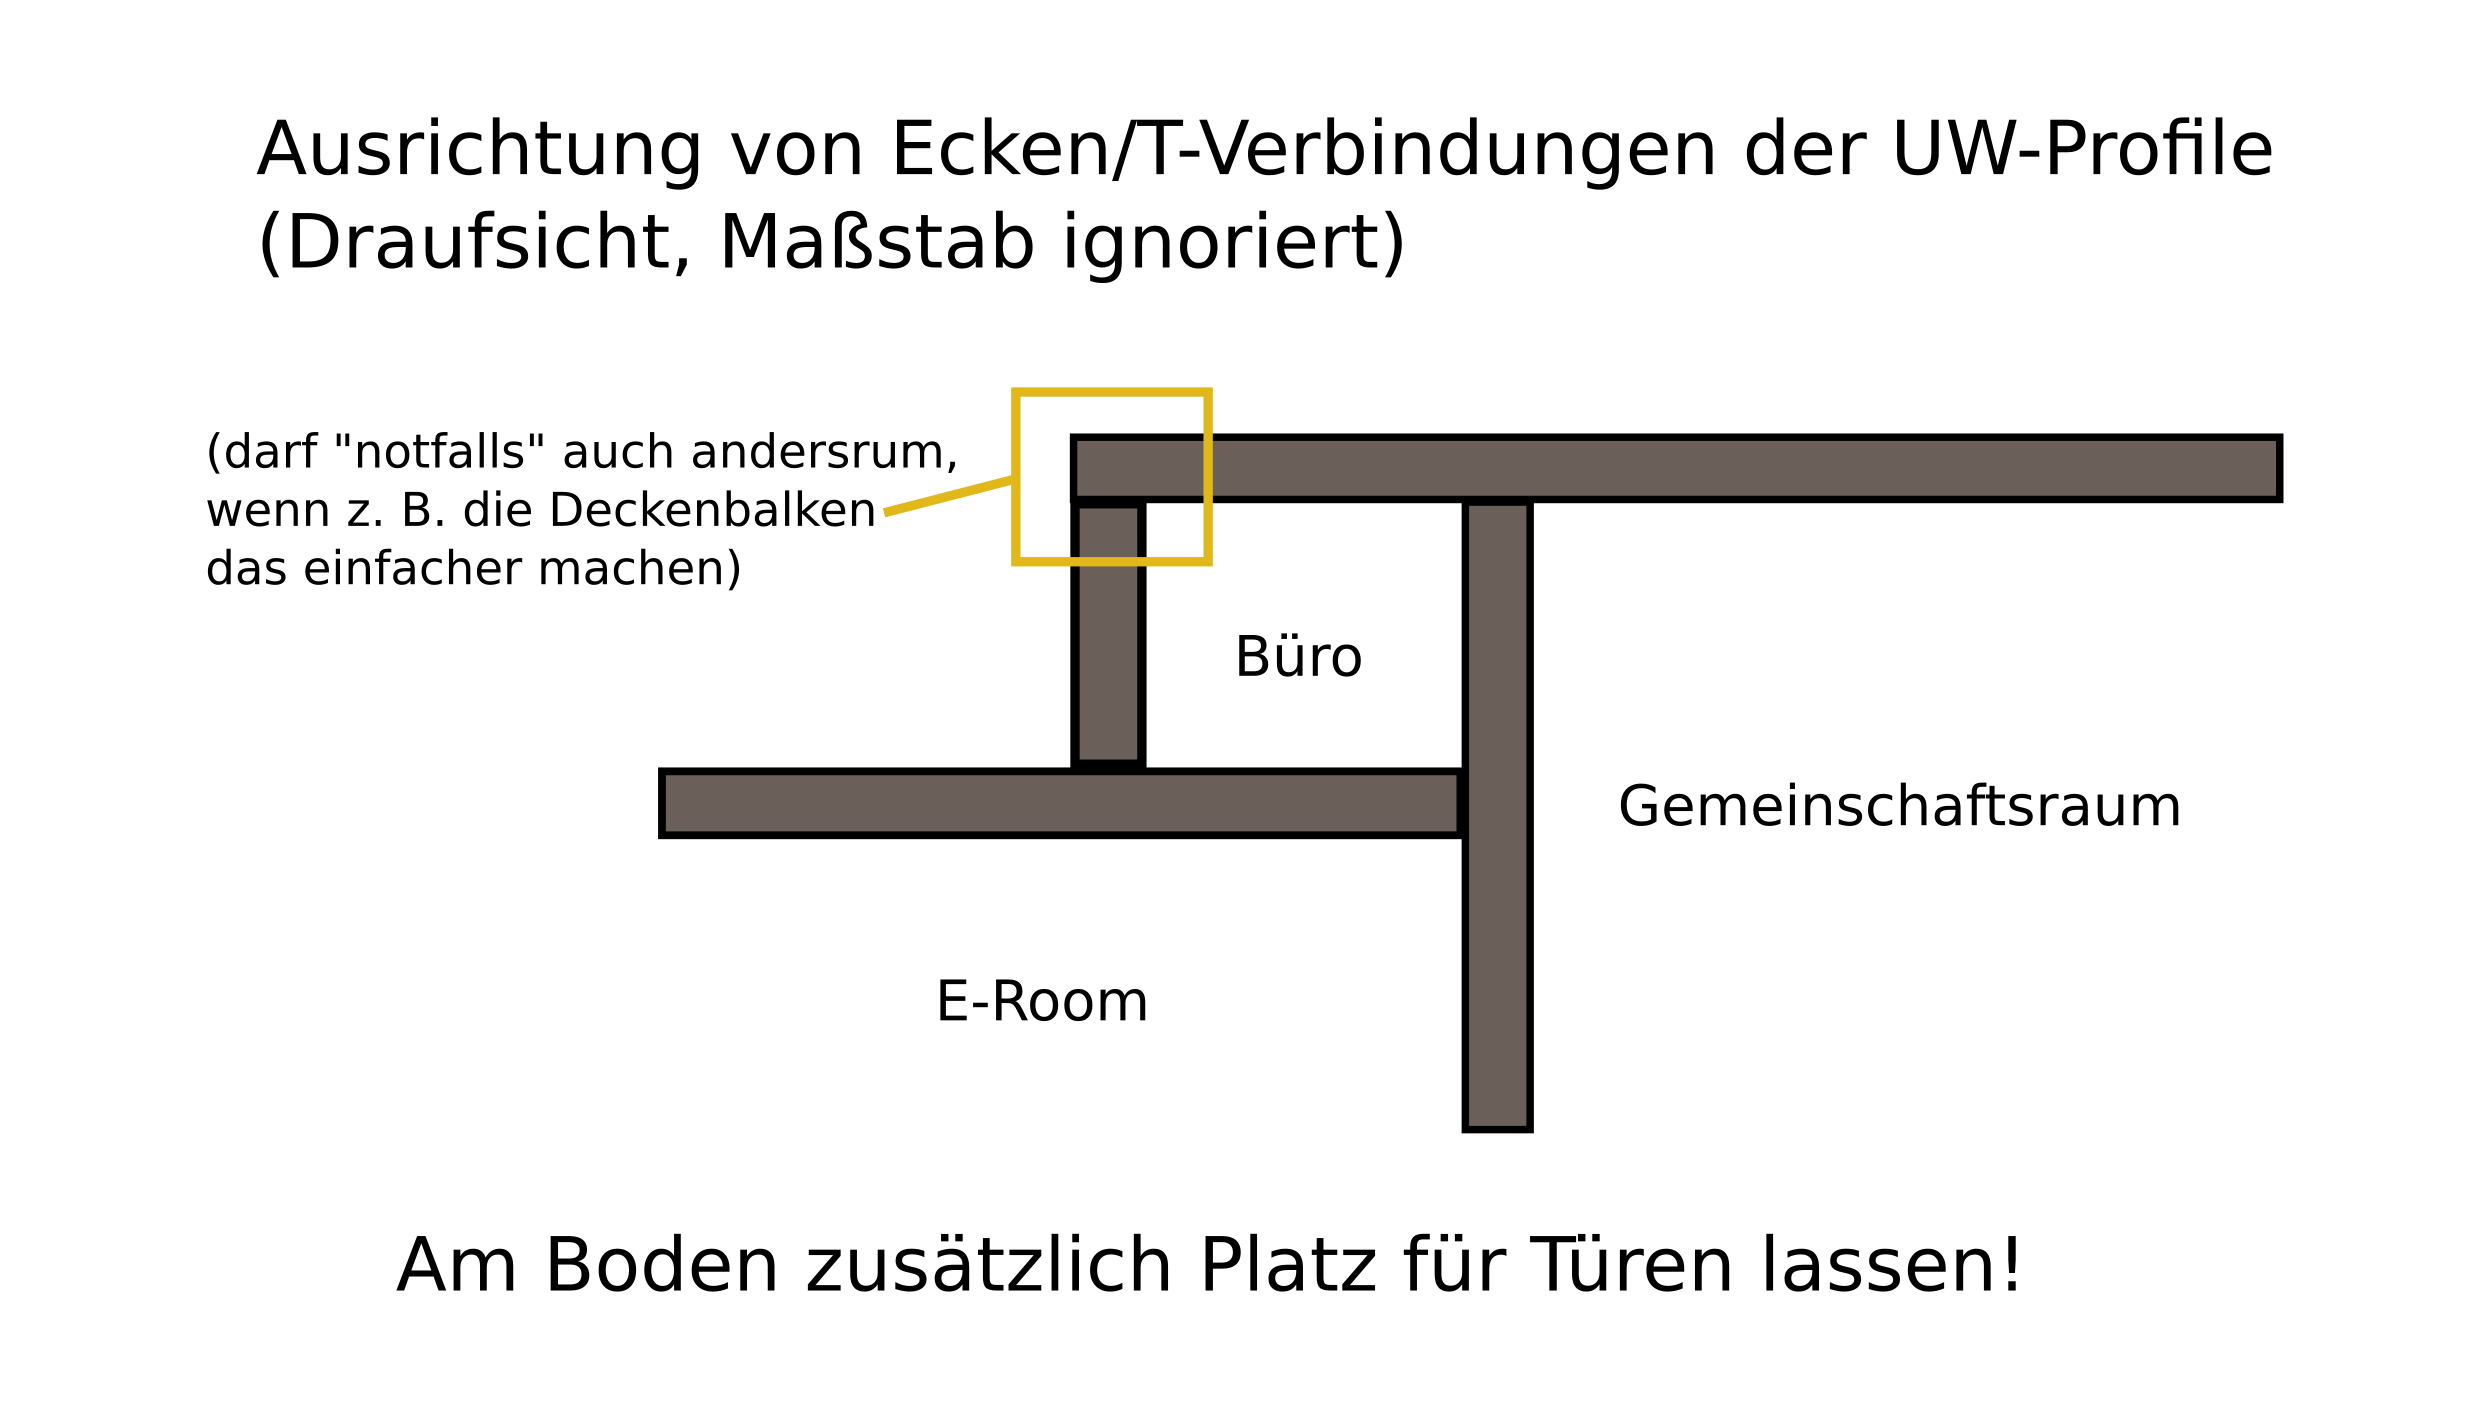
| 20:46, 15 November 2019 | Wandverbindungen - Anordnung UW-Profile.png (file) |  |
115 KB | Trockenbau: wie die T- und Eckverbindungen der UW-Profile an Decke und Boden aussehen sollten, damit wir unsere Wände nachher sinnvoll reinstellen können | 1 |
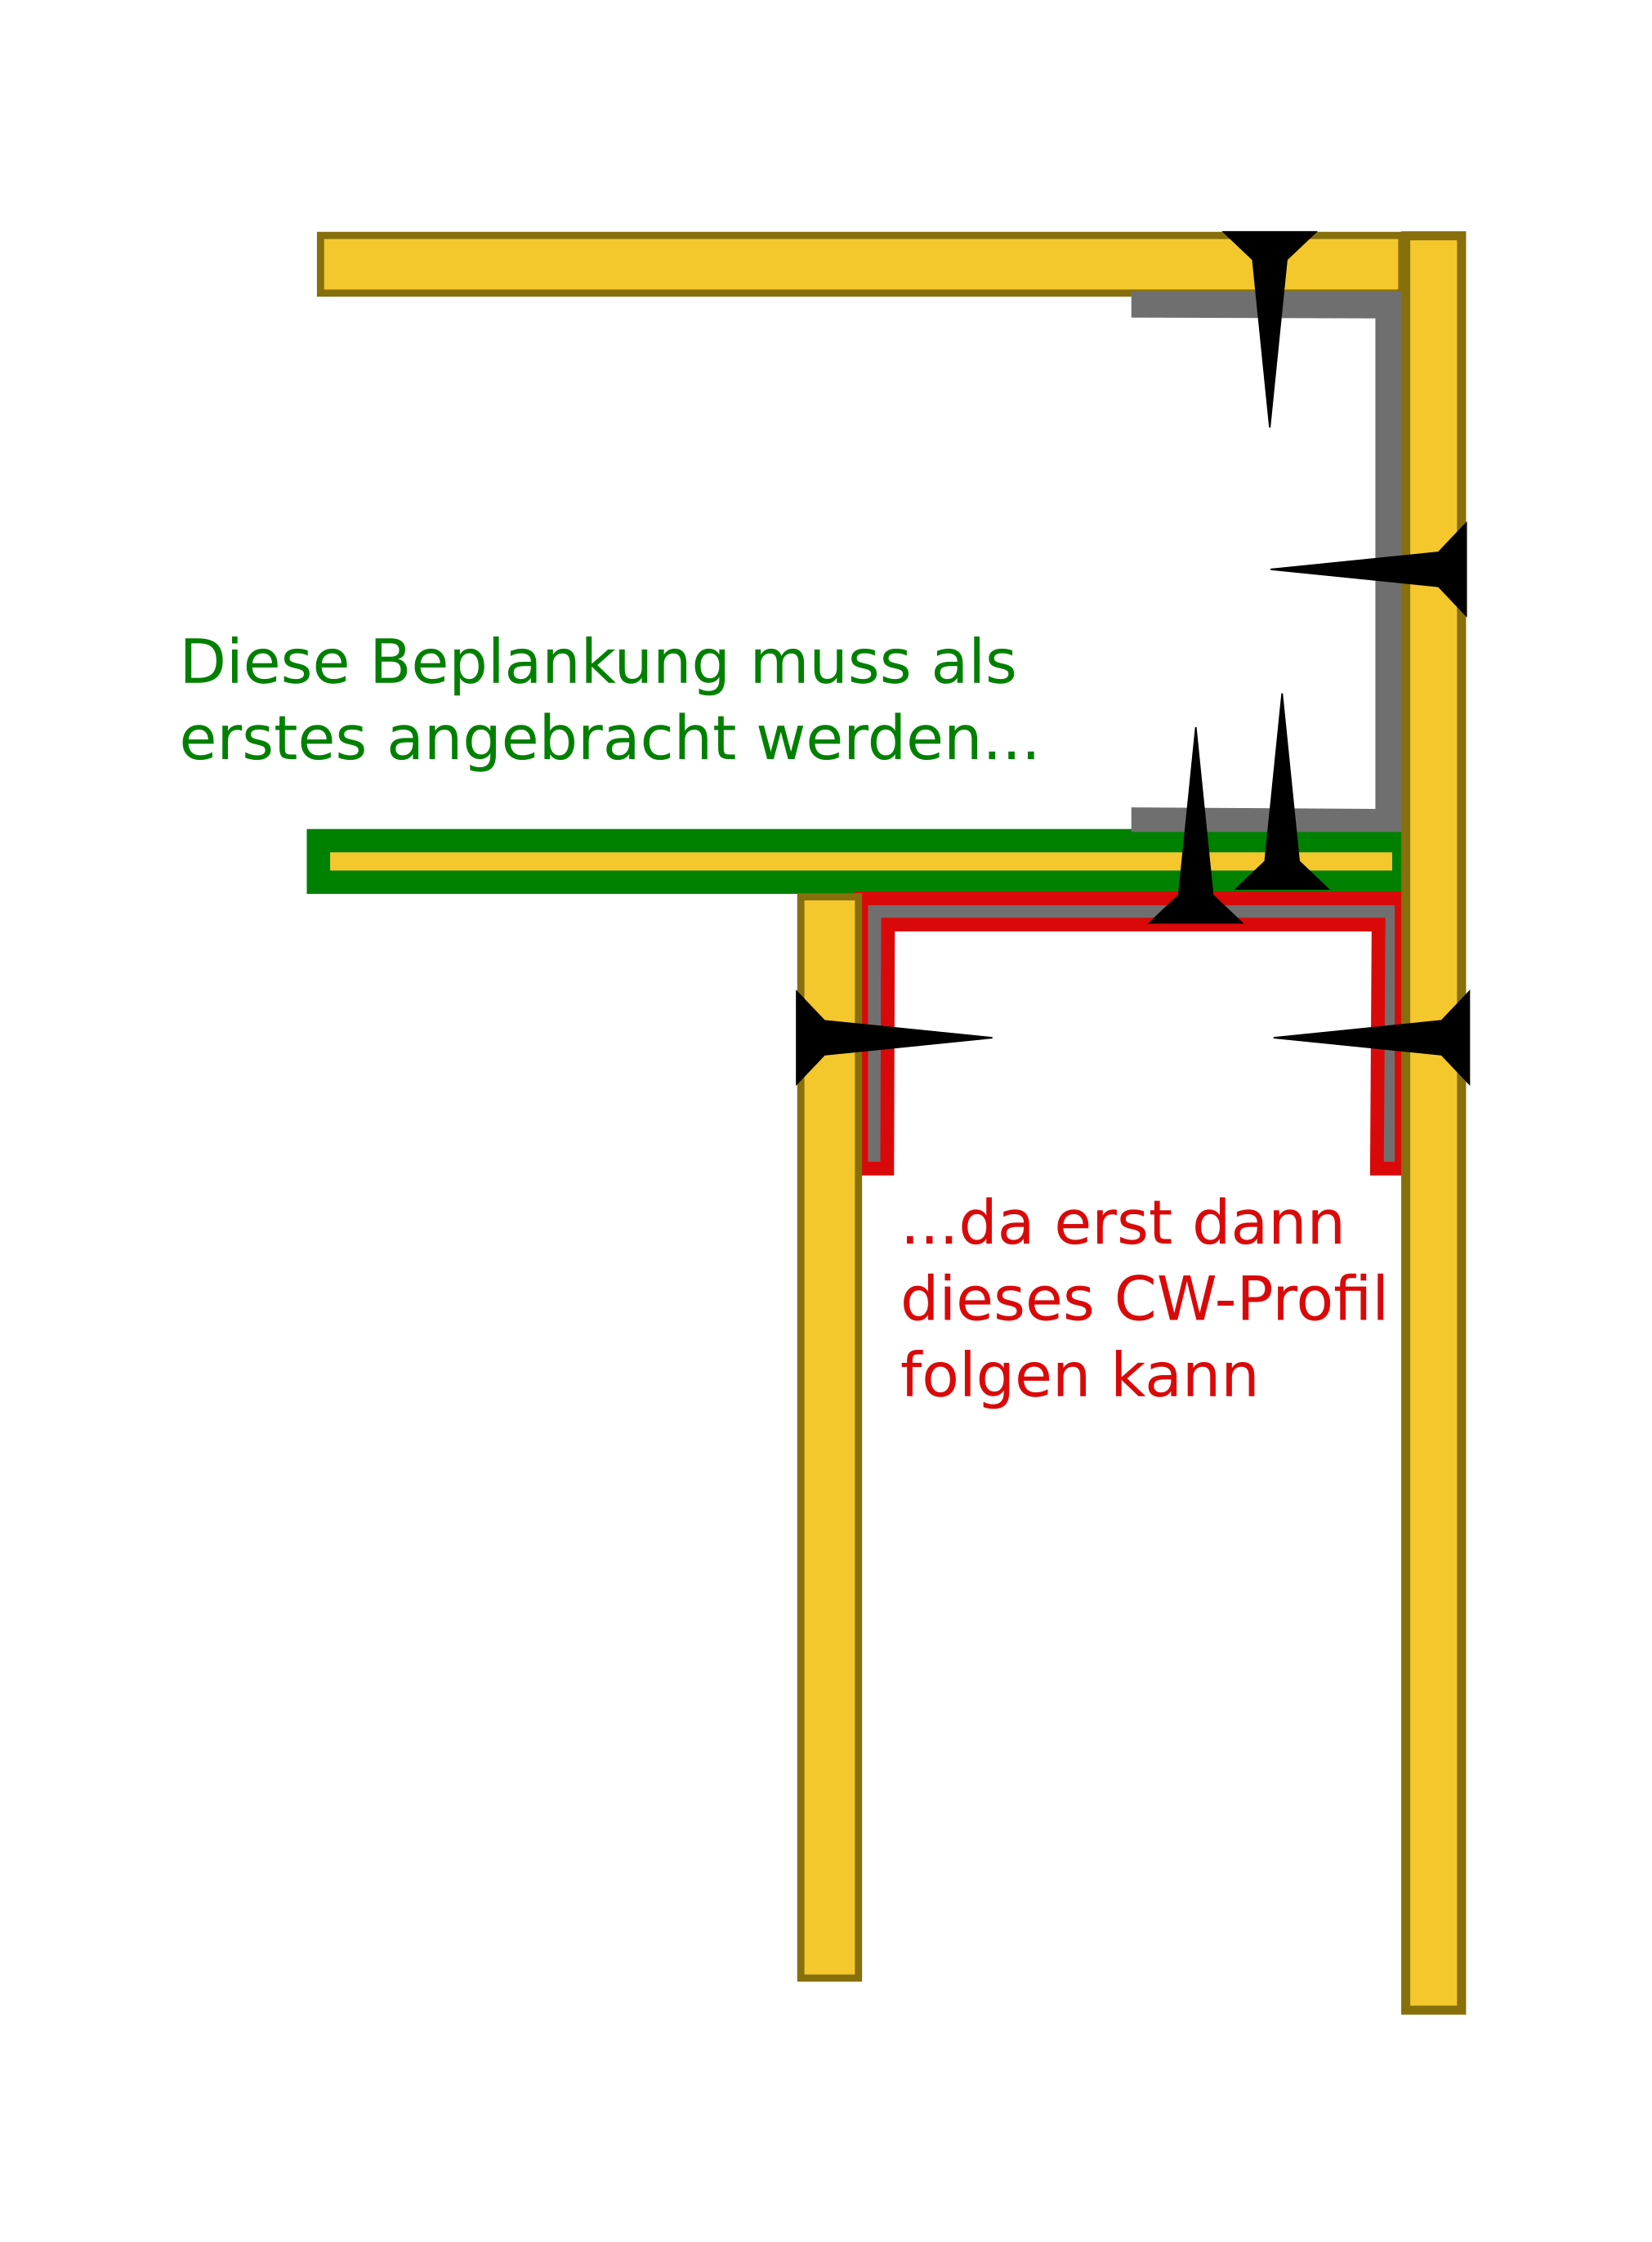
| 03:11, 23 November 2019 | Wandverbindungen - Ecke.png (file) |  |
111 KB | Trockenbau - Anordnung der CW-Profile und der OSB-Beplankung an einer Ecke | 1 |
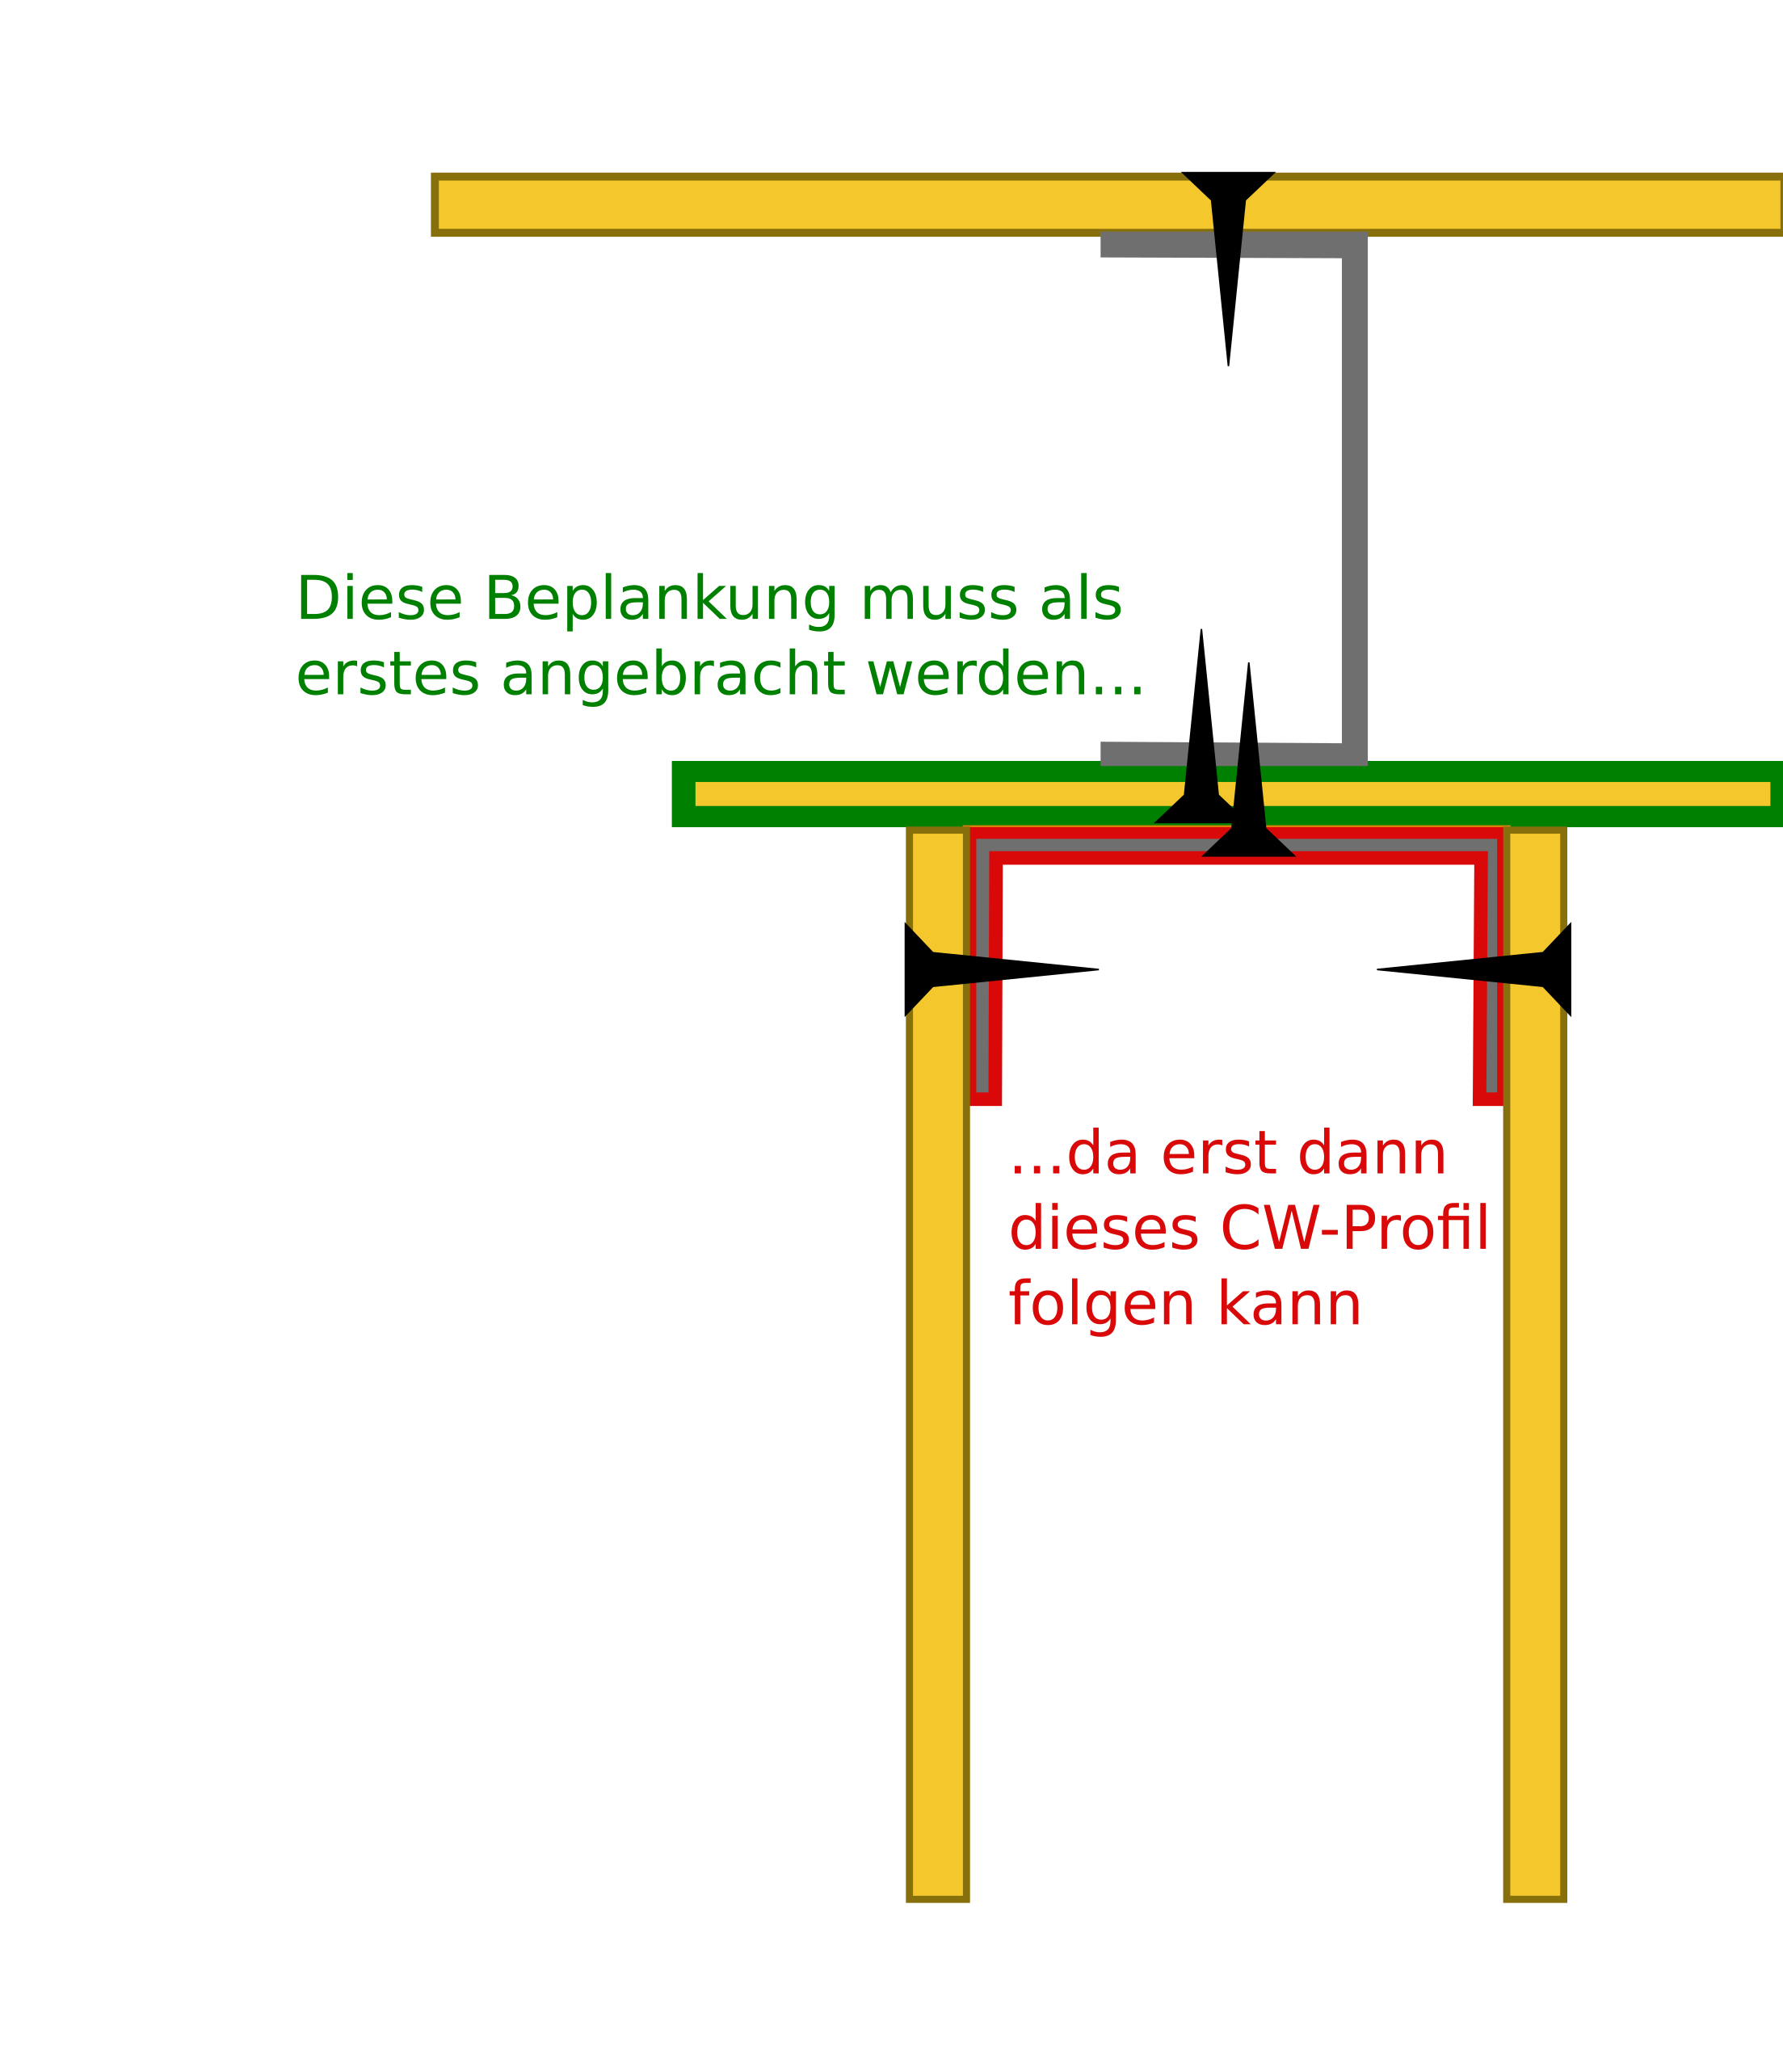
| 03:14, 23 November 2019 | Wandverbindungen - T-Verbindung.png (file) |  |
110 KB | Trockenbau - Anordnung der CW-Profile und der OSB-Beplankung an einer T-Verbindung | 1 |
| 22:21, 14 March 2022 | Warning icon.svg (file) | 4 KB | a simple warning icon drawn with Inkscape: the triangle is made with the "star" tool and the exclamation mark is a random font that looked nice (Britannic Bold) | 1 | |
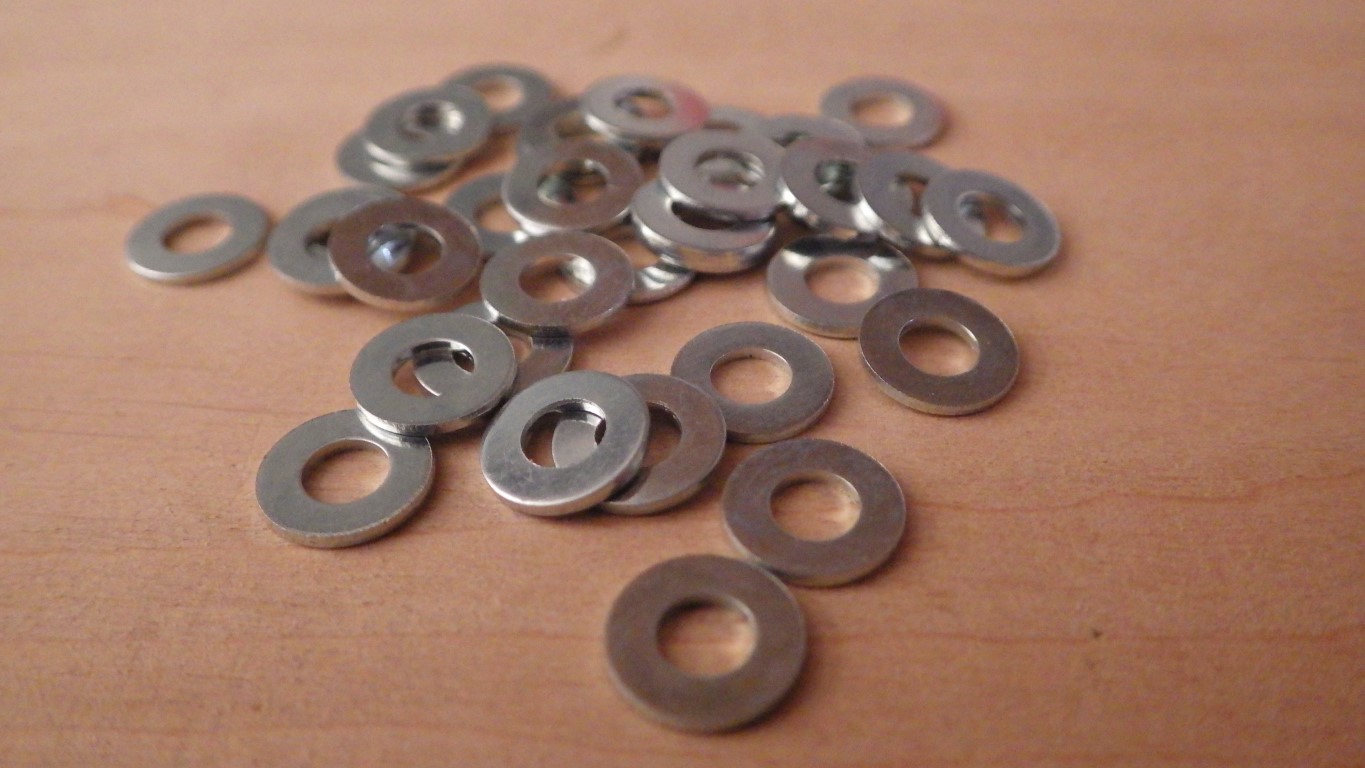
| 09:50, 5 September 2017 | Washers.JPG (file) |  |
223 KB | == Summary == a pile of 4.3 mm washers == Licensing == {{CC-by-sa-4.0}} | 1 |
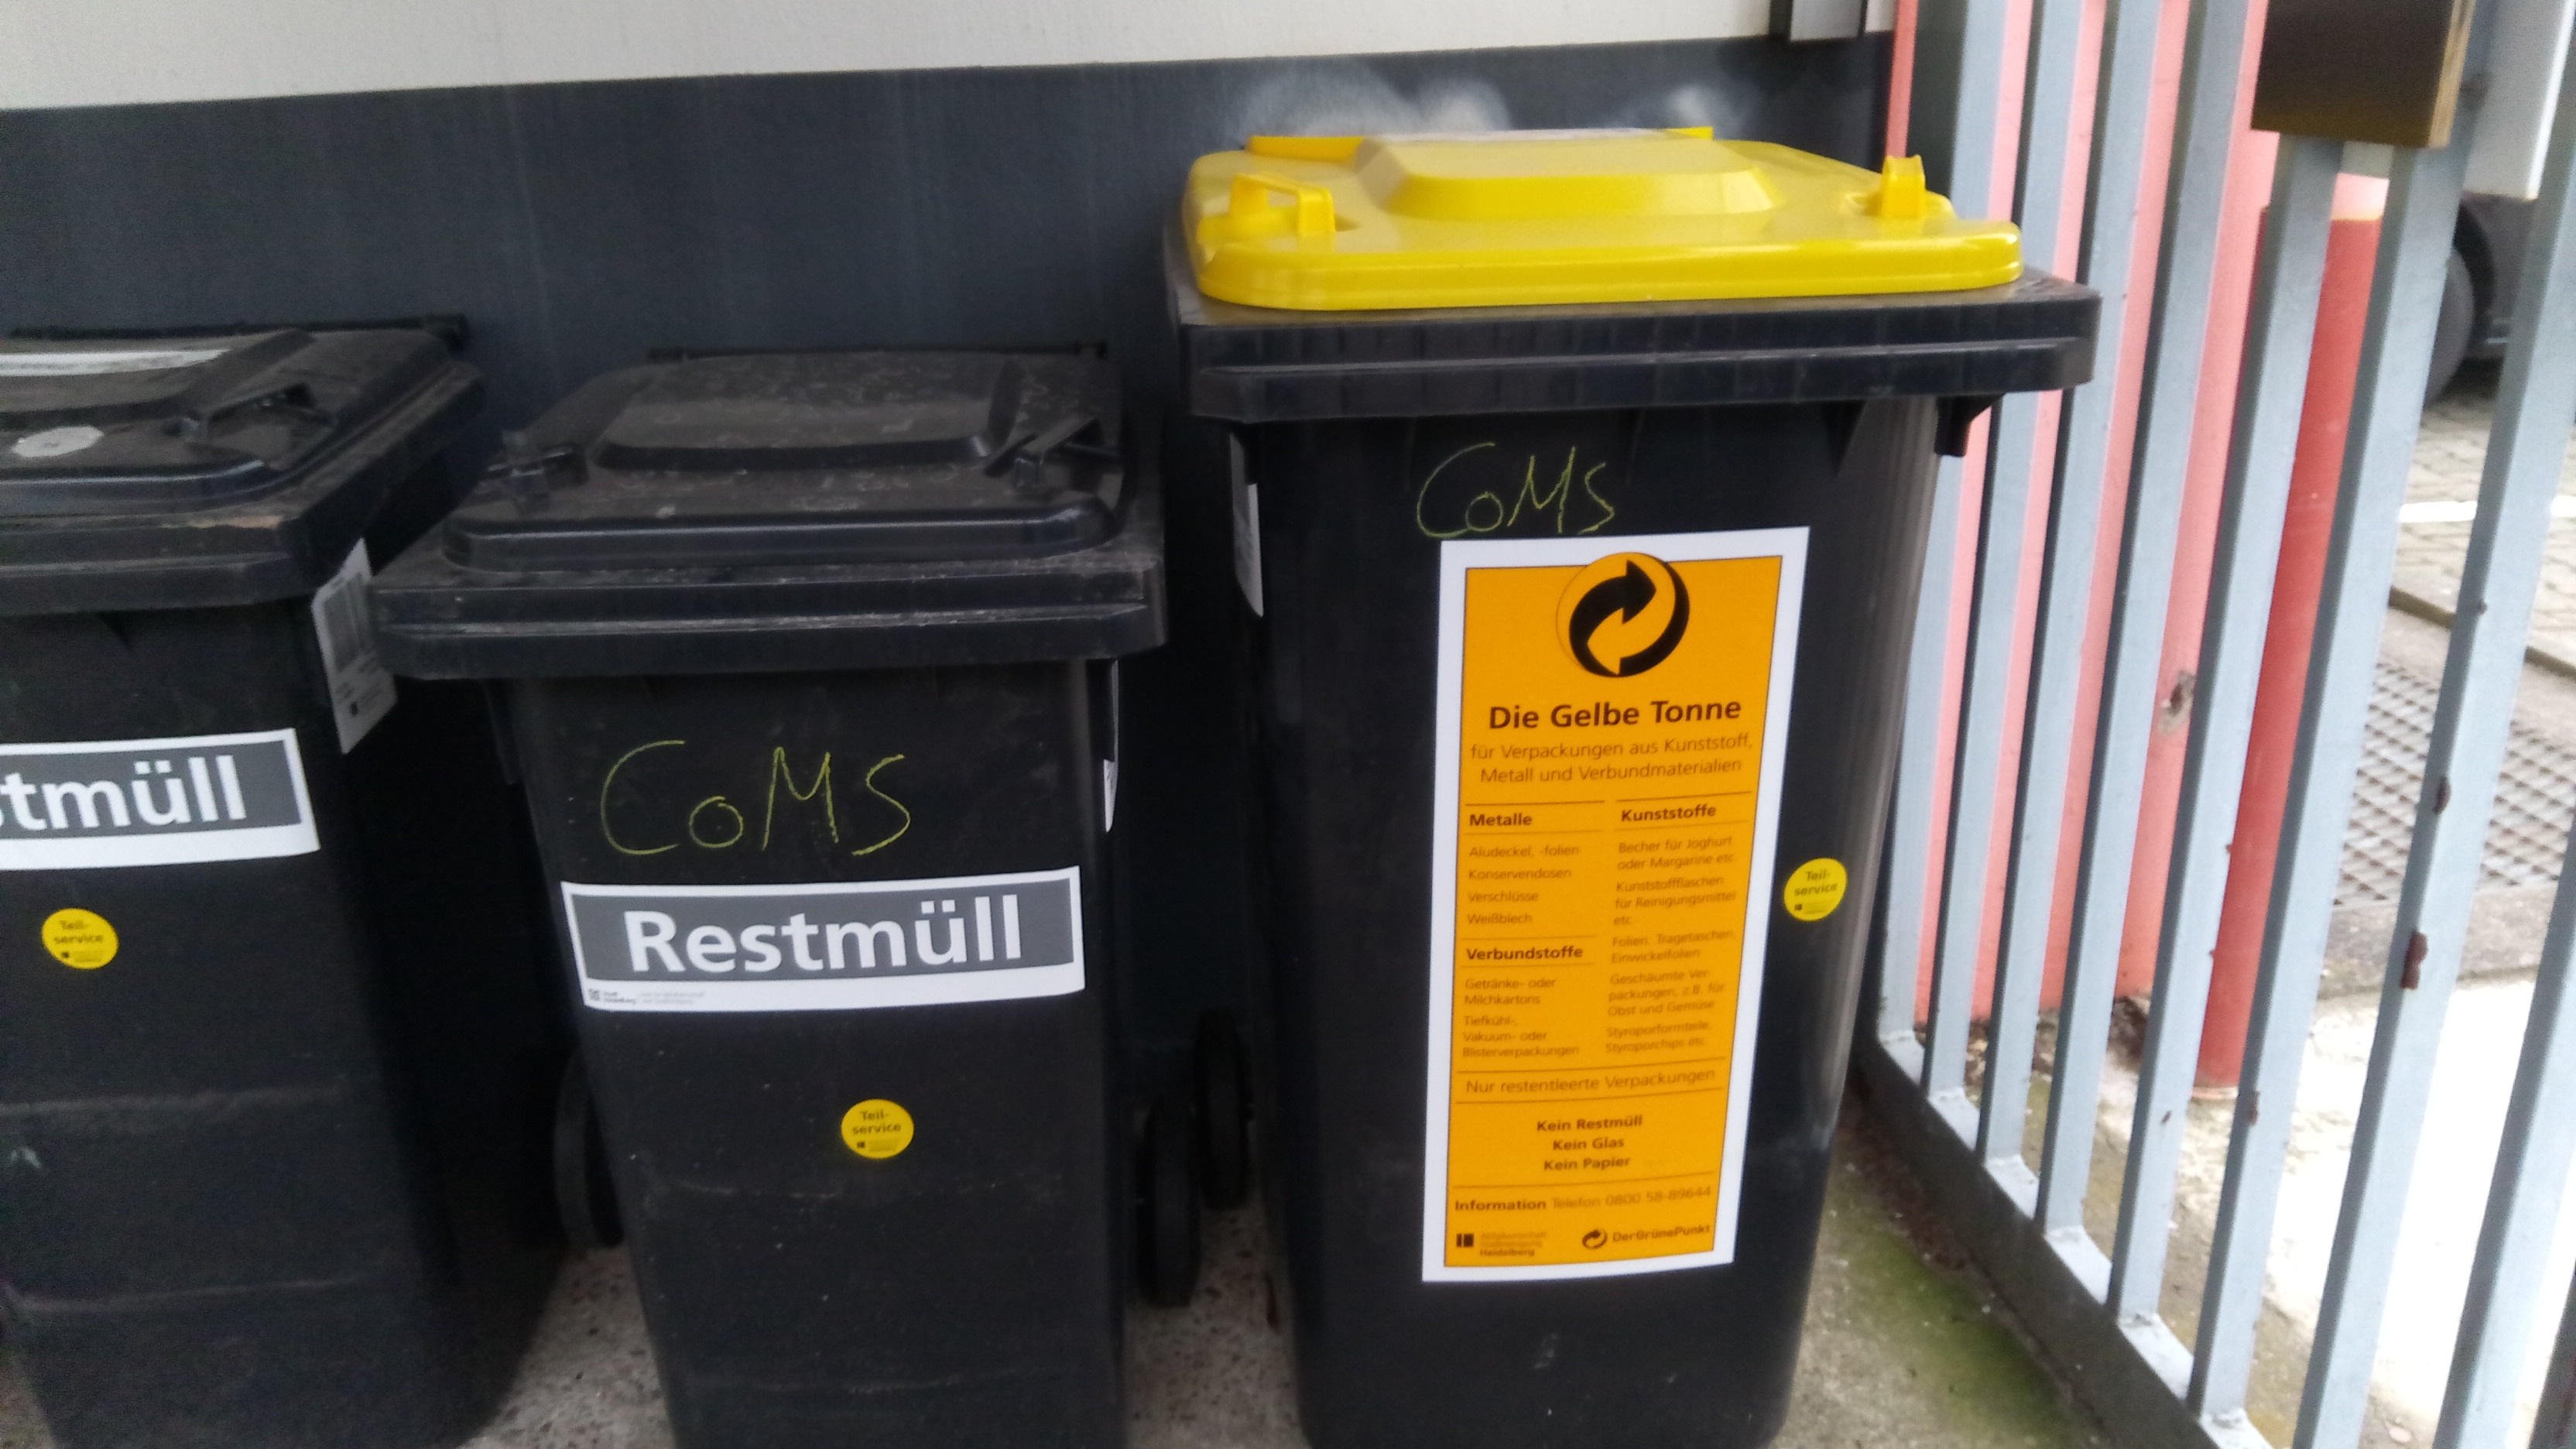
| 17:30, 8 March 2020 | Waste bins outside.jpg (file) |  |
1.08 MB | new location (Siemensstraße) instead of Czernyring | 2 |
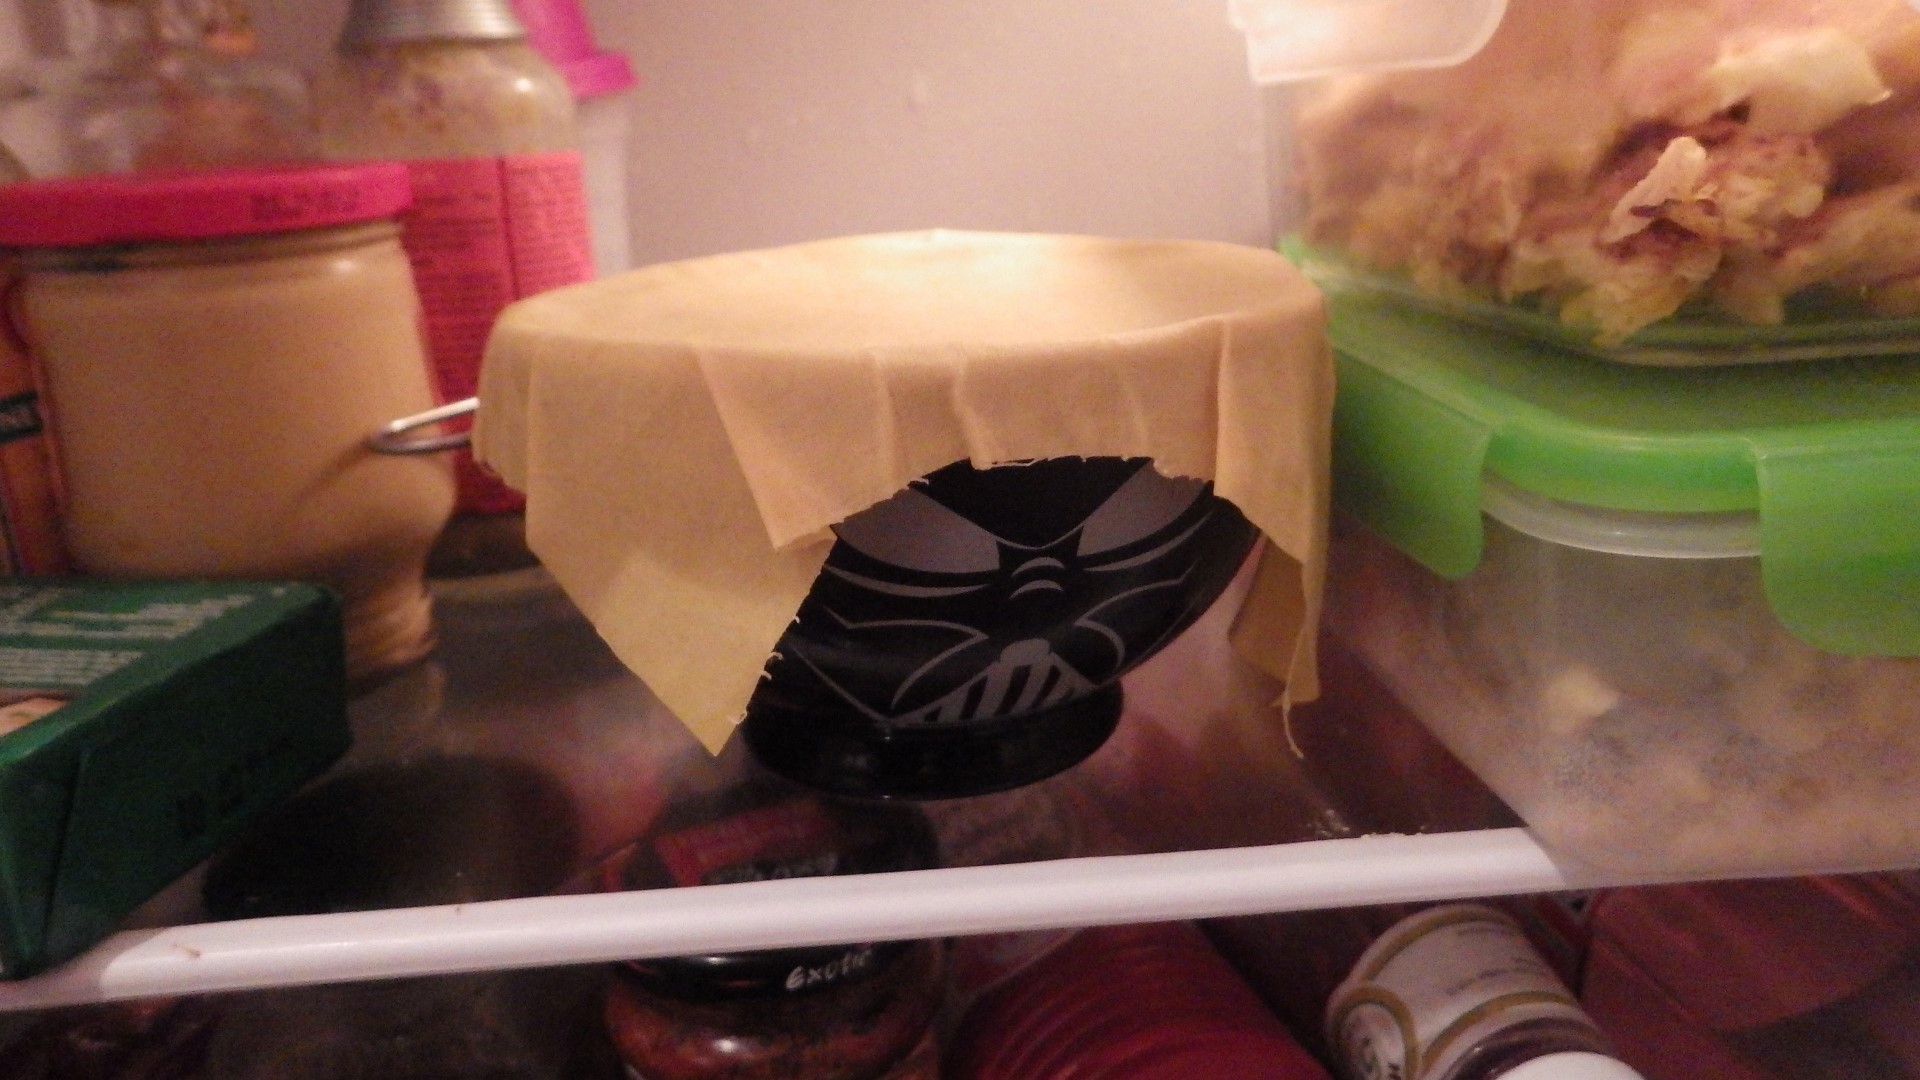
| 20:02, 26 December 2018 | Wax wrap Vader.JPG (file) |  |
436 KB | first test of self-made beeswax wrap as an alternative to aluminum or cling foil ''(Frischhaltefolie)'' | 1 |
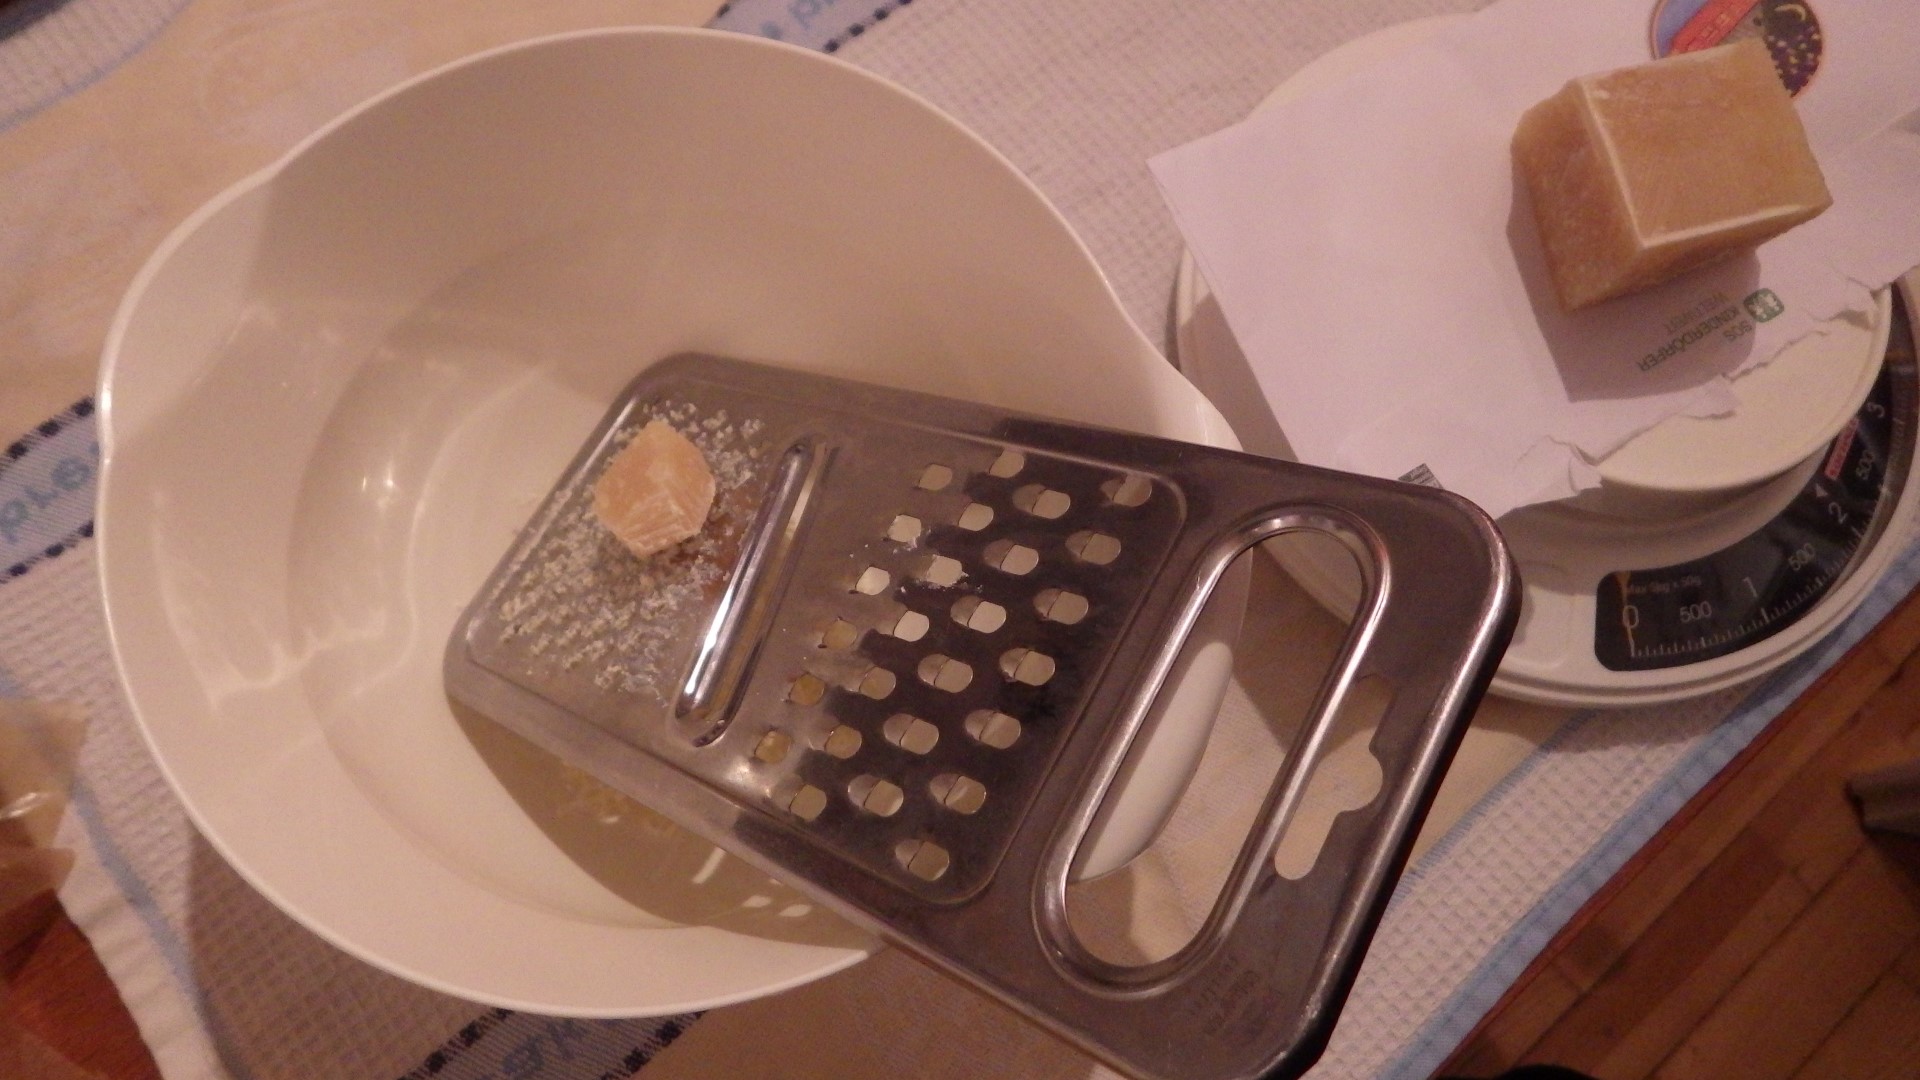
| 14:28, 17 April 2019 | Waxwrap1.JPG (file) |  |
405 KB | Project:Beeswax Wrap first of all, the beeswax needed to be shredded into workable pieces | 1 |
| 14:31, 17 April 2019 | Waxwrap2.JPG (file) |  |
440 KB | Project:Beeswax Wrap spread the beeswax flakes onto a piece of cotton fabric | 1 |
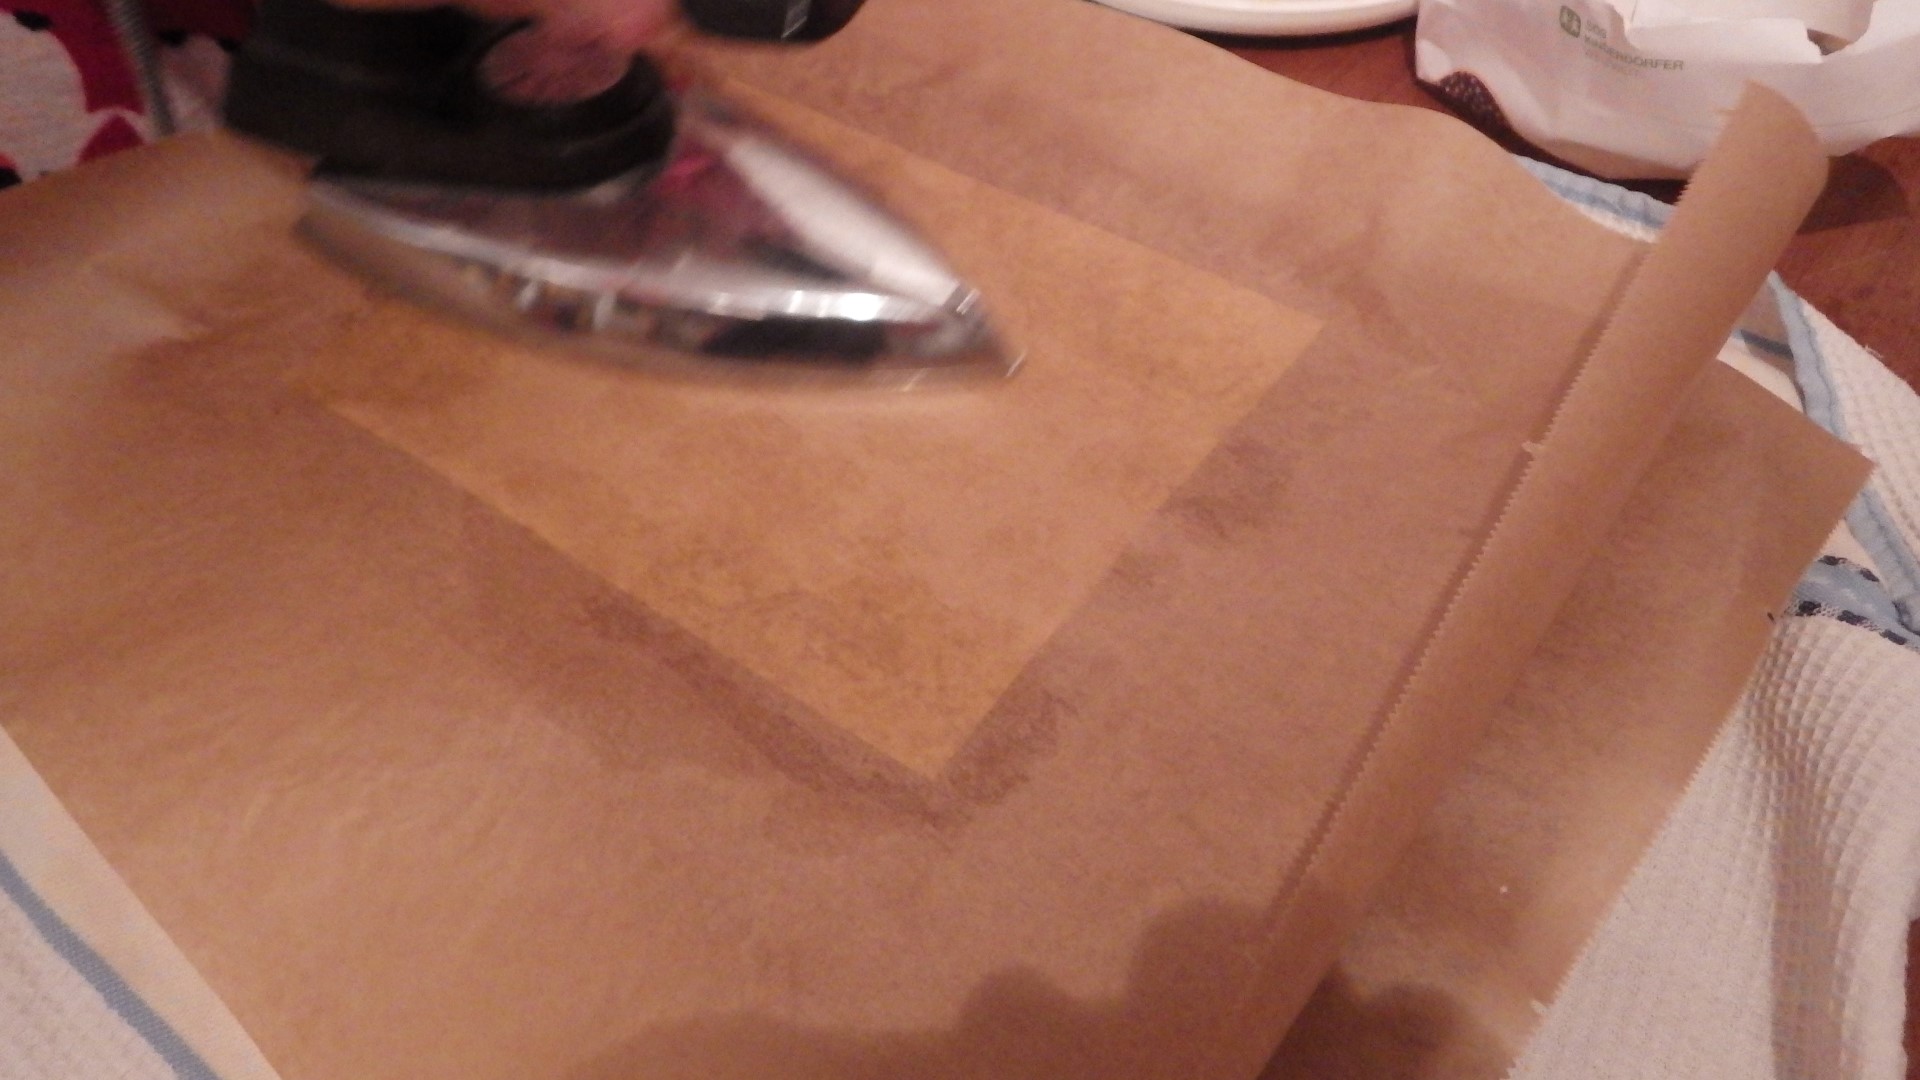
| 14:54, 17 April 2019 | Waxwrap3.JPG (file) |  |
349 KB | Project:Beeswax Wrap place the beeswax-covered fabric between to sheets of baking paper and use a flatiron to melt the wax into it | 1 |
| 14:57, 17 April 2019 | Waxwrap4.JPG (file) |  |
564 KB | Project:Beeswax Wrap The warmth of your hands should now be sufficient to shape your beeswax wrap around pretty much anything! If it doesn't keep its shape, add more wax. | 1 |
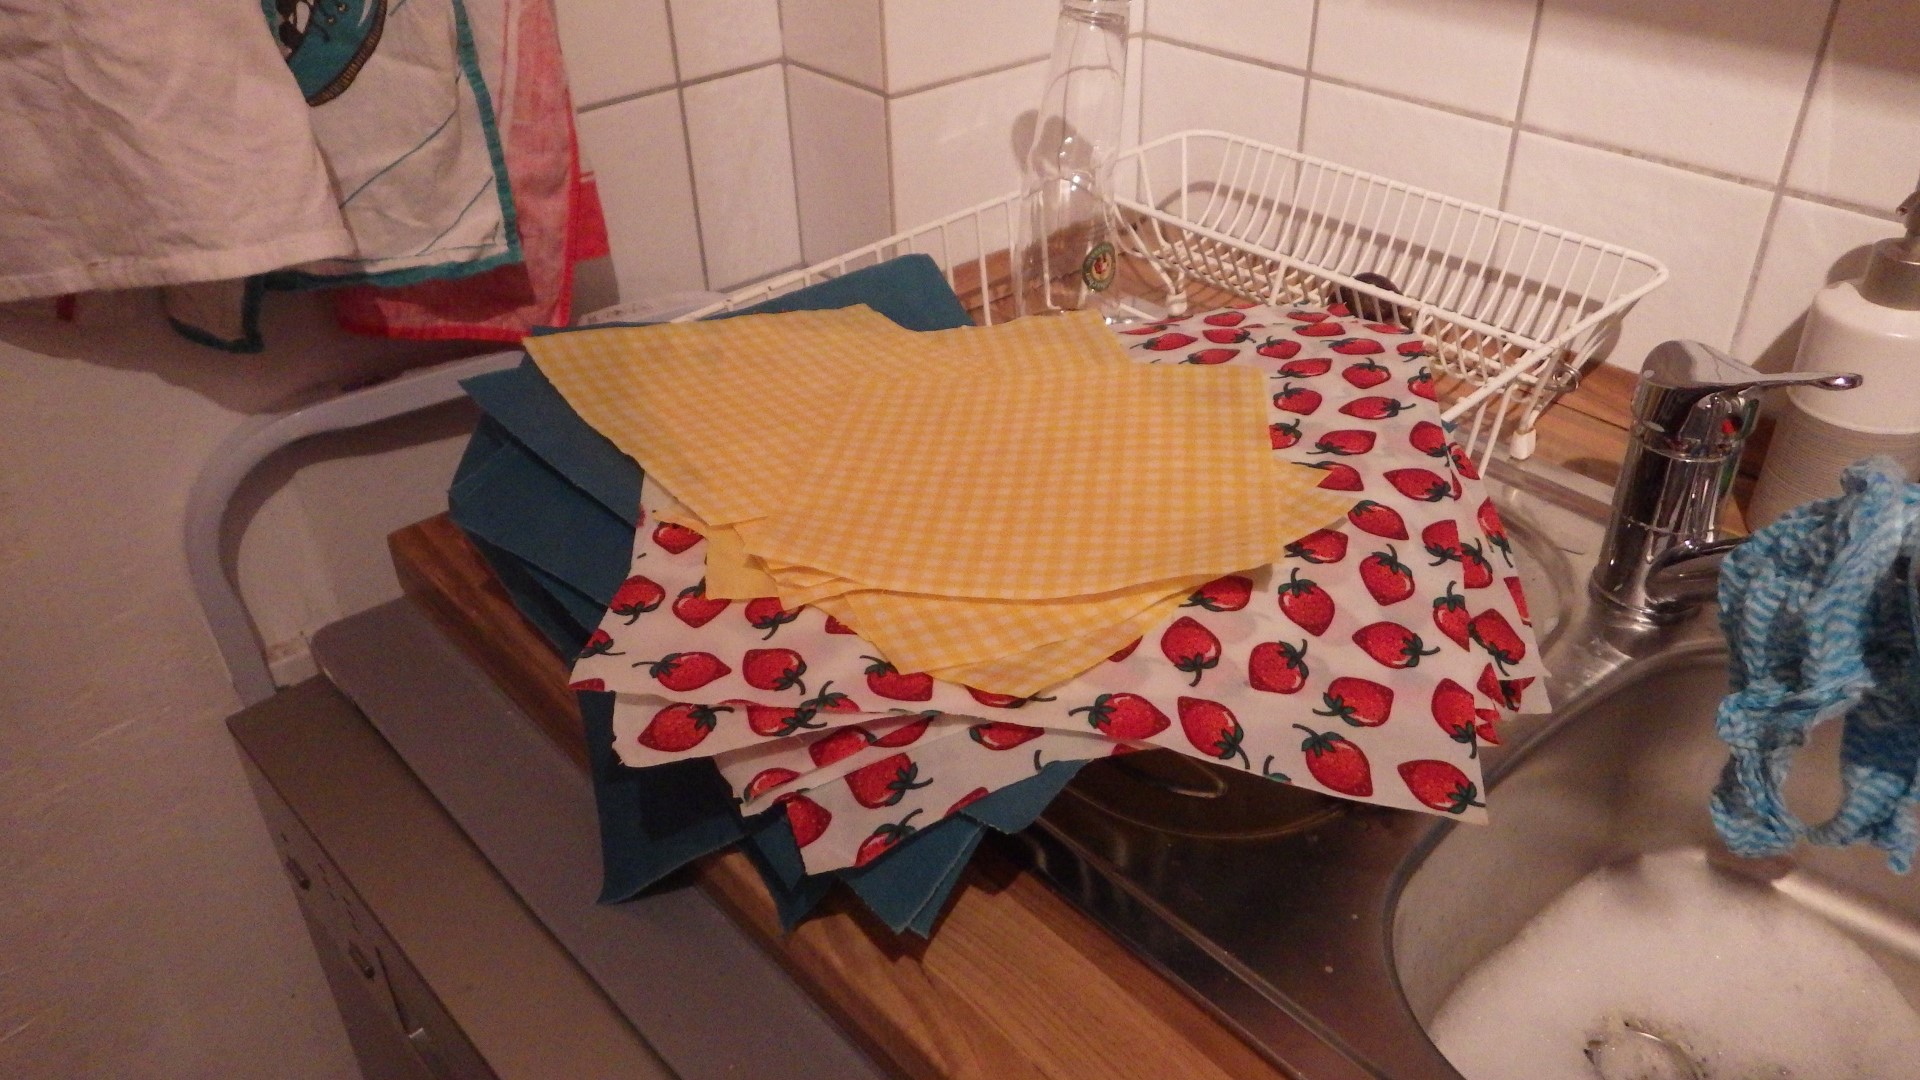
| 15:01, 17 April 2019 | Waxwrap5.JPG (file) |  |
509 KB | Project:Beeswax Wrap the finished beeswax wrap can be cleaned with soapy water (not too hot!) | 1 |
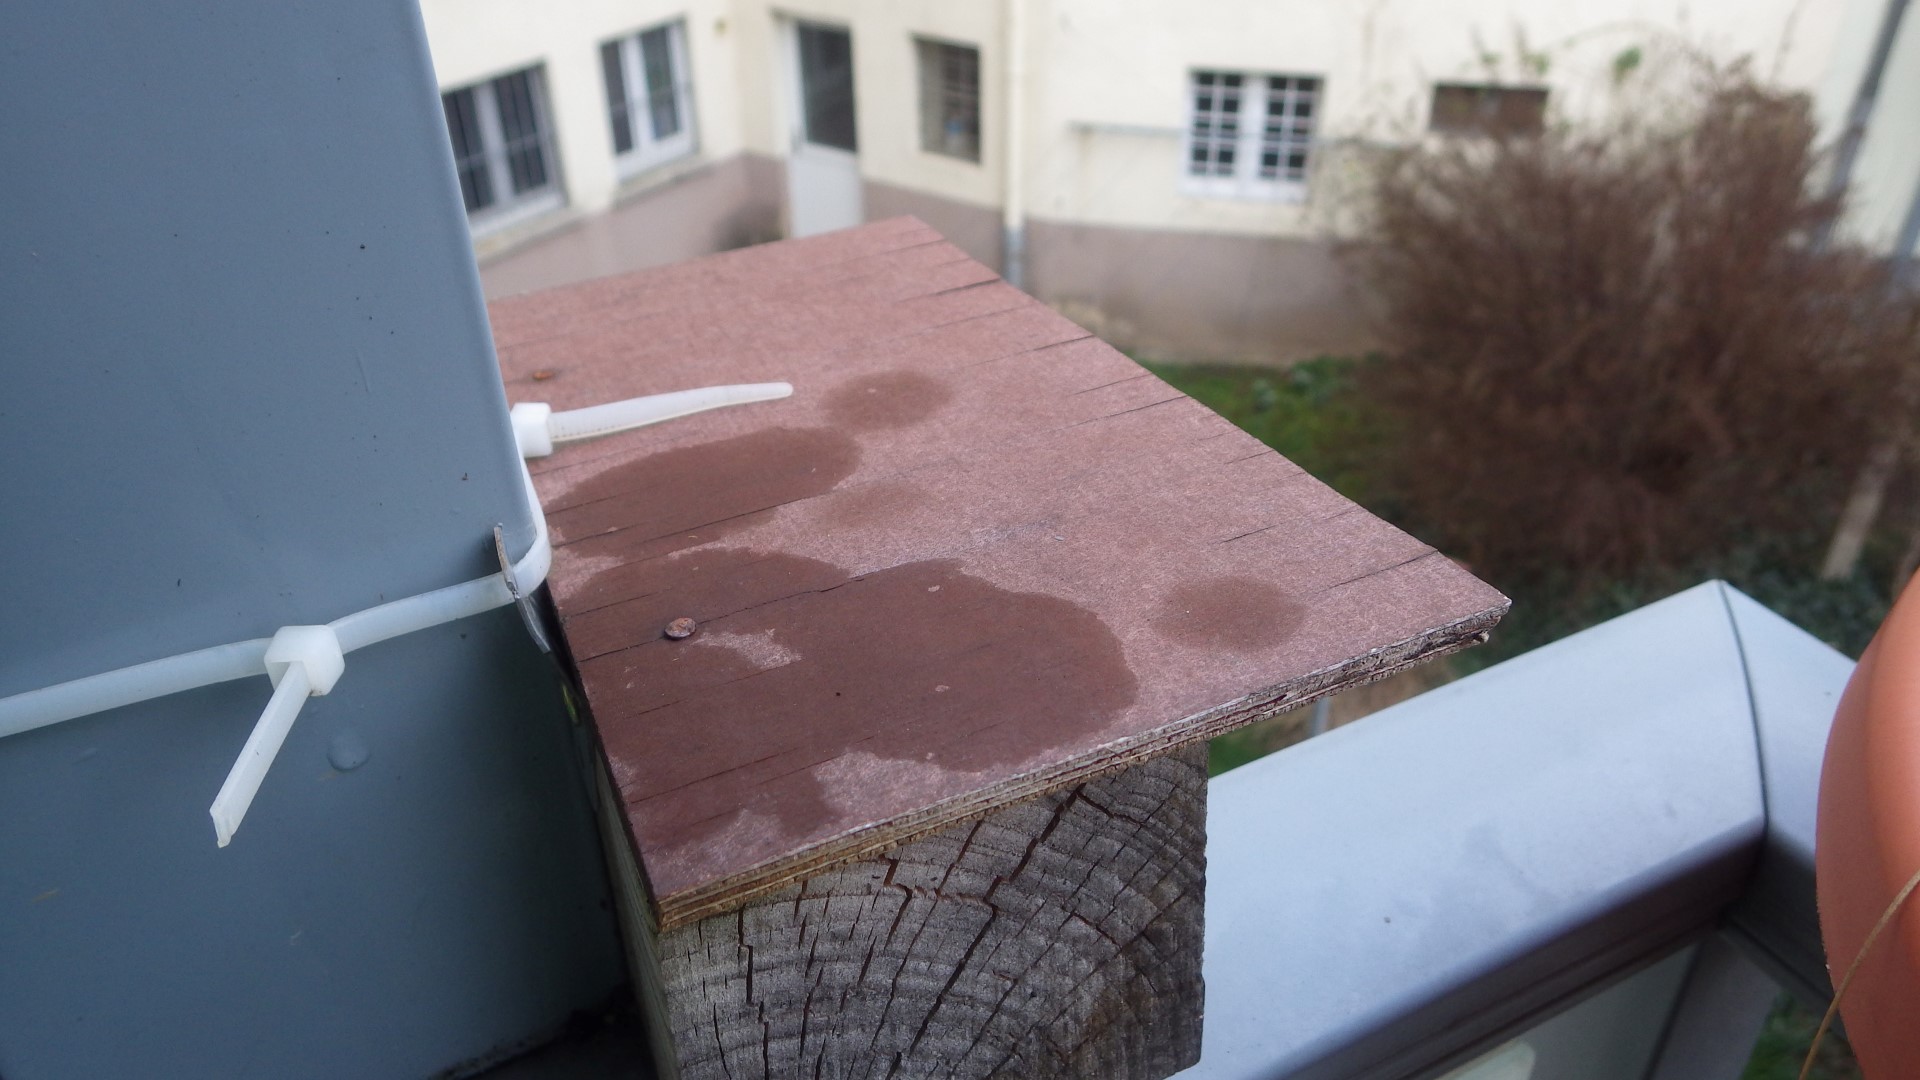
| 00:43, 26 February 2020 | Weathered film-faced plywood.JPG (file) |  |
365 KB | film-faced plywood does age under outdoor conditions, but stays stable for a relatively long time | 1 |
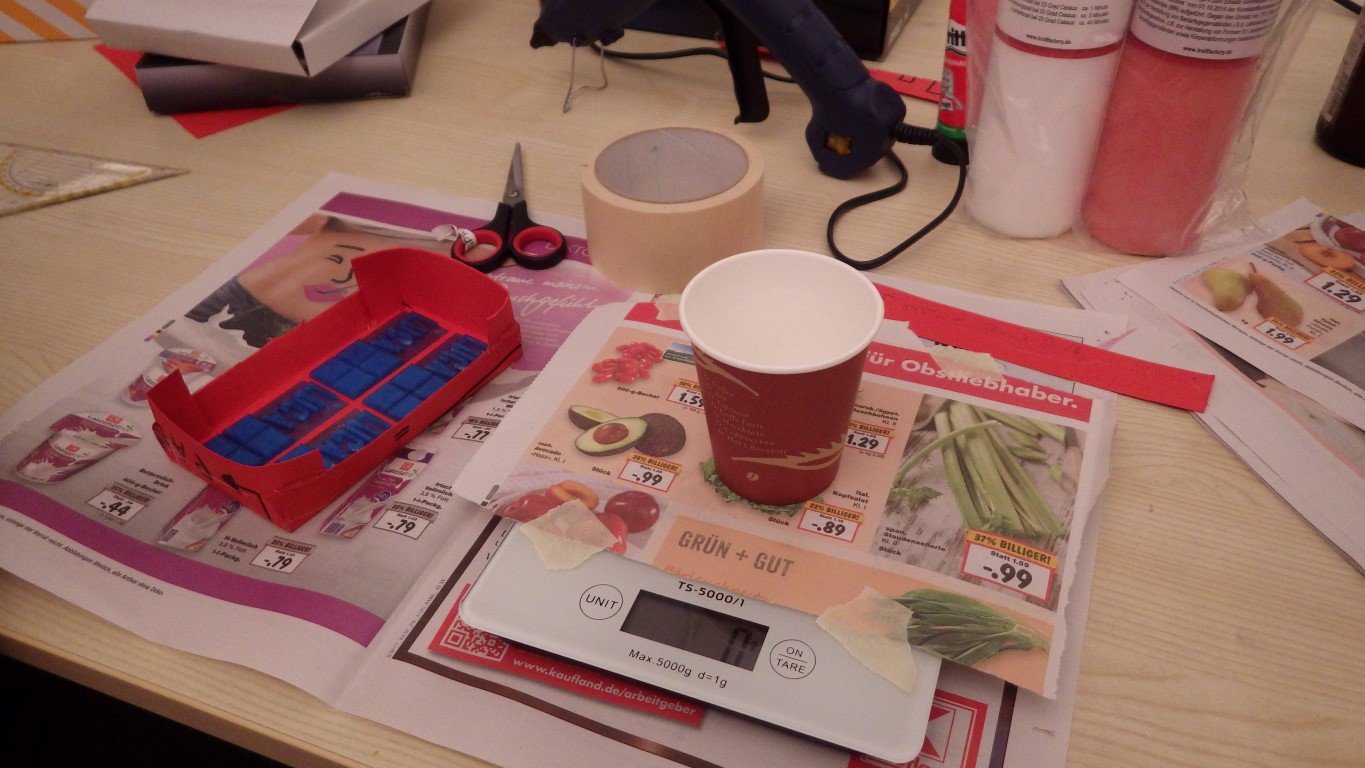
| 09:51, 5 September 2017 | Weighing silicone.JPG (file) |  |
271 KB | == Summary == a workspace prepared for silicone molding with template, hot glue gun, measuring cup and scale == Licensing == {{CC-by-sa-4.0}} | 1 |
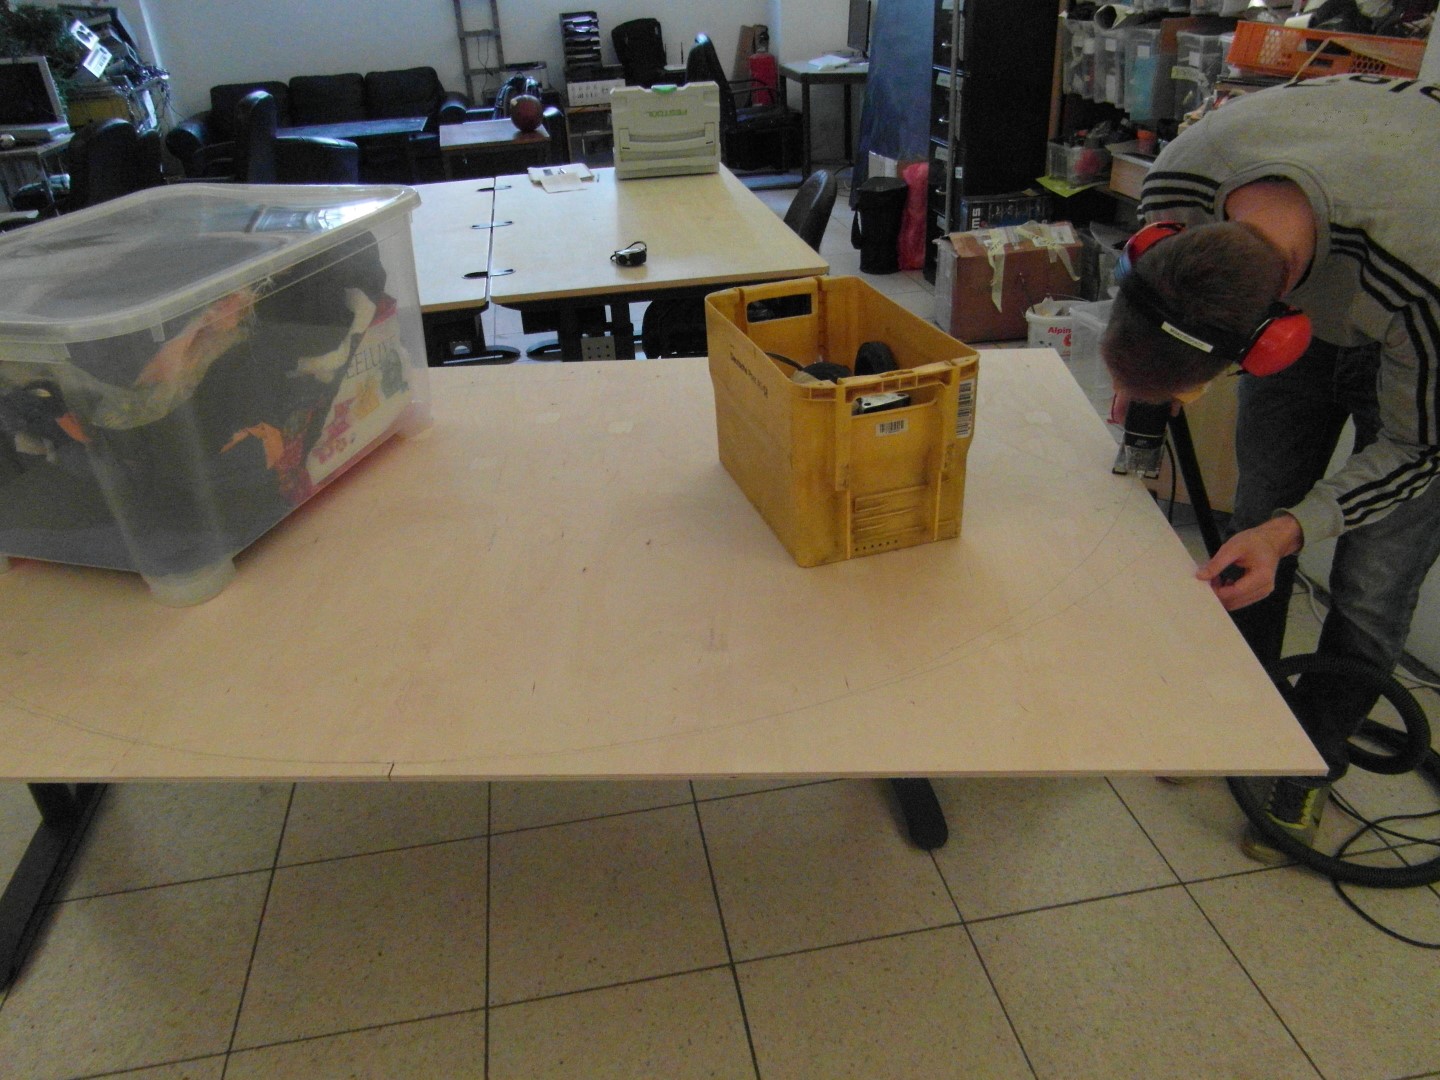
| 09:52, 5 September 2017 | Weights not clamps.jpg (file) |  |
363 KB | == Summary == It does not always have to be clamps: sometimes, adding enough weight to the board or sheet you want to saw through can secure it just as well and you don't have obstacles in your cutting path. == Licensing == {{CC... | 1 |
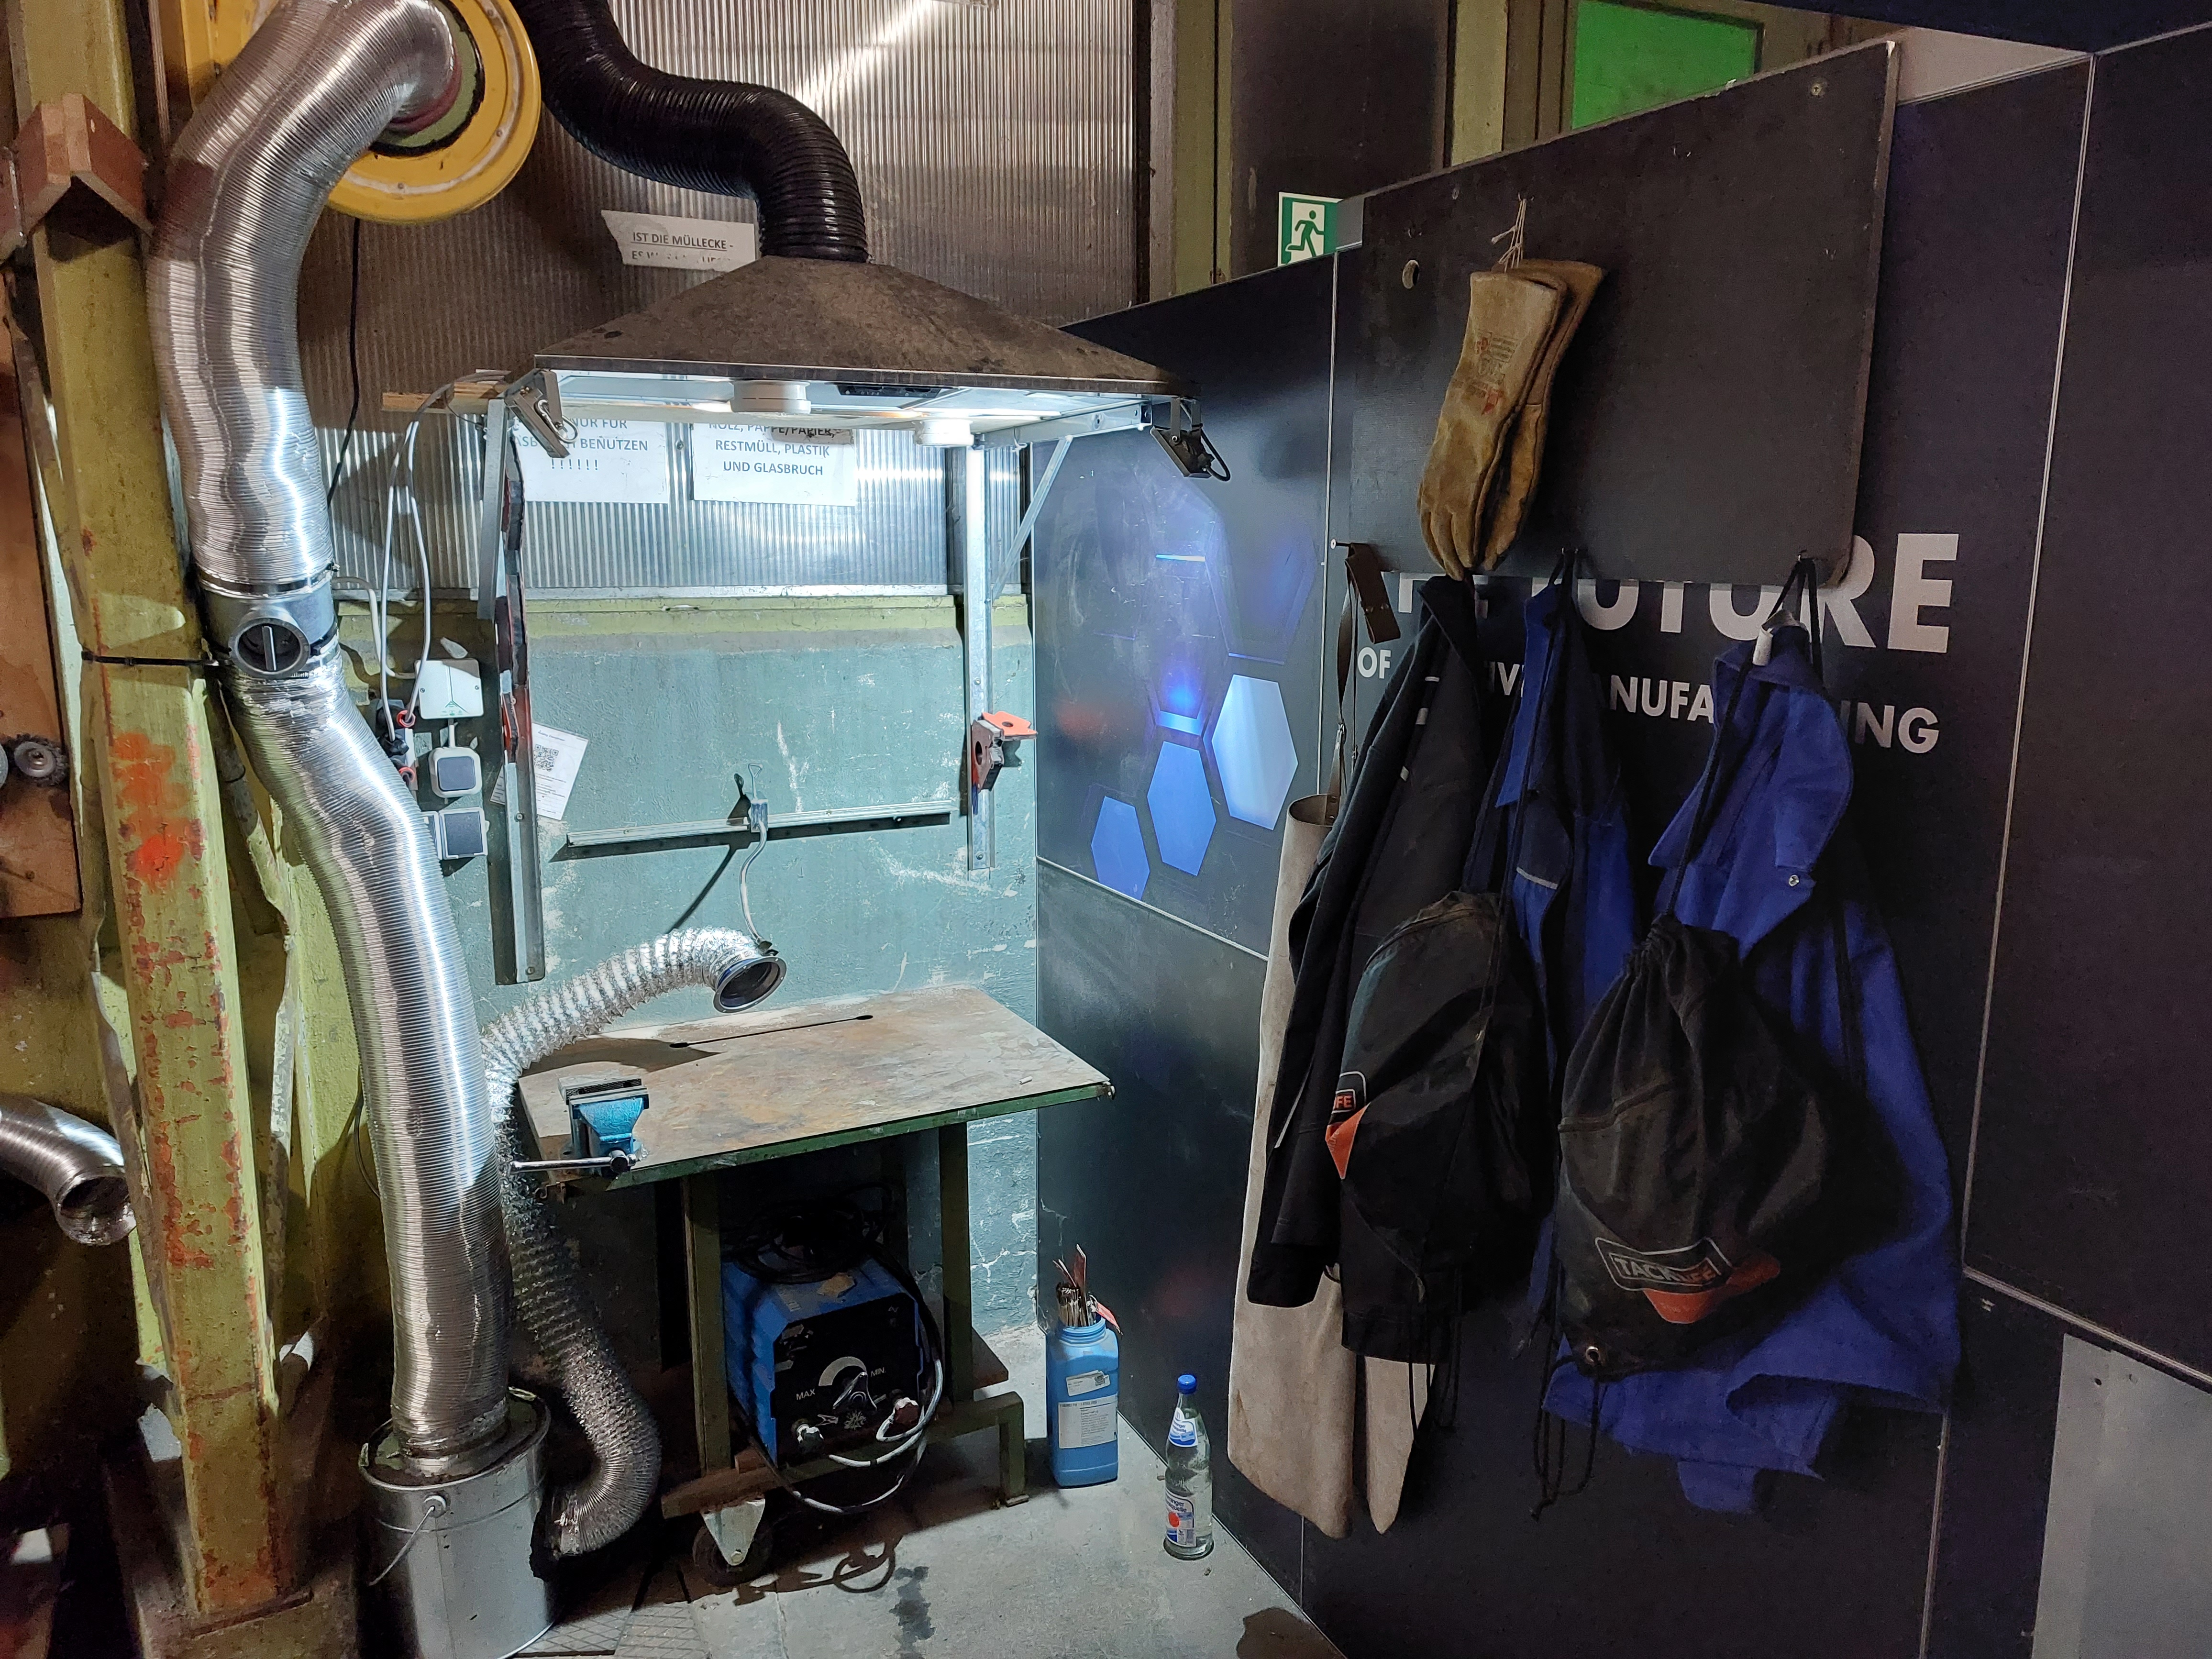
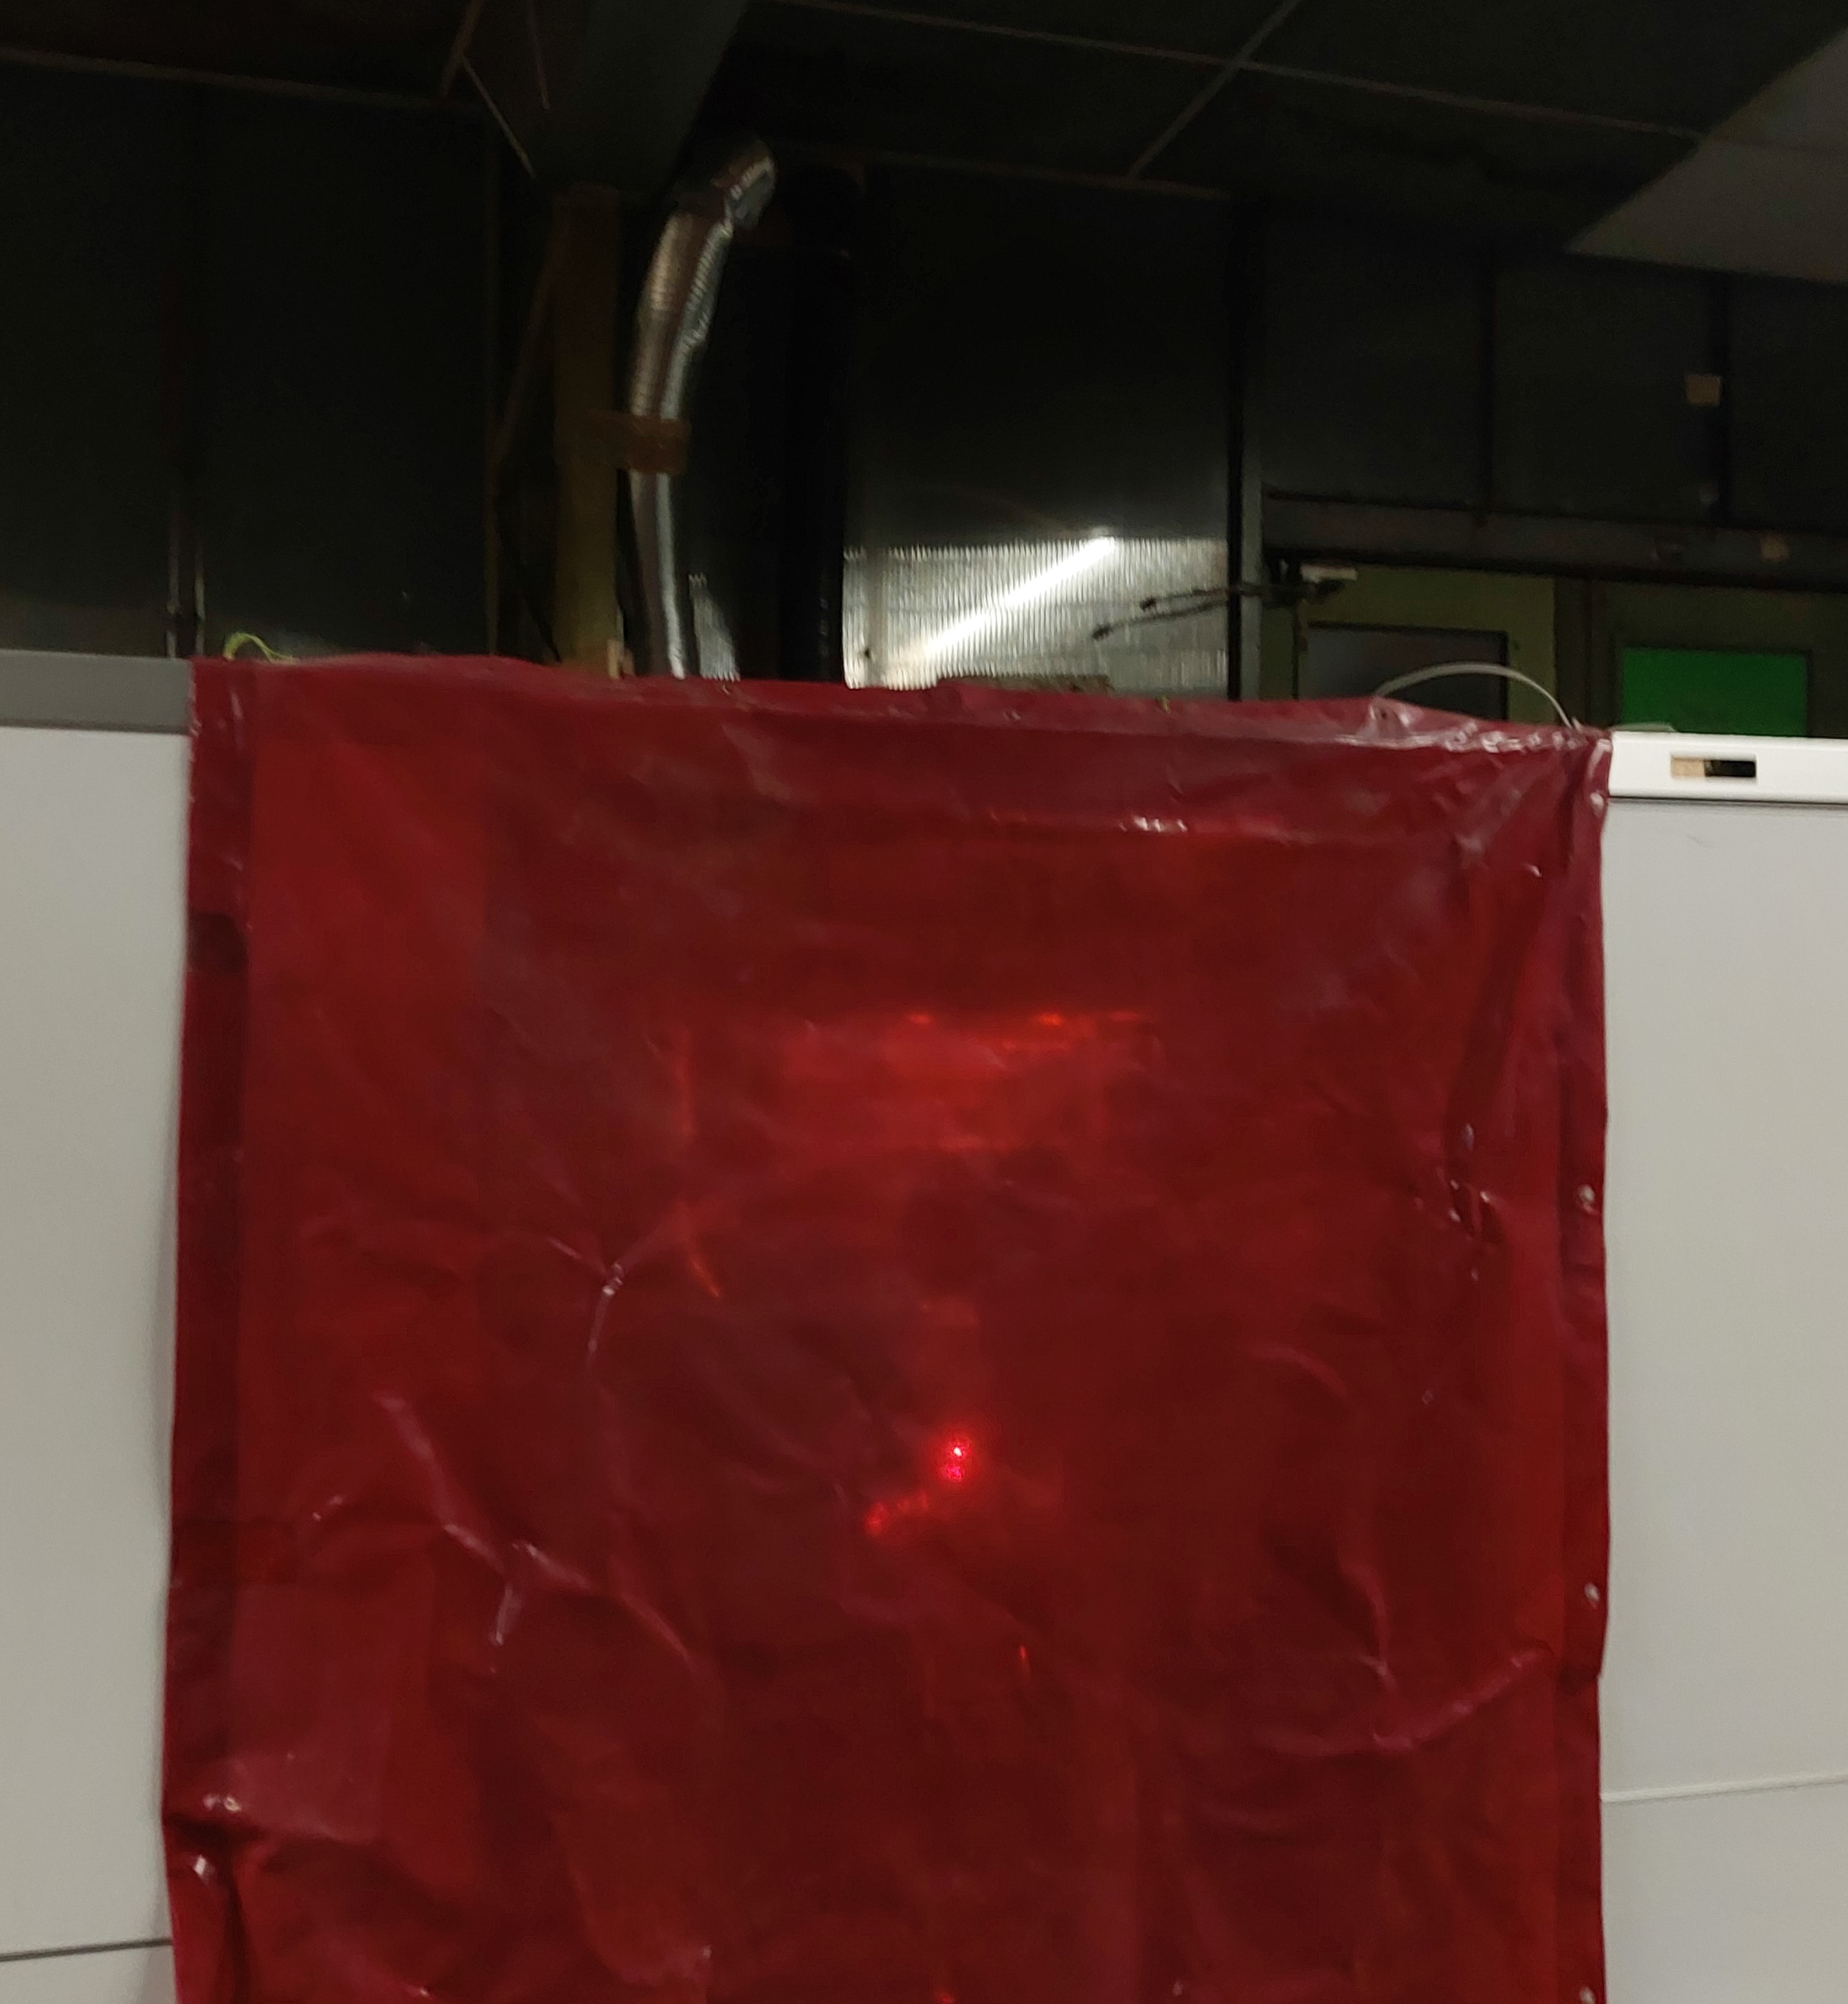
| 16:37, 8 October 2023 | Welding enclosure - inside.JPG (file) |  |
4.53 MB | 2023 update (indoors now!) | 2 |
| 13:20, 20 January 2024 | Welding enclosure - outside.JPG (file) |  |
1.02 MB | new photo after the 2023 re-opening in the new building | 2 |
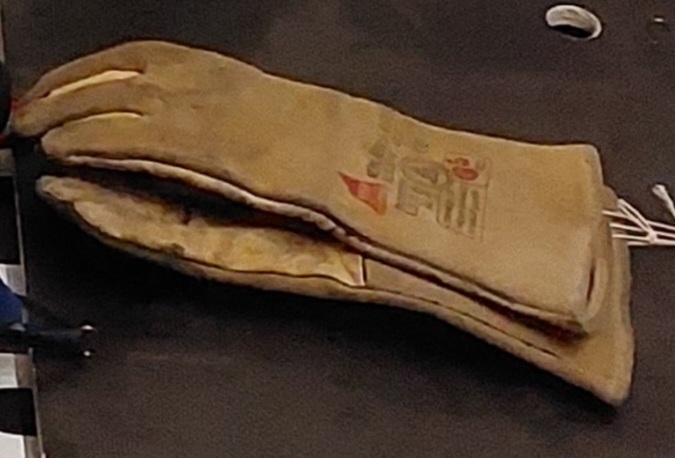
| 13:21, 20 January 2024 | Welding gloves.jpg (file) |  |
79 KB | Welding Gloves | 1 |
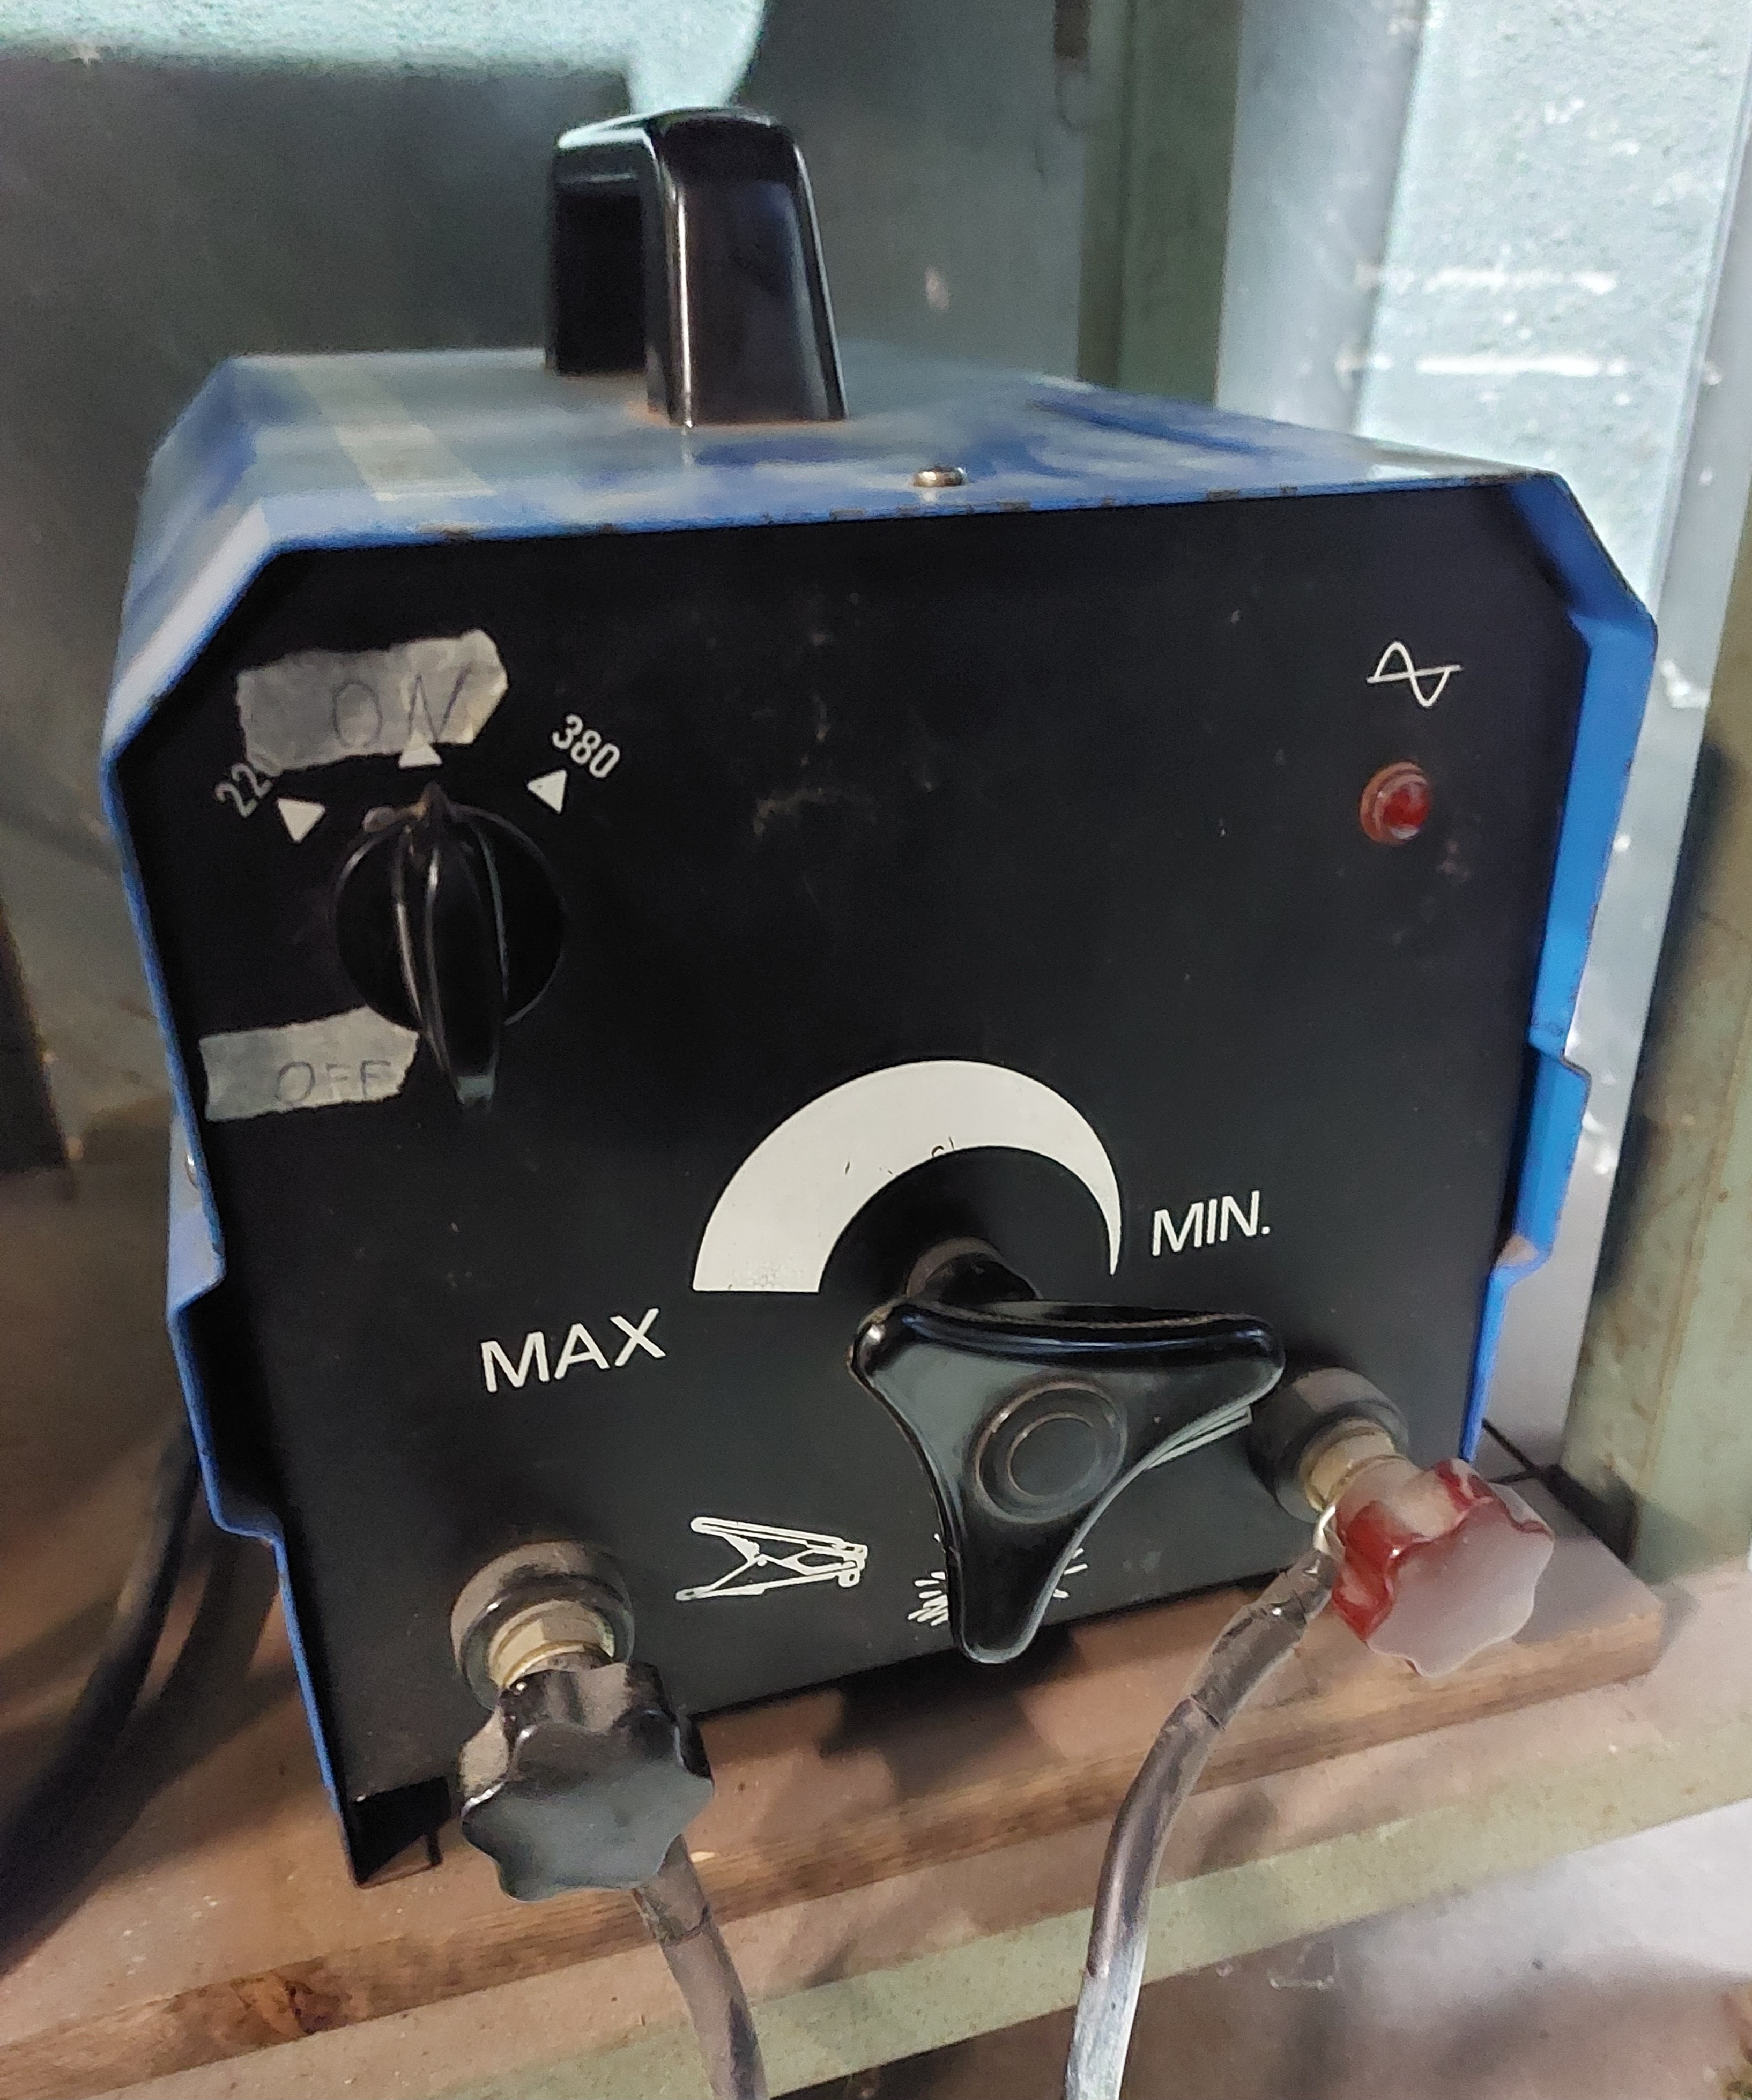
| 13:42, 20 January 2024 | Welding transformer front.jpg (file) | 2.81 MB | Unknown Welding Transformer, front view | 1 | |
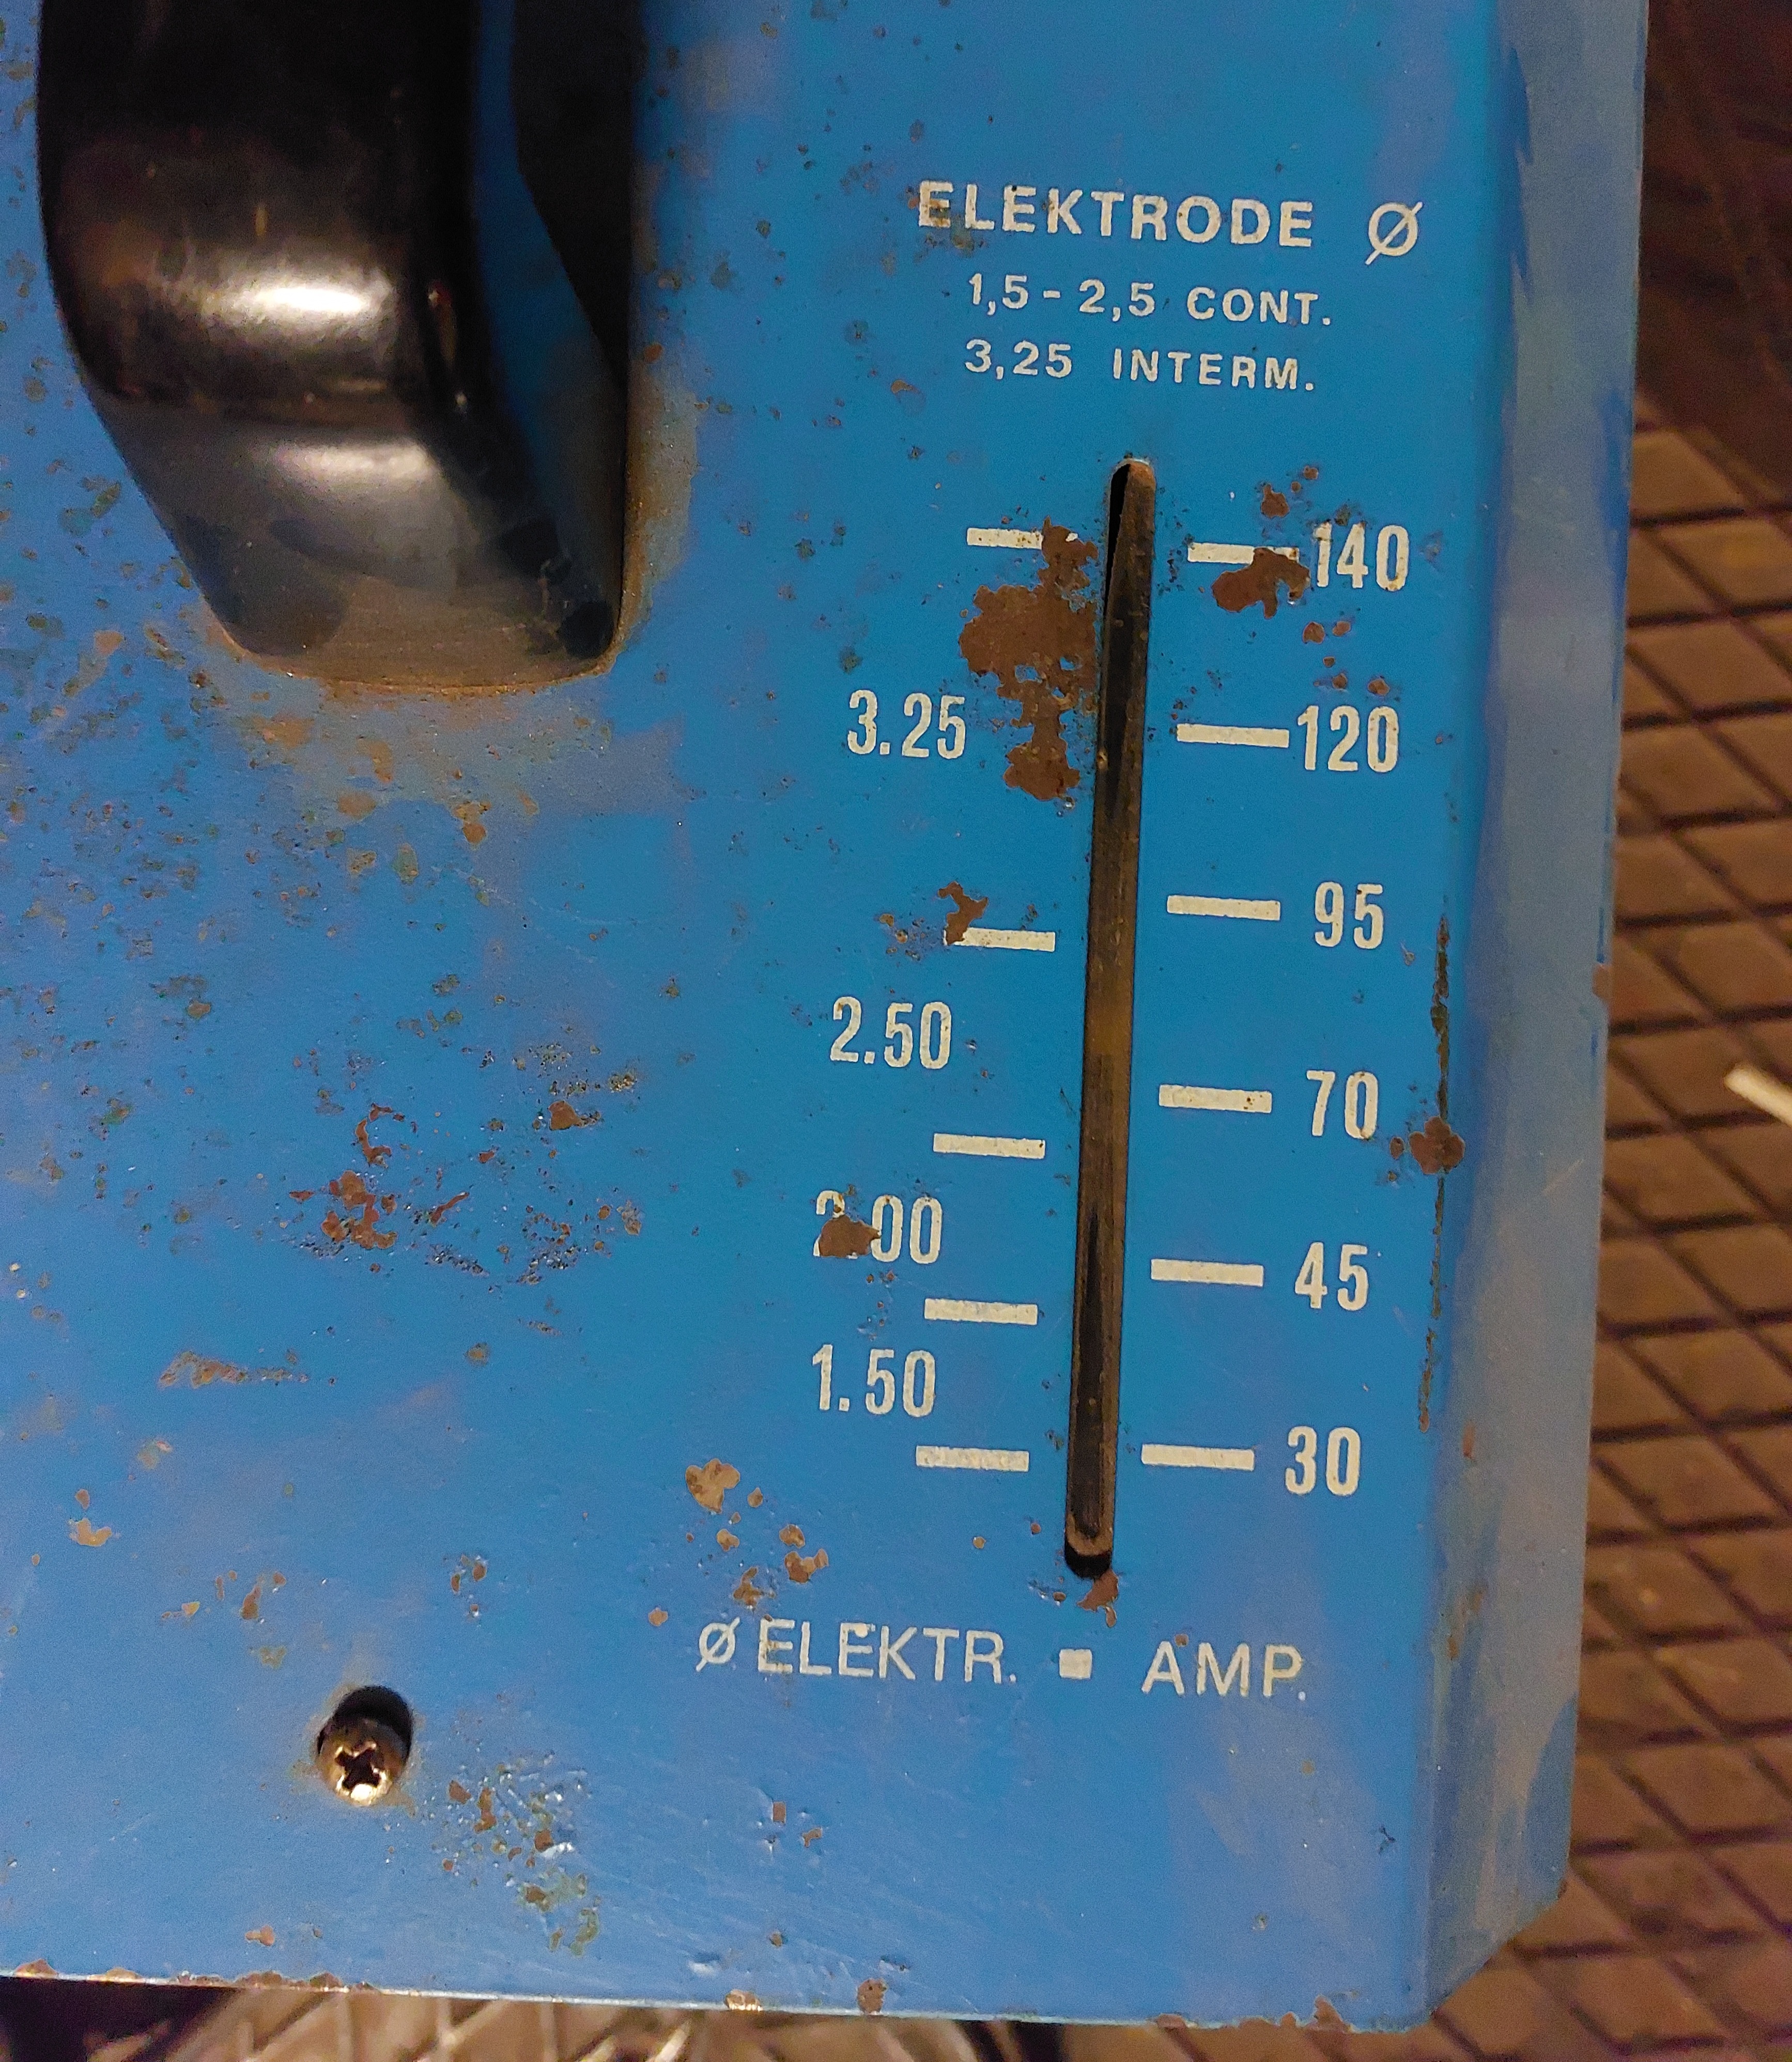
| 13:44, 20 January 2024 | Welding transformer top right.jpg (file) | 4.33 MB | Unknown Welding Transformer, top view (setting indicator is barely visible just above 70 A) | 1 | |
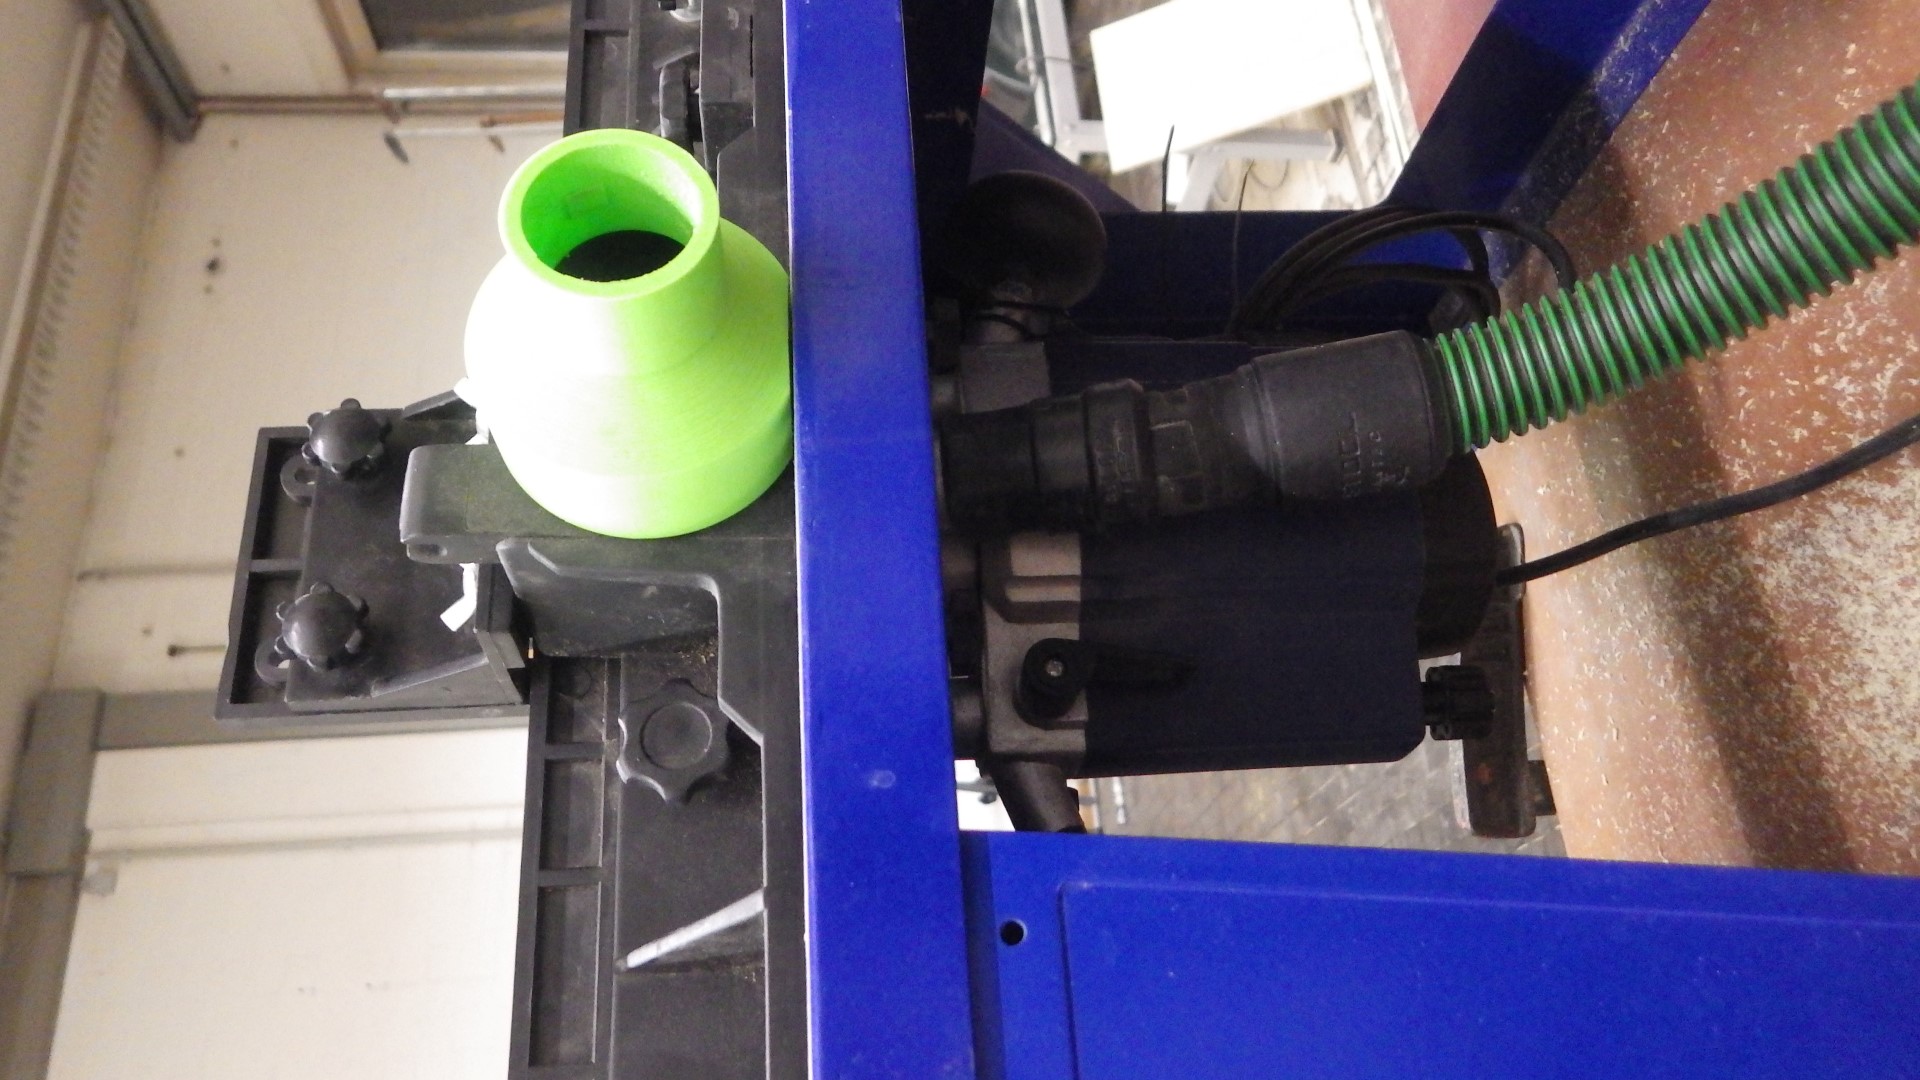
| 17:31, 22 October 2018 | Westfalia router table dust ports.JPG (file) |  |
441 KB | there are two places where you can connect a shop vac to the Westfalia router table: top (green) - most useful for edge work - or bottom (black) - most useful for grooves | 1 |
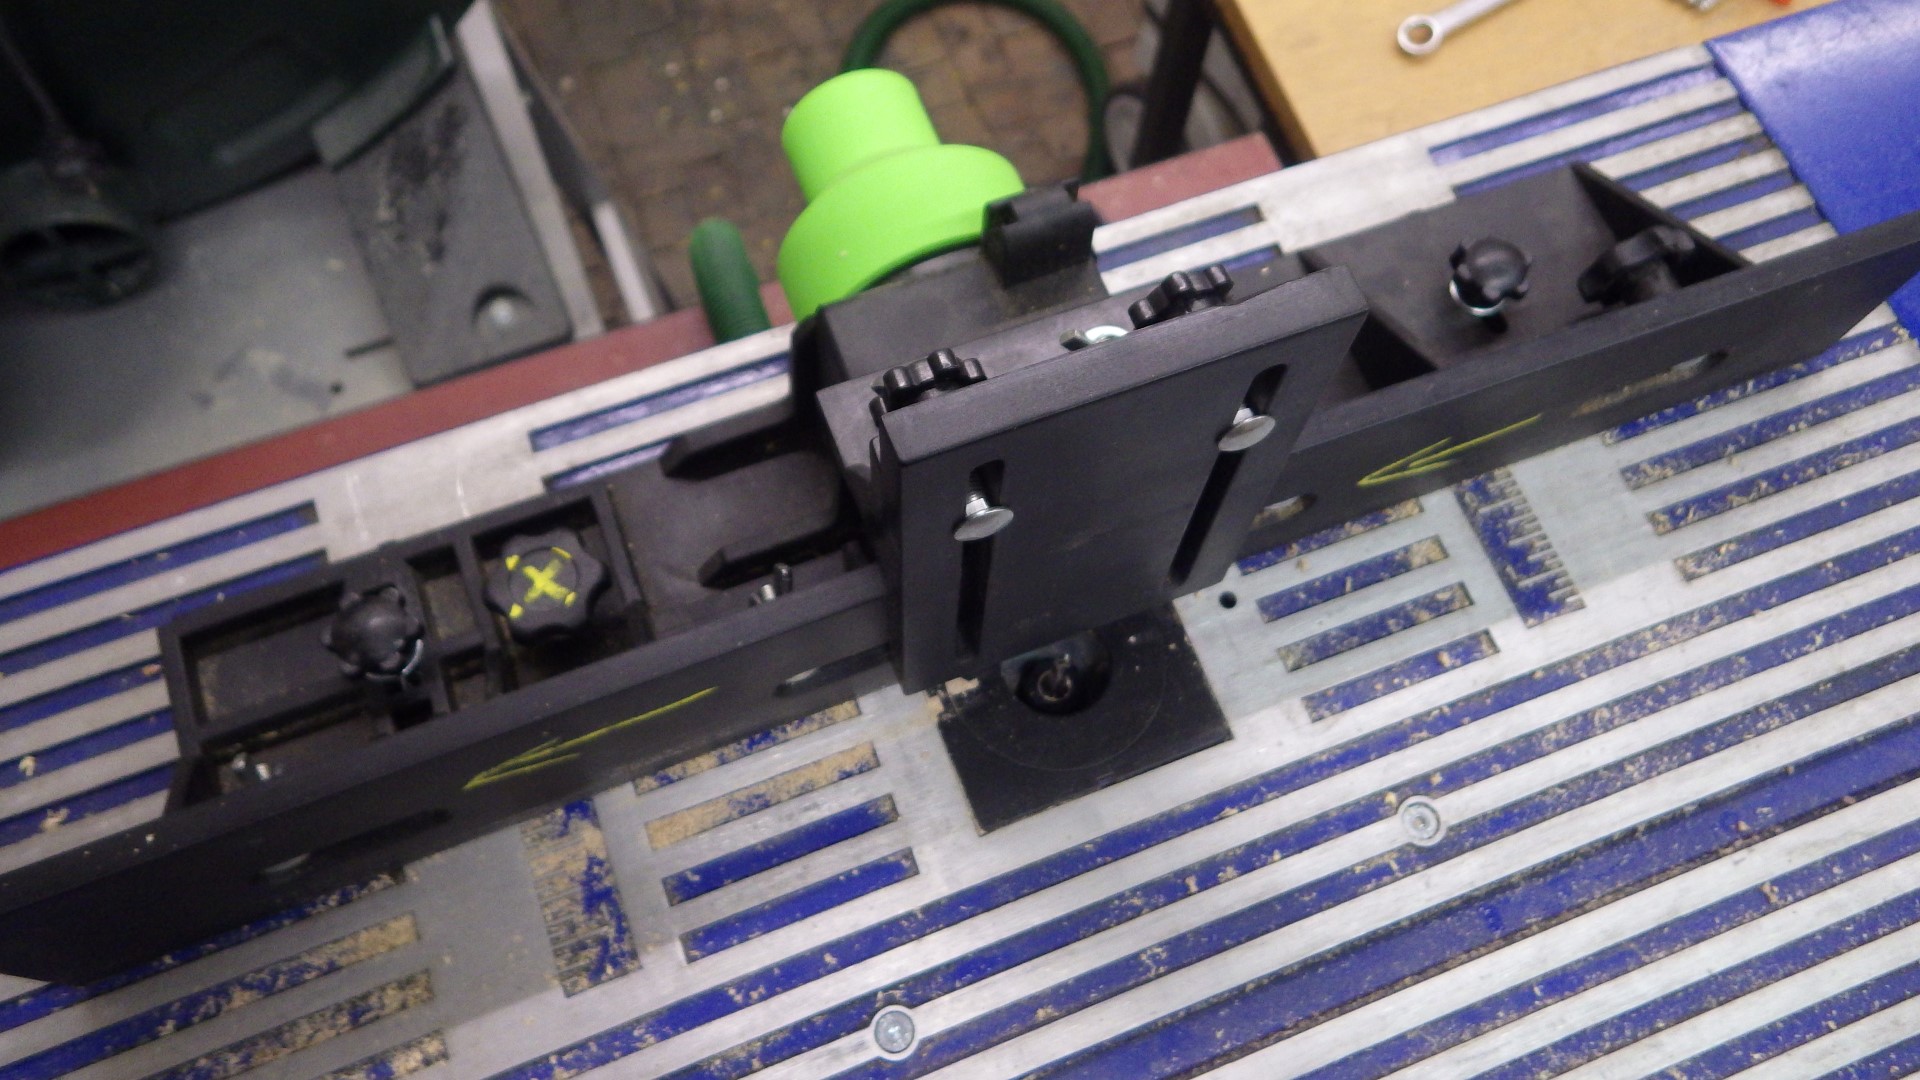
| 17:37, 22 October 2018 | Westfalia router table fence-X.JPG (file) |  |
478 KB | The screw knob marked "X" should be left alone unless you really need it - it lets you move the left part of the fence back and forward on its own; for the majority of jobs on the router table (if not all) you want the fence to be perf... | 1 |
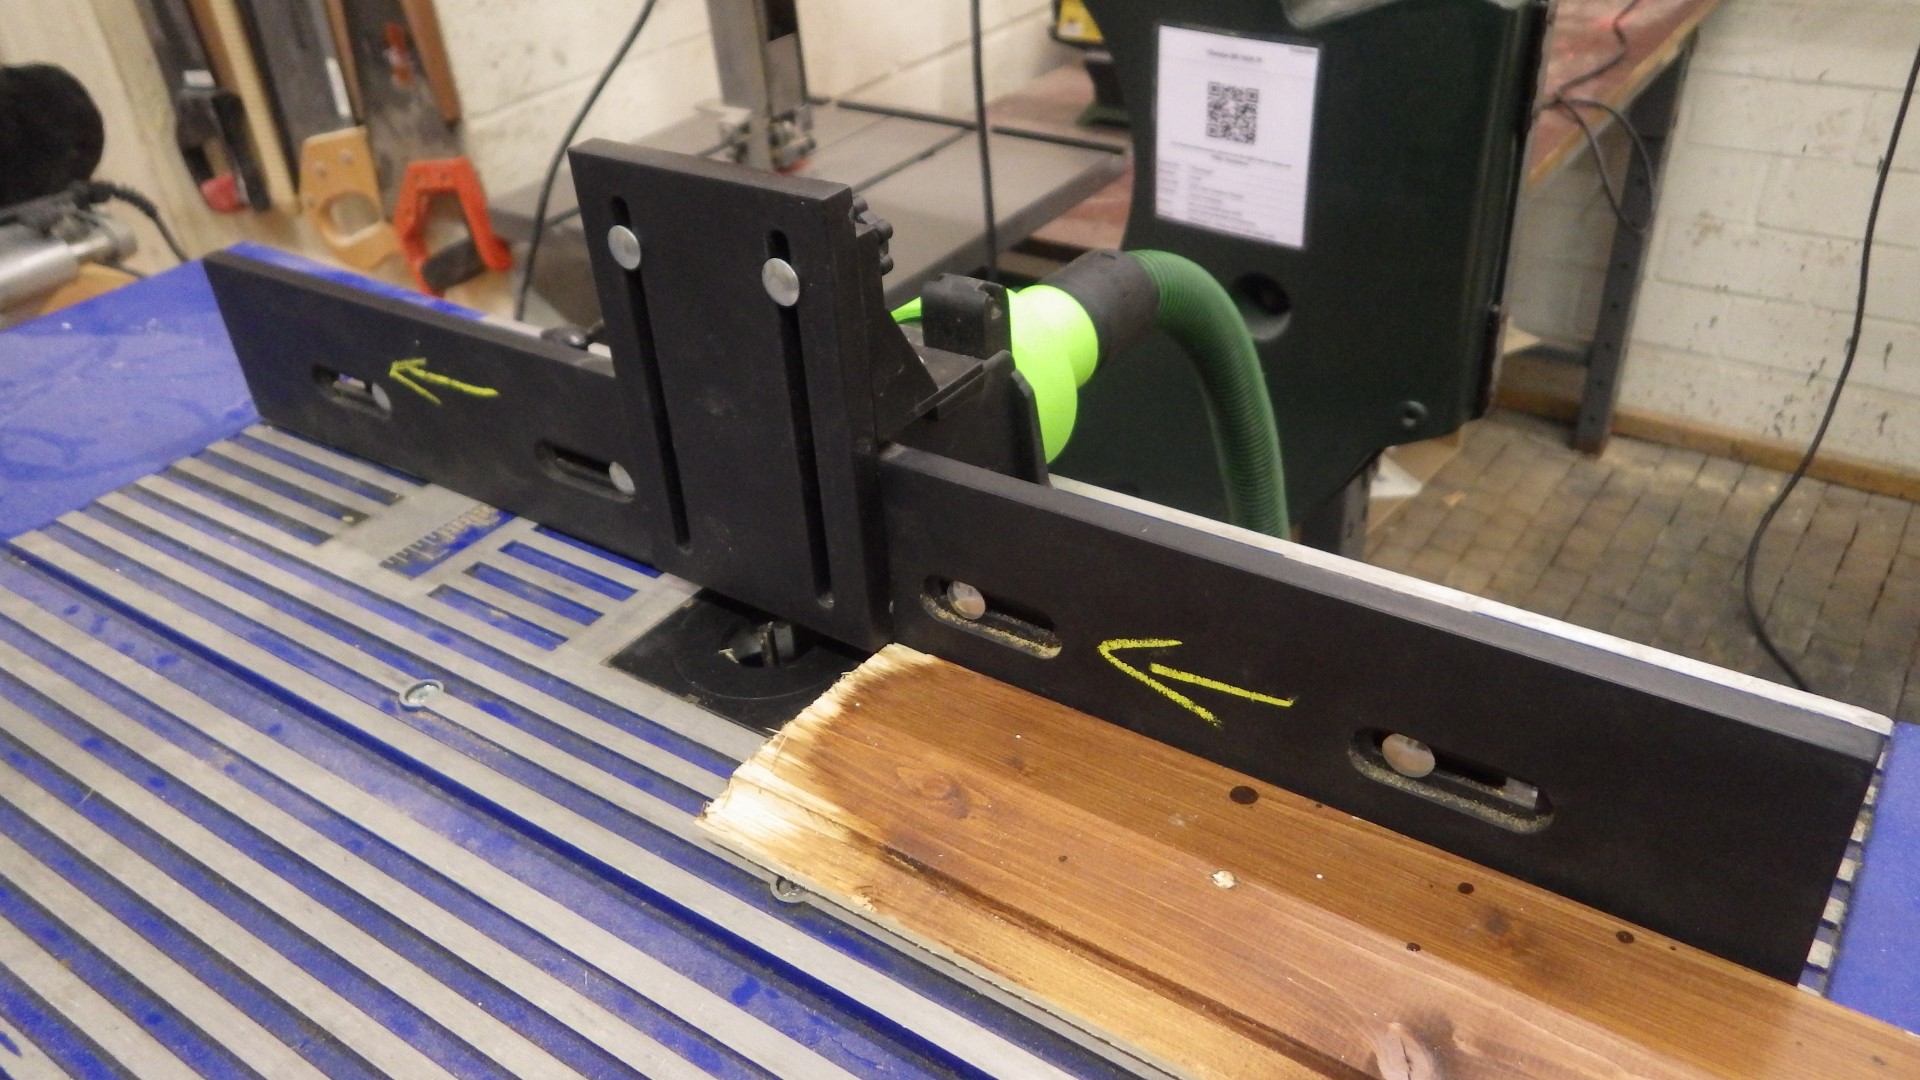
| 17:41, 22 October 2018 | Westfalia router table fence-top.JPG (file) |  |
475 KB | In addition to the fence, you should use additional guides on the router table whenever you can - shown here is a rigid top guide ''almost'' touching the workpiece, featherboards can actually press on it and are even safer! | 1 |
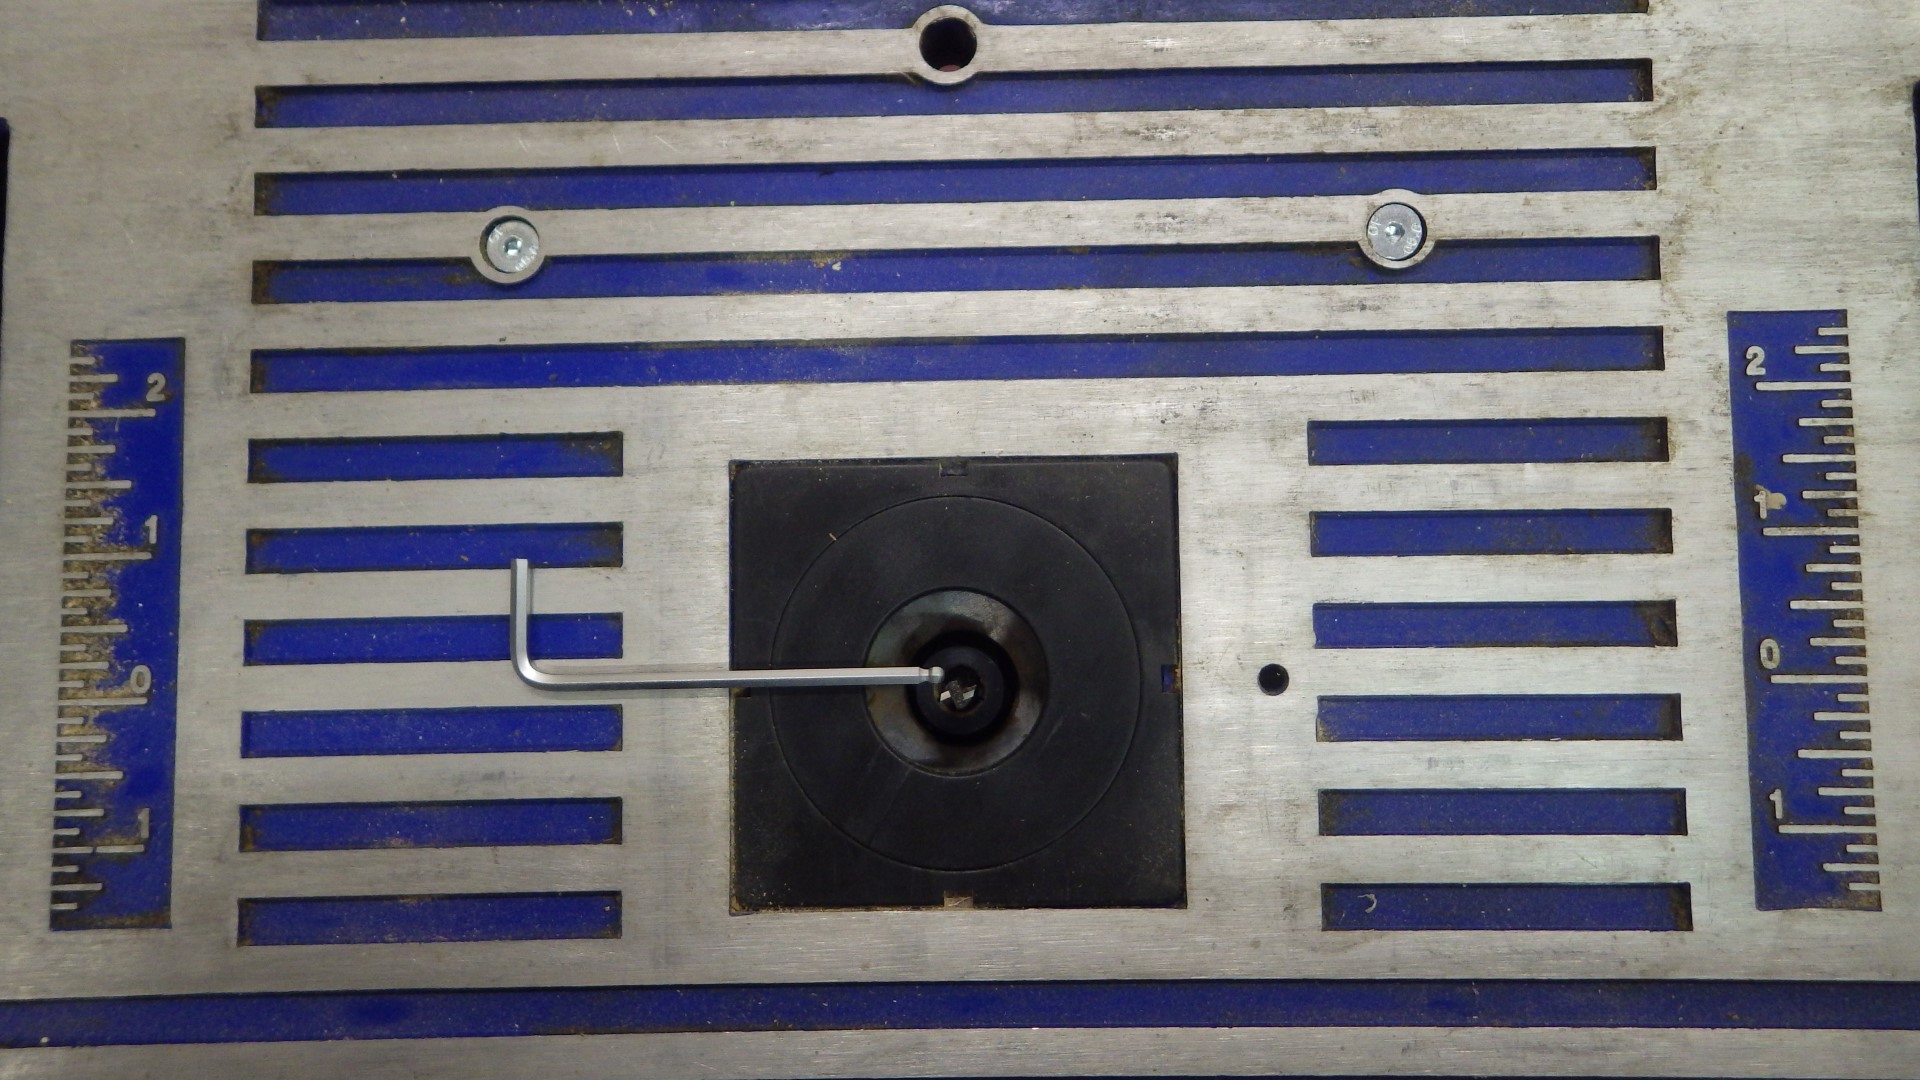
| 17:44, 22 October 2018 | Westfalia router table off center.JPG (file) |  |
501 KB | When we got the Westfalia router table, the router was mounted too far to the front so the bit would be off center - not that the scale on this simple table would have been too accurate anyway, but something we will fix nevertheless! | 1 |
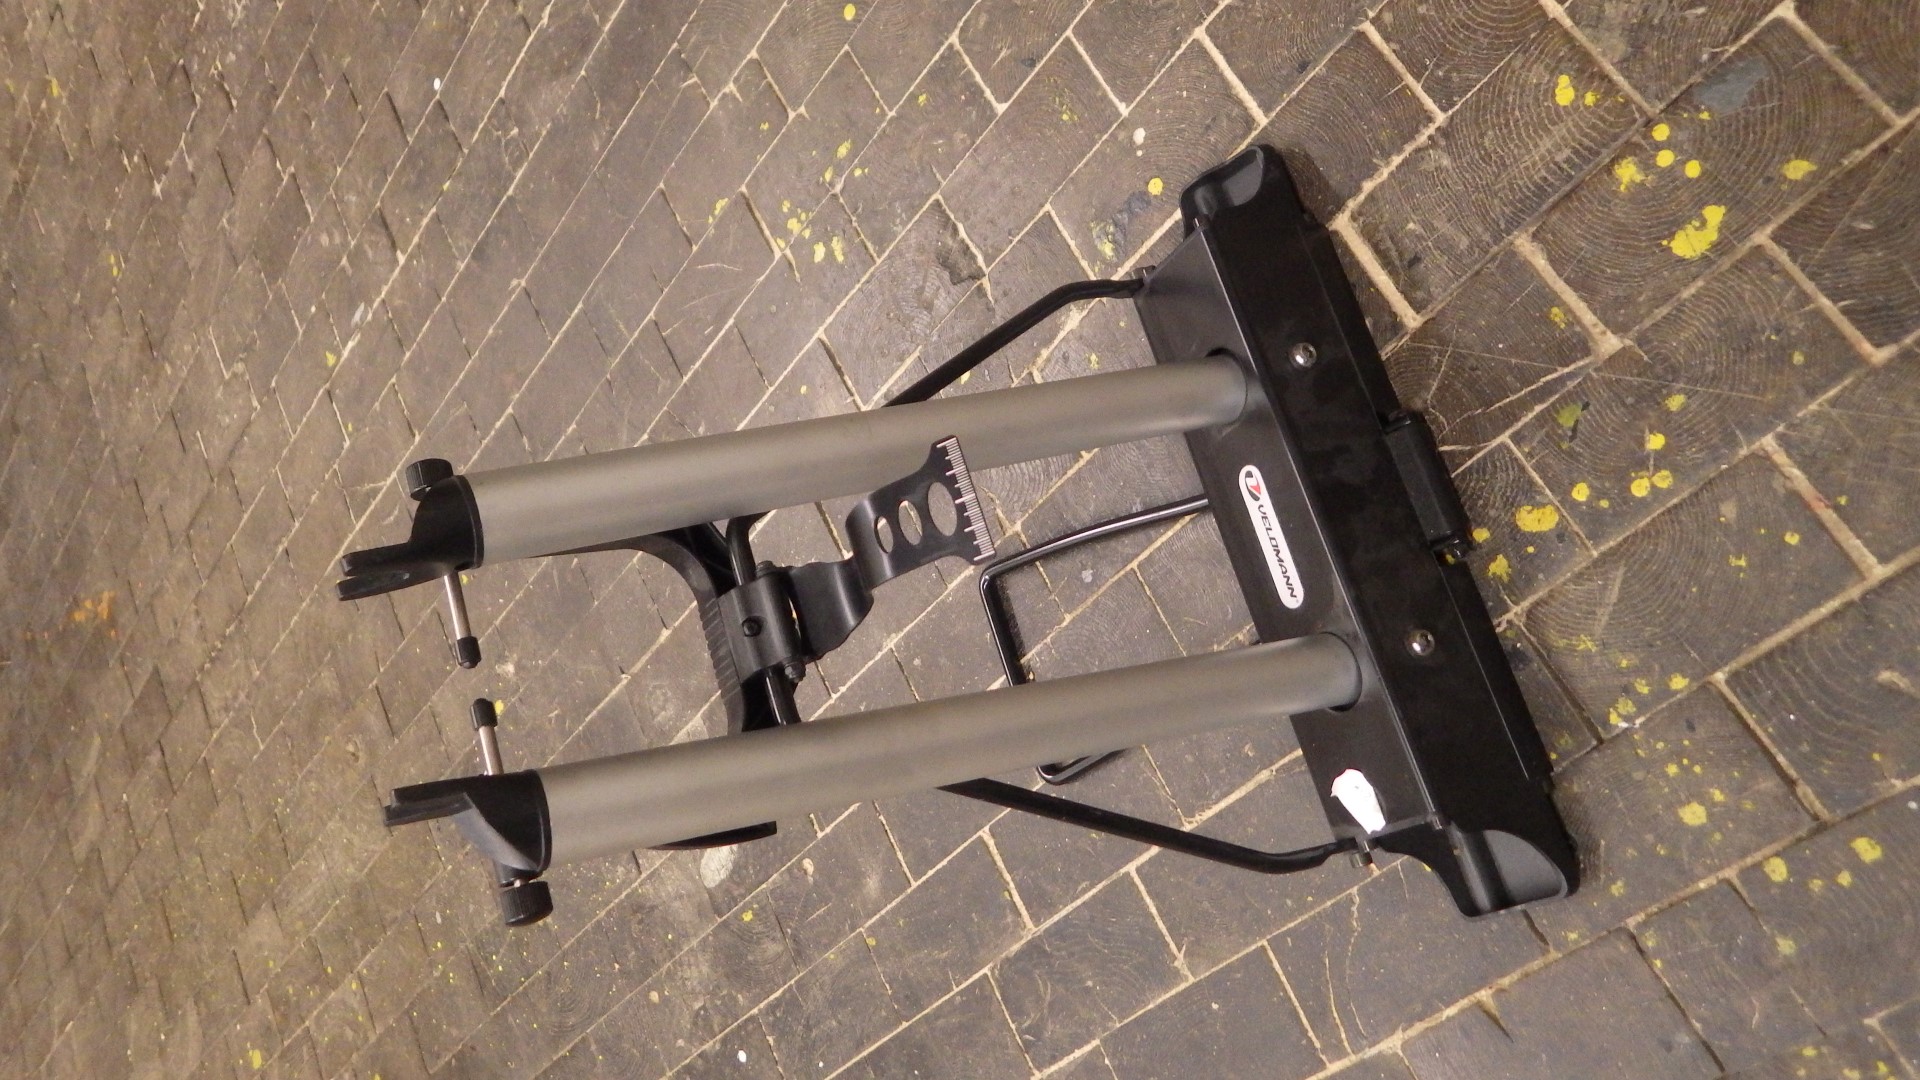
| 09:55, 9 June 2019 | Wheel truing stand.JPG (file) |  |
584 KB | Moritz donated a wheel truing stand to increase our scope of cycling related projects! | 1 |
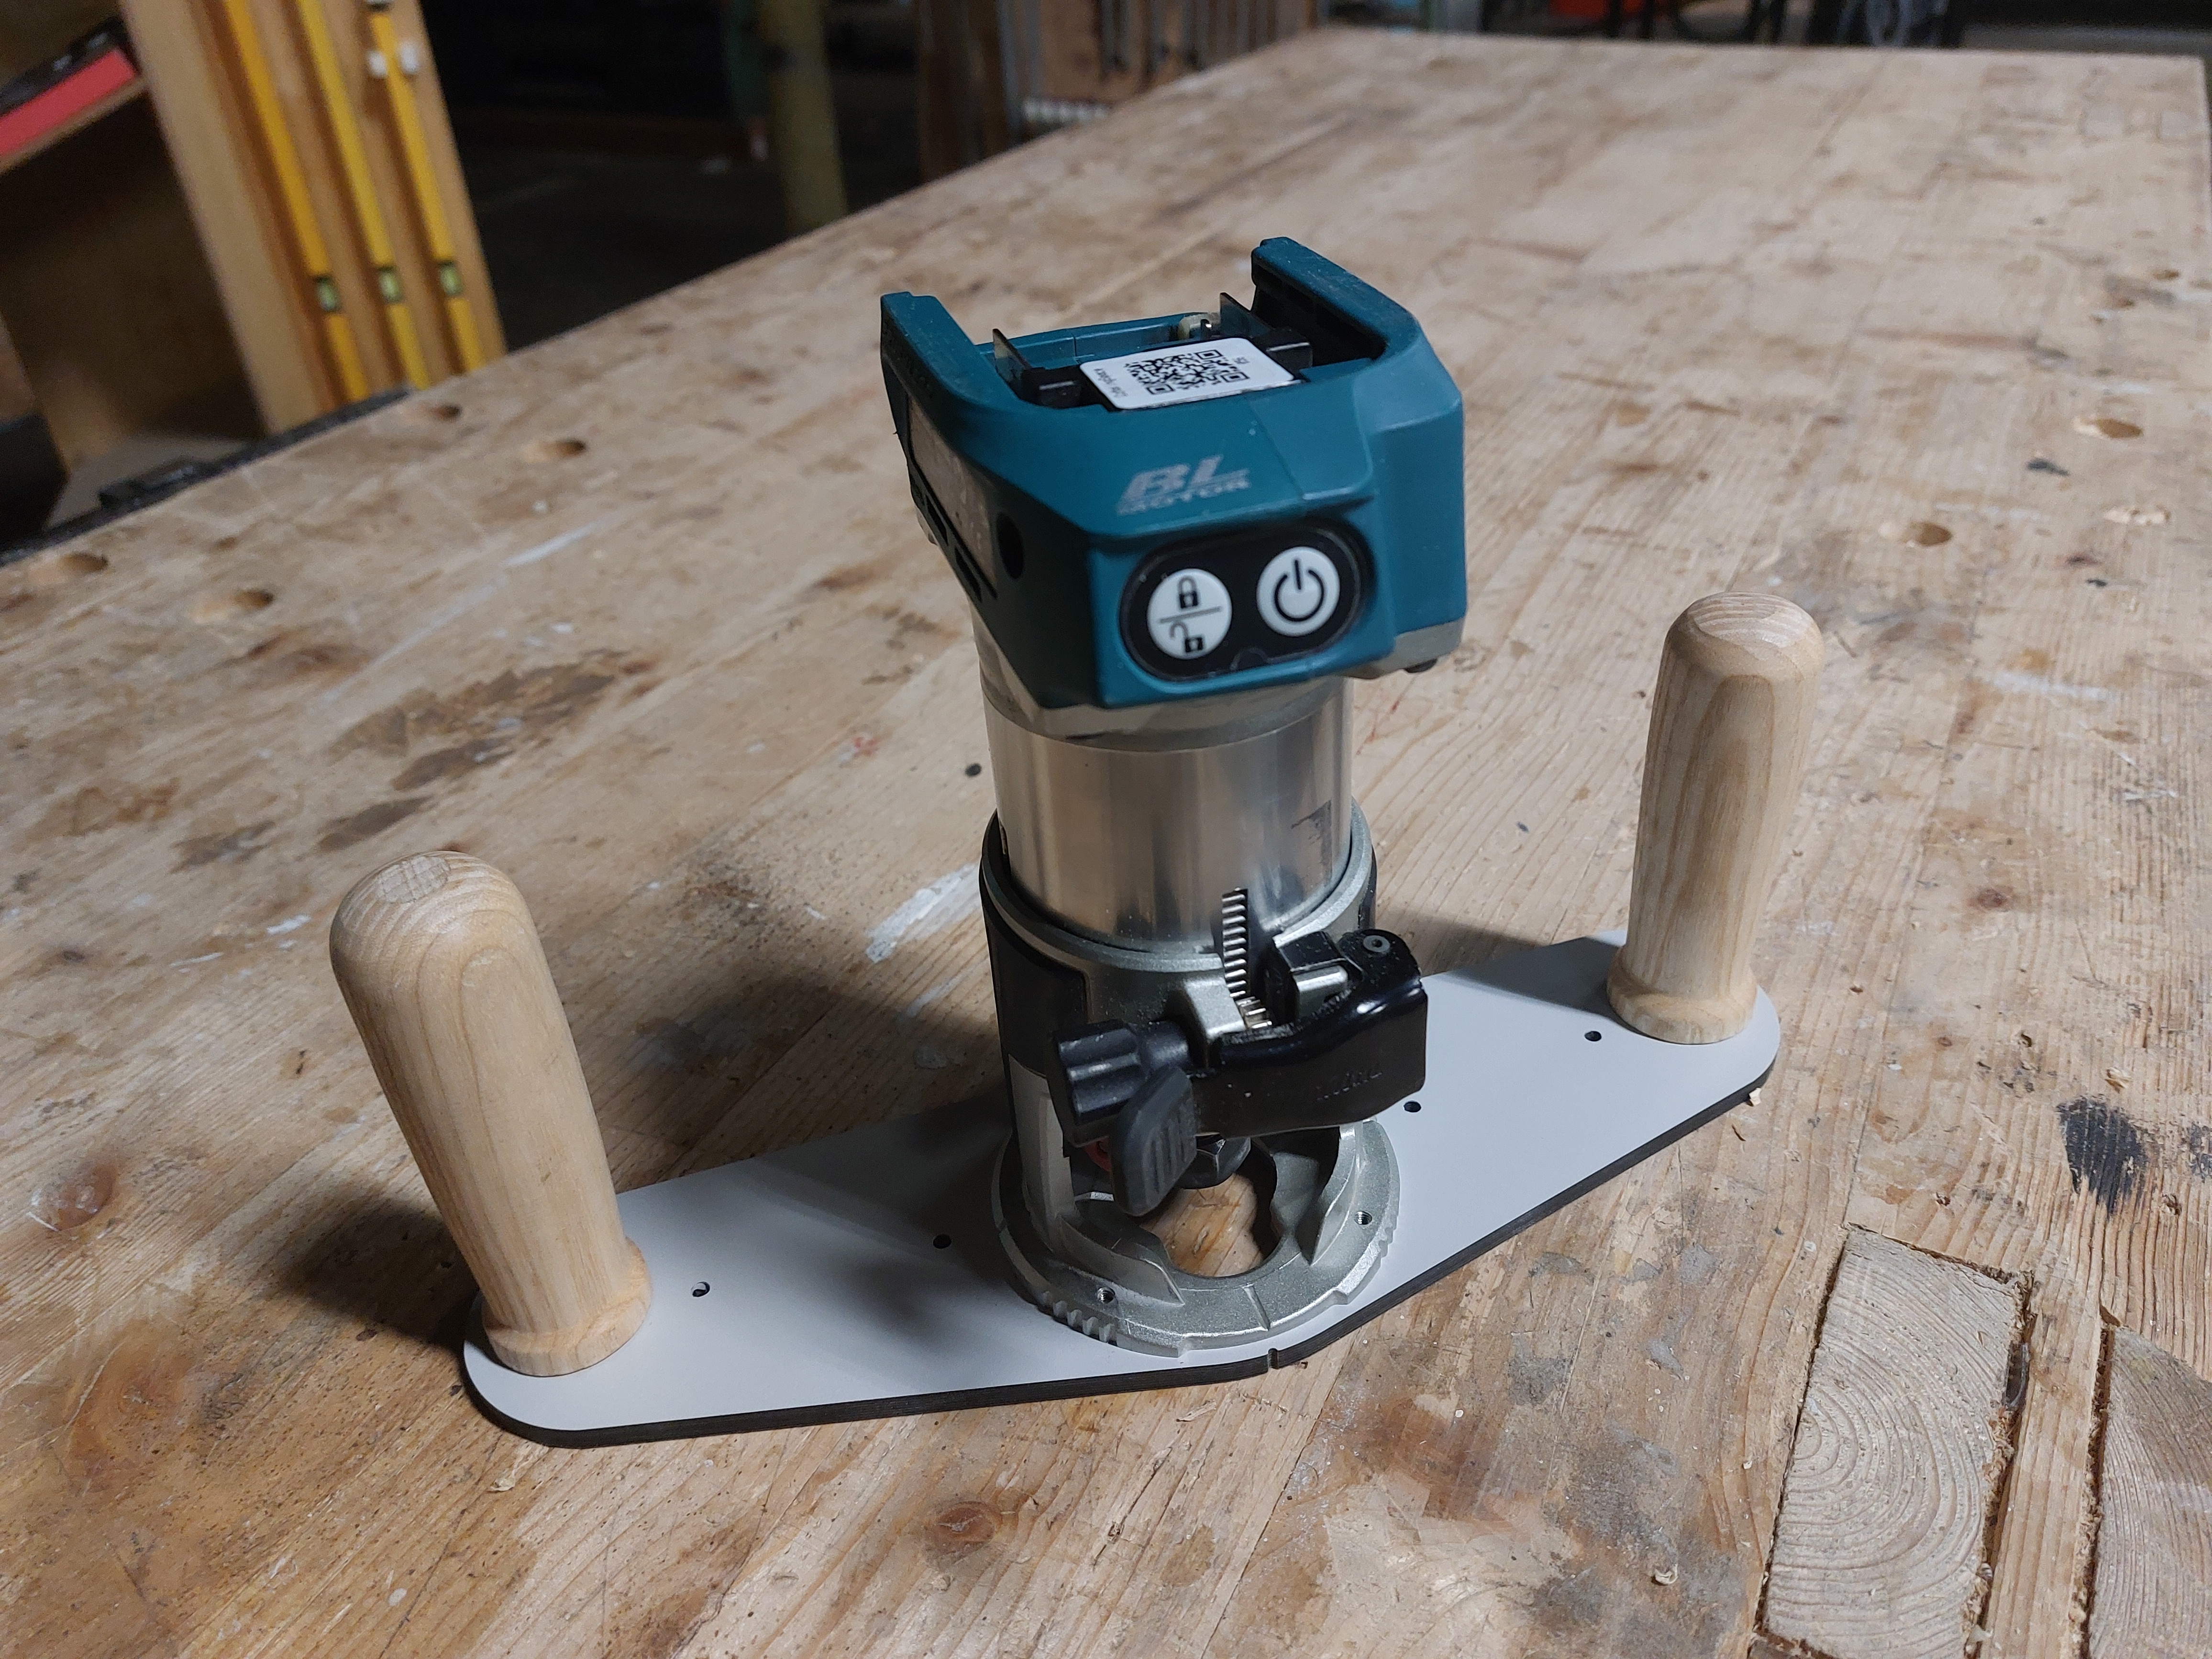
| 00:19, 4 April 2024 | Wide DRT50 baseplate.jpg (file) |  |
4.93 MB | custom baseplate for freehand routing with the Makita DRT50 | 1 |