File list
From CoMakingSpace Wiki
This special page shows all uploaded files.
| Date | Name | Thumbnail | Size | User | Description | Versions |
|---|---|---|---|---|---|---|
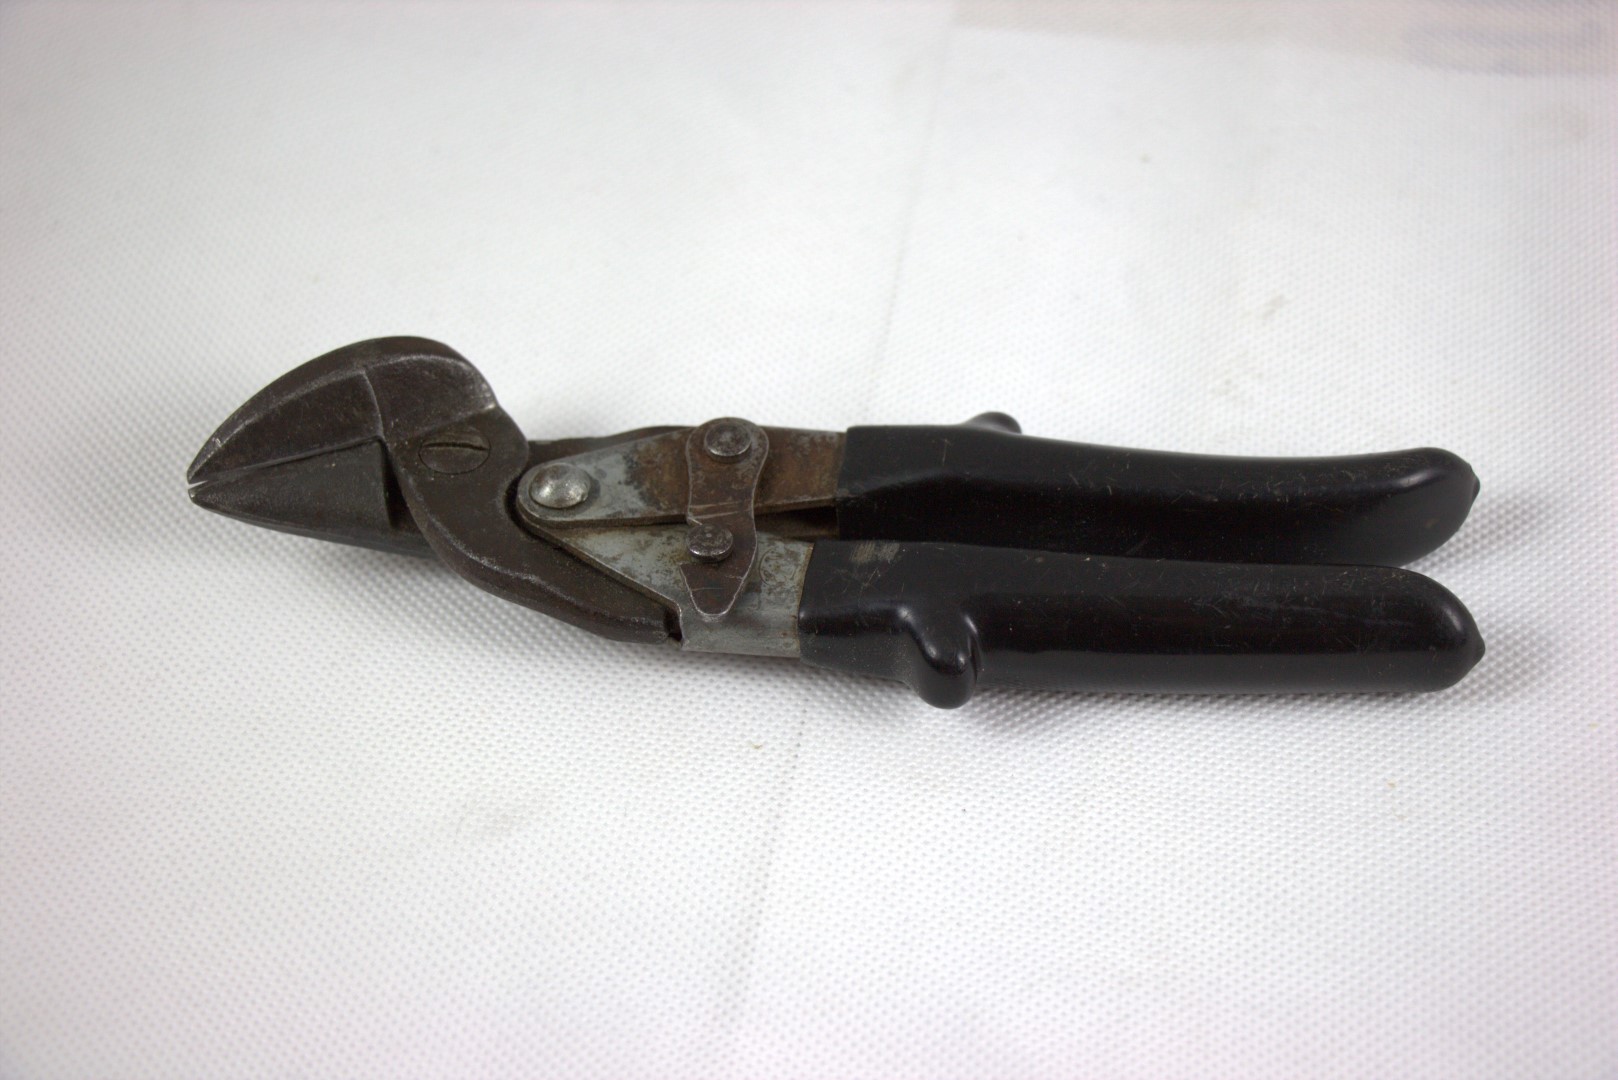
| 22:39, 4 September 2017 | Tin snips.jpg (file) |  |
269 KB | Lukas (talk | contribs) | == Summary == Photo of our snips == Licensing == {{PD}} | 1 |
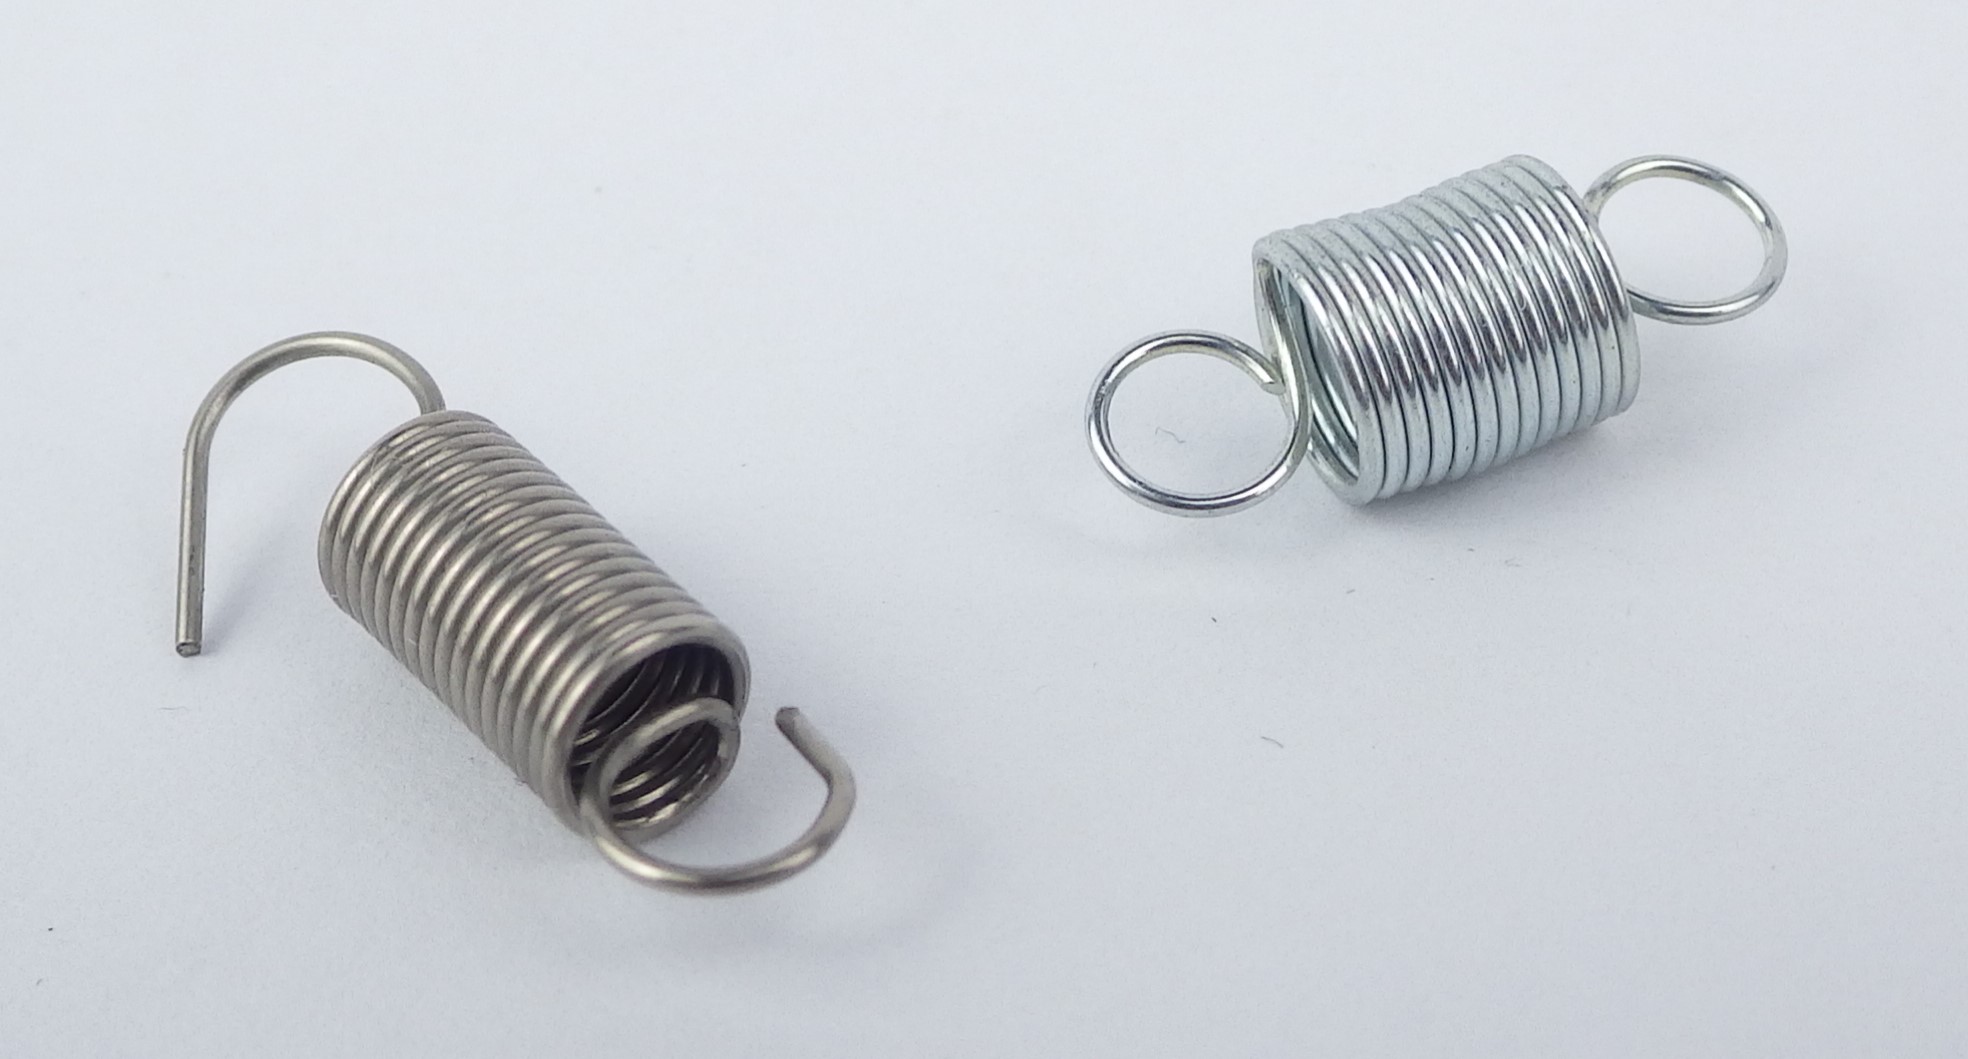
| 22:38, 4 September 2017 | Tension springs.jpg (file) |  |
298 KB | Lukas (talk | contribs) | == Summary == two tension springs == Licensing == {{CC-by-sa-4.0}} | 1 |
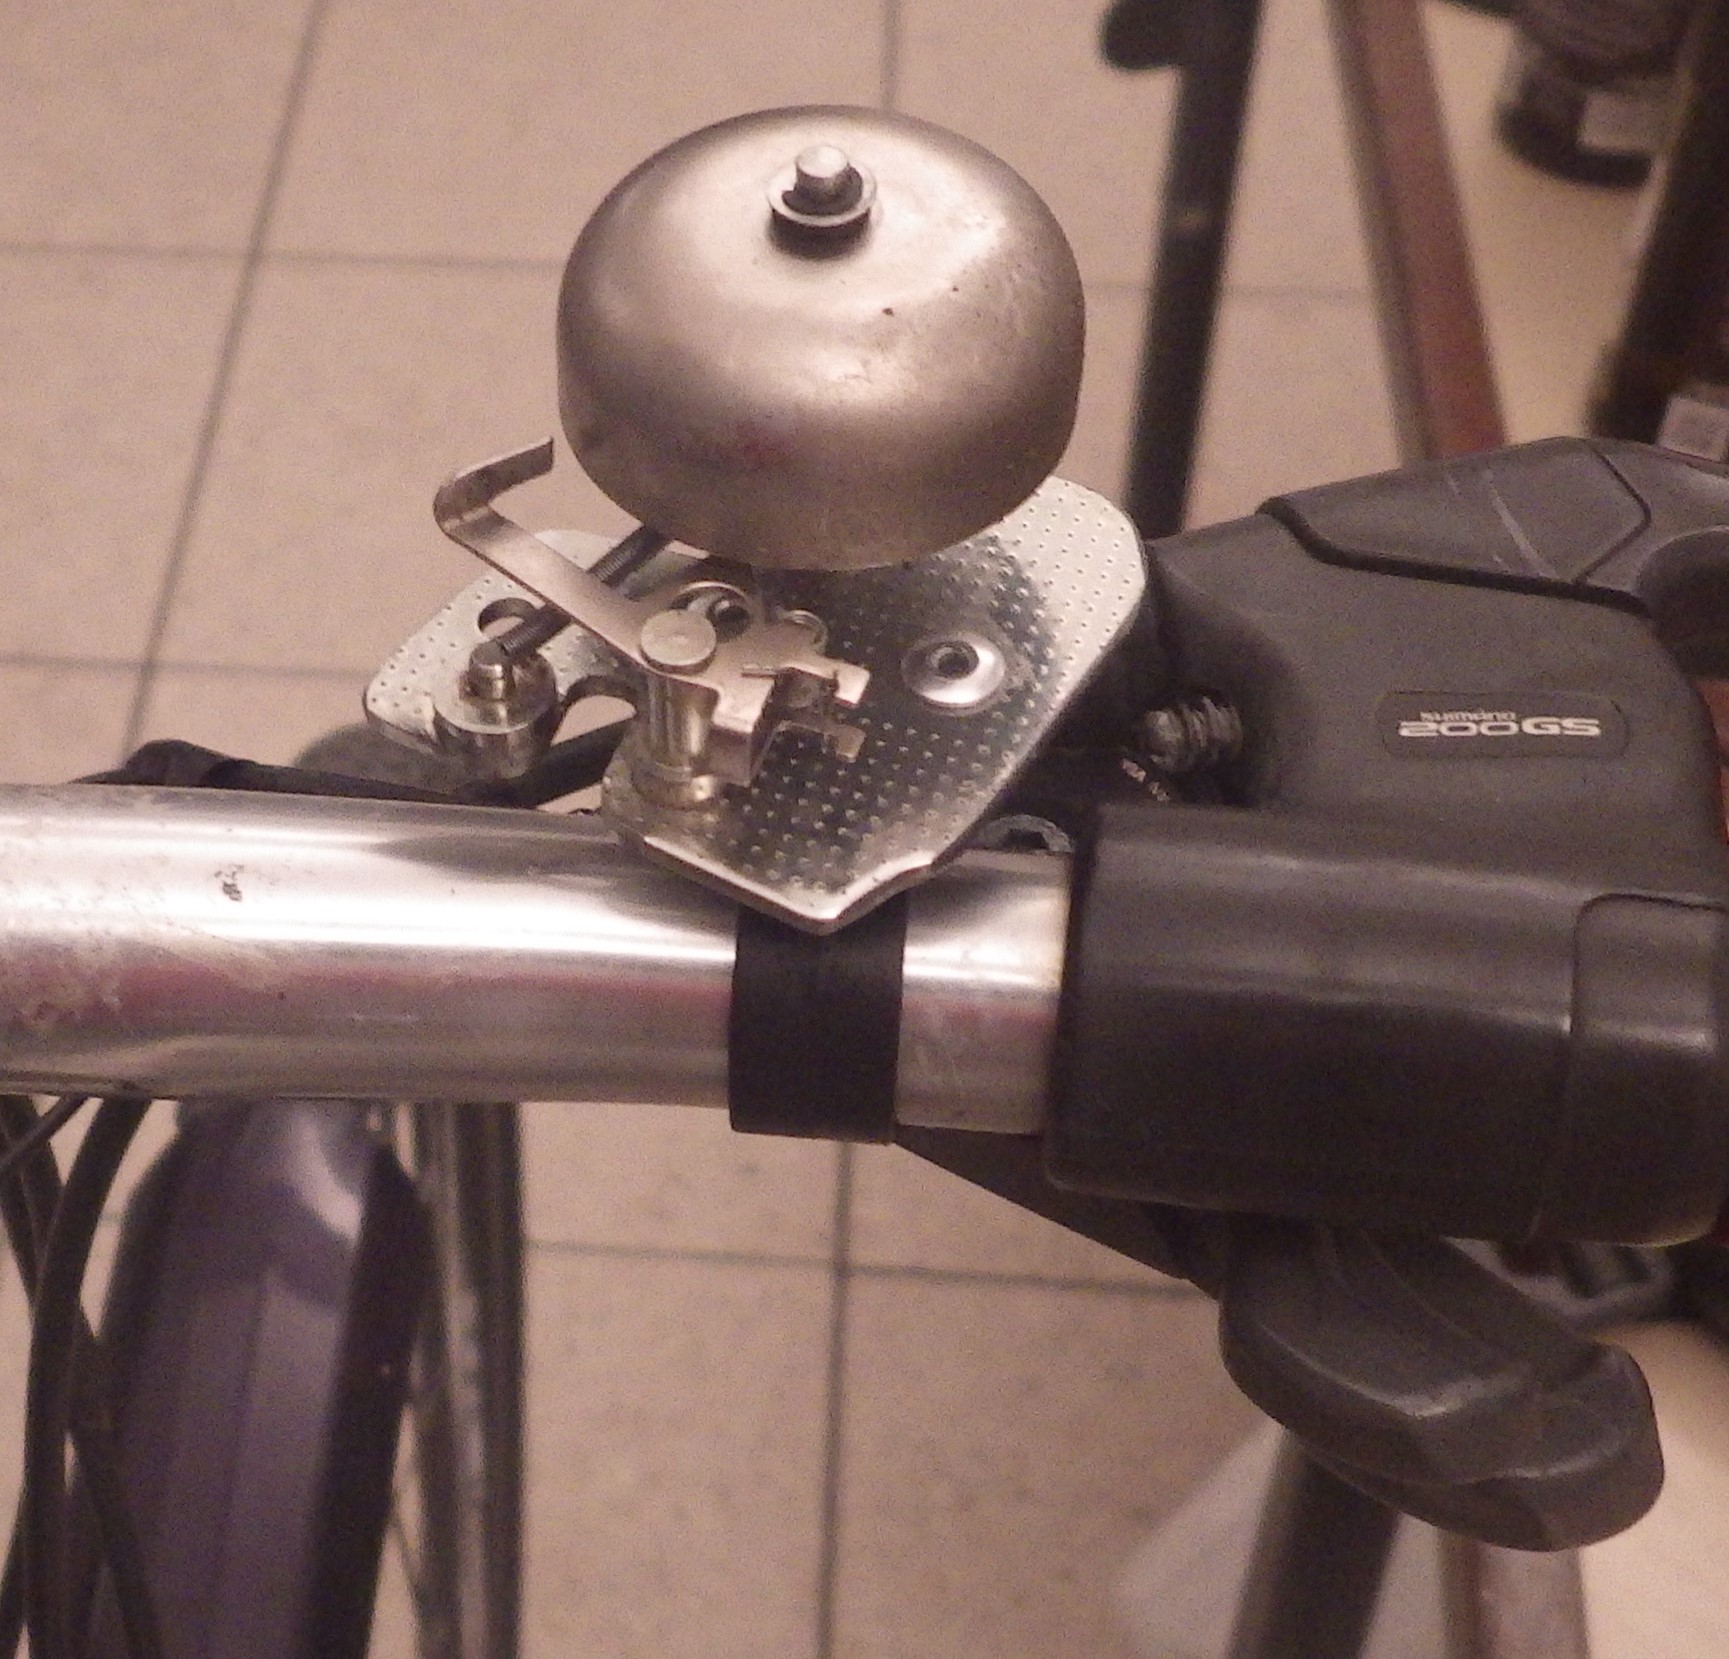
| 22:37, 4 September 2017 | TBB done.jpg (file) |  |
620 KB | Lukas (talk | contribs) | == Summary == finished "typewriter bicycle bell" == Licensing == {{CC-by-sa-4.0}} | 1 |
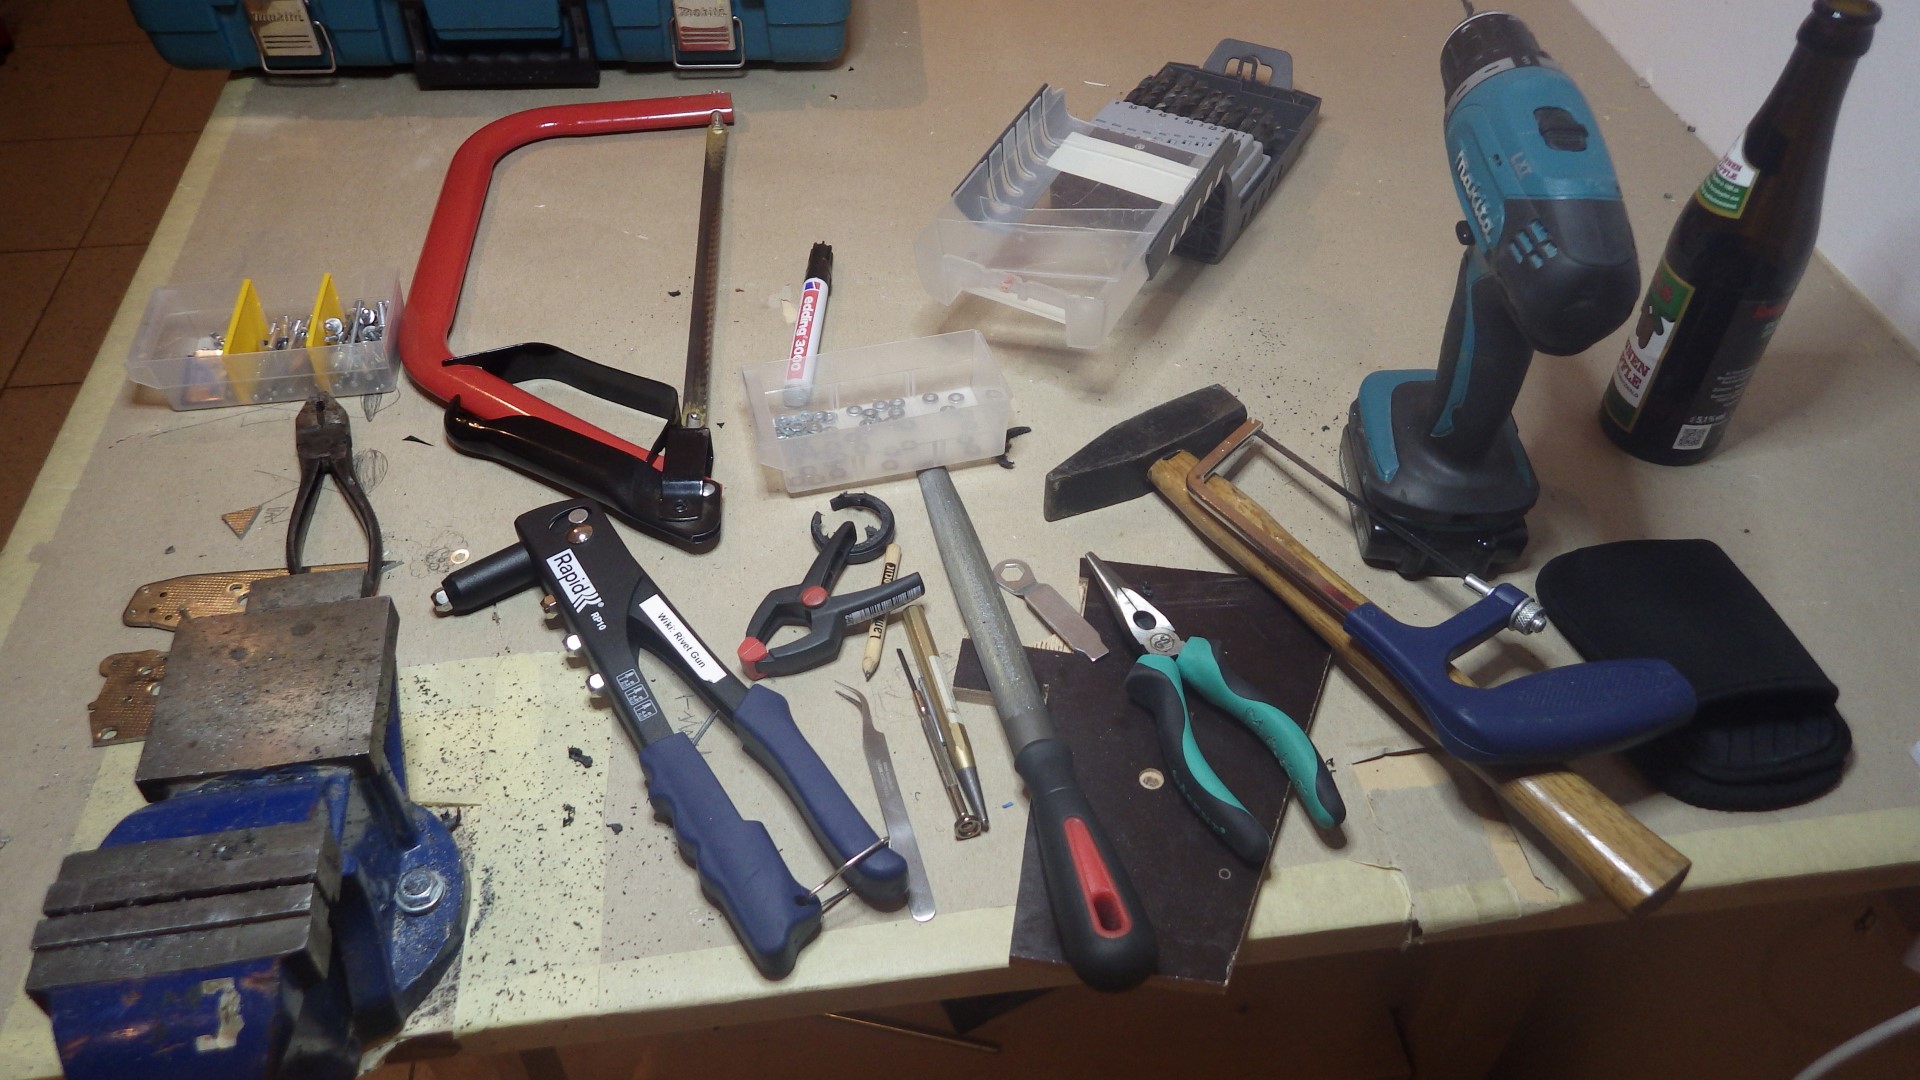
| 22:36, 4 September 2017 | TBB-9.JPG (file) |  |
464 KB | Lukas (talk | contribs) | == Summary == all the equipment used to shape a typewriter side wall into a bicycle compatible piece == Licensing == {{CC-by-sa-4.0}} | 1 |
| 22:35, 4 September 2017 | TBB-8.JPG (file) |  |
384 KB | Lukas (talk | contribs) | == Summary == preparing to drill through a bicycle handle mount in order to complete the typewriter bicycle bell == Licensing == {{CC-by-sa-4.0}} | 1 |
| 22:34, 4 September 2017 | TBB-7.JPG (file) |  |
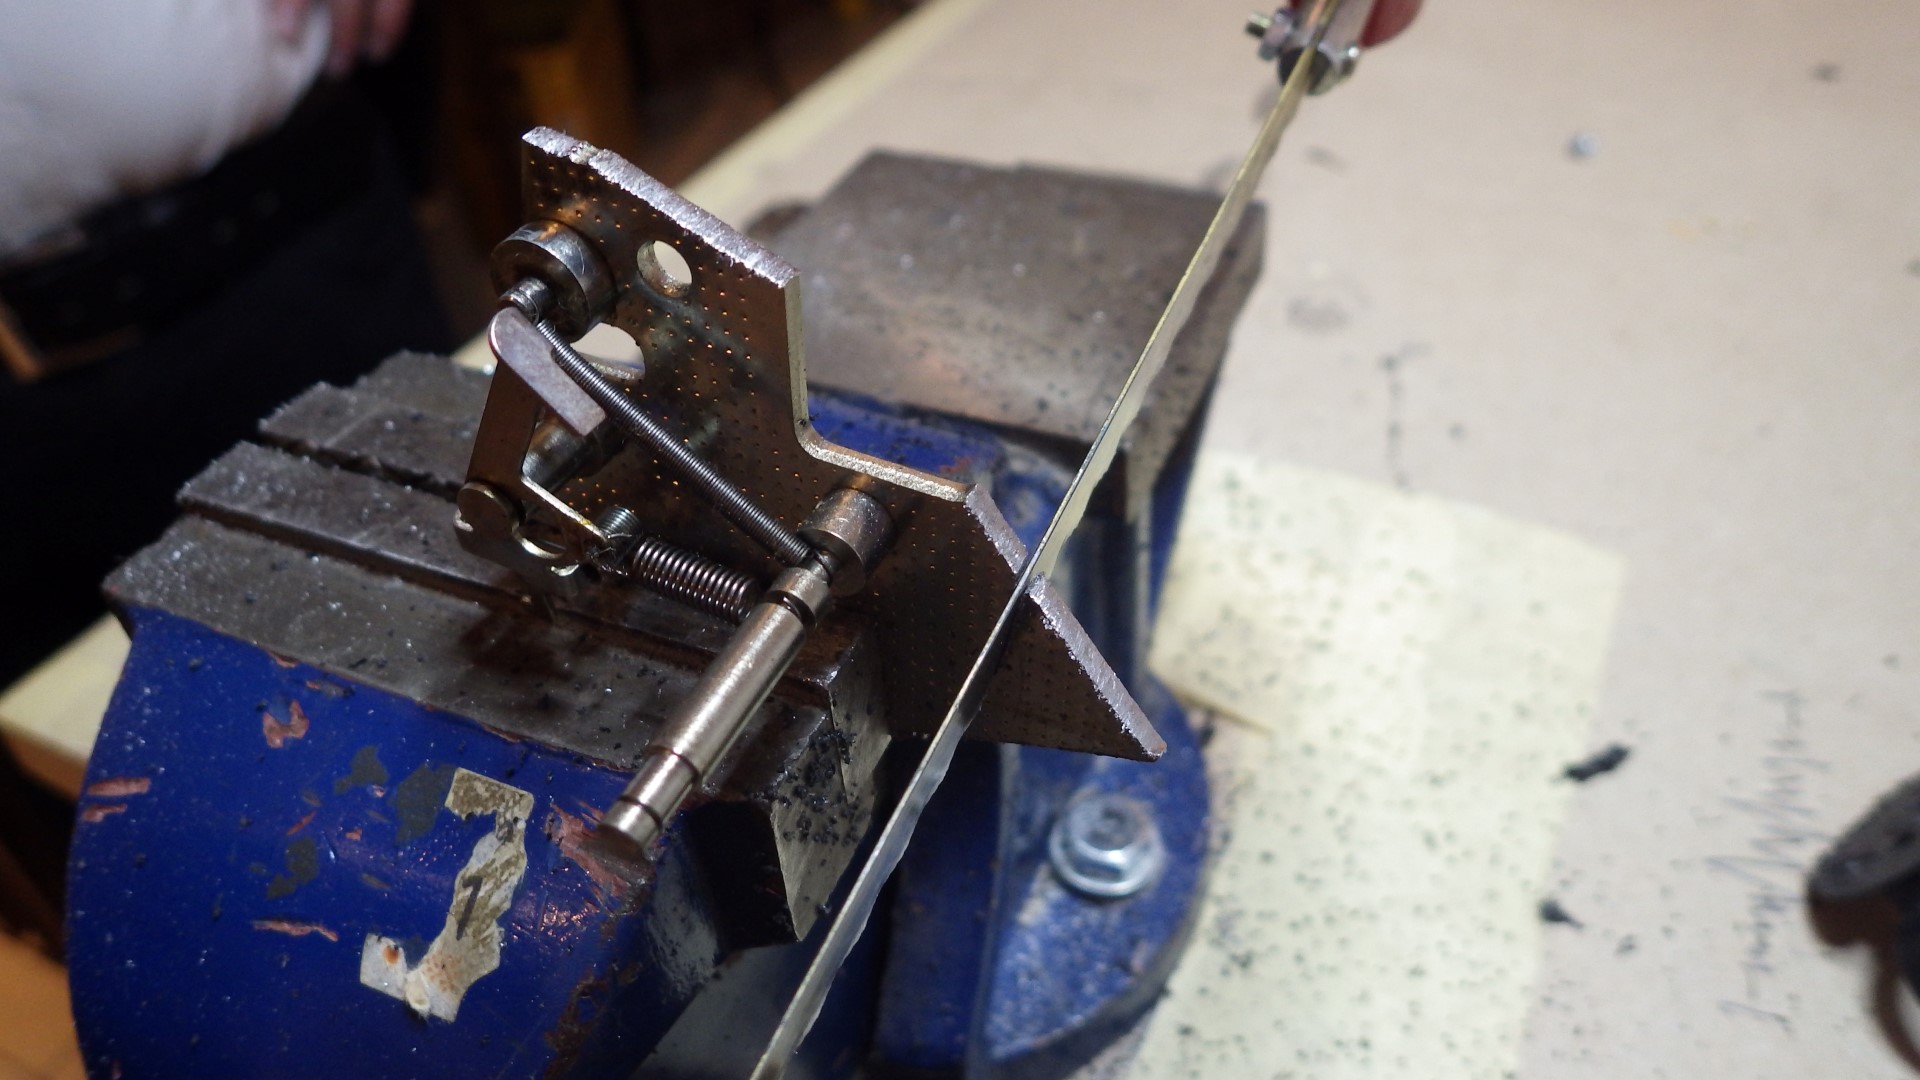
345 KB | Lukas (talk | contribs) | == Summary == sawing a former typewriter side wall to size in order to shape a nice base for my bicycle bell == Licensing == {{CC-by-sa-4.0}} | 1 |
| 22:32, 4 September 2017 | TBB-6.JPG (file) |  |
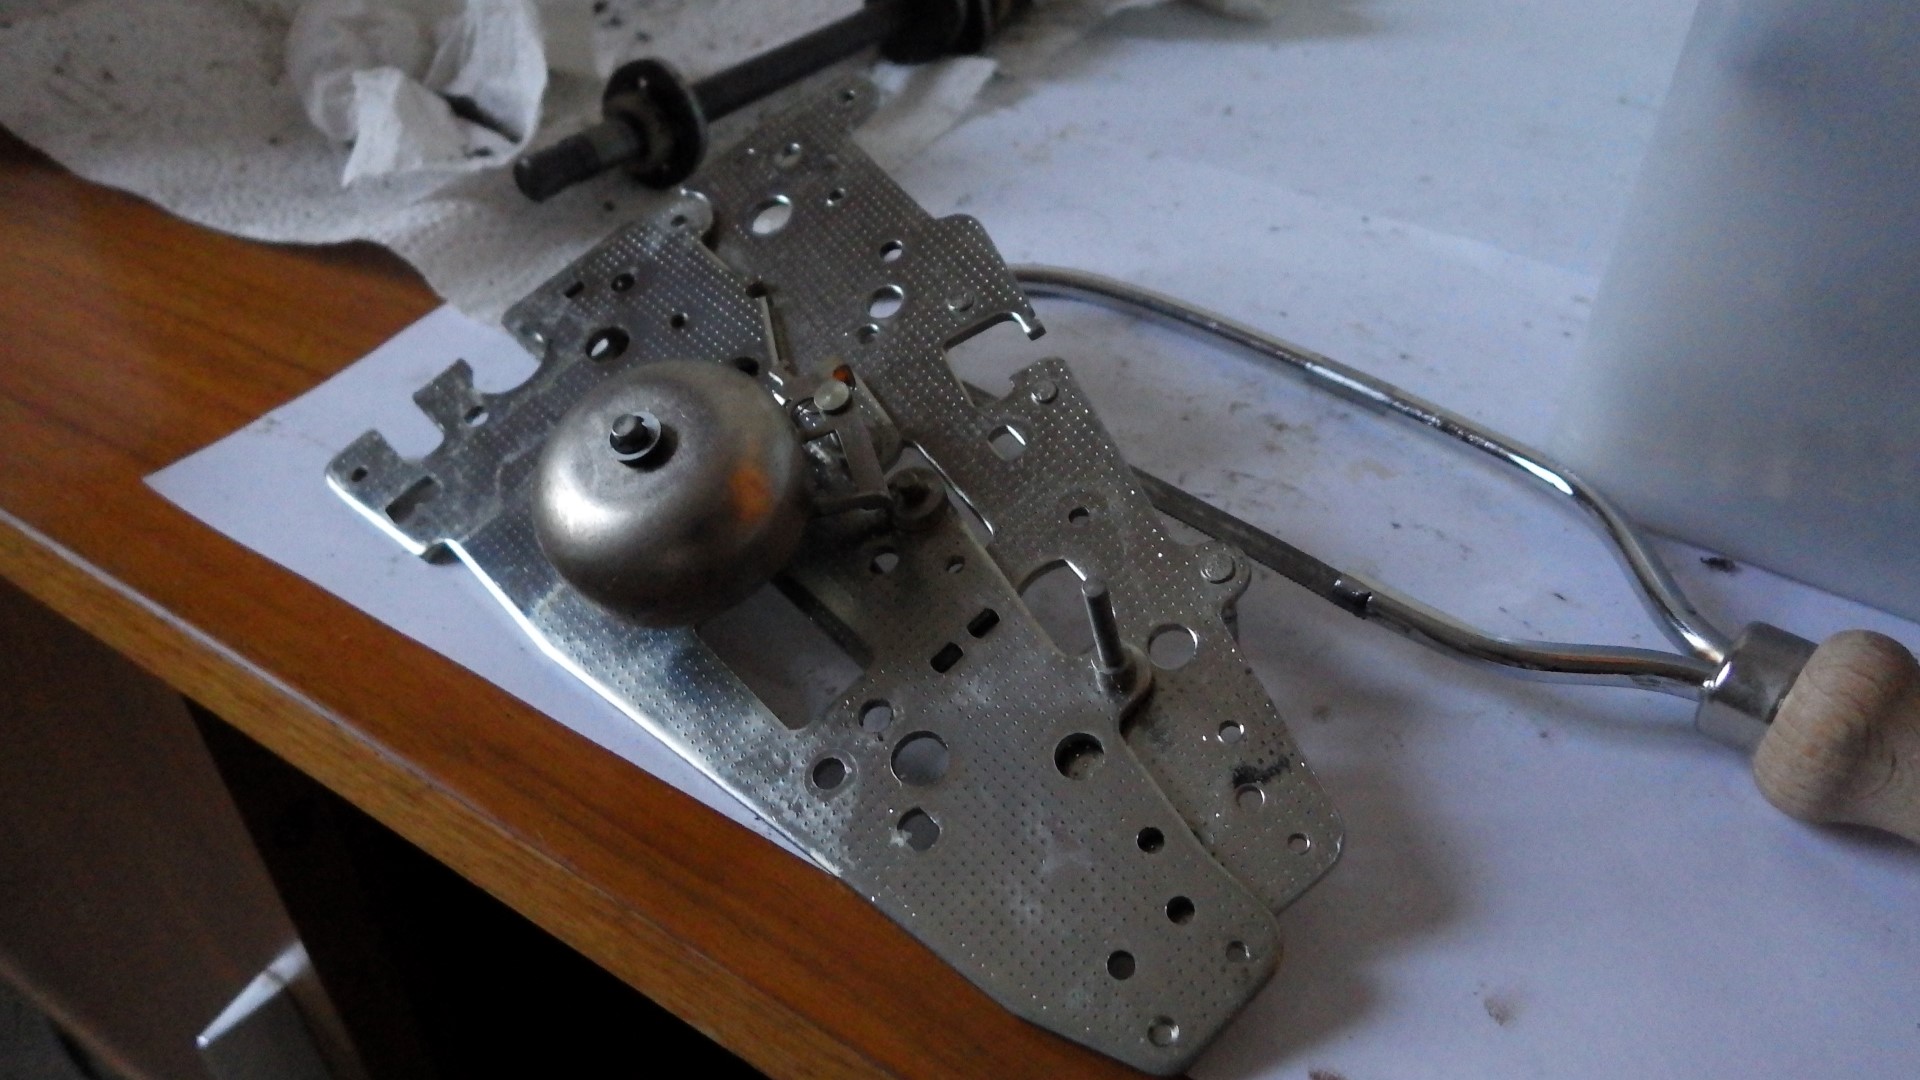
402 KB | Lukas (talk | contribs) | == Summary == managed to avoid the hacksaw until now: side walls including future bicycle bell from a typewriter == Licensing == {{CC-by-sa-4.0}} | 1 |
| 22:32, 4 September 2017 | TBB-5.JPG (file) |  |
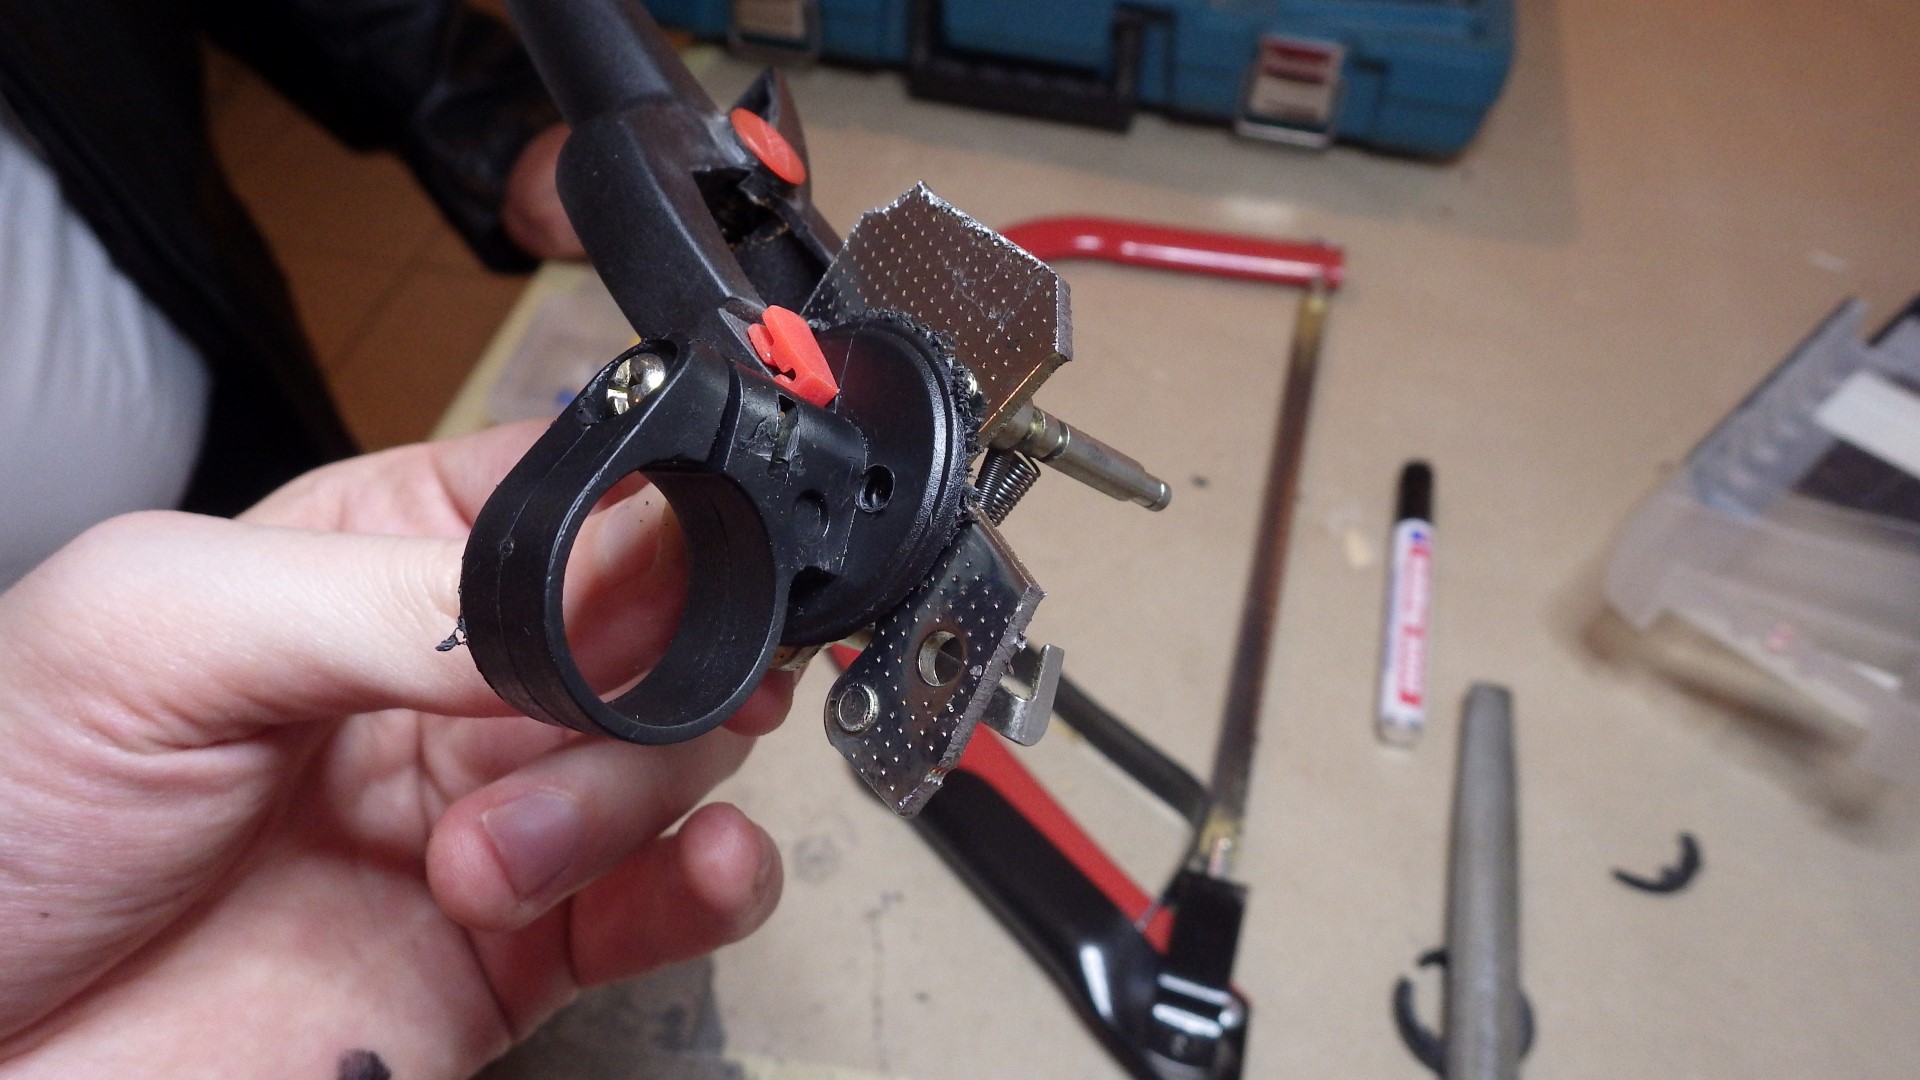
426 KB | Lukas (talk | contribs) | == Summary == most stubborn remains of a broken typewriter being salvaged for useful parts == Licensing == {{CC-by-sa-4.0}} | 1 |
| 22:31, 4 September 2017 | TBB-4.JPG (file) |  |
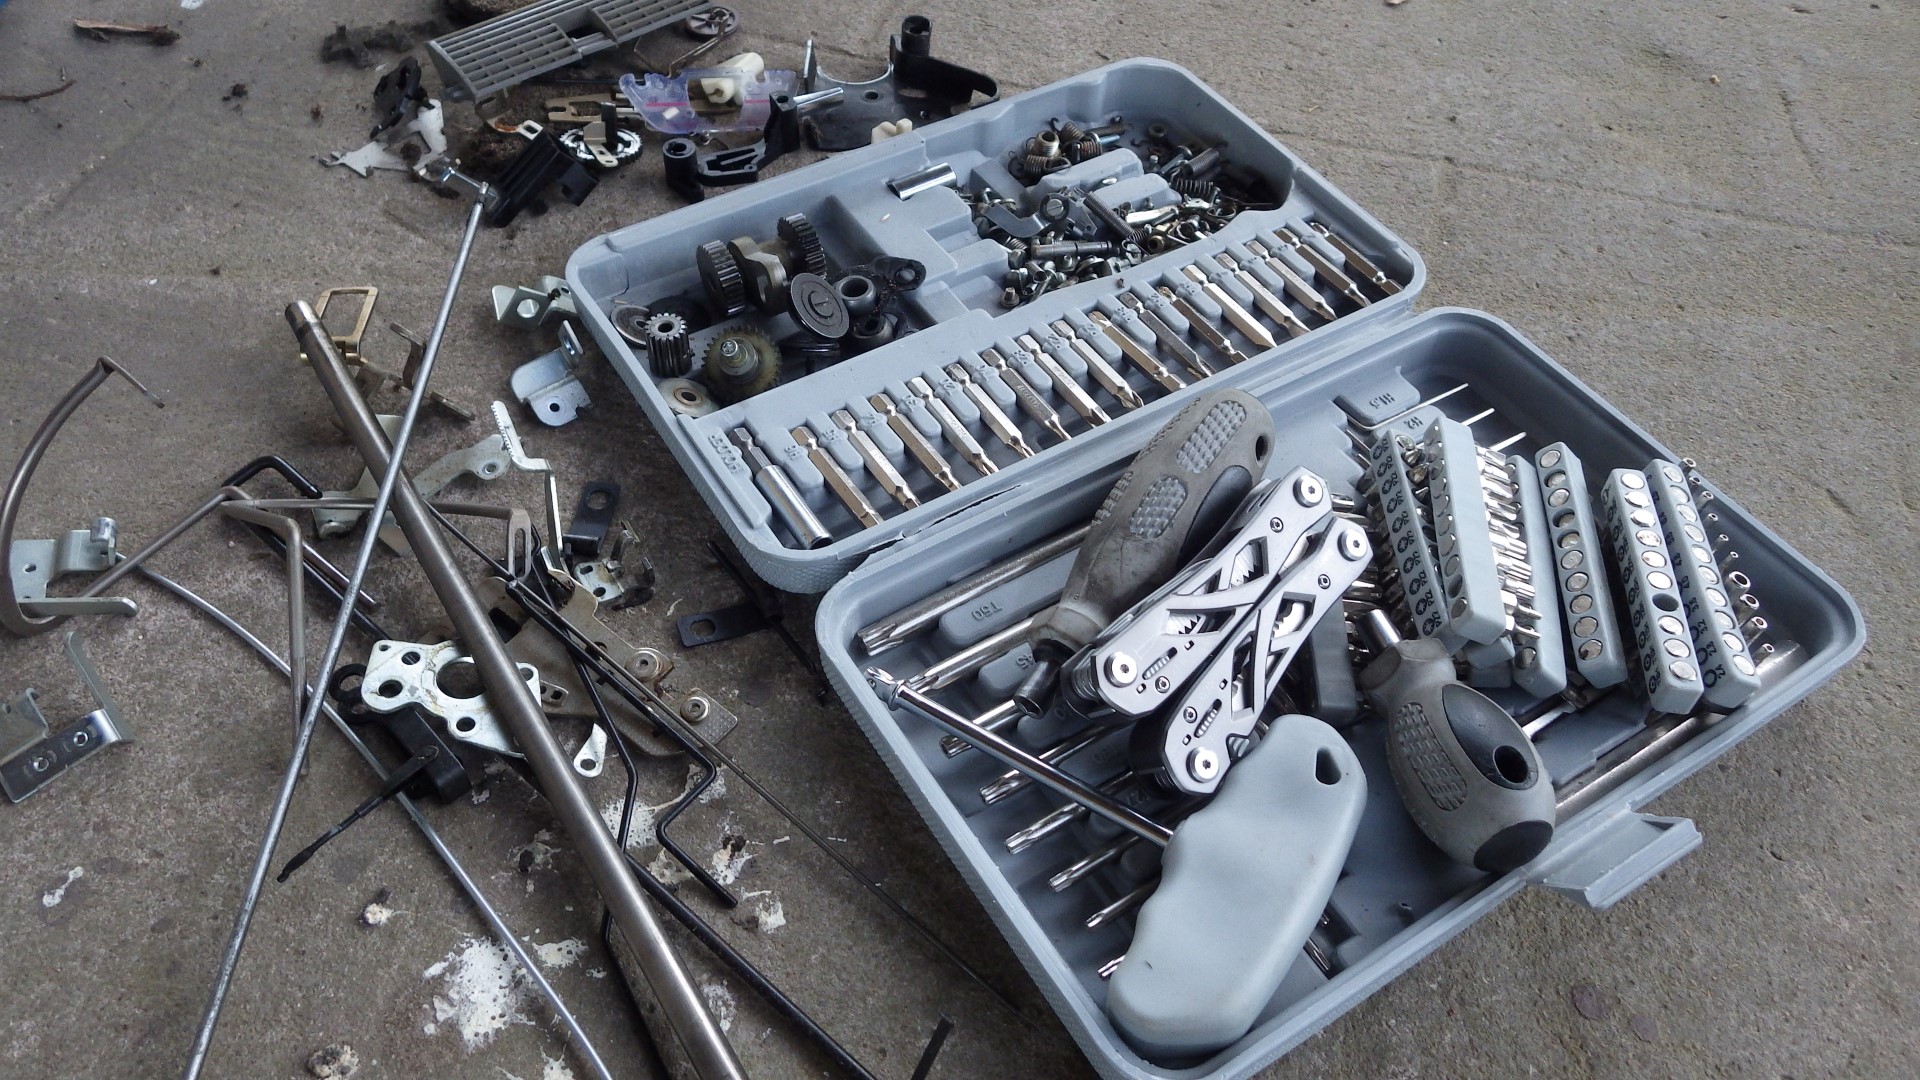
715 KB | Lukas (talk | contribs) | == Summary == (some) non-bicycle bell parts salvaged from a broken typewriter along with the bit set used in the disassembly == Licensing == {{CC-by-sa-4.0}} | 1 |
| 22:30, 4 September 2017 | TBB-3.JPG (file) |  |
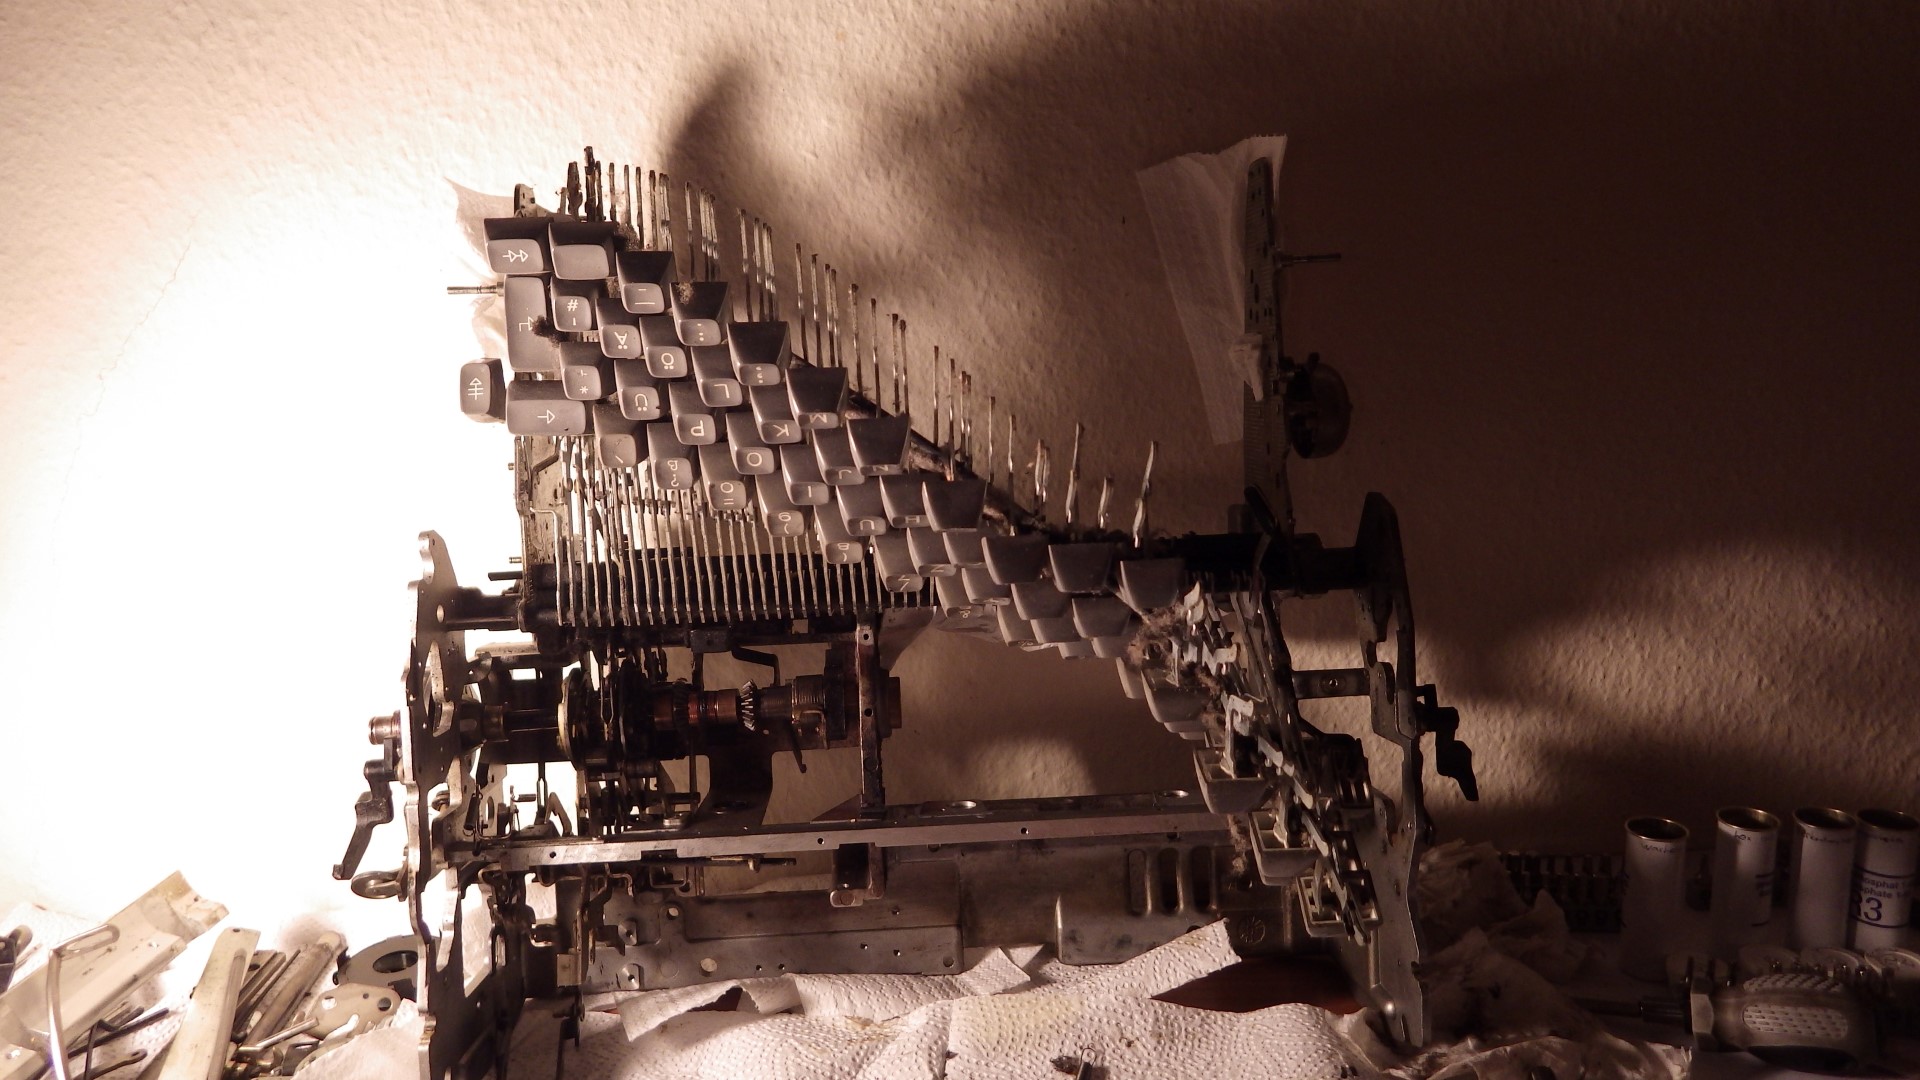
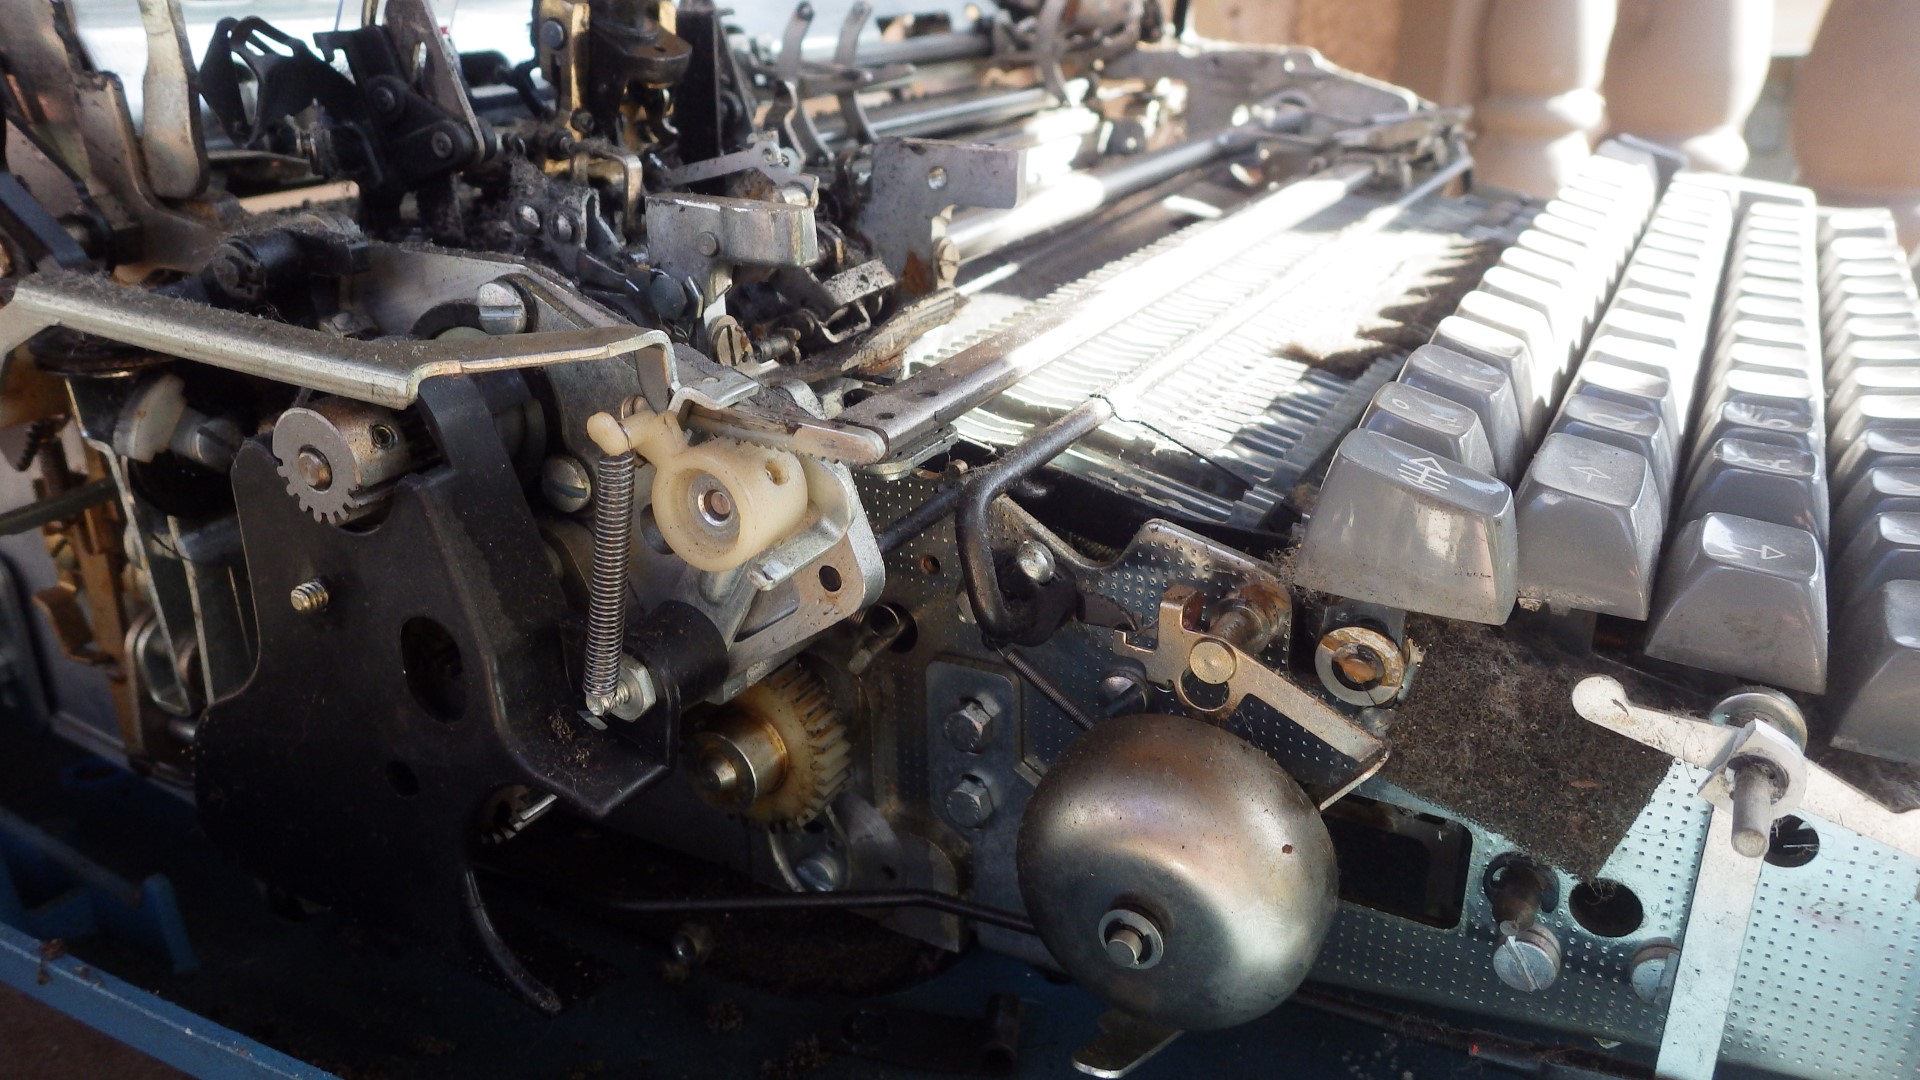
504 KB | Lukas (talk | contribs) | == Summary == electric typewriter wreck with the section of interest for making a bicycle bell == Licensing == {{CC-by-sa-4.0}} | 1 |
| 22:29, 4 September 2017 | TBB-2.JPG (file) |  |
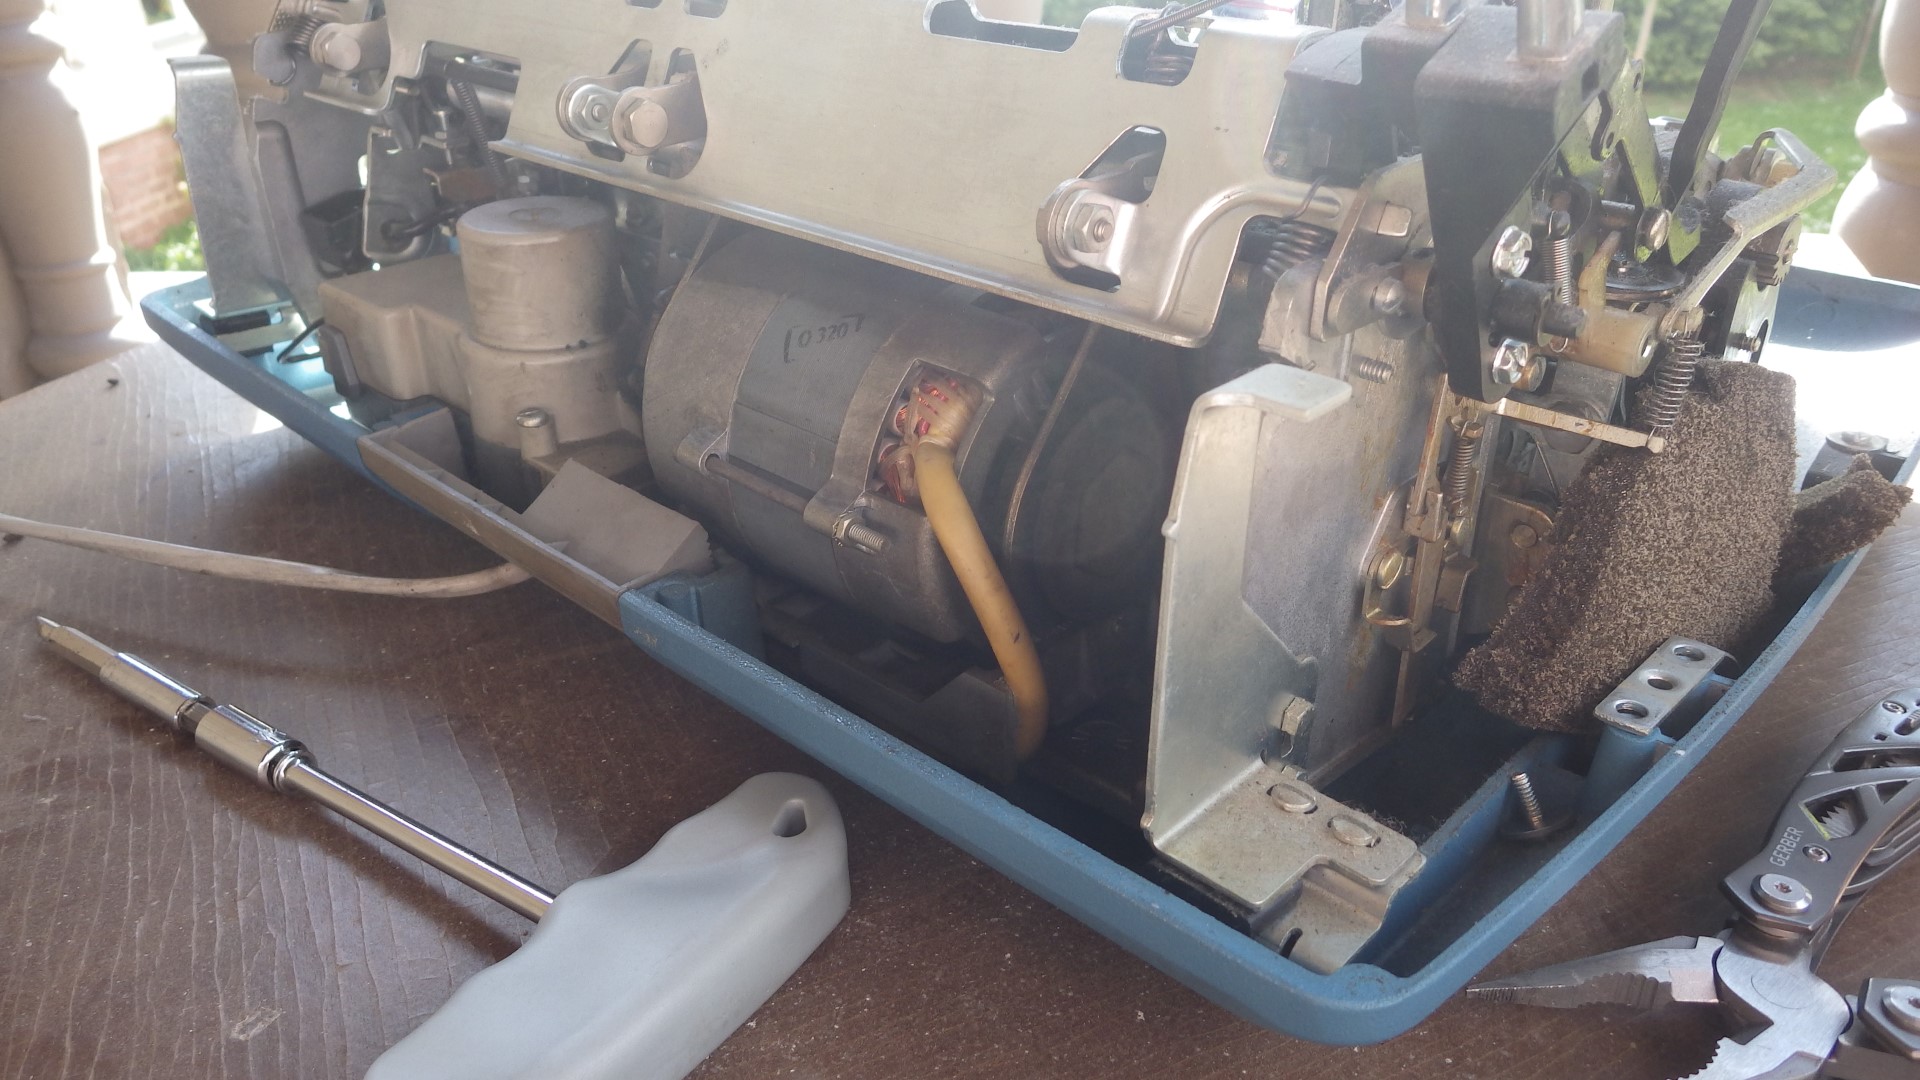
451 KB | Lukas (talk | contribs) | == Summary == Rear view of a broken electric typewriter - let Lukas know if you have any project ideas for the motor which still works great! == Licensing == {{CC-by-sa-4.0}} | 1 |
| 22:29, 4 September 2017 | TBB-1.JPG (file) |  |
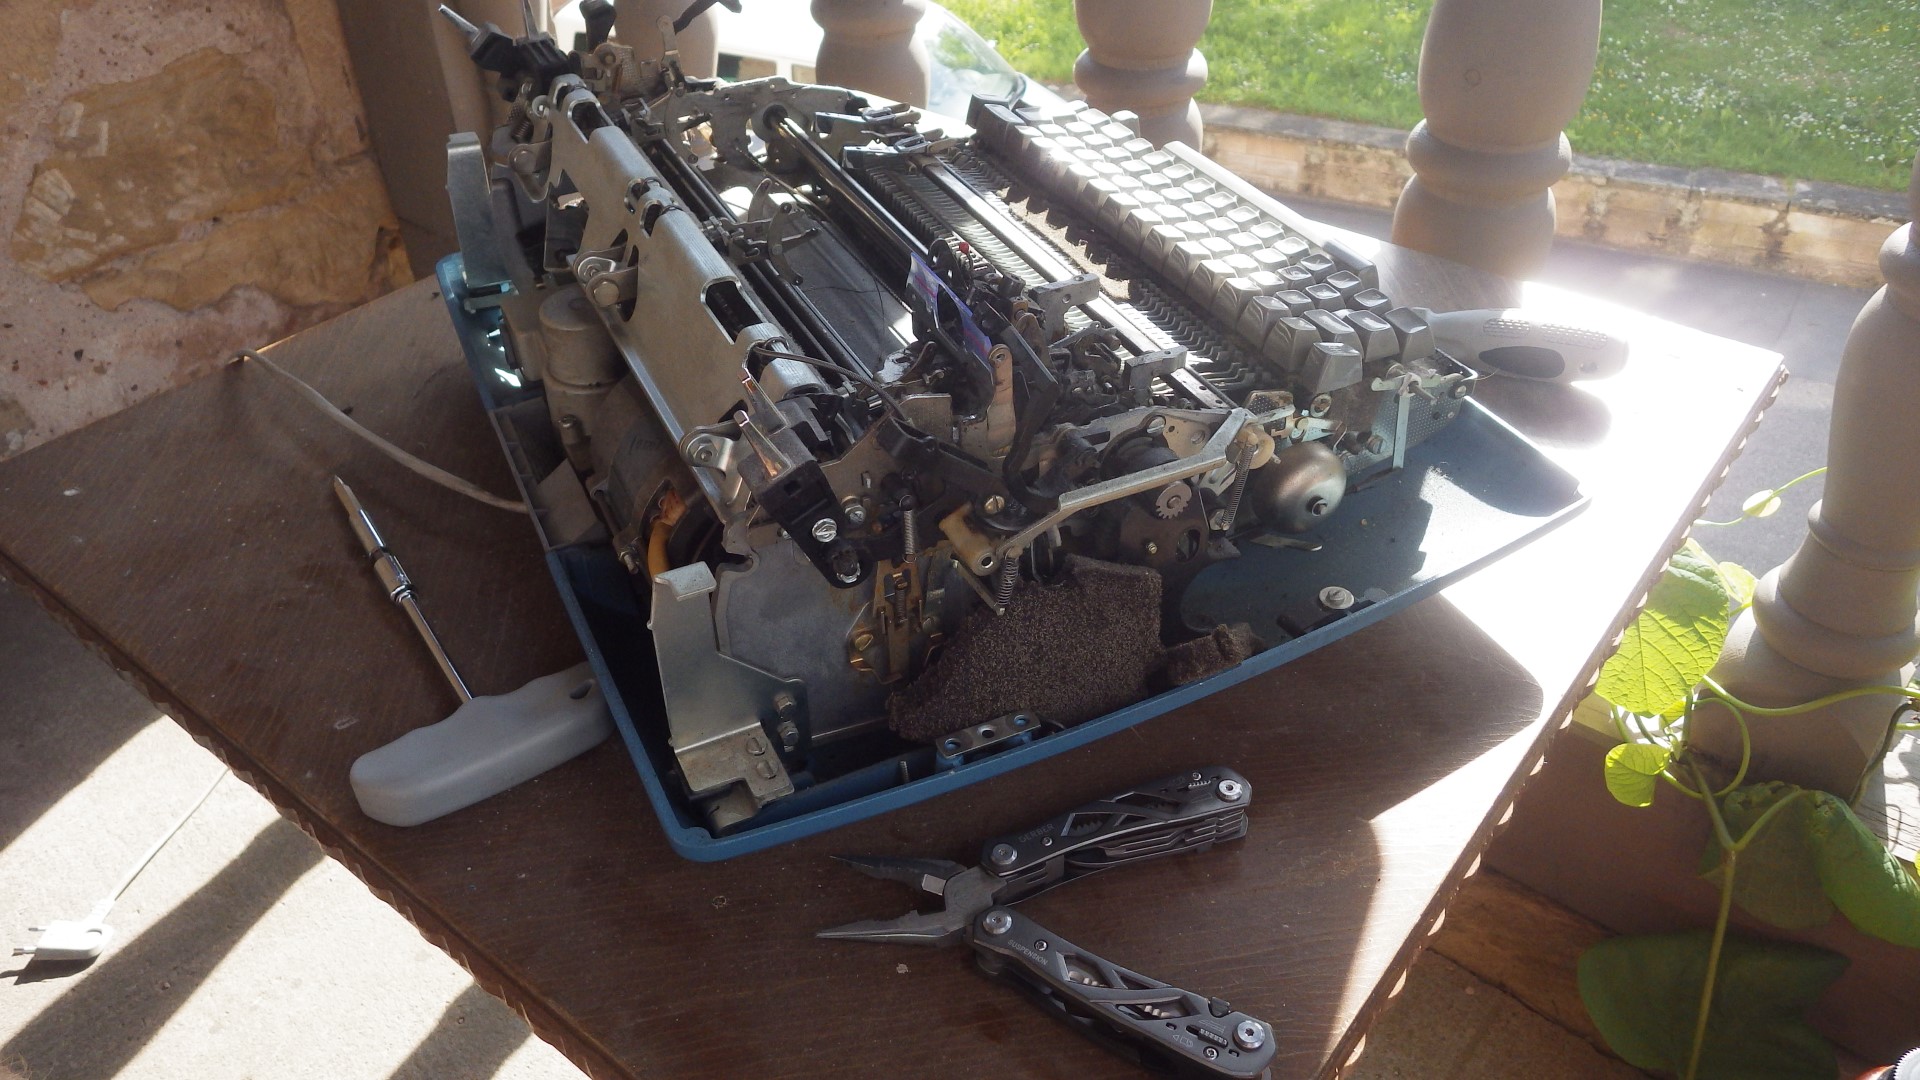
499 KB | Lukas (talk | contribs) | == Summary == broken 1970's electric typewriter (IBM) to be torn down - out of curiosity and to make an awesome bicycle bell == Licensing == {{CC-by-sa-4.0}} | 1 |
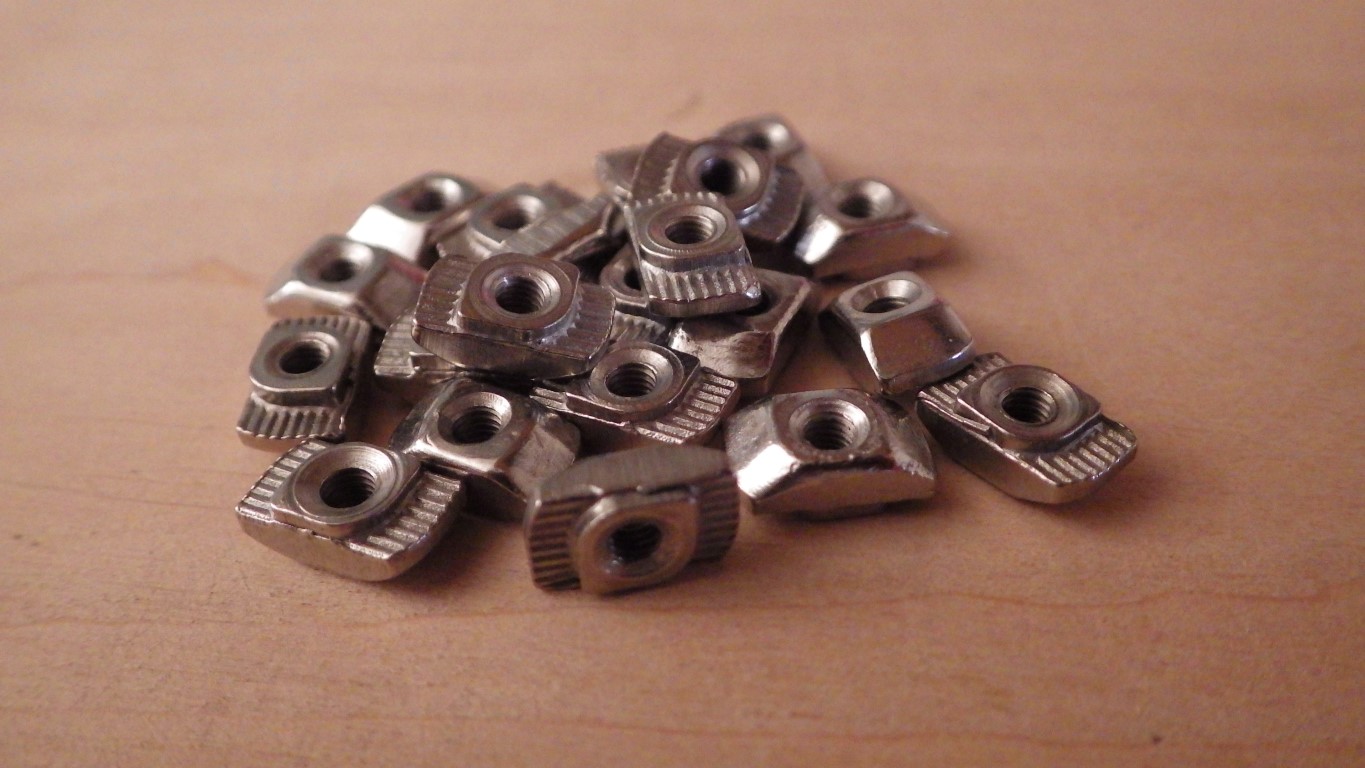
| 22:27, 4 September 2017 | T-slot nuts.JPG (file) |  |
236 KB | Lukas (talk | contribs) | a pile of M3 t-slot nuts | 1 |
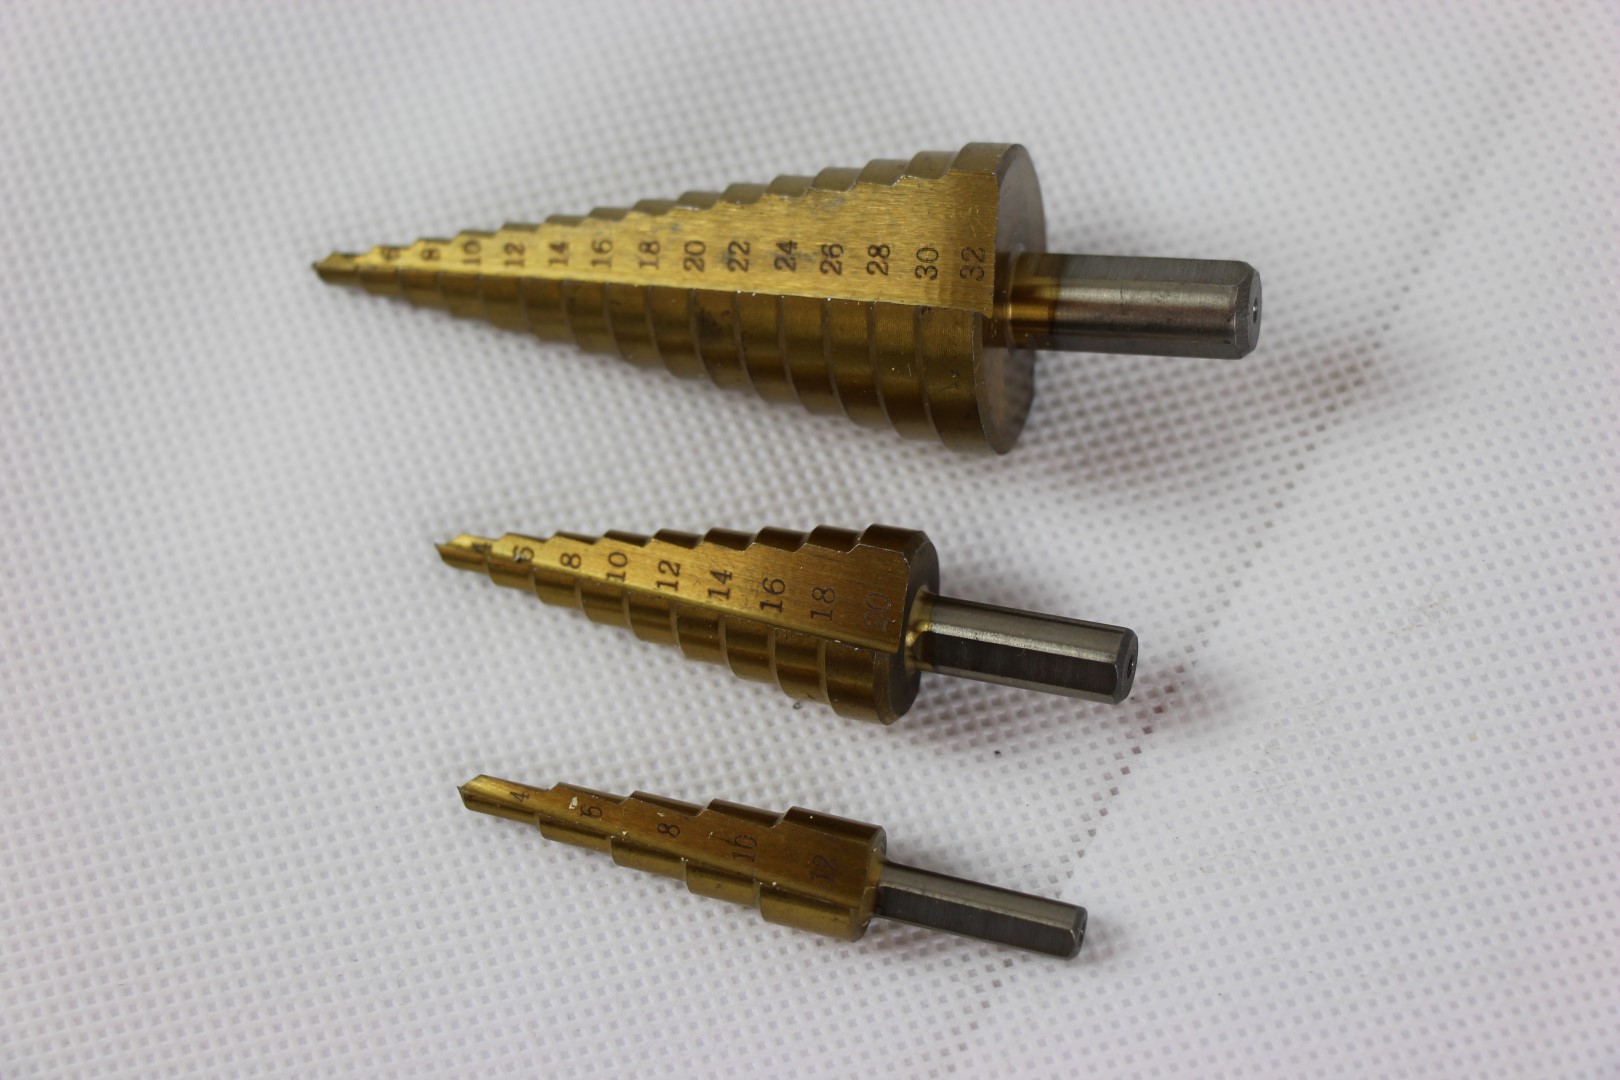
| 22:26, 4 September 2017 | Subland twist drill.JPG (file) |  |
255 KB | Lukas (talk | contribs) | set of twist drill bits | 1 |
| 22:25, 4 September 2017 | Stone wall.JPG (file) |  |
477 KB | Lukas (talk | contribs) | photo of a stone wall | 1 |
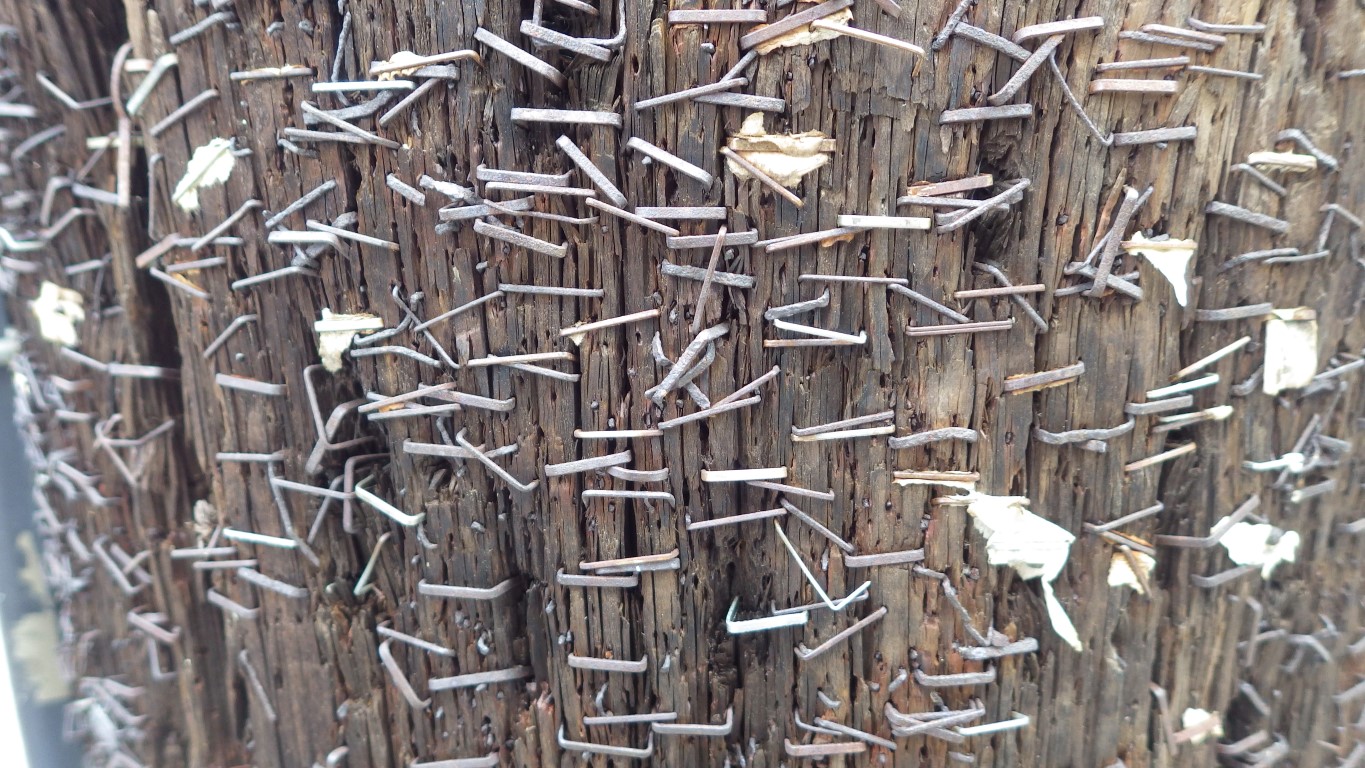
| 22:24, 4 September 2017 | Staples in lamppost.JPG (file) |  |
424 KB | Lukas (talk | contribs) | == Summary == A wooden lamp post covered in staples from years of postering. == Licensing == {{CC-by-sa-4.0}} | 1 |
| 22:24, 4 September 2017 | Staple removal.JPG (file) |  |
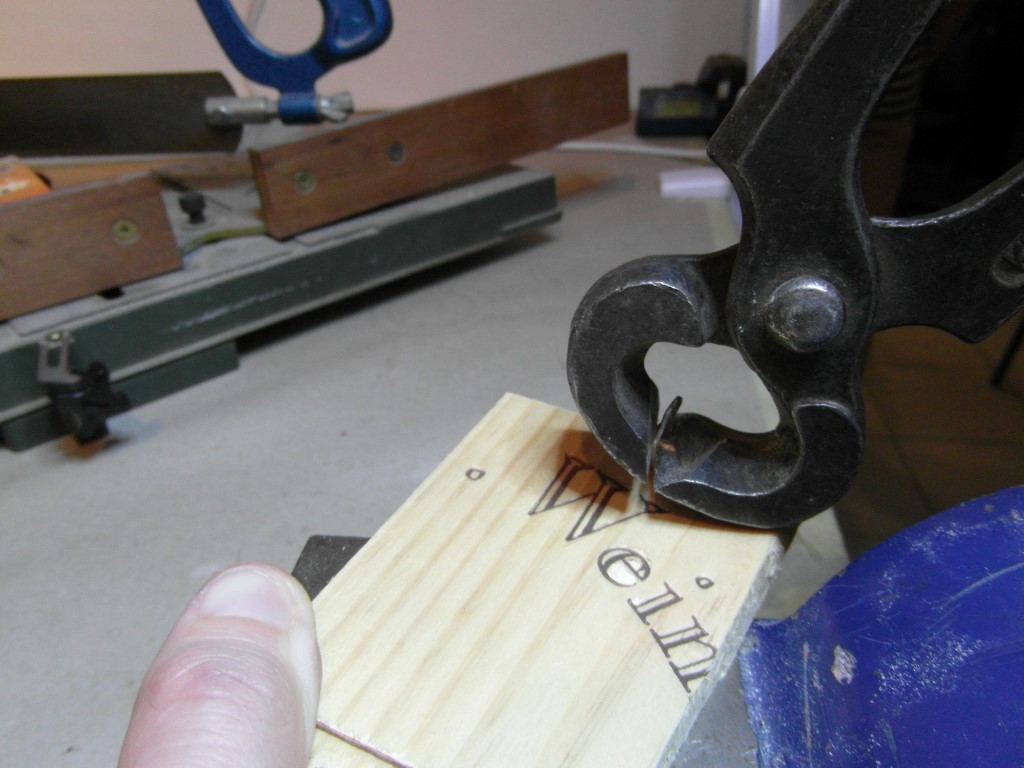
152 KB | Lukas (talk | contribs) | == Summary == Removing a staple from a piece of wood using pincers. == Licensing == {{CC-by-sa-4.0}} | 1 |
| 22:23, 4 September 2017 | Staple gun.jpg (file) |  |
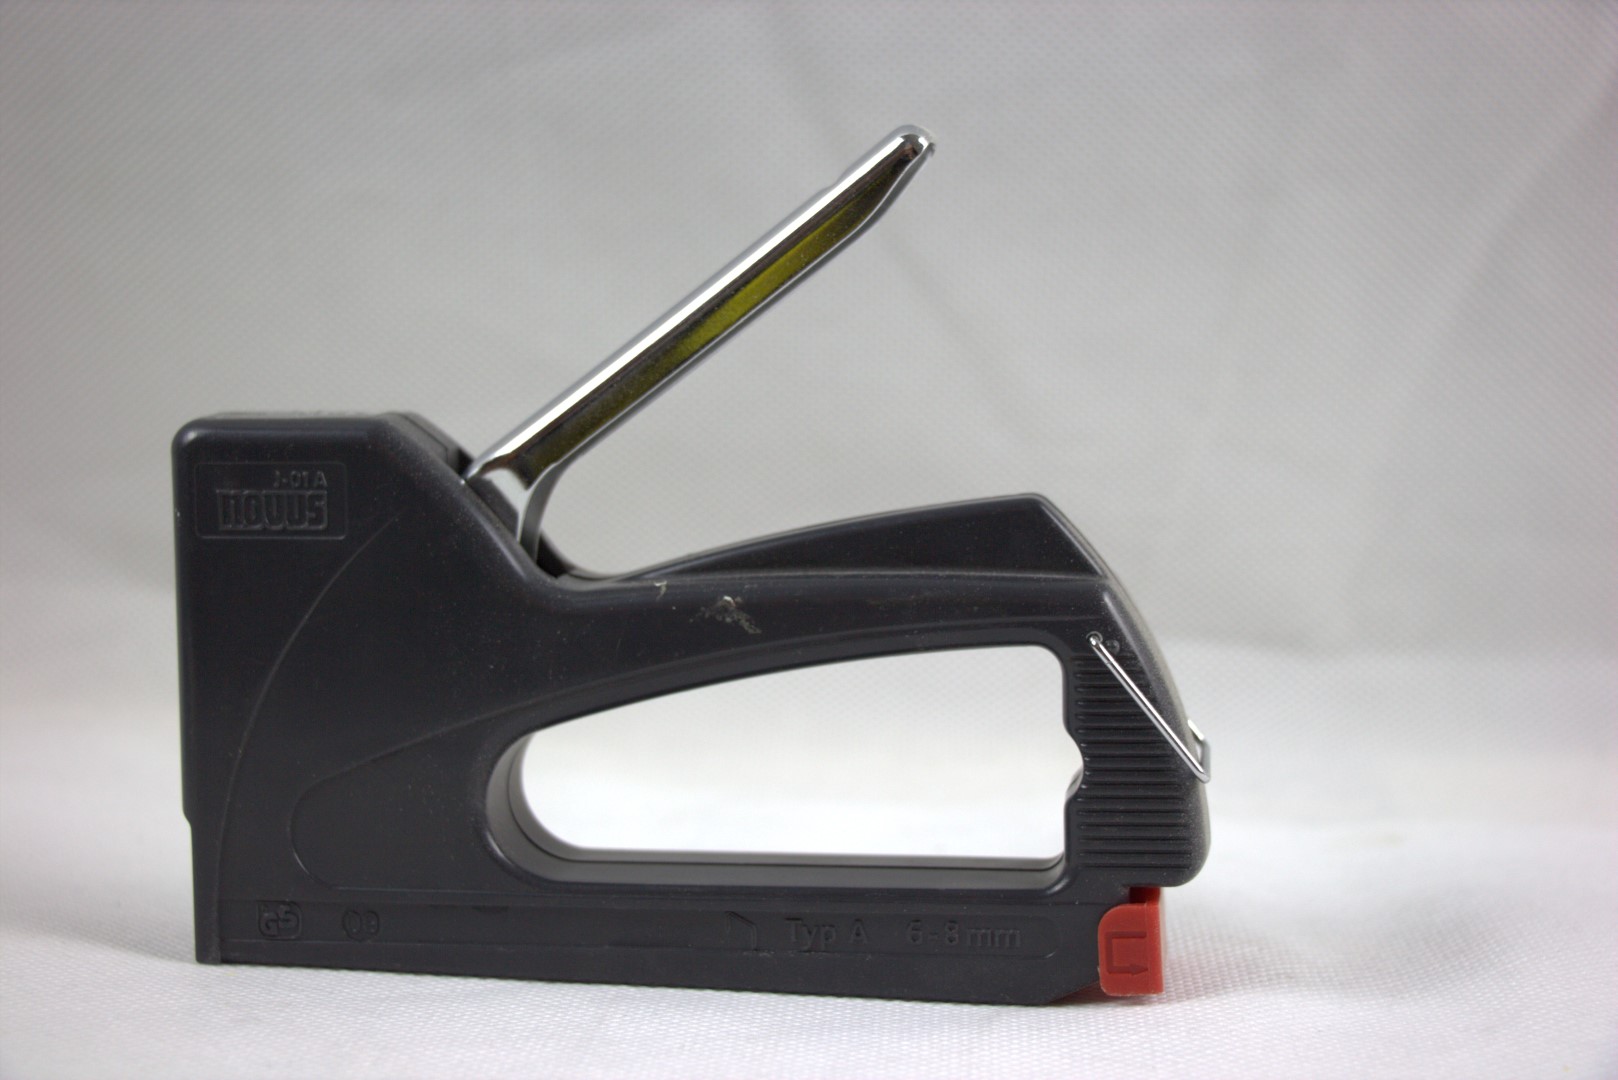
205 KB | Lukas (talk | contribs) | scaled down | 2 |
| 22:21, 4 September 2017 | Stack of wood.JPG (file) |  |
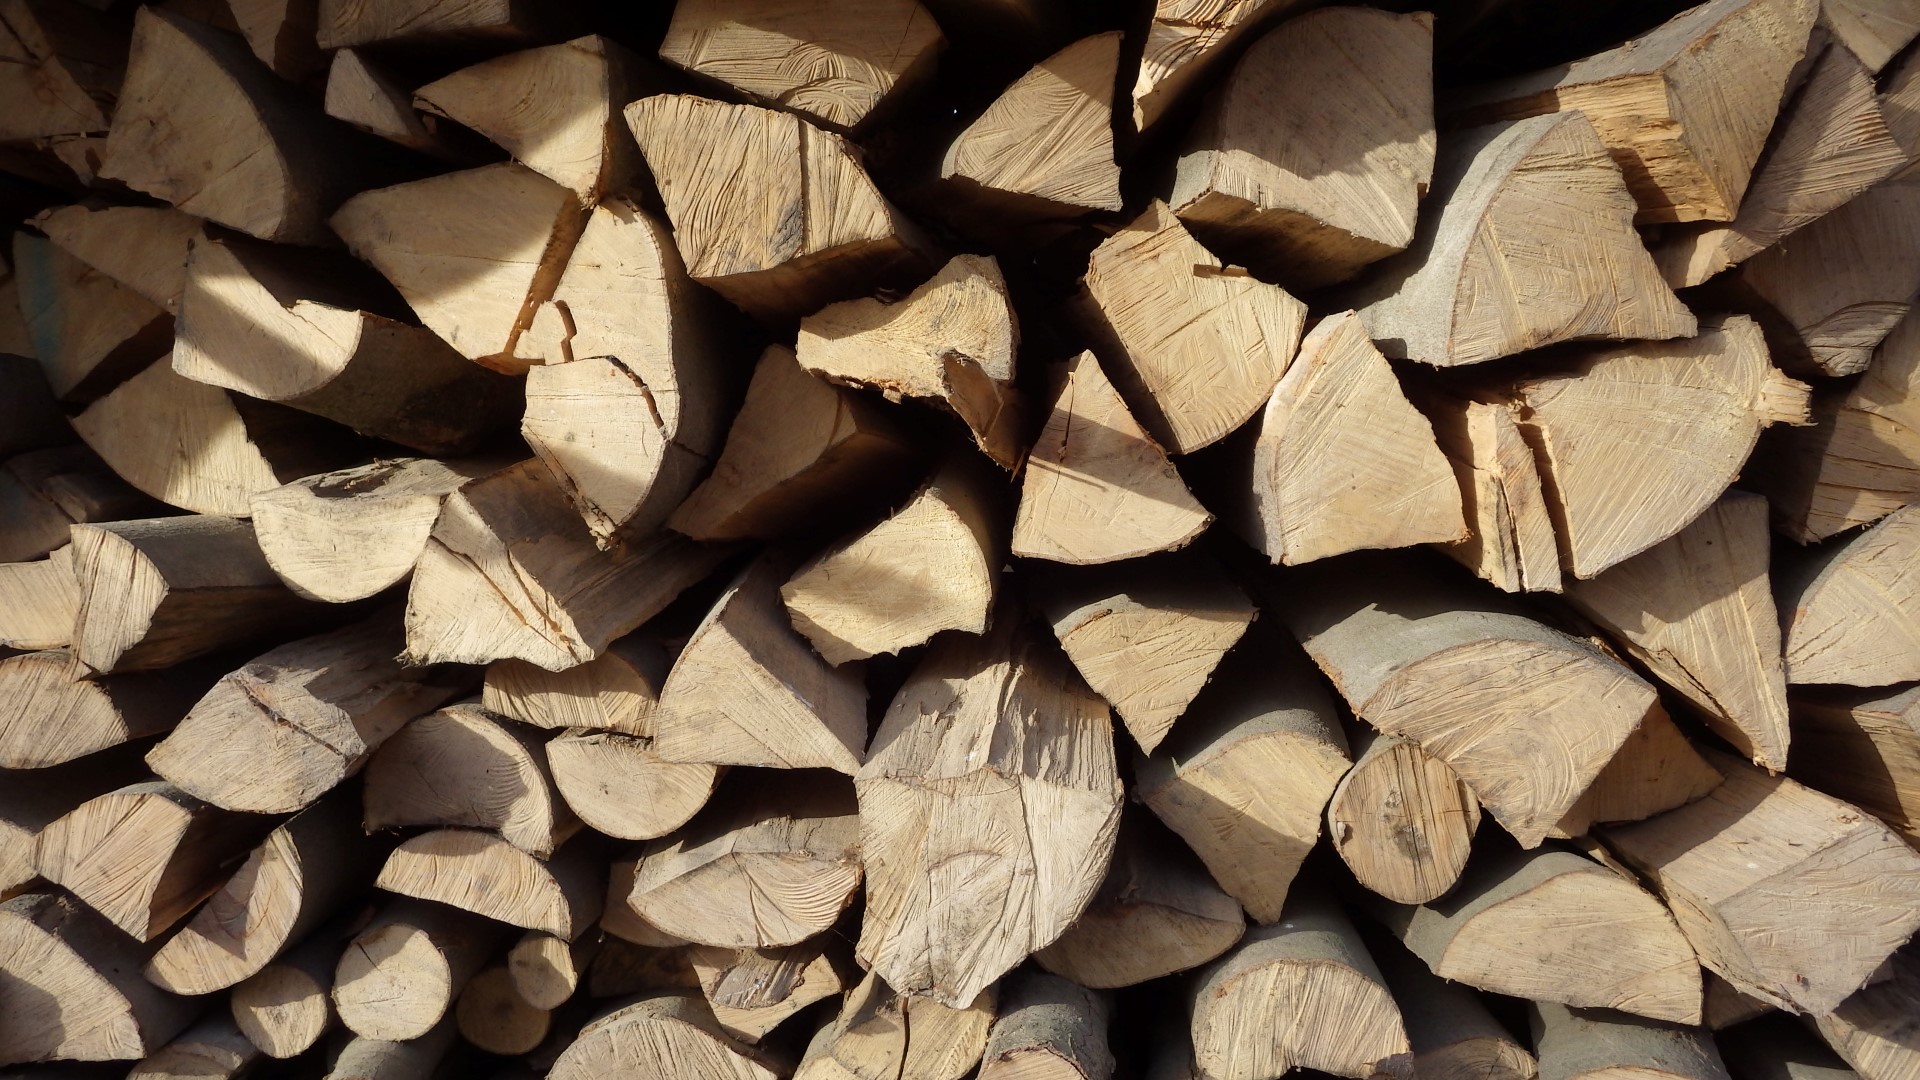
618 KB | Lukas (talk | contribs) | == Summary == A stack of wood (split as firewood). == Licensing == {{CC-by-sa-4.0}} | 1 |
| 22:20, 4 September 2017 | Spring clamp against vibration.JPG (file) |  |
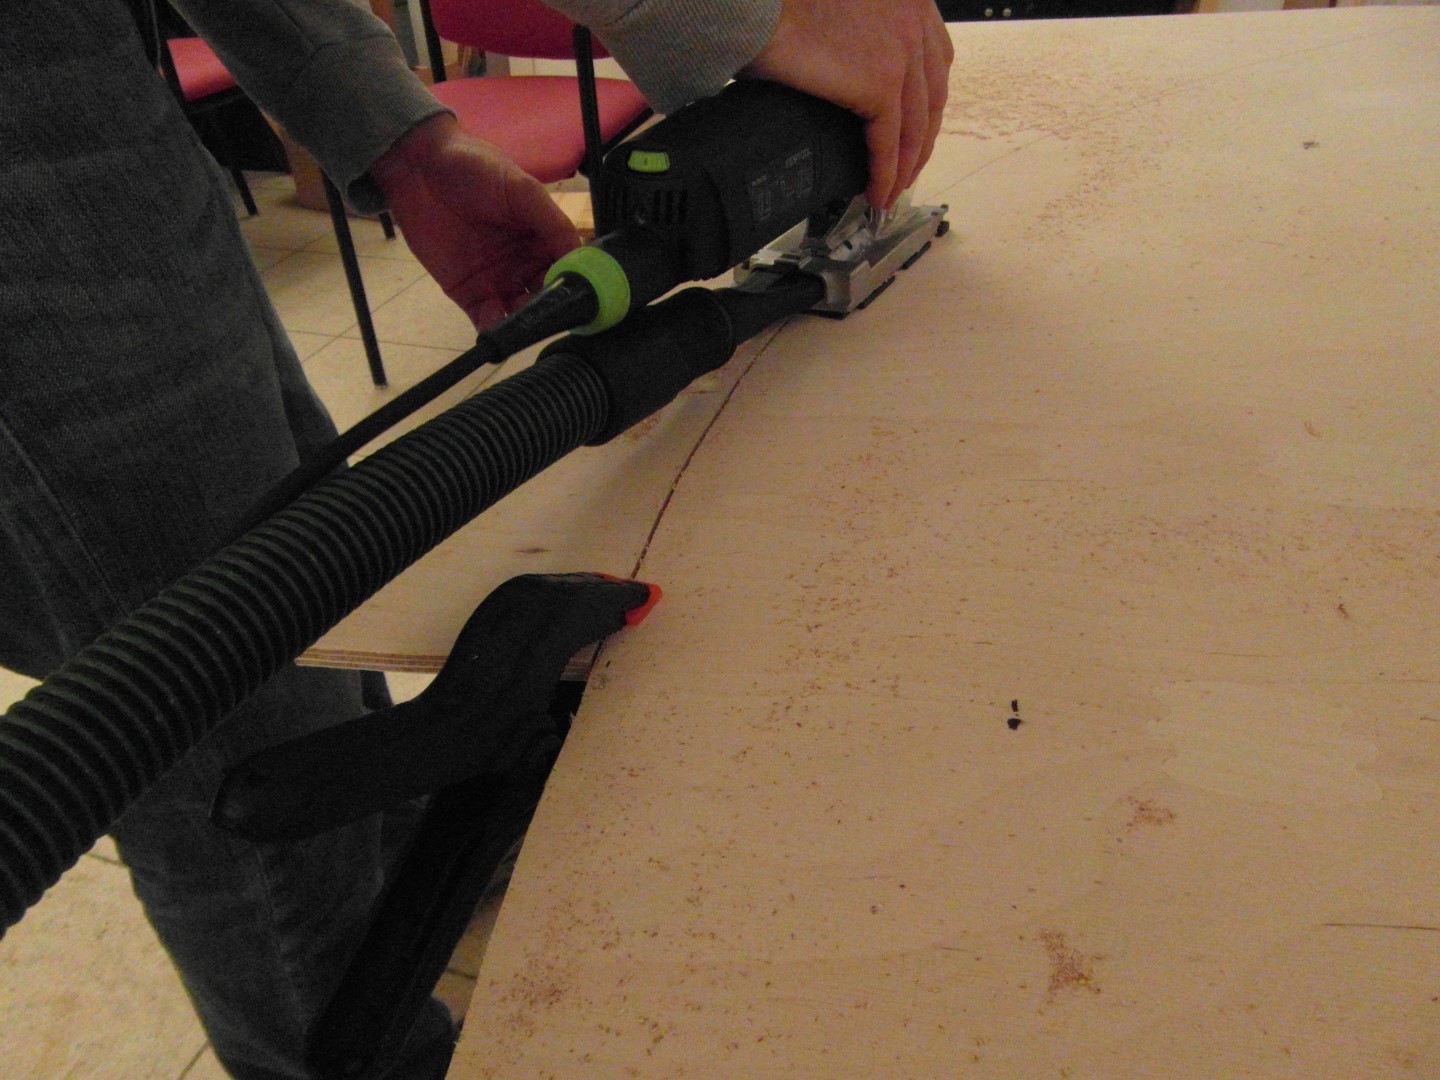
337 KB | Lukas (talk | contribs) | == Summary == When cutting large sheets of plywood, e.g. with a jigsaw, vibrations can be pretty annoying and catch your blade even when you have someone helping you. Try clamping the beginning of your cut with a [[Clamps#Spring Clamps|spring c... | 1 |
| 22:19, 4 September 2017 | Spring clamp.JPG (file) |  |
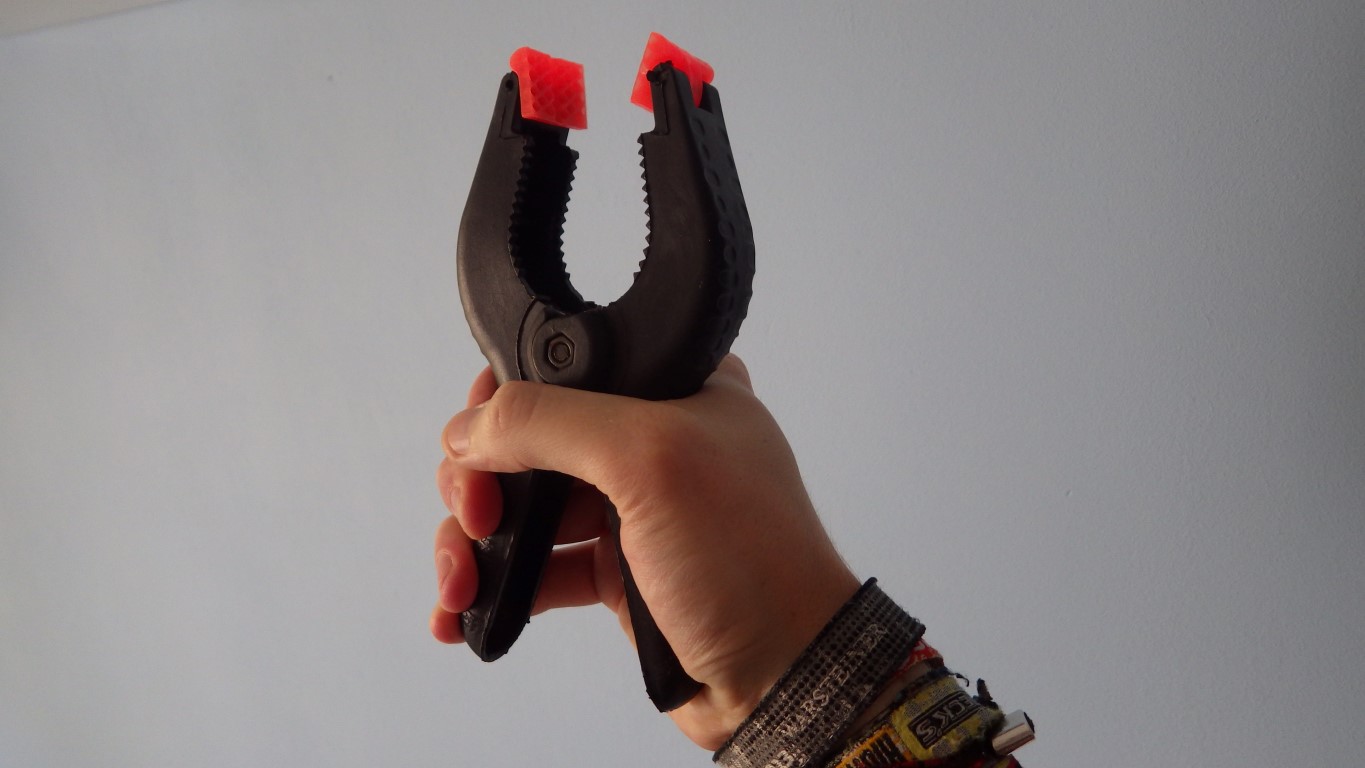
169 KB | Lukas (talk | contribs) | a spring clamp | 1 |
| 22:17, 4 September 2017 | Sockets.JPG (file) |  |
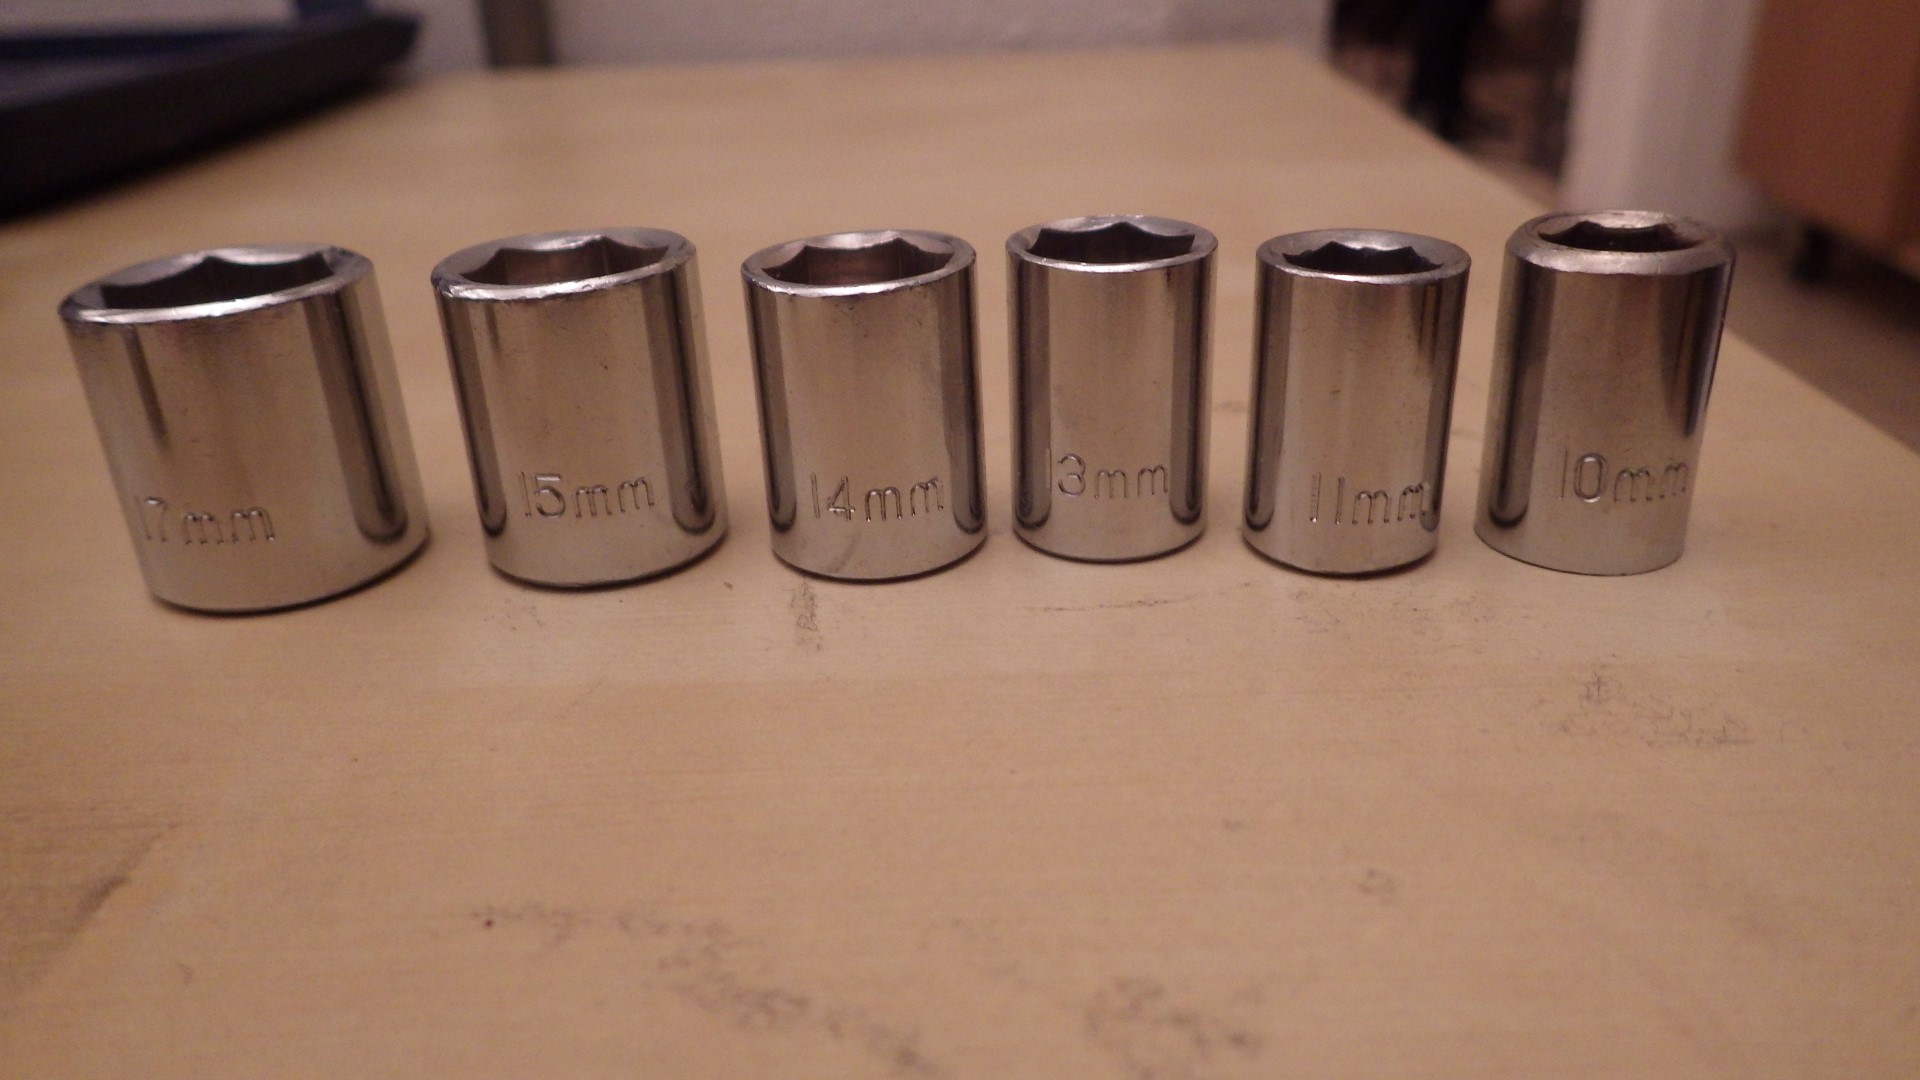
326 KB | Lukas (talk | contribs) | == Summary == Some 3/8" square drive hex sockets for use with a socket wrench == Licensing == {{PD}} | 1 |
| 22:05, 4 September 2017 | Sewing-thread.jpg (file) |  |
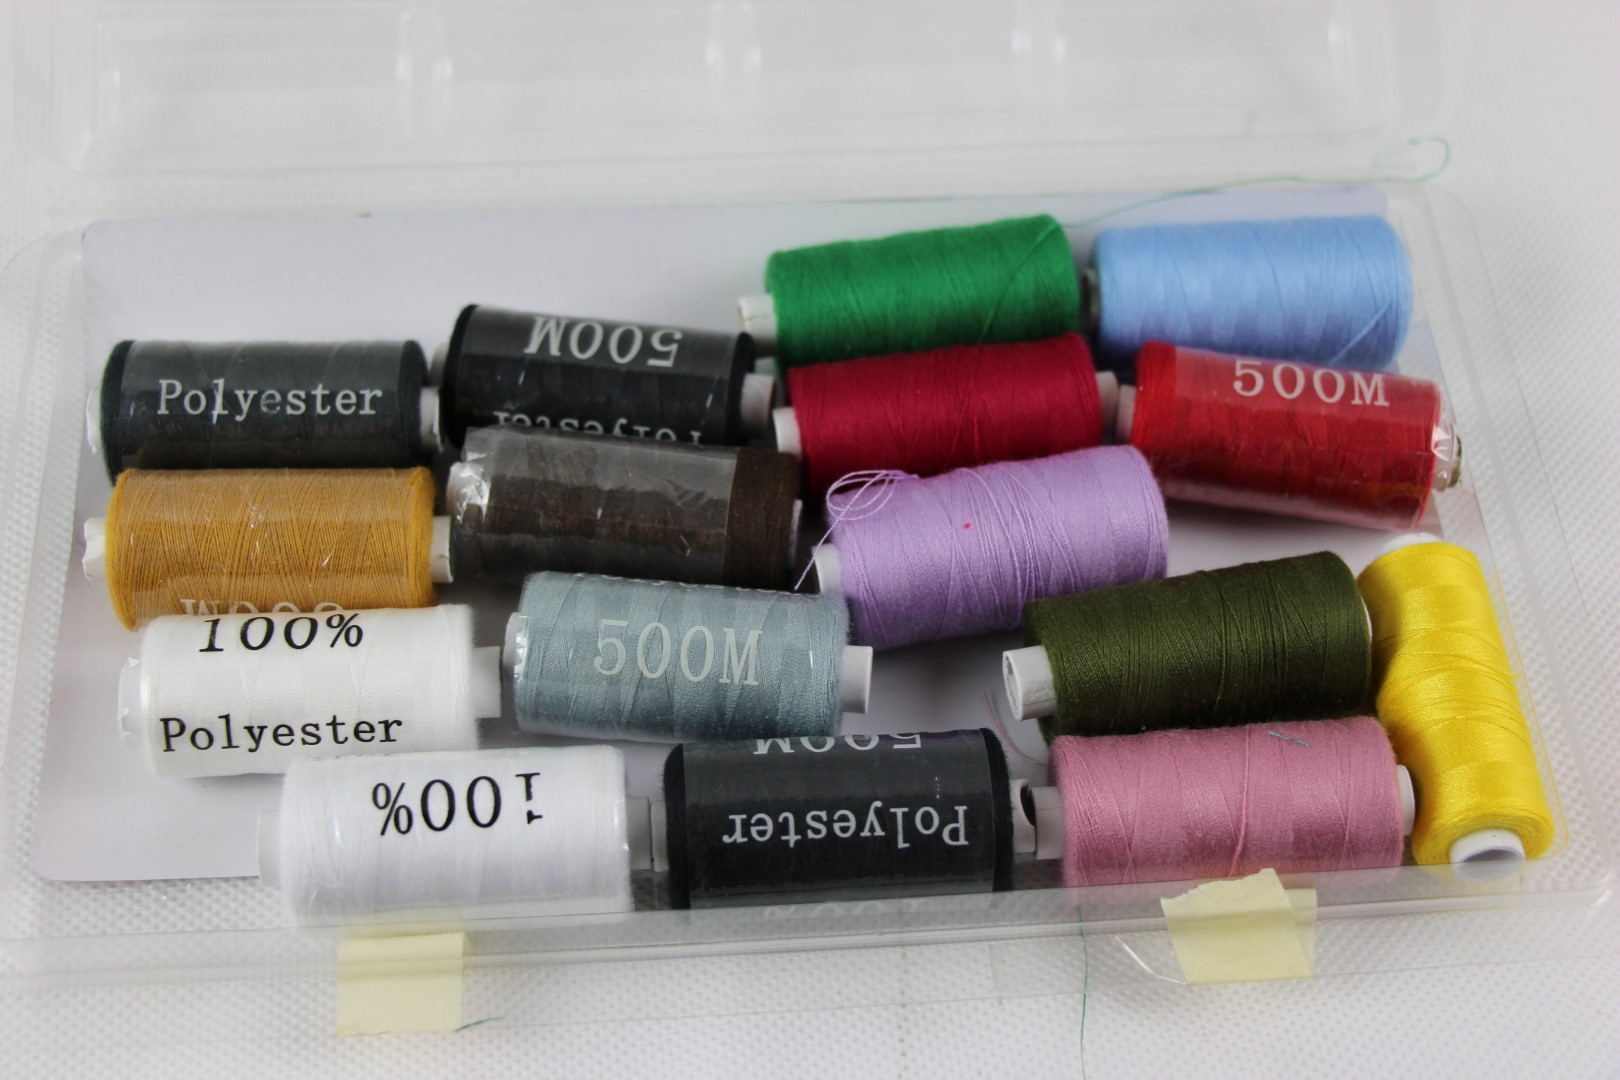
257 KB | Lukas (talk | contribs) | spools of sewing thread | 1 |
| 22:04, 4 September 2017 | Scrollsaw-Schneckchen.jpg (file) |  |
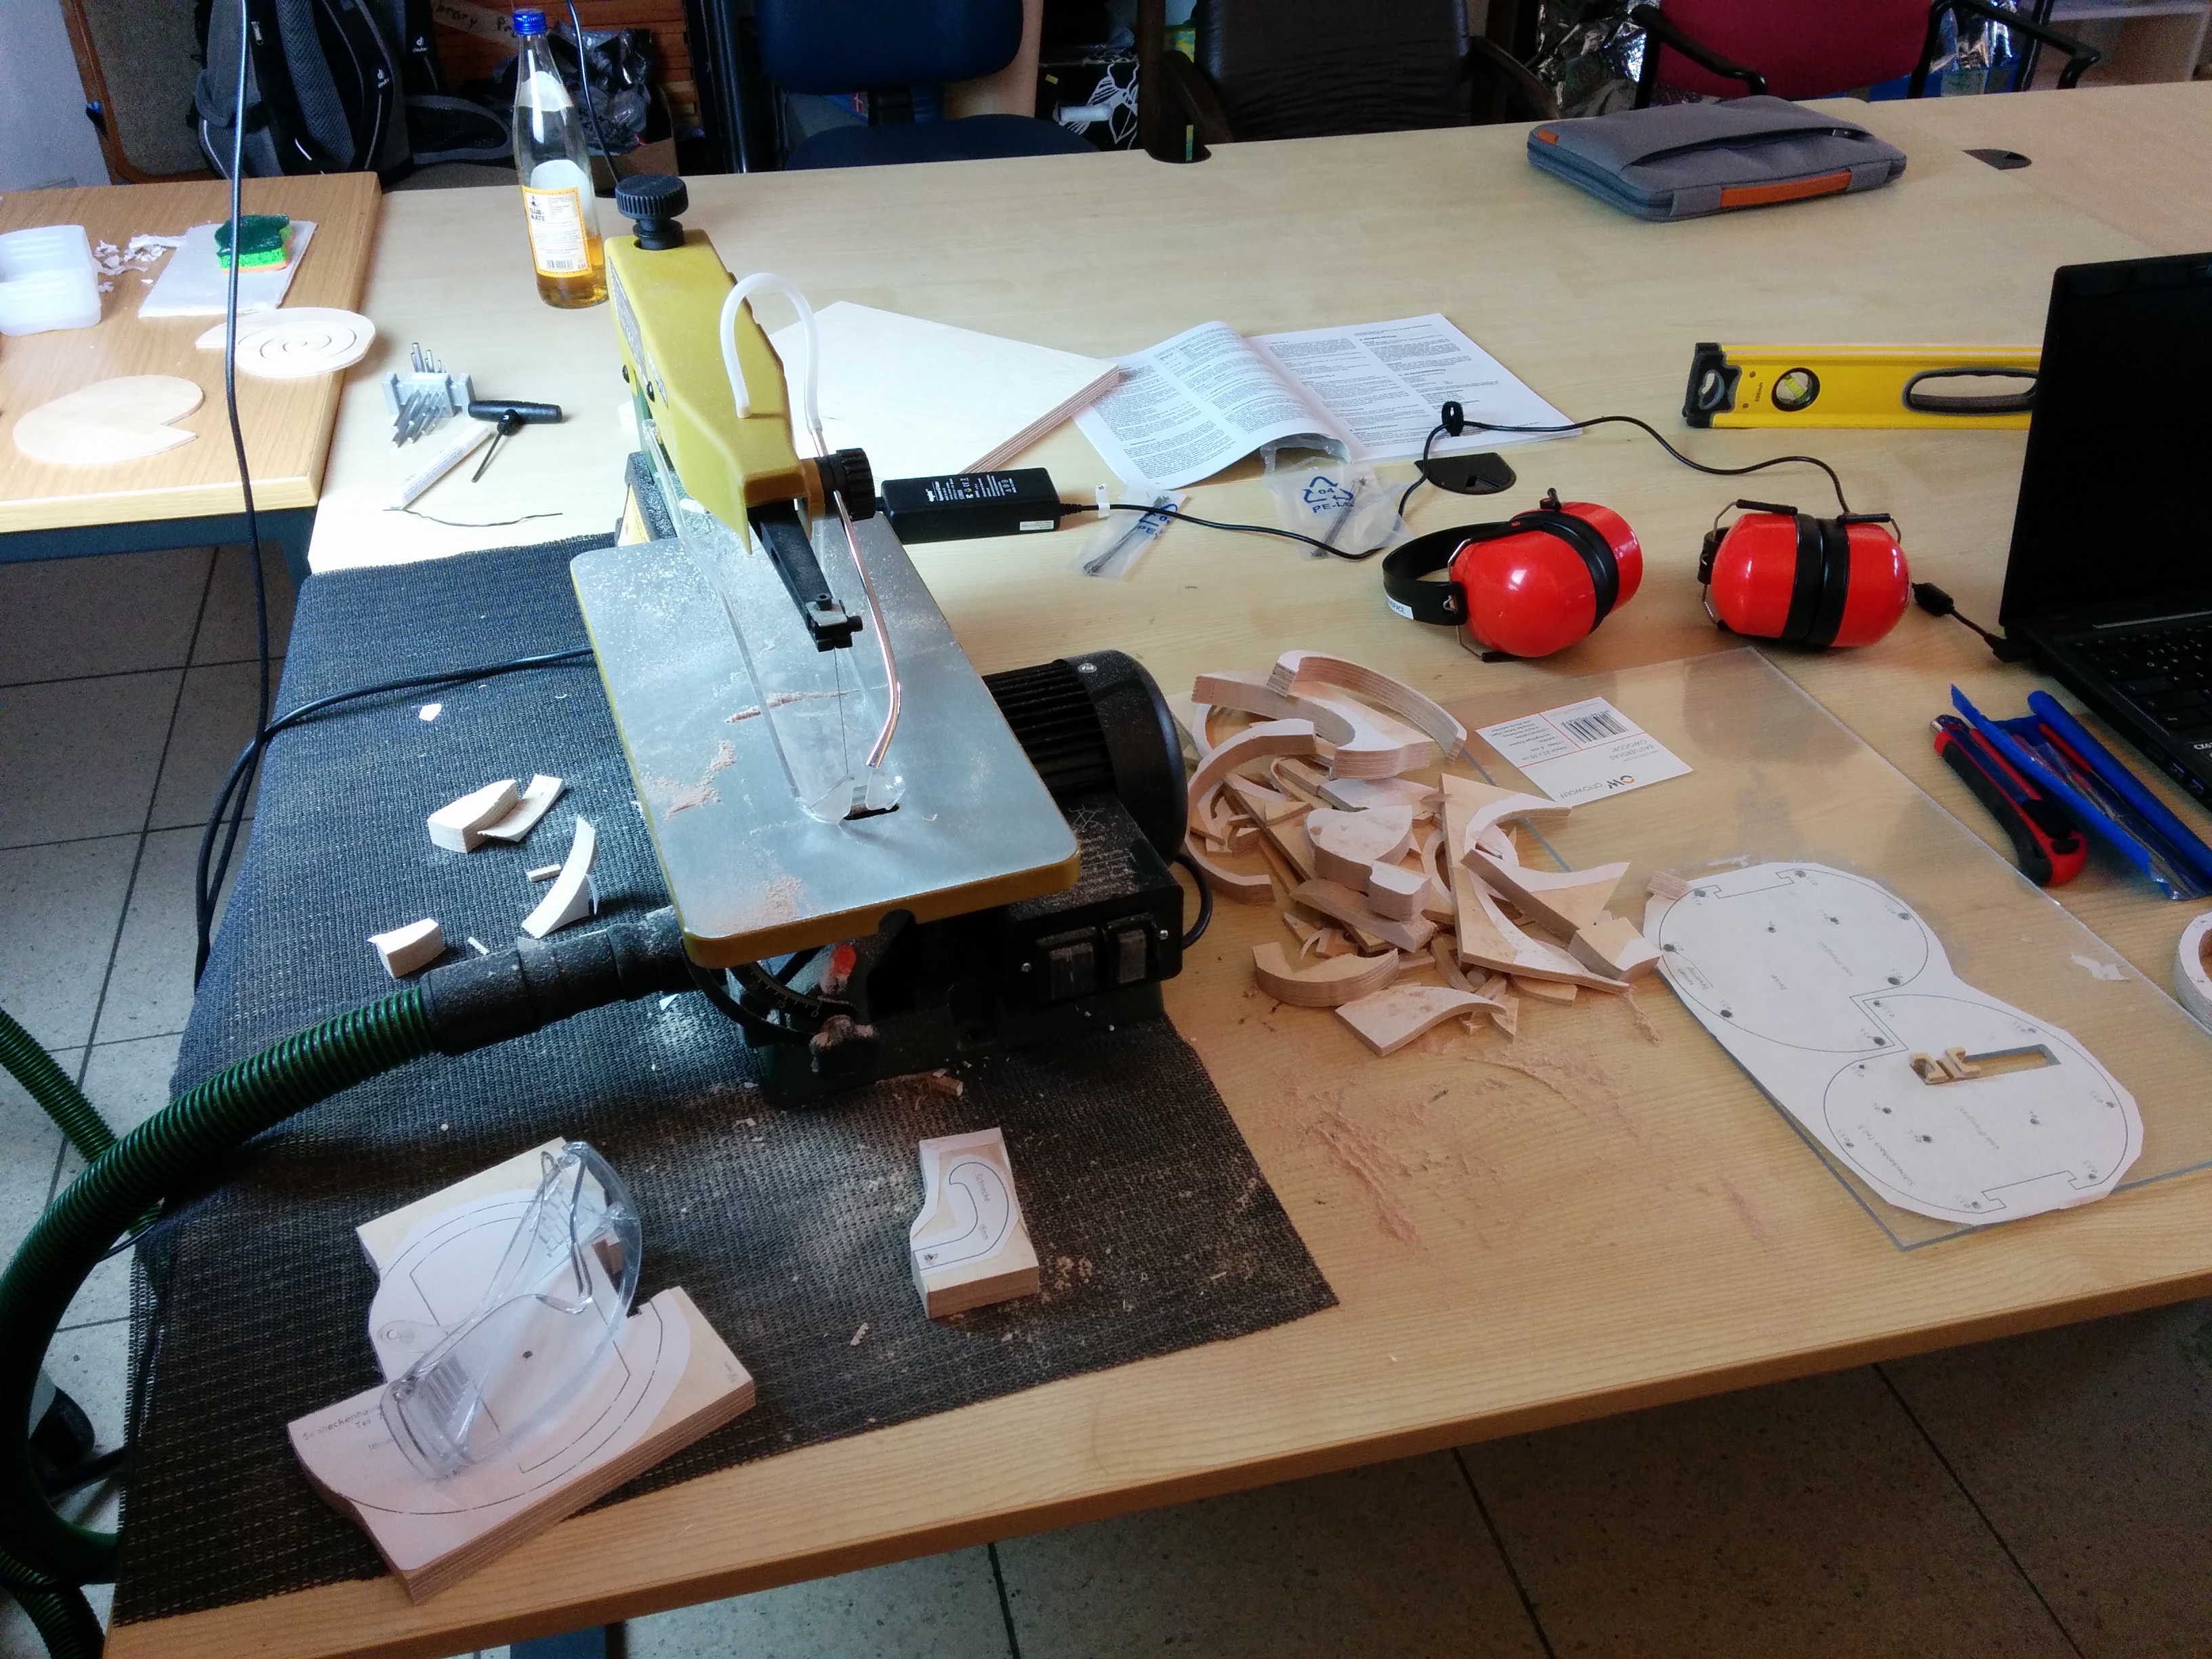
2.33 MB | Lukas (talk | contribs) | Cutting parts for Project:Schneckchen on a scroll saw Photo by Mitja | 1 |
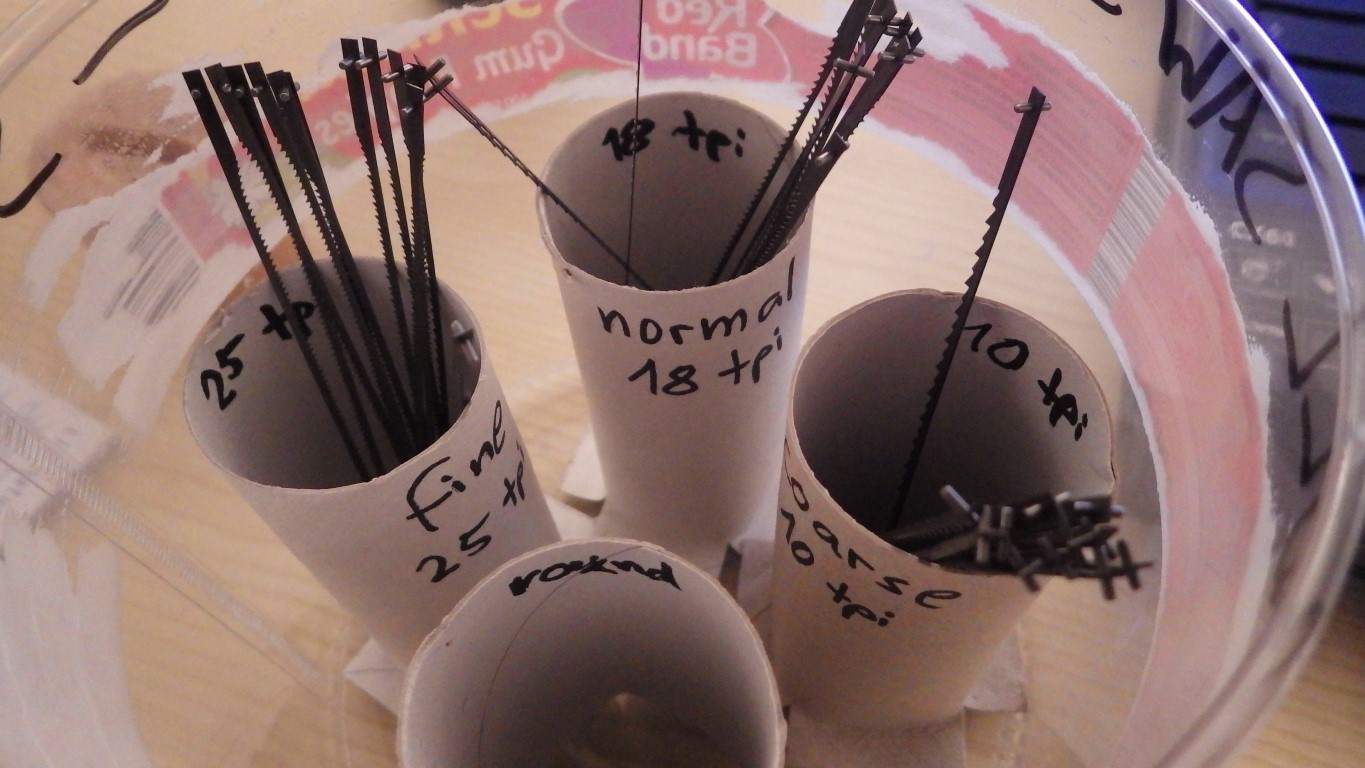
| 22:03, 4 September 2017 | Scroll saw blades.JPG (file) |  |
250 KB | Lukas (talk | contribs) | == Summary == different scroll saw blades in a more-practical-than-pretty storage container == Licensing == {{CC-by-sa-4.0}} | 1 |
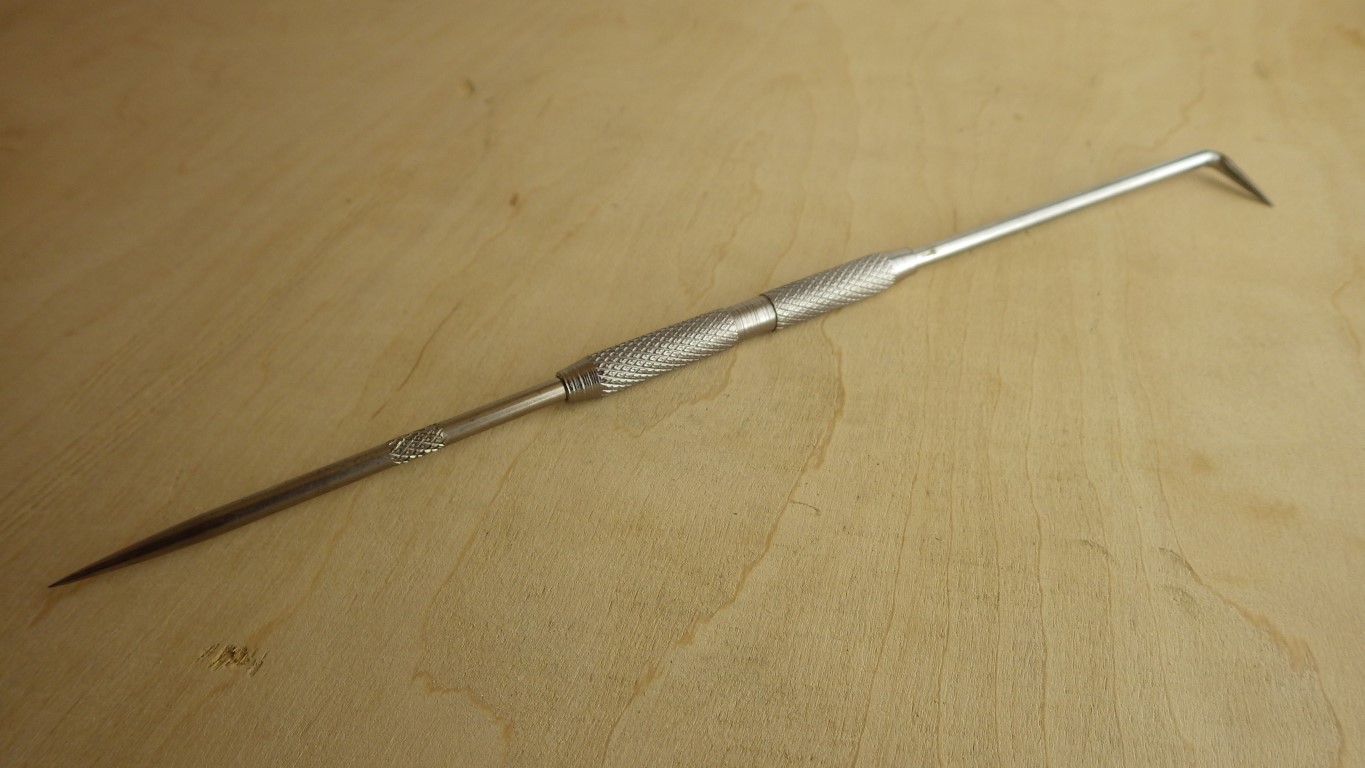
| 22:01, 4 September 2017 | Scriber.JPG (file) |  |
217 KB | Lukas (talk | contribs) | == Summary == 230 mm scriber with a straight and an angled end. == Licensing == {{CC-by-sa-4.0}} | 1 |
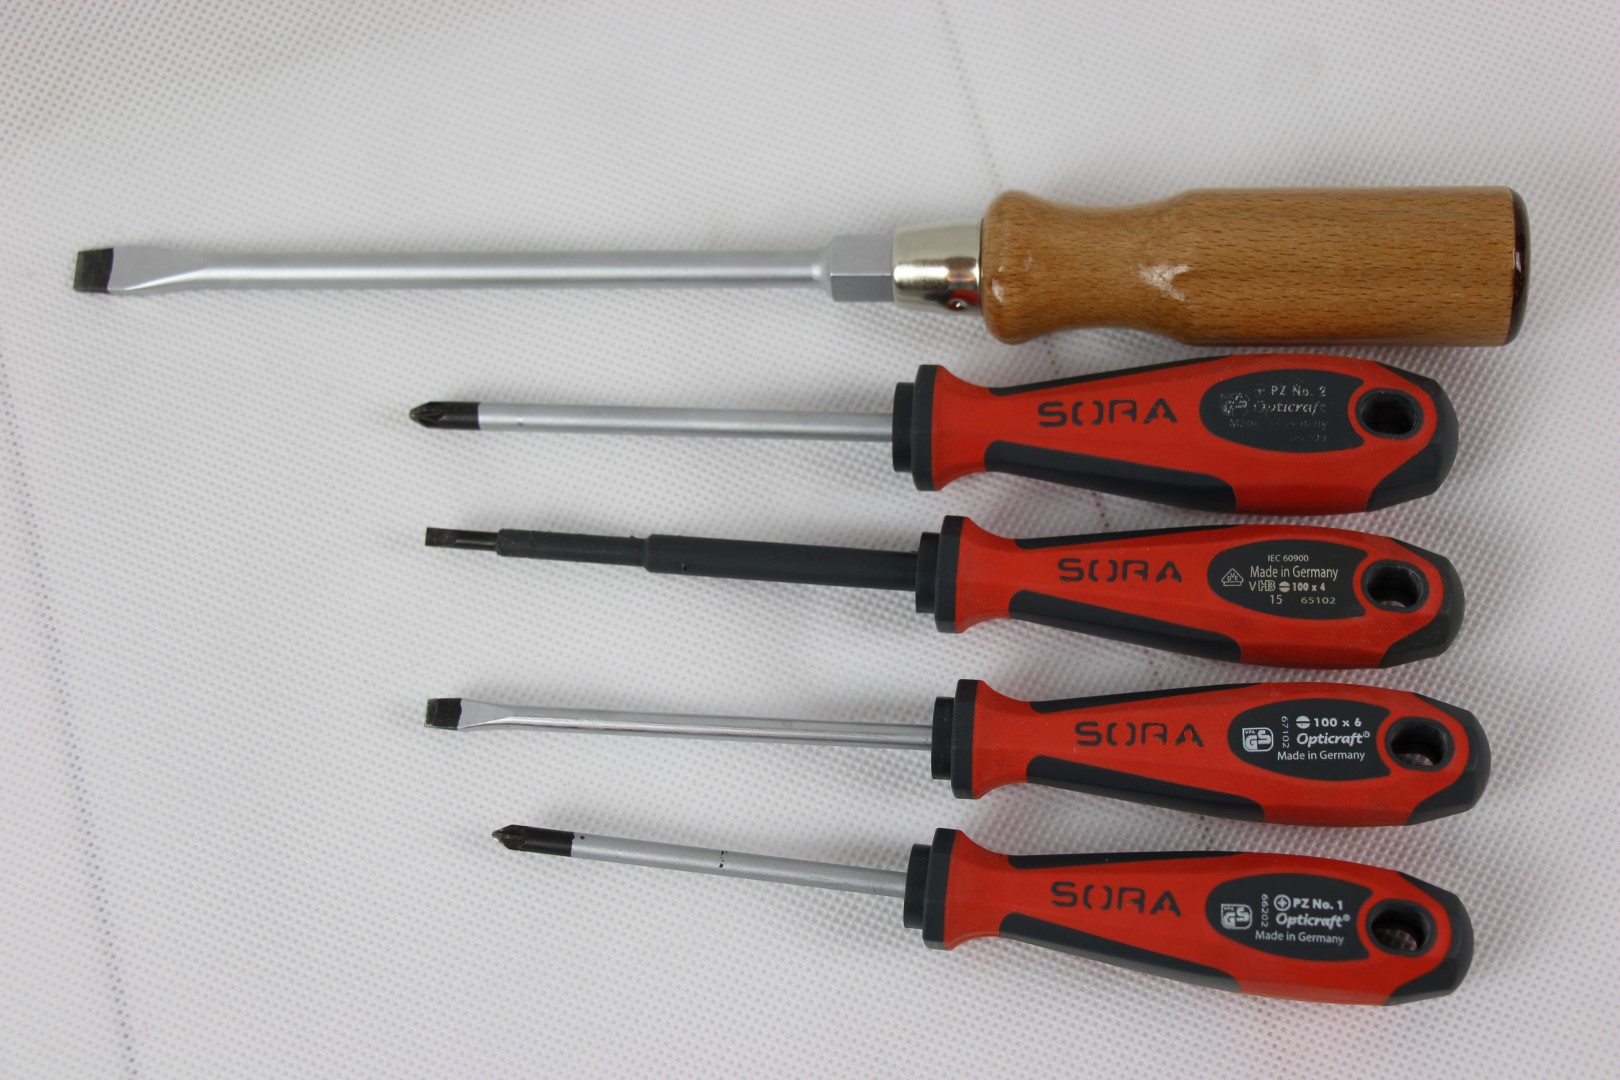
| 21:59, 4 September 2017 | Screwdrivers.JPG (file) |  |
306 KB | Lukas (talk | contribs) | a couple of screwdrivers | 1 |
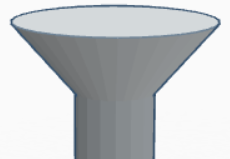
| 21:57, 4 September 2017 | Screw head sunk.PNG (file) |  |
11 KB | Lukas (talk | contribs) | == Summary == icon of a countersunk screw head (screenshot of a Tinkercad model) | 1 |
| 21:55, 4 September 2017 | Screw head cylindrical.PNG (file) |  |
8 KB | Lukas (talk | contribs) | icon of a cylindrical screw head, (screenshot of a Tinkercad model) | 1 |
| 21:54, 4 September 2017 | Schneckchen first.jpg (file) |  |
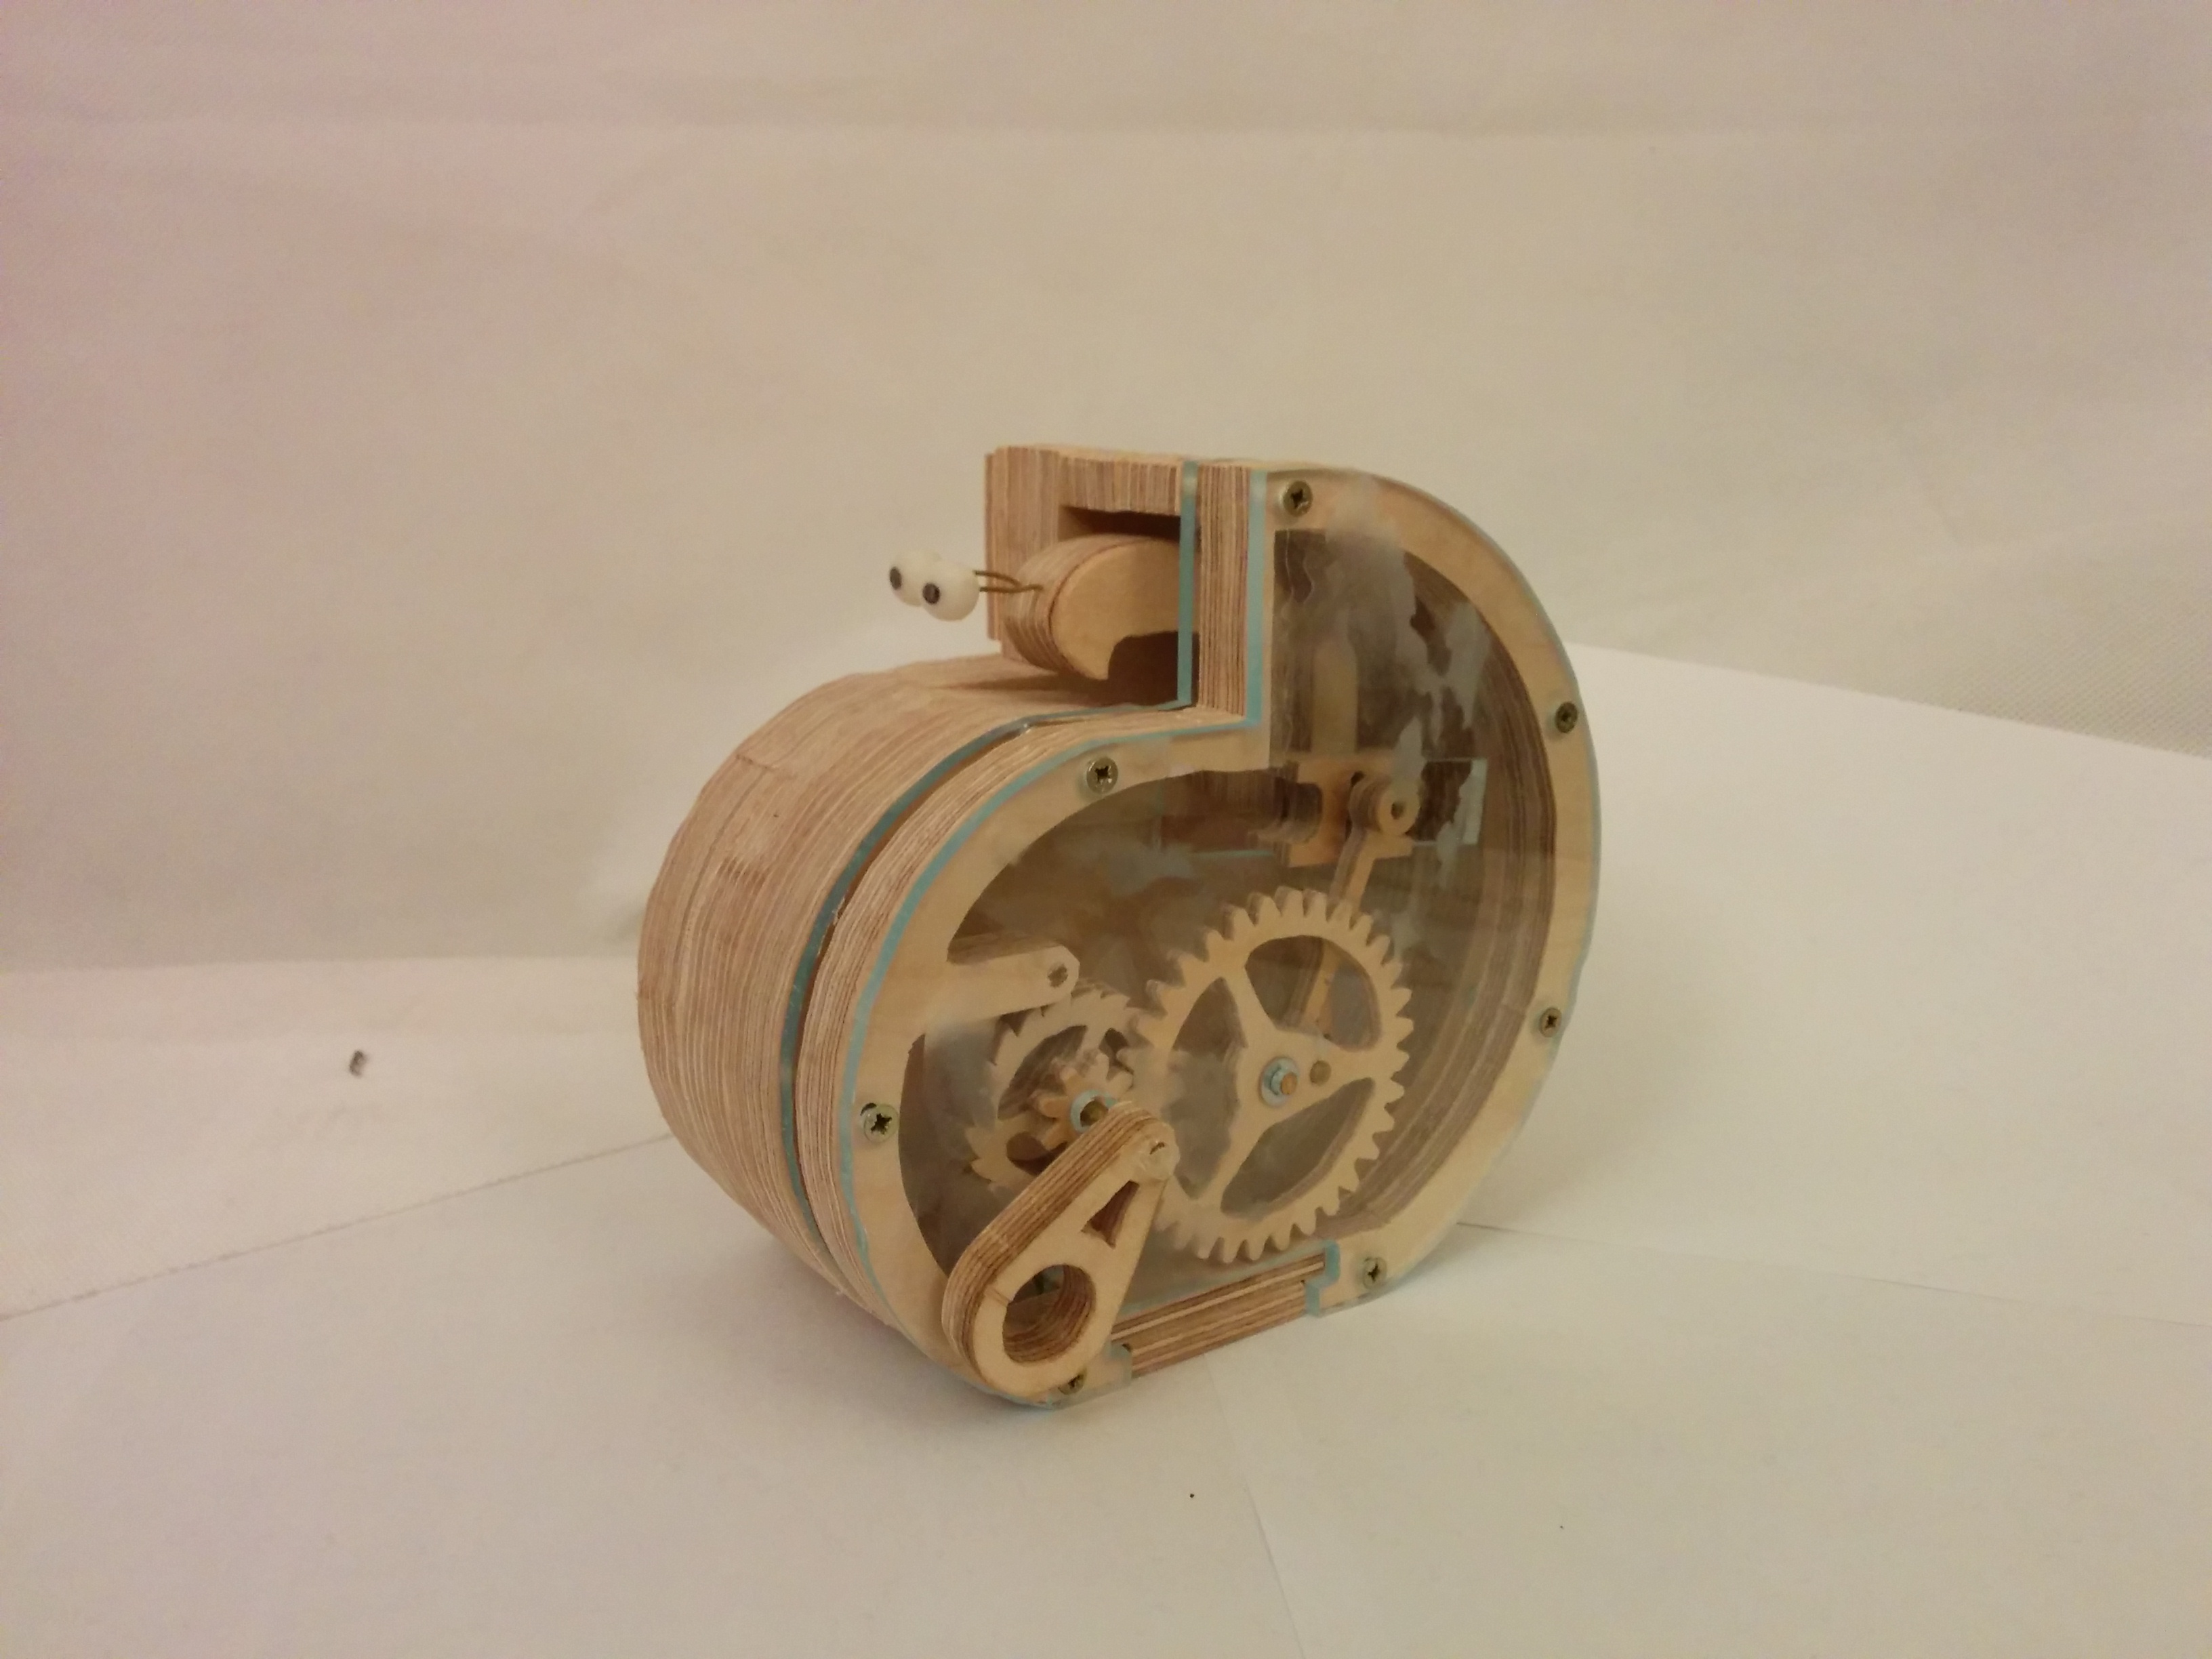
1.29 MB | Lukas (talk | contribs) | == Summary == First try of building a Schneckchen == Licensing == {{CC-by-sa-4.0}} | 1 |
| 21:53, 4 September 2017 | Safety goggles.JPG (file) |  |
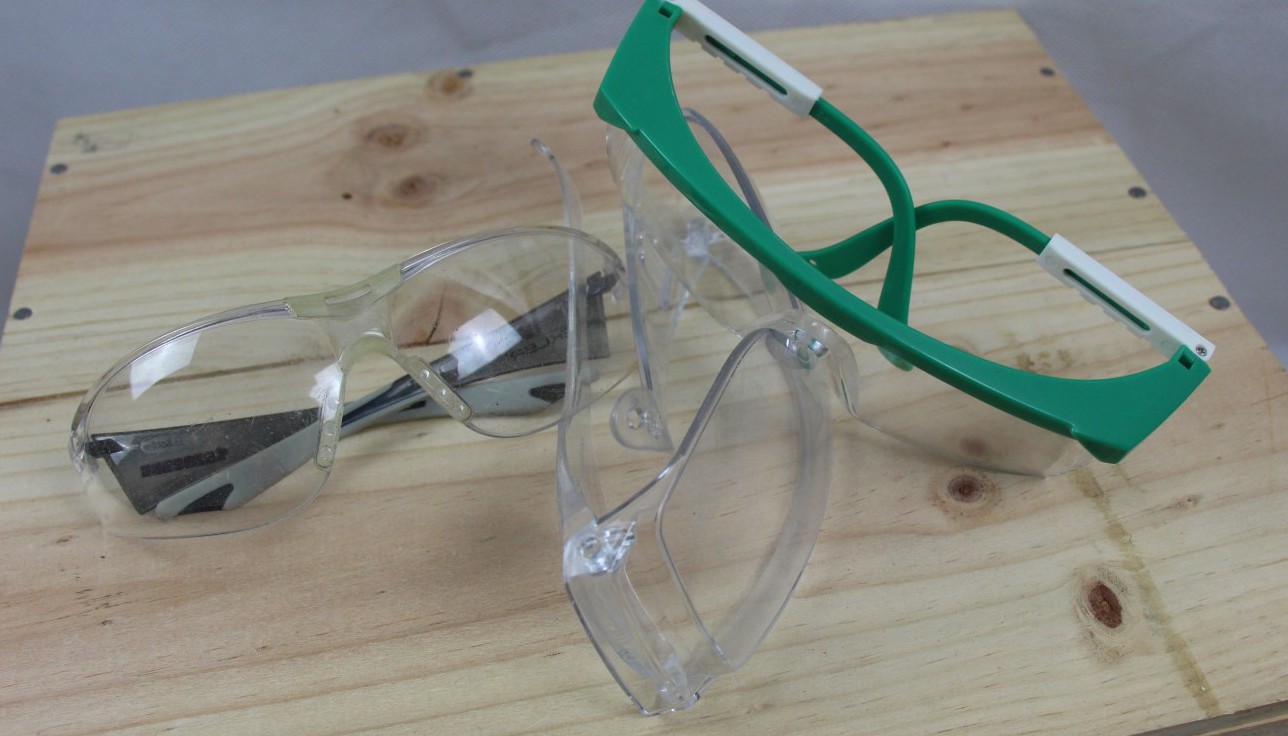
159 KB | Lukas (talk | contribs) | == Summary == some safety goggles == Licensing == {{CC-by-sa-4.0}} | 1 |
| 21:50, 4 September 2017 | Router plane.JPG (file) |  |
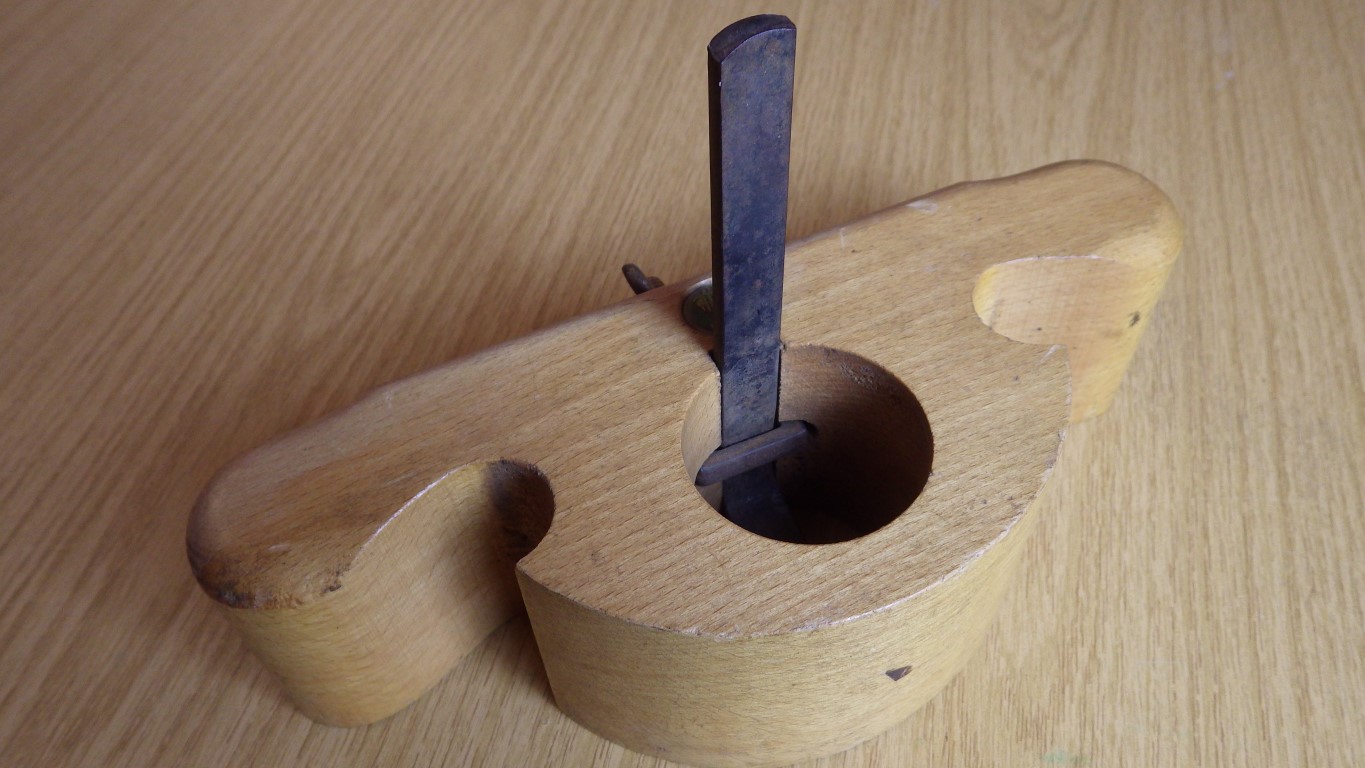
245 KB | Lukas (talk | contribs) | == Summary == our router plane == Licensing == {{CC-by-sa-4.0}} | 1 |
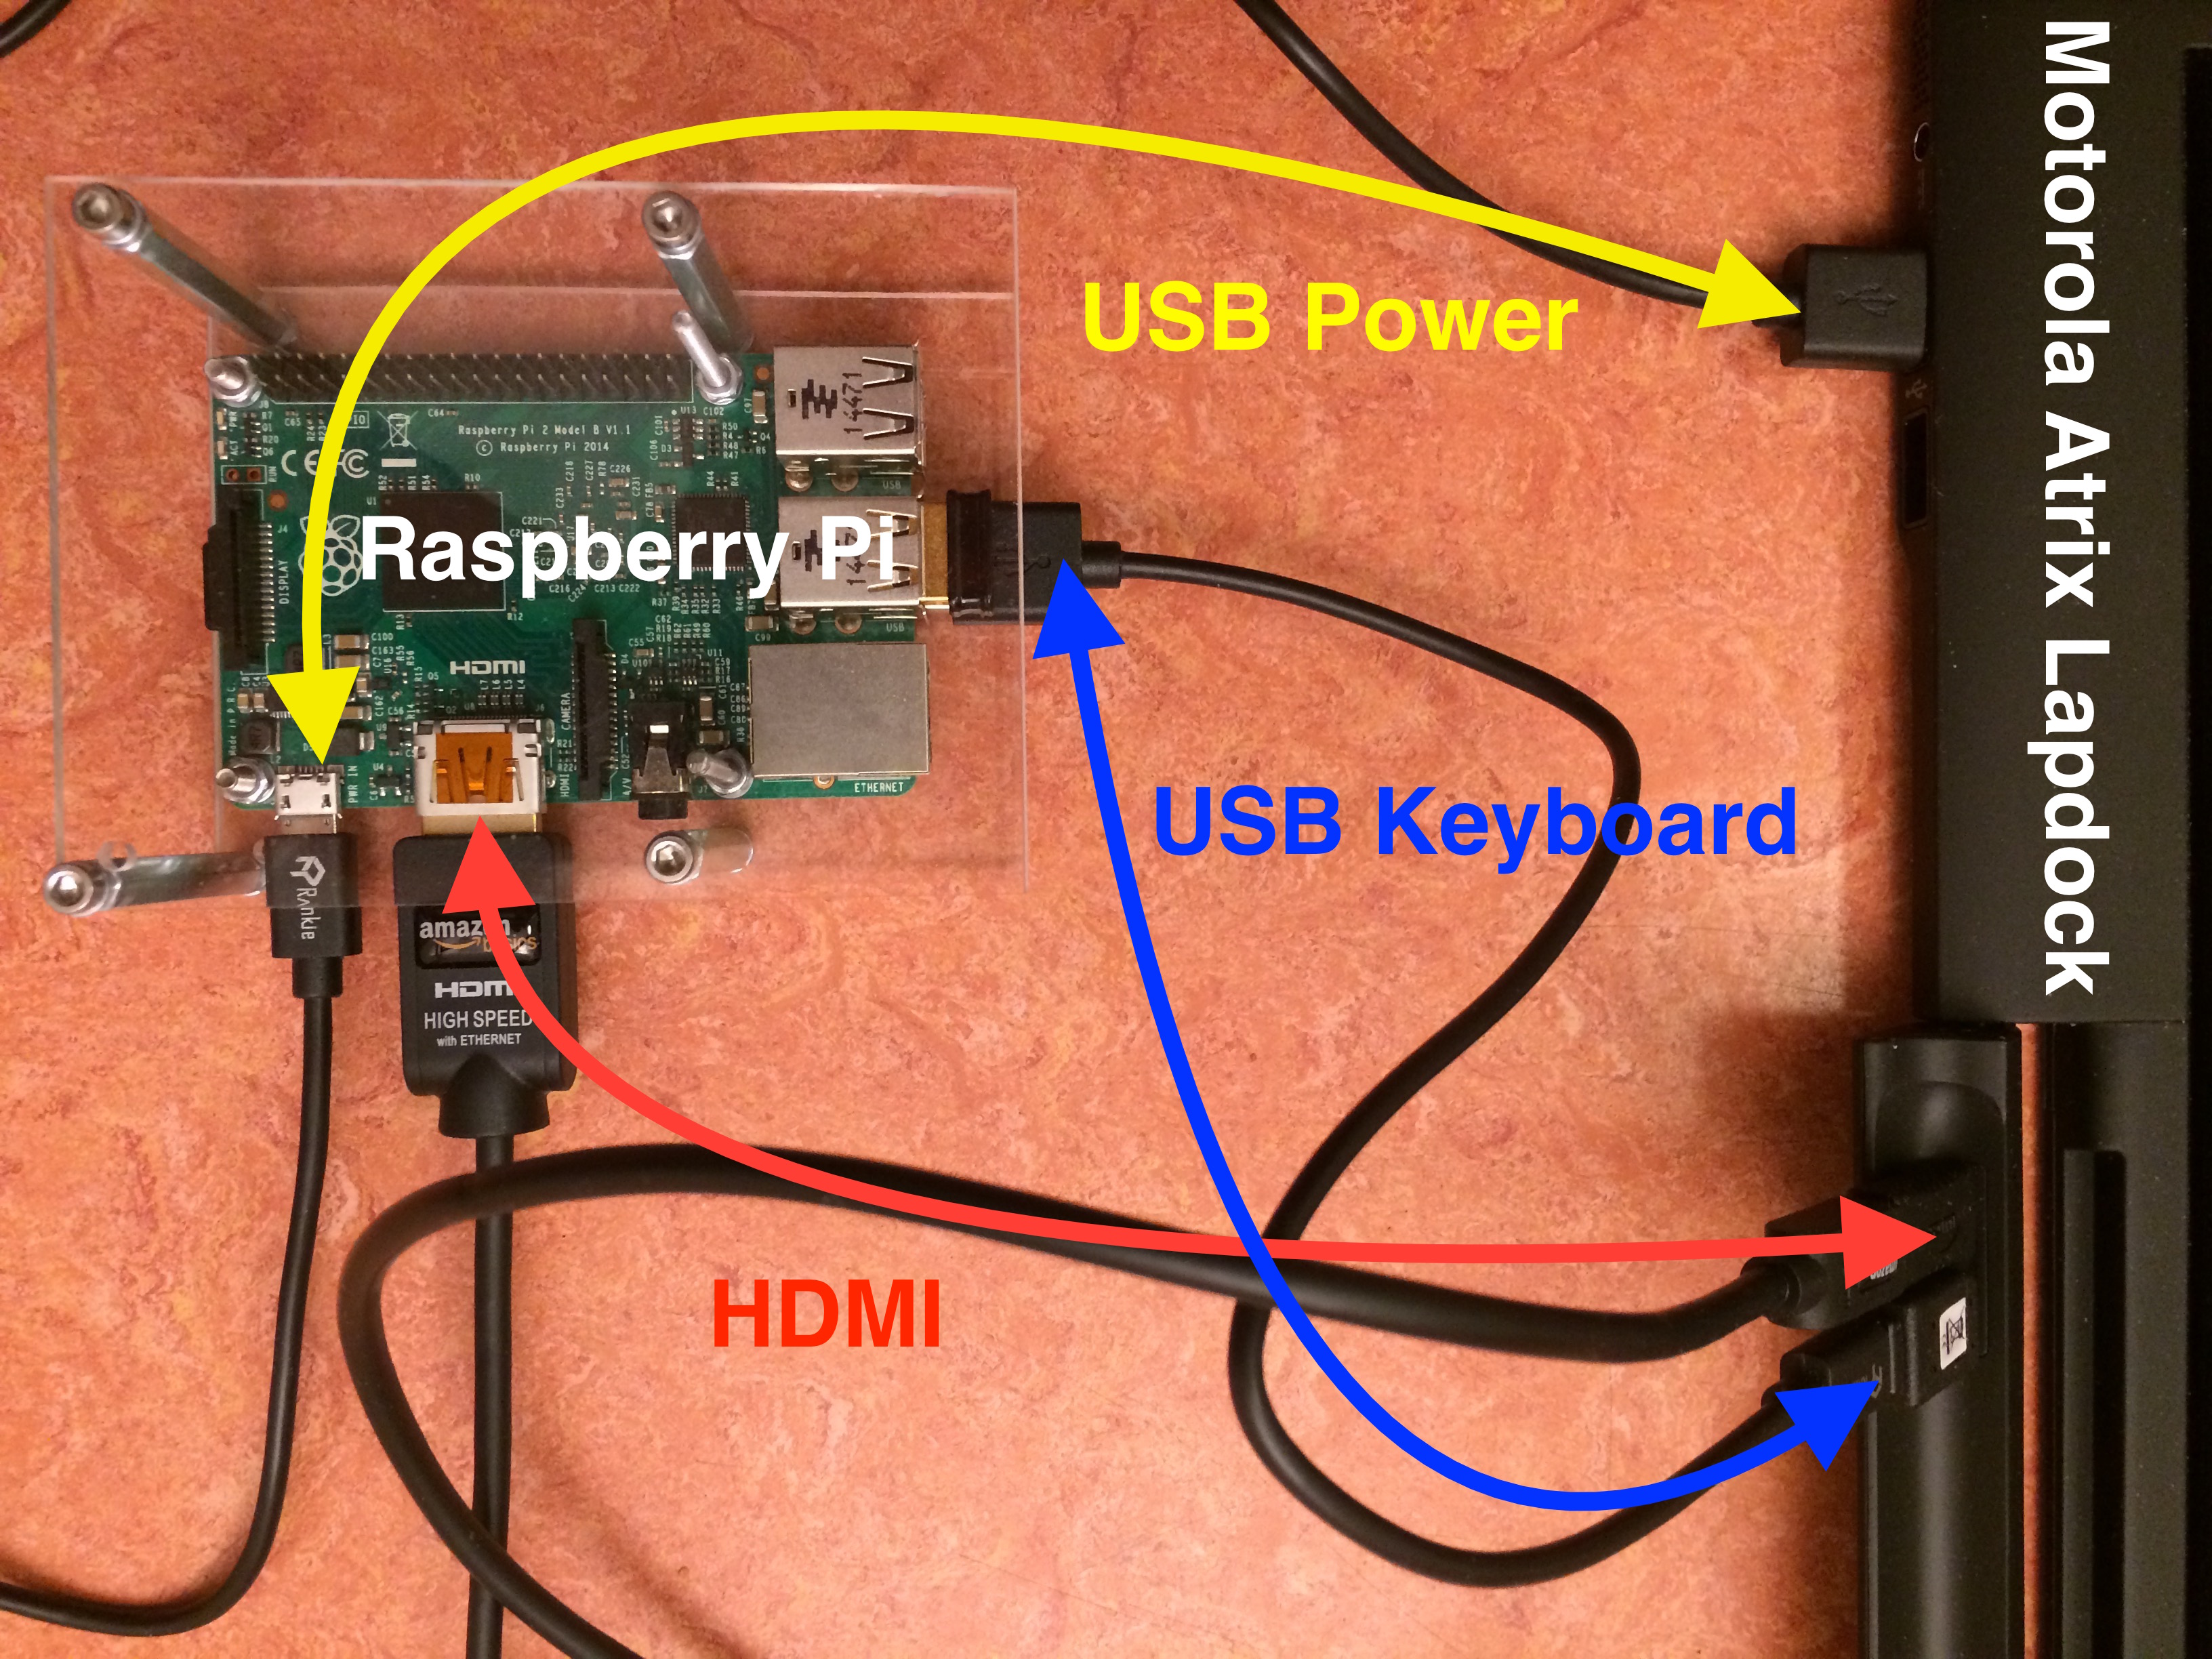
| 21:47, 4 September 2017 | Raspi Lapdock Hookup.jpeg (file) |  |
1.59 MB | Lukas (talk | contribs) | == Summary == Picture of how you need to hookup a Raspberry Pi to a Motorola Atrix Lapdock Photo & edits by Patrick == Licensing == {{CC-by-sa-4.0}} | 1 |
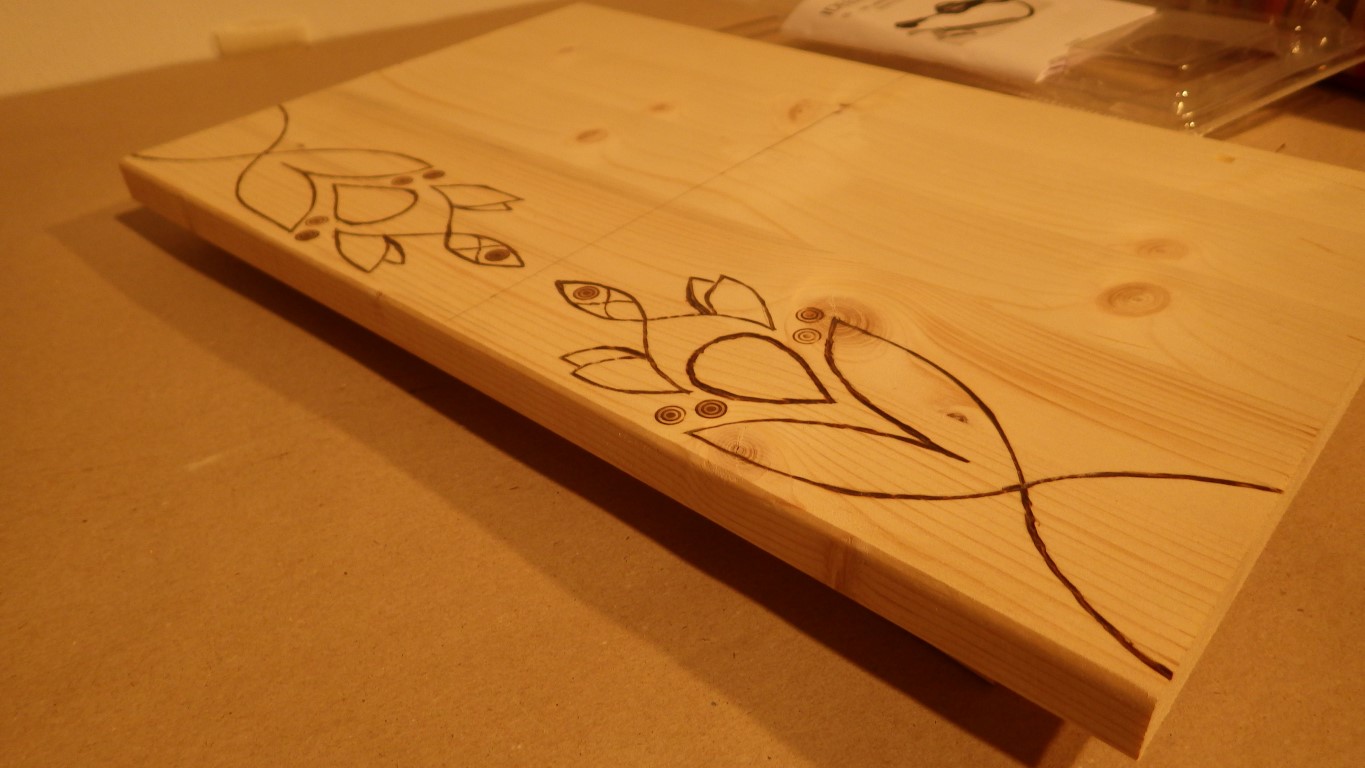
| 21:35, 4 September 2017 | Pyrography - shelf.JPG (file) |  |
203 KB | Lukas (talk | contribs) | == Summary == A glued laminated timber board decorated with a pyrography burner. == Licensing == {{PD}} | 1 |
| 21:33, 4 September 2017 | Premier+EmbroideryIntro SuperDesigns.PNG (file) |  |
74 KB | Lukas (talk | contribs) | == Summary == This is the 'SuperDesign' tab of the Premier+ Embroidery Intro software. == Licensing == {{Unknown_copyright}} | 1 |
| 21:32, 4 September 2017 | Premier+EmbroideryIntro Letter.png (file) |  |
56 KB | Lukas (talk | contribs) | == Summary == This is the 'Letter' tab of the Premier+ Embroidery Intro software. == Licensing == {{Unknown_copyright}} | 1 |
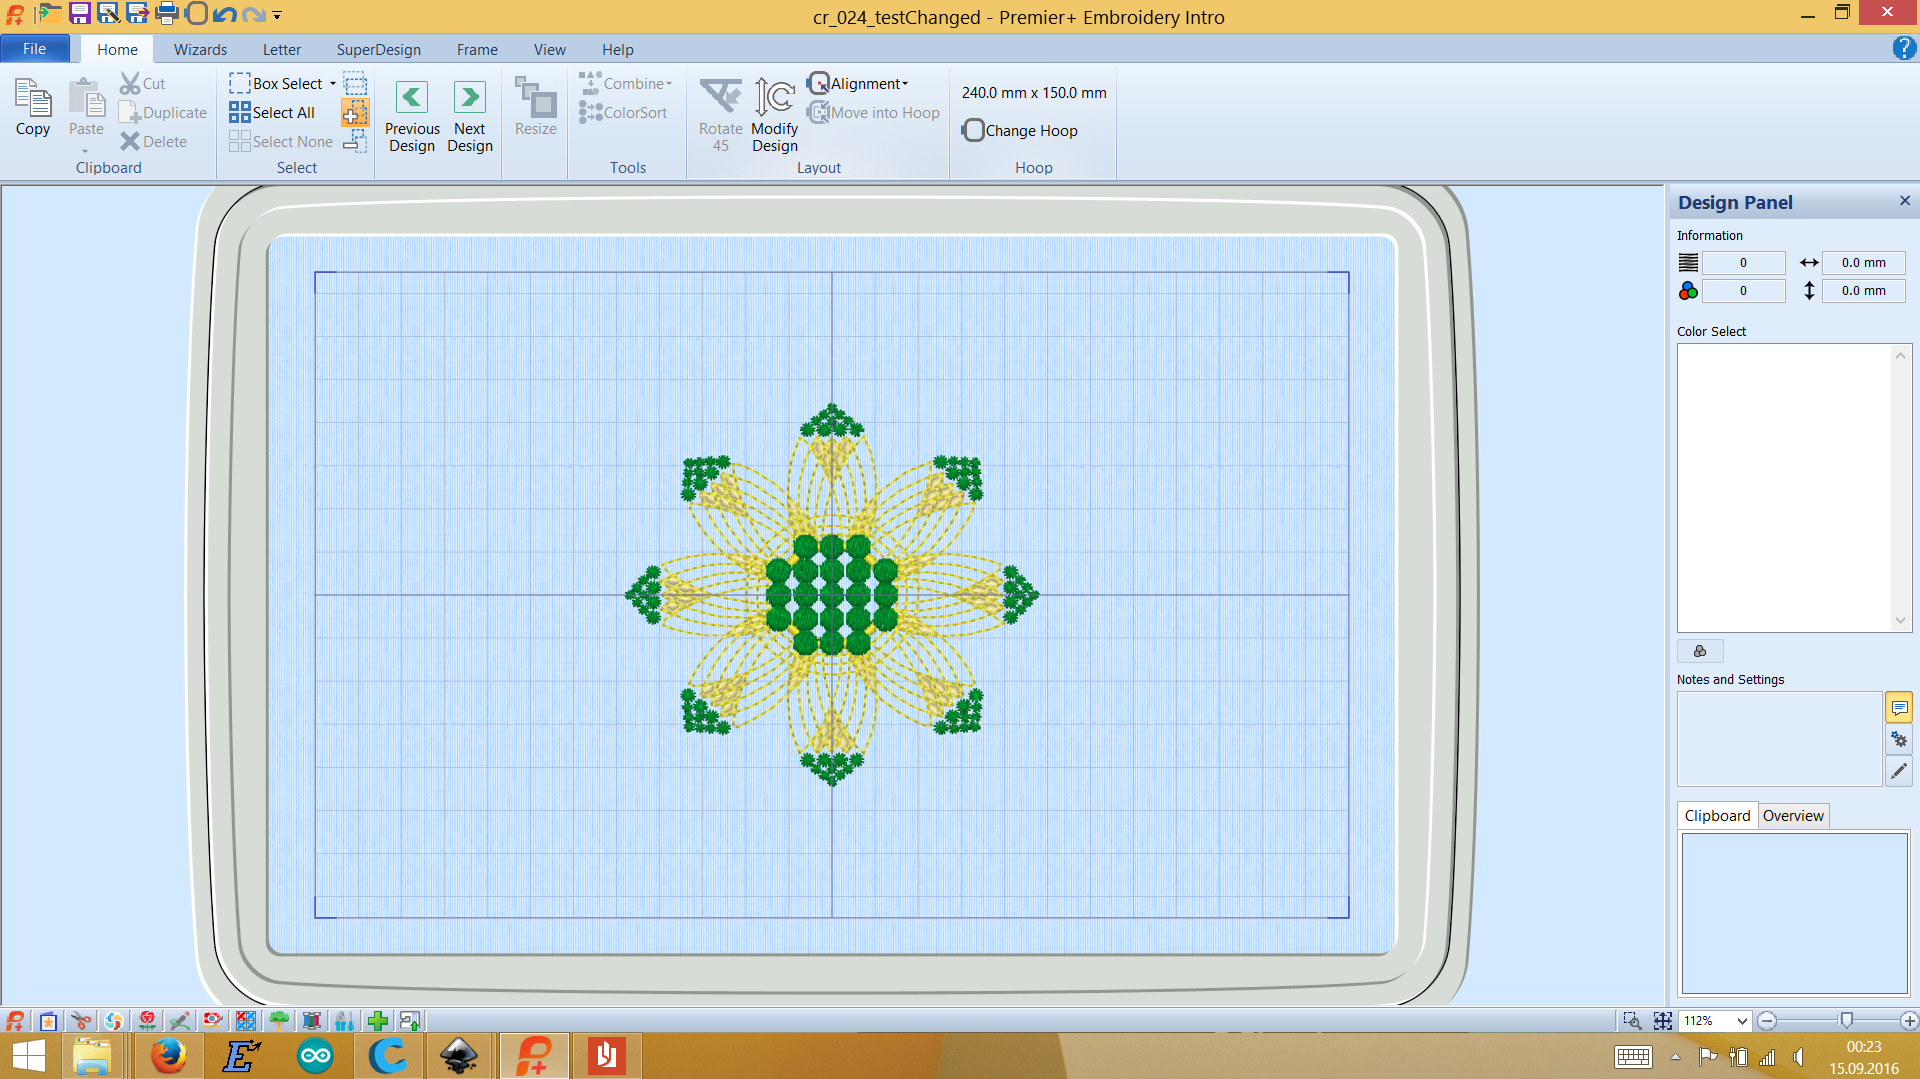
| 21:31, 4 September 2017 | Premier+EmbroideryIntro Home 2.png (file) |  |
39 KB | Lukas (talk | contribs) | == Summary == This is the 'Home' tab of the Premier+ Embroidery Intro software == Licensing == {{Unknown_copyright}} | 1 |
| 21:30, 4 September 2017 | Premier+EmbroideryIntro Home.PNG (file) |  |
743 KB | Lukas (talk | contribs) | == Summary == This is a screenshot of the Premier+ Embroidery Intro software which can be used to make designs for an embroidery machine. == Licensing == {{Unknown_copyright}} | 1 |
| 21:25, 4 September 2017 | Premier+EmbroideryIntro Frame.PNG (file) |  |
49 KB | Lukas (talk | contribs) | == Summary == This is the 'Frame' tab of the Premier+ Embroidery Intro software. == Licensing == {{Unknown_copyright}} | 1 |
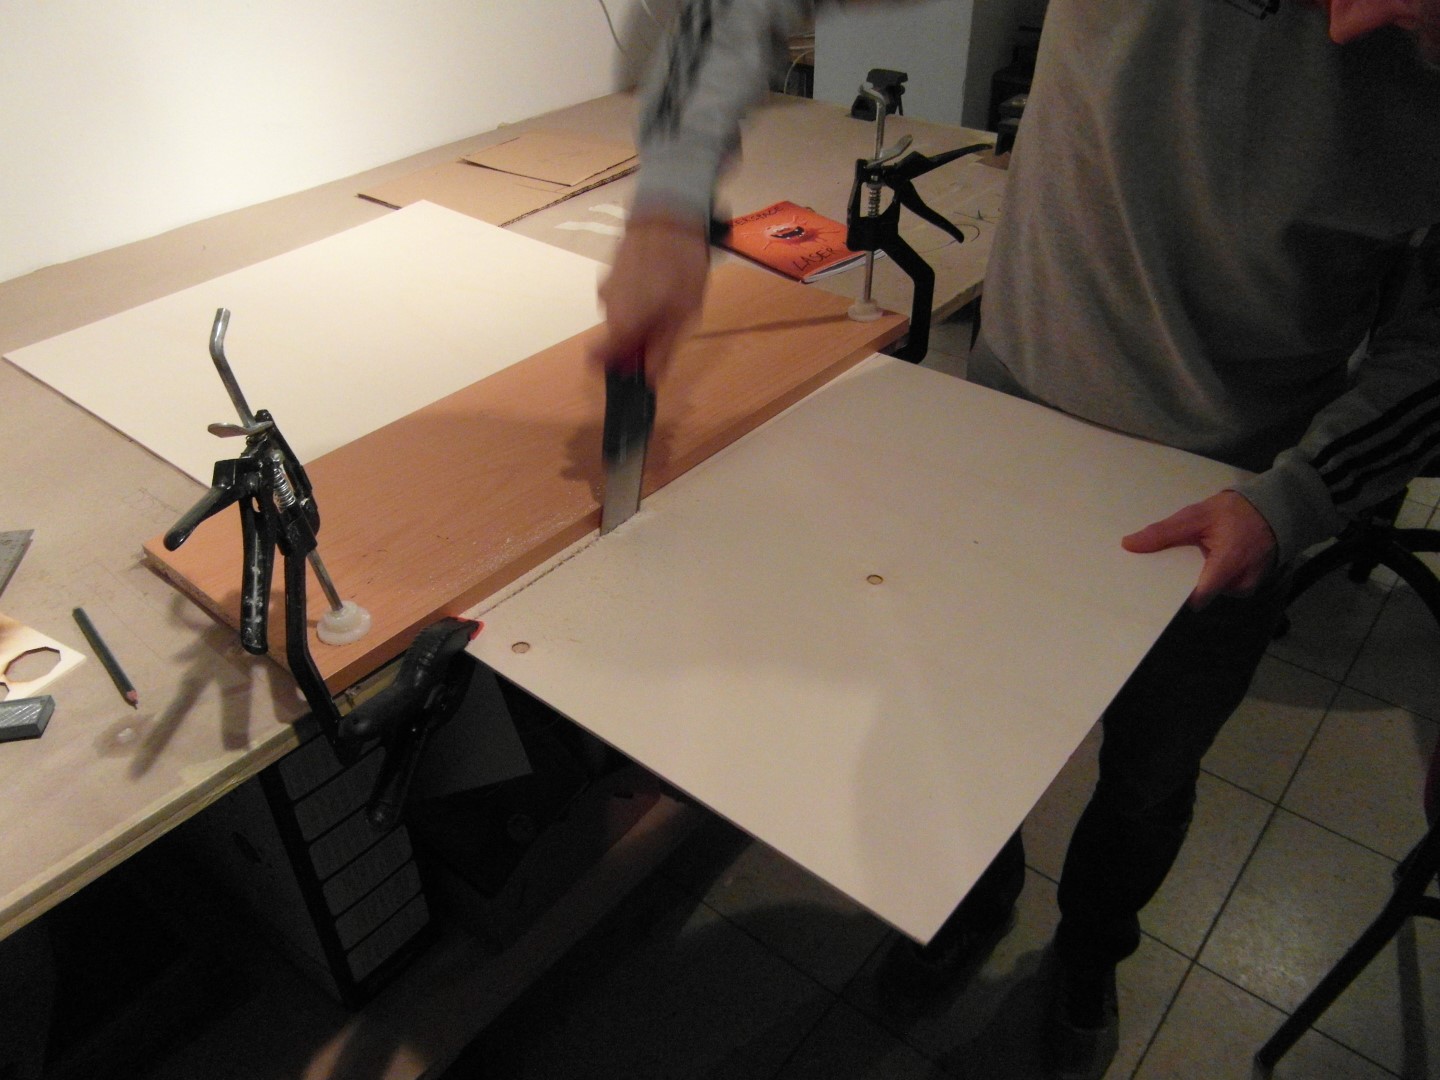
| 21:19, 4 September 2017 | Plywood resizing.JPG (file) |  |
281 KB | Lukas (talk | contribs) | == Summary == Plywood sheets are often too large to fit into a laser cutter or CNC mill, here's an easy way to change that with hand tools: # clamp the sheet down with a board next to the desired cut line # take a plun... | 1 |
| 21:02, 4 September 2017 | Plywood part.jpg (file) |  |
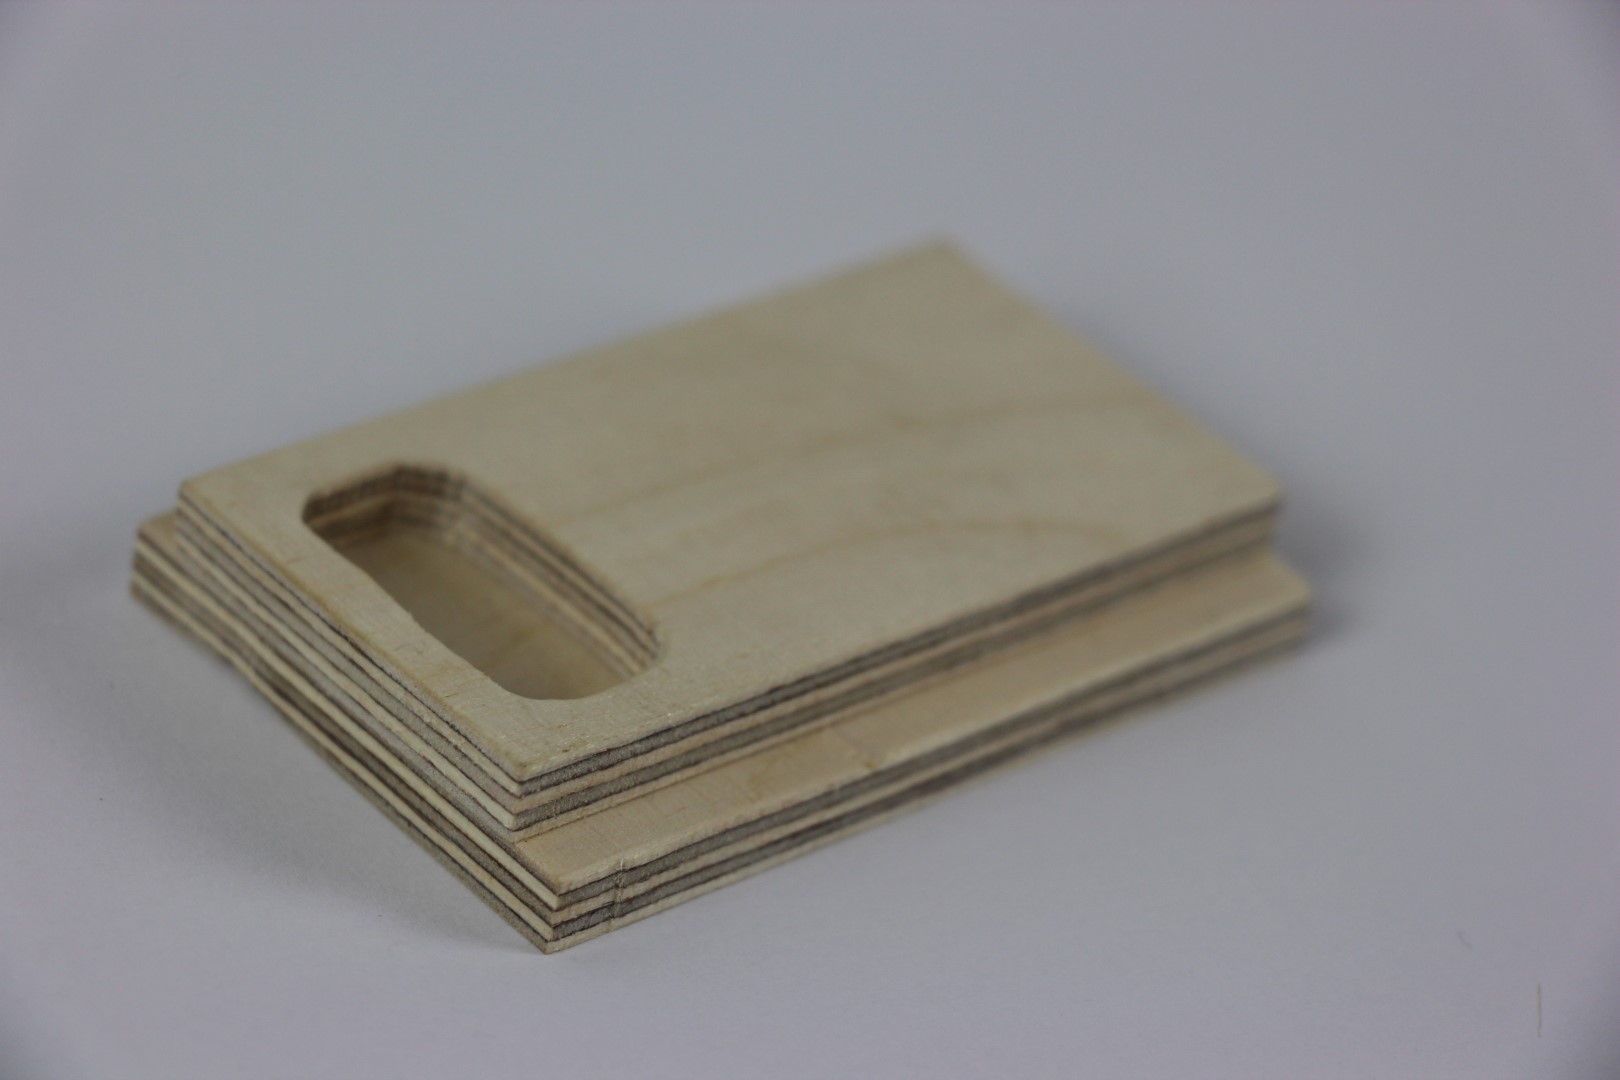
141 KB | Lukas (talk | contribs) | == Summary == Small part built from baltic birch plywood == Licensing == {{PD}} | 1 |
| 21:01, 4 September 2017 | Plywood 'color' engraving.JPG (file) |  |
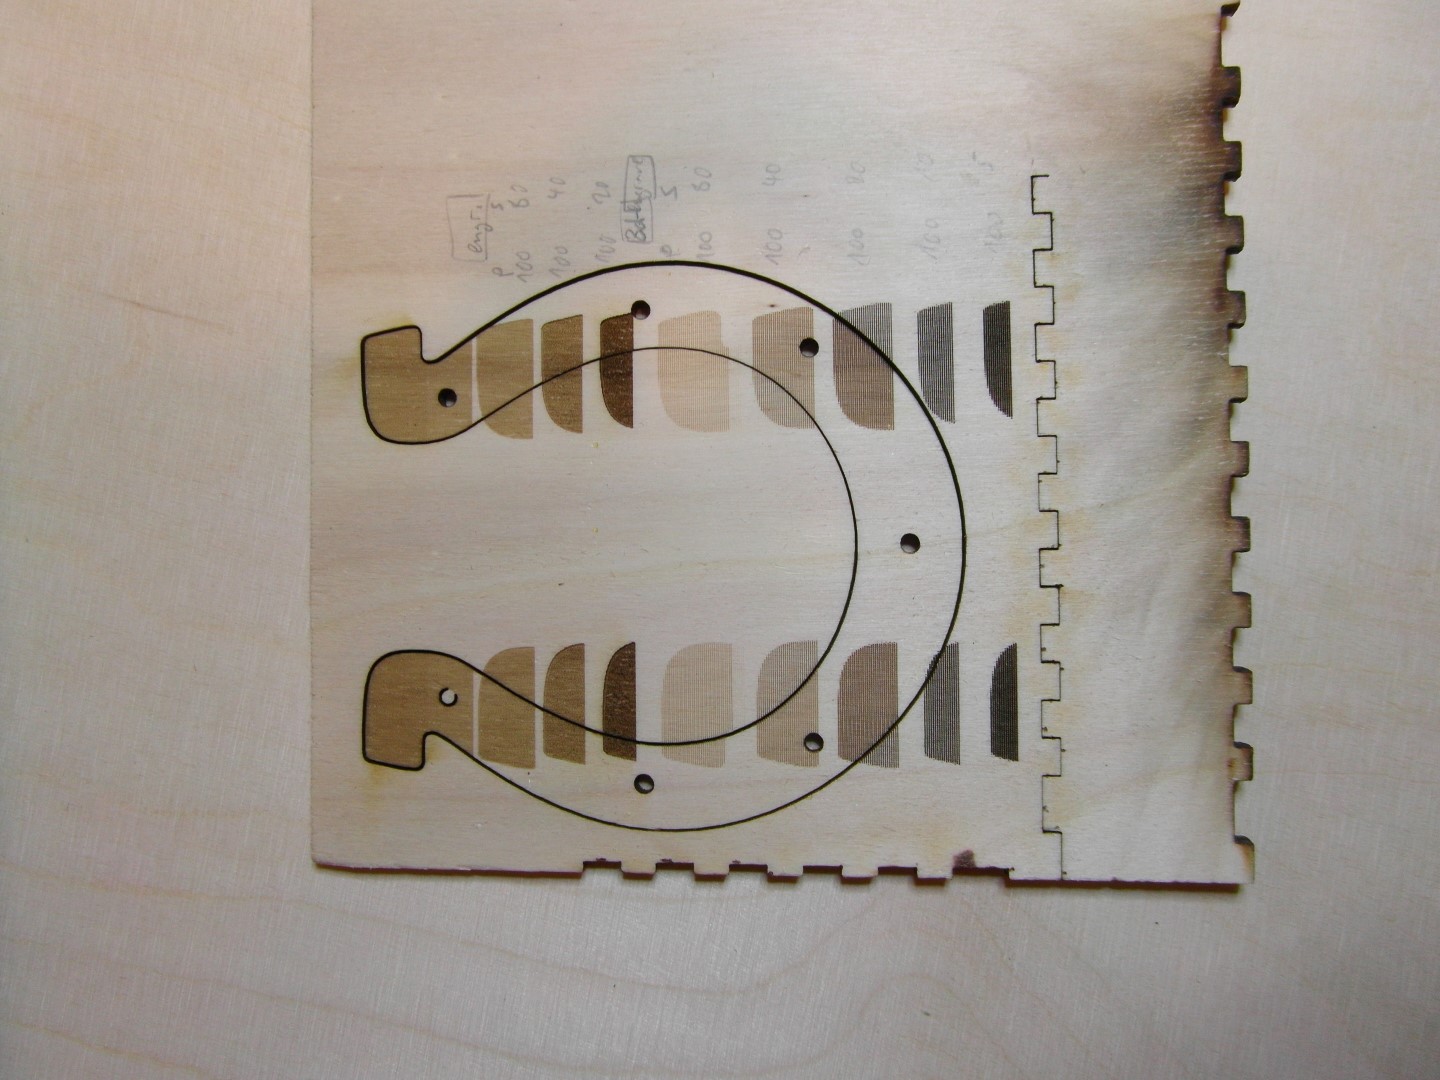
291 KB | Lukas (talk | contribs) | == Summary == test piece of plywood to see which colors are possible with a laser cutter depending on engraving speed and power == Licensing == {{CC-by-sa-4.0}} | 1 |
| 21:00, 4 September 2017 | Pipe wrench.jpg (file) |  |
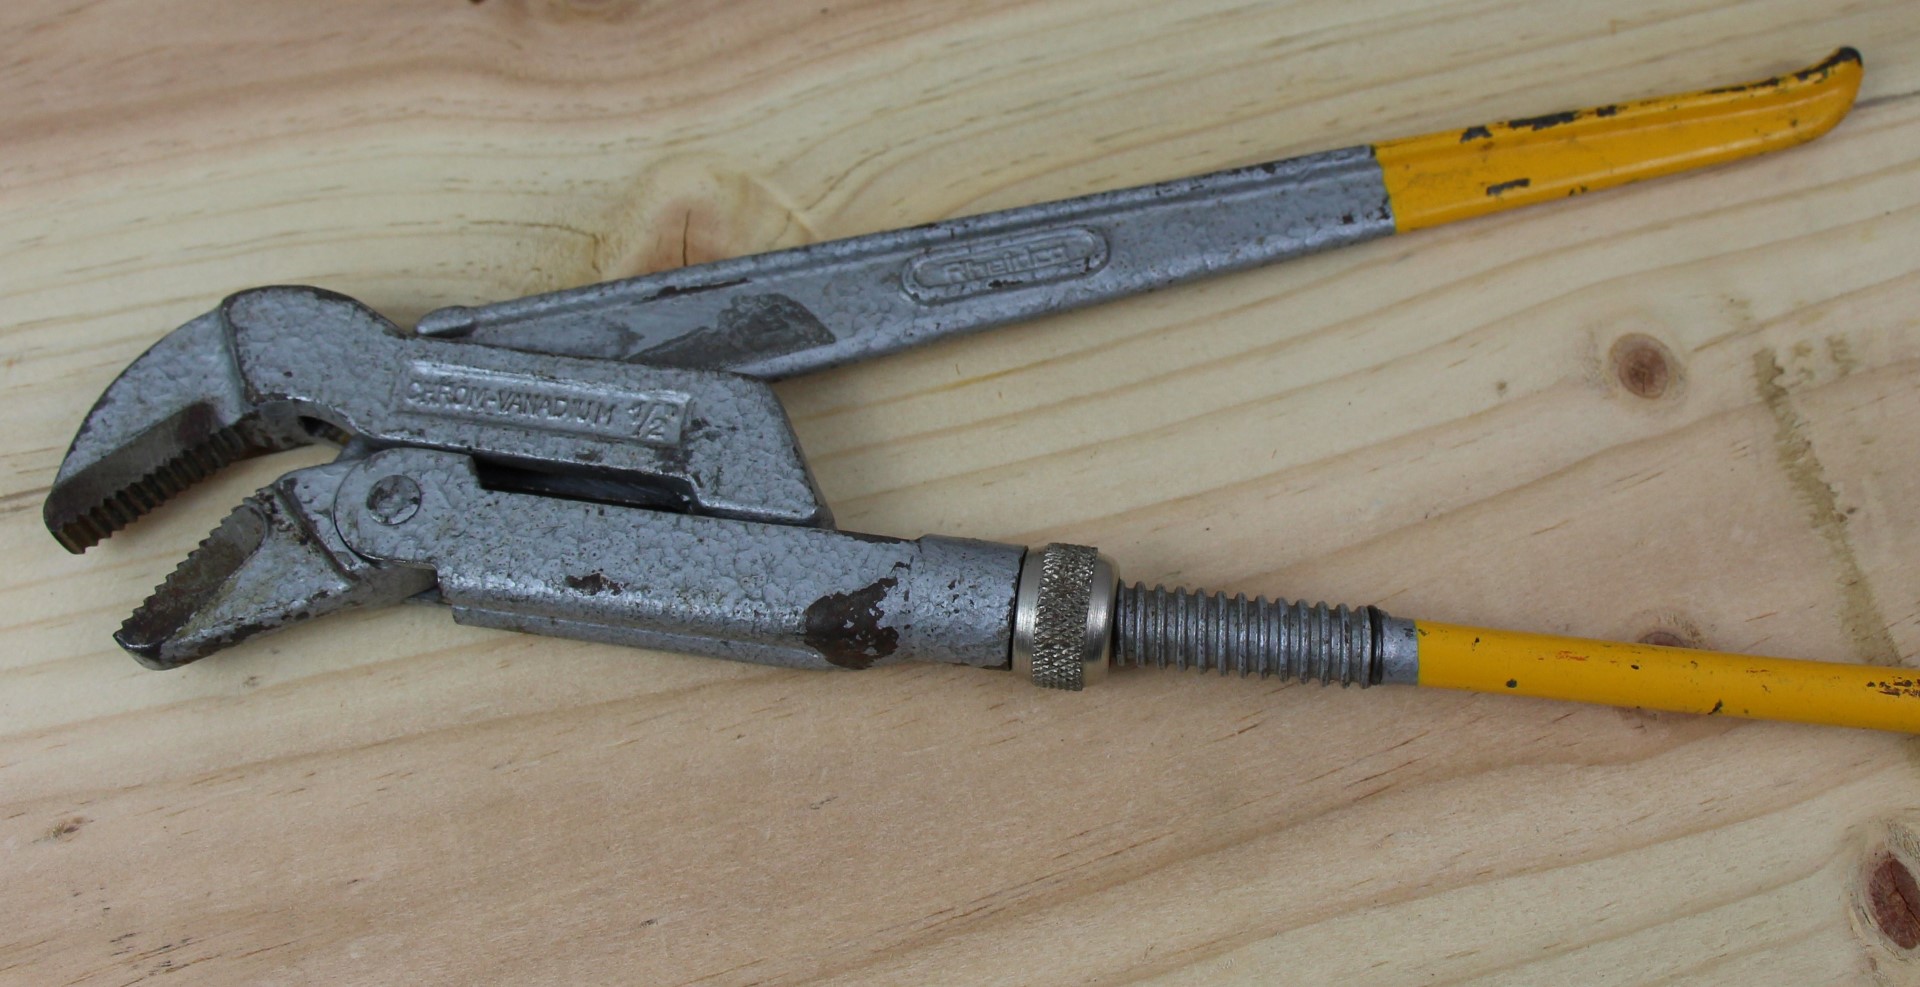
342 KB | Lukas (talk | contribs) | == Summary == a pipe wrench == Licensing == {{CC-by-sa-4.0}} | 1 |
| 20:59, 4 September 2017 | Pipe cutter.JPG (file) |  |
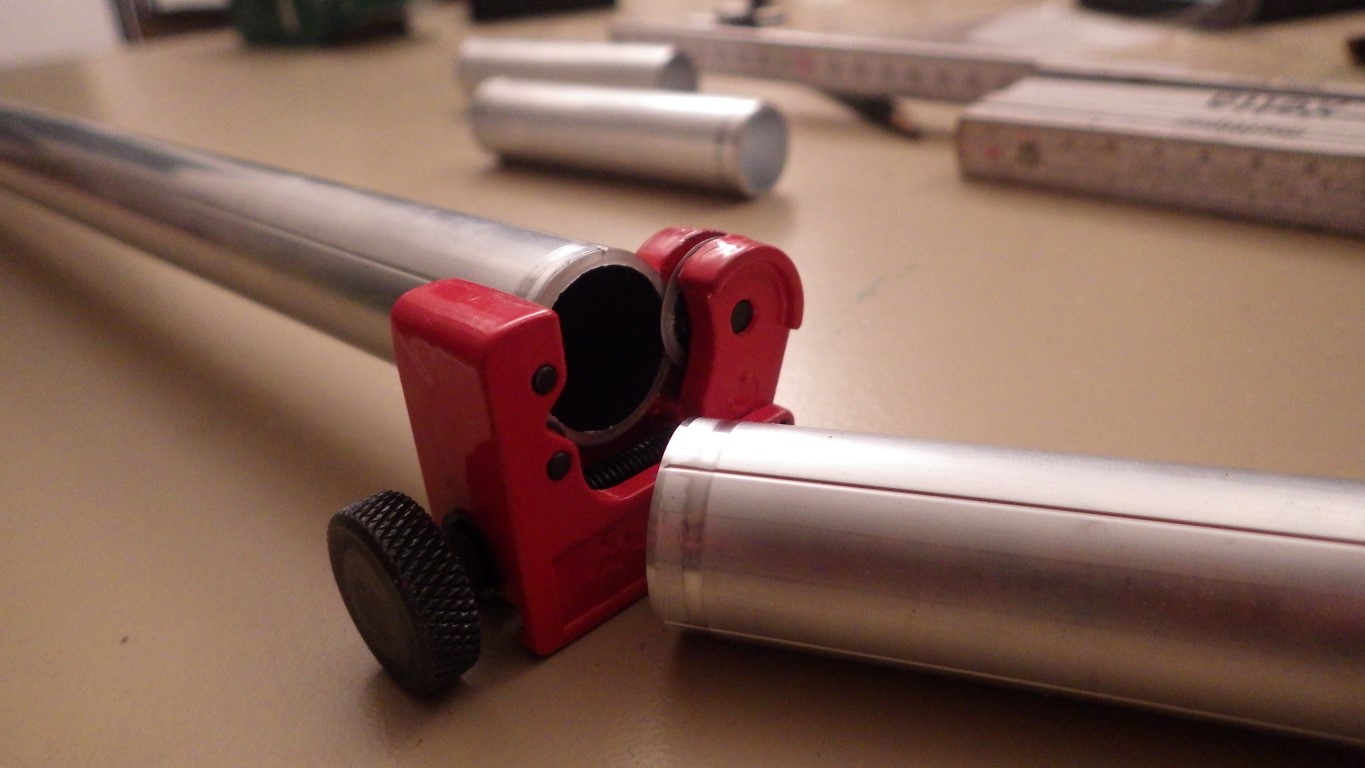
212 KB | Lukas (talk | contribs) | == Summary == a 25 mm aluminum pipe that has just been cut with a small pipe cutter == Licensing == {{CC-by-sa-4.0}} | 1 |
| 20:58, 4 September 2017 | Pine log drying in attic.JPG (file) |  |
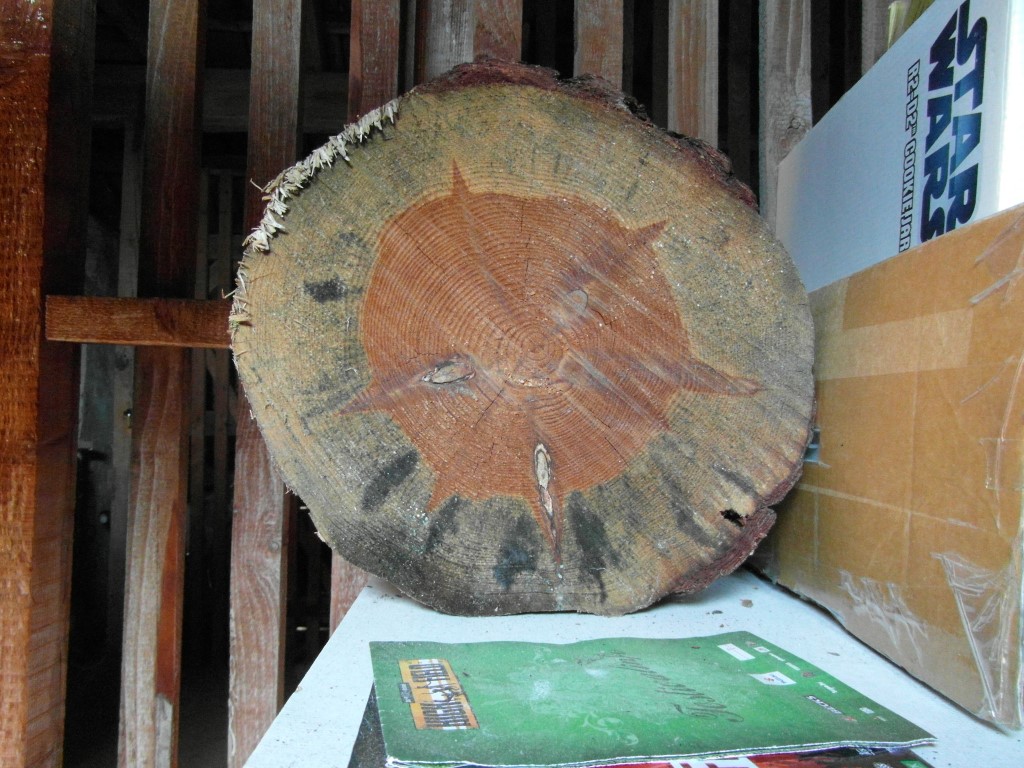
252 KB | Lukas (talk | contribs) | == Summary == a piece of pine wood drying in my attic for [[Project:Drying Timber|an experimentation] == Licensing == {{CC-by-sa-4.0}} | 1 |
| 20:55, 4 September 2017 | PicB.JPG (file) |  |
6 KB | Lukas (talk | contribs) | little demo image, e.g. for galleries (see Help:Files) | 1 |
| 20:55, 4 September 2017 | Pic02.JPG (file) |  |
8 KB | Lukas (talk | contribs) | little demo image, e.g. for galleries (see Help:Files) | 1 |
| 20:54, 4 September 2017 | Pic01.JPG (file) |  |
7 KB | Lukas (talk | contribs) | little demo image, e.g. for galleries (see Help:Files) | 1 |
| 20:52, 4 September 2017 | Personal protection.JPG (file) |  |
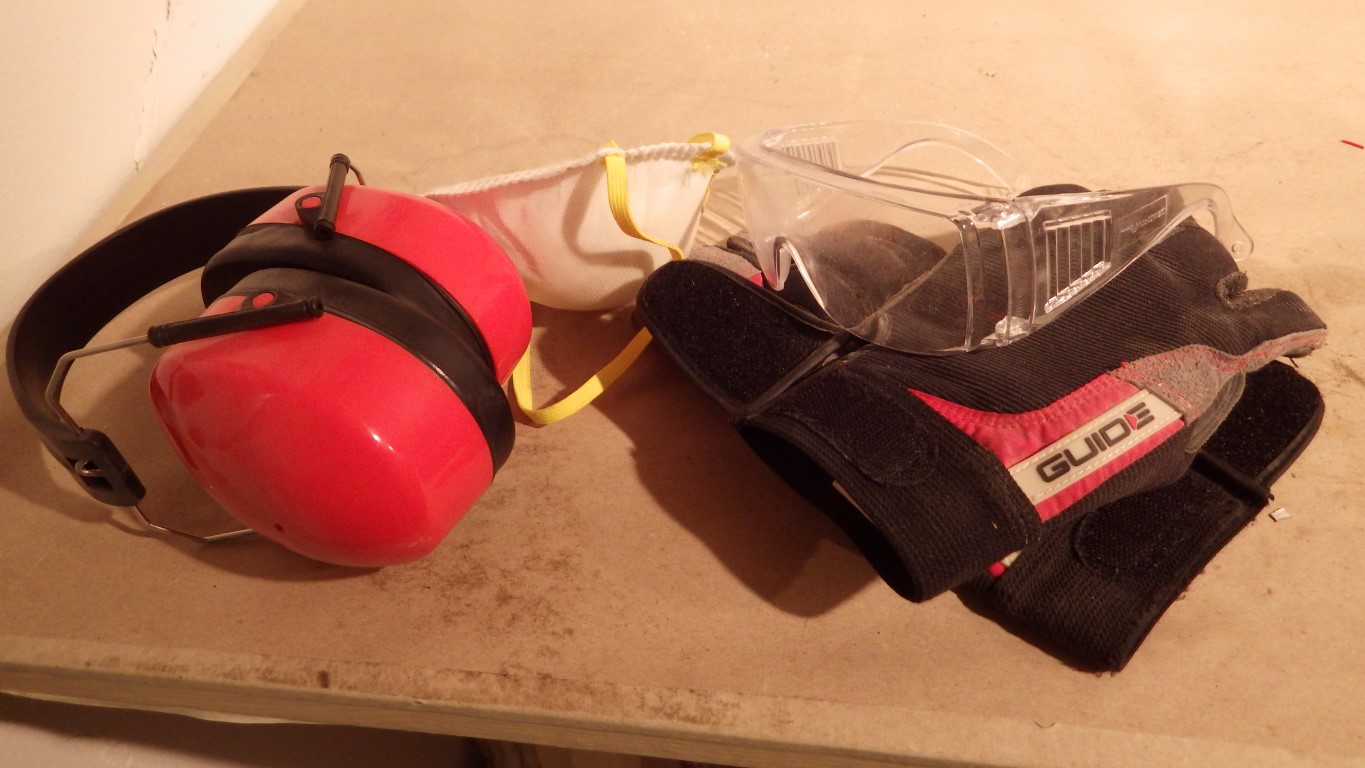
246 KB | Lukas (talk | contribs) | == Summary == typical personal protection gear: ear defenders, dust mask, safety goggles and gloves. == Licensing == {{CC-by-sa-4.0}} | 1 |
| 20:51, 4 September 2017 | Parcel twine and cotton string.JPG (file) |  |
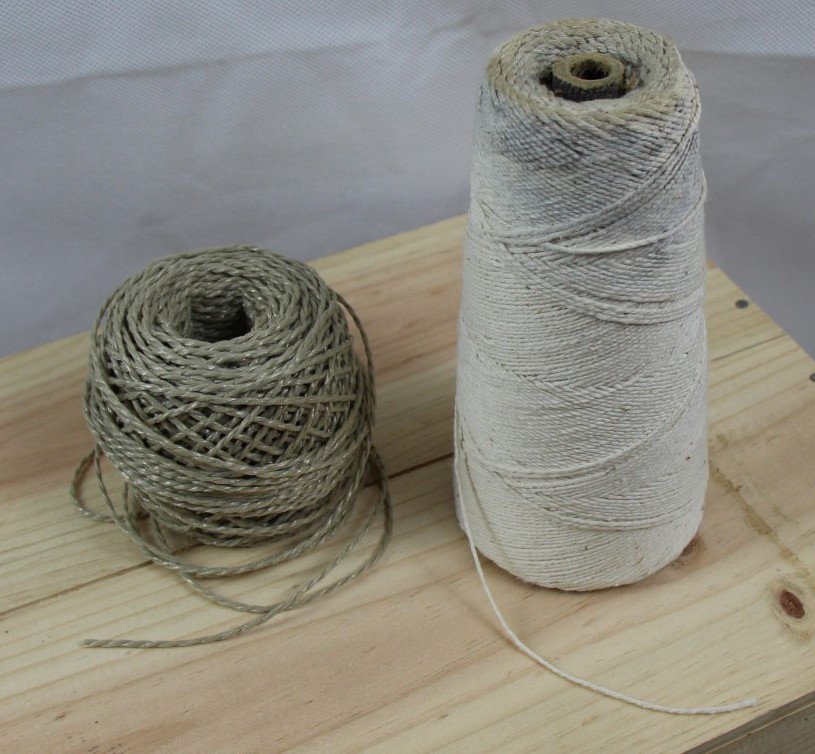
142 KB | Lukas (talk | contribs) | == Summary == a ball of parcel twine and a spool of string == Licensing == {{CC-by-sa-4.0}} | 1 |