Laserscript LS6090: Difference between revisions
NitramLegov (talk | contribs) Outsourced from Laser Cutter |
NitramLegov (talk | contribs) m →Laserscript LS6090: Add AssetID |
||
| Line 11: | Line 11: | ||
|material=[[wood]], [[Material:Glass|glass]], [[Material:Acrylic Glass|acrylic glass]], ...<br>([[Laser Cutter#Possible Materials (Cutting/Engraving)|list of cuttable & engravable materials]];<br>[[Laser Cutter#Possible Materials (Engraving Only)|list of only engravable materials]]) | |material=[[wood]], [[Material:Glass|glass]], [[Material:Acrylic Glass|acrylic glass]], ...<br>([[Laser Cutter#Possible Materials (Cutting/Engraving)|list of cuttable & engravable materials]];<br>[[Laser Cutter#Possible Materials (Engraving Only)|list of only engravable materials]]) | ||
|software=[[Lasercut 5.3]] | |software=[[Lasercut 5.3]] | ||
|manual=printed copy at the machine | |assetid=57|manual=printed copy at the machine | ||
|used with=[[Laser Exhaust System|laser exhaust system]], [[Water Chiller|water chiller]] | |used with=[[Laser Exhaust System|laser exhaust system]], [[Water Chiller|water chiller]] | ||
}} | }} | ||
Revision as of 00:36, 5 November 2022
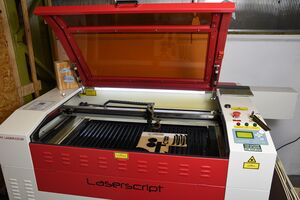
Laserscript LS6090
| MachineInfoBox Laserscript LS6090 | |
|---|---|

| |
| Synonyms: | DE: Laserschneider, "Lasercutter" |
| Type: | Laser Cutter |
| Material: | wood, glass, acrylic glass, ... (list of cuttable & engravable materials; list of only engravable materials) |
| Used with: | laser exhaust system, water chiller |
| Location: | Laser Area |
| Access Requirements: | Laser Cutter Introduction |
| Status: | Working |
| Software: | Lasercut 5.3 |
| Manual: | printed copy at the machine |
| Tutors: | NitramLegov Pakue Lmnl99 Johannes Luzian Keno Utis Sebastian Björn Jaggi2 Erik |
General Information
- power: 80 Watt
- worktable size: 60x90 cm (length x width), engraving a bit smaller
- Z axis (height): 23 cm
Cost
The tube and filters need to be replaced from time to time which will add up to several hundred €.
Therefore, an appropriate user contribution is 20 ct per minute which you should please throw into the obvious cash box immediately or in advance.
Machine Control
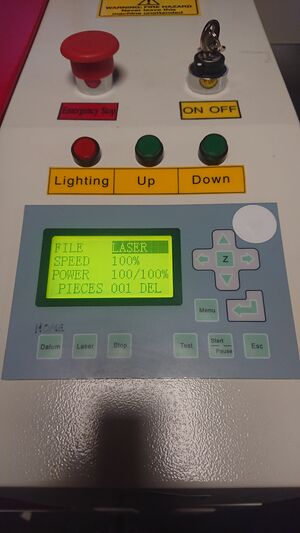
The machine itself is mainly operated by the control panel located on the right side of the machine:

Homing
When you turn on the machine, please press the "Datum" button in order to Home the machine. This is needed so that the machine knows where the laser is located after a restart. The laser will move to the upper right corner of the machine.
Moving the Laser
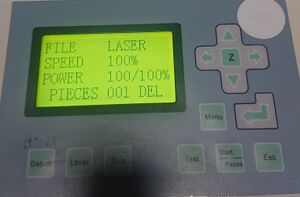
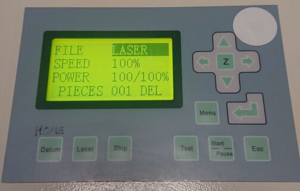
In order to move the laser to the starting point of your job, please ensure that you are in the main menu and no option is being highlighted. This can be achieved by pressing "ESC" until you see the following:

Now you can move the laser by pressing the directional buttons.
Jog Speed
In case the laser is moving too much or too little with each button press, please go to the jog set menu by using the following key combination: Menu --> Down --> Down --> Enter
In this menu, you can set the jog distance. Please confirm the new distance by pressing Enter.
Starting the Job
After uploading your job to the machine (see LaserCut_5.3#Uploading_your_Job for details), you can start the job by pressing "Start / Pause". The same button will also pause your job in between if needed.
Setting the Focus
In order to set the focus of the laser, please put your workpiece on the tray and put the focus finder (little black 3D printed thingy) on top of it. Now, move the laser above the focus finder and move the tray up (by pressing "up") until you can barely slide the focus finder through the gap. The focus is now set to the surface of your workpiece.
Troubleshooting
Laser keeps starting at the same (wrong) position
Sometimes, the starting point of the laser cutter gets set to a fixed position by accident.
While we are not yet entirely sure how this happens, here's how to fix it:
