Project:Resized Wardrobe Drawers
From CoMakingSpace Wiki
| ProjectInfoBox Resized Wardrobe Drawers | |
|---|---|

| |
| Status: | build done, now documenting |
| Release Date: | Oct 2018 |
| Initiator: | Lukas |
| Materials Used: | film faced plywood, melamine, pine plywood, dowel pegs, wood screws, drawer slides |
| Tools Used: | table saw, router table, cordless drill, marking gauge |
| Approx. Cost: | approx. 15 € for wood, 20 € for slides |
Our wardrobe (forgot from which furniture store) had two drawers that were 36 cm deep, but there was room for 54 cm - wasted potential for a 50 % increase of usable space!
Of course, that had to be changed and I tackled this project as soon as we got our first router table running in the CoMakingSpace.
Notes
- originally wanted to replace just the sides, but different style of slides, higher walls & thicker bottom desired
- slides a bit harder to install than expected, had to move them up a few times
- but move nicely & can hold way more than they ever will have to
- warped shelf above (stupid chipboard...) made a re-cut necessary
- fronts seemed to hold very strongly without wood glue at first, but had to be glued on after a few months - just do yourself a favor and glue them on as soon as you're sure everything fits!
Build Photos
- mouseover/click for more information!
-
 the wasted space before this project - the cheap (weak & short) drawer slides were probably one of the reasons against including full-size drawers
 -
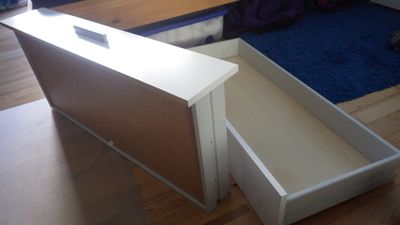 old drawers taken out to take measurements of the wardrobe
 -
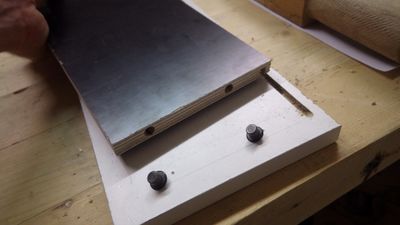
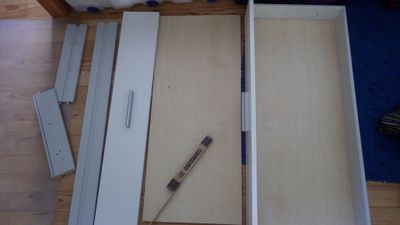 one of the old drawers taken apart to take measurements of its components
 -
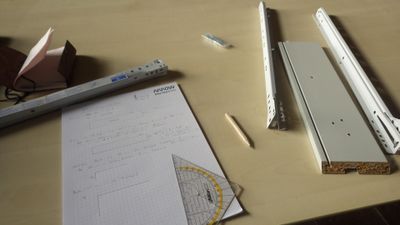 plans taking shape on a common room table
 -
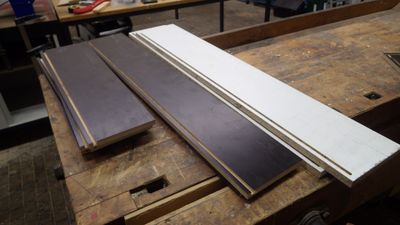
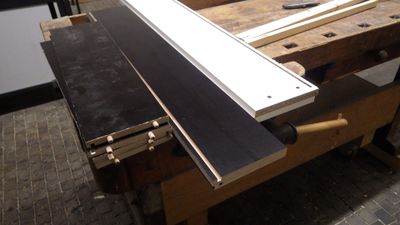
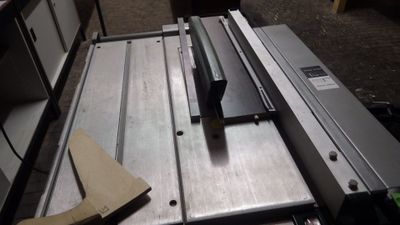
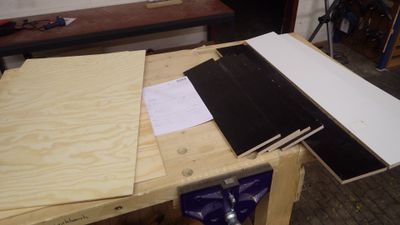 parts fresh off the table saw
 -
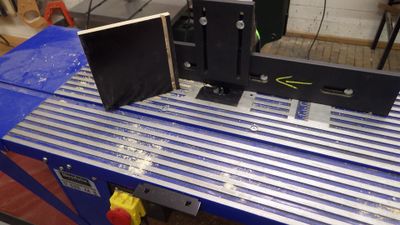 test piece for the bottom groove on the new router table
 -
 all pieces with the bottom groove cut out
 -
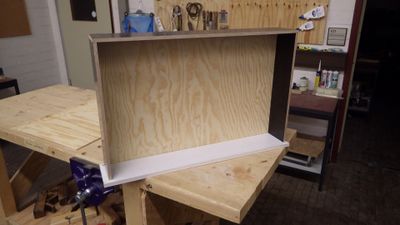 first "dry" fit without screws and dowel pegs
 -
 parts labeled with their final place (1/2, right/left)
 -
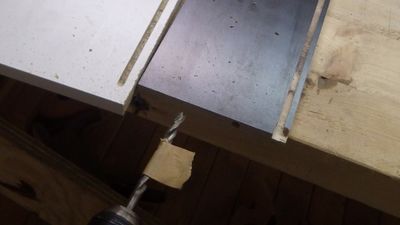 a piece of masking tape is a great quick & dirty depth stop
 -
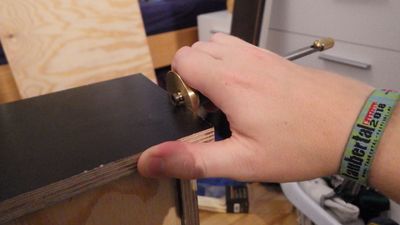
 dowel centers really help with the hole alignment - no measuring needed!
 -
 all "wall" pieces cut, routed and drilled
 -
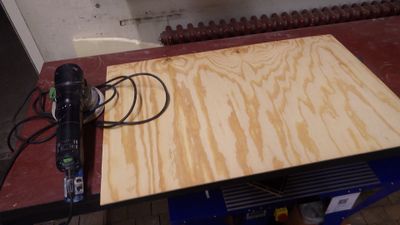 an eccentric sander made quick work of sanding the bottom pieces
 -
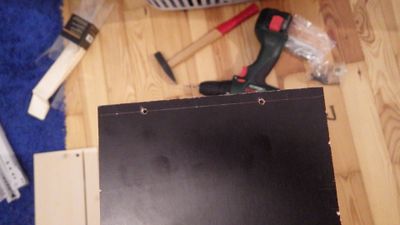
 scribing the ideal screw line for the butt joints in the back with a marking gauge
 -
 butt joint drilled as marked before
 -
-
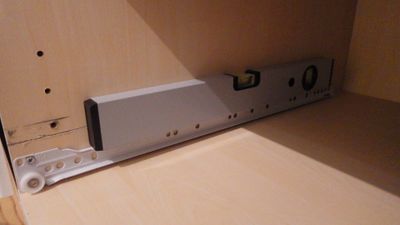
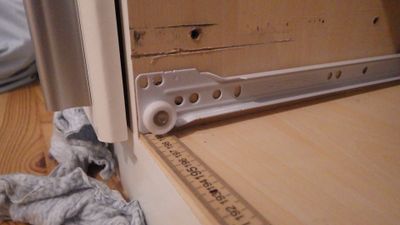 first installation attempt was too low - the slides were then raised by one yardstick thickness
 -
 once the first drawer was installed, it became painfully clear that the shelf above had warped...
 -
 ...and the "walls" of the top drawer had to be ripped to fit in the smaller-than-measured space.
 -
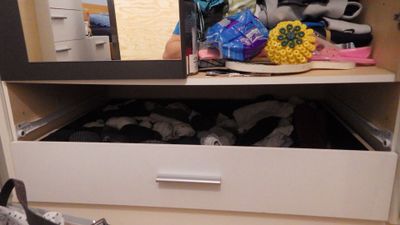
 done!
done!


