Project:Bottles Resin Embedding
| ProjectInfoBox Bottles Resin Embedding | |
|---|---|
| |
| Status: | done |
| Release Date: | Between Christmas and New Years 2017 |
| Initiator: | Patrick |
| Materials Used: | objects (bottles) to embed, embedding resin (polystyrol), various sanding/polishing stuff |
| Tools Used: | rasps, sandpaper |
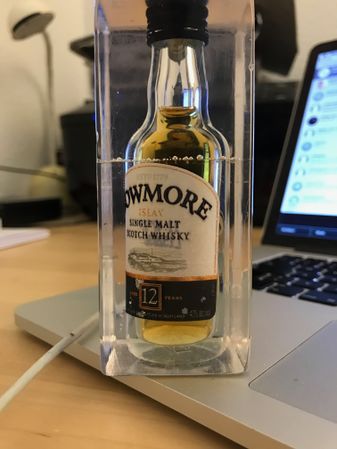
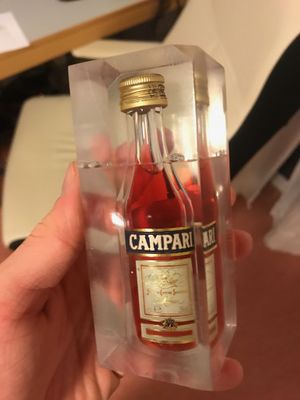
As a Christmas present I wanted to embed some small bottles of liquor in resin and polish them up.
Making a Mould
The resin and object need to be poured in some kind of container to give shape and keep the resin in. A simple watertight box made out of wood or plastic works fine for this, but is more work to remove after the resin has set. The mould needs to be broken apart and any residue sanded off.
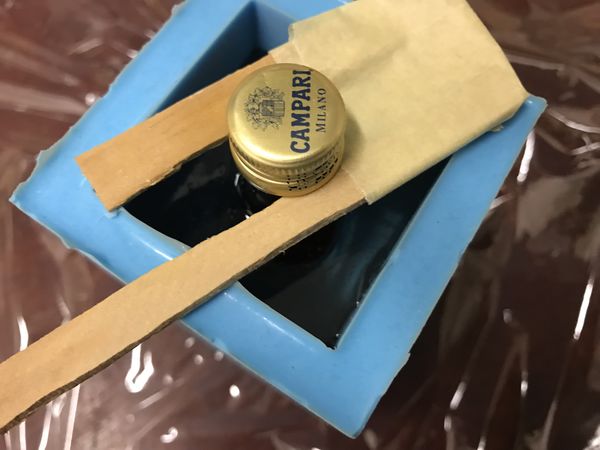
As I made multiple embeddings, I chose to make a silicone mould. It can be reused multiple times as the resin doesn't stick to the silicone. The silicone is prepared from a two-part silicone rubber. It is non-toxic, but if you plan on using it with food (e.g. chocolate) get food-grade silicone.
Tip: The better the mould (surface finish, close dimensions/shape) the less time one has to spend sanding ;-)
Choosing and pouring resin
For embedding larger objects/volumes at once you need special resin which doesn't shrink/expand or hardens too quickly. Otherwise cracks may form or the resin will get too hot and bubble may form. I used a polyester resin 24410 XOR. It is relatively cheap and traps very few bubbles due to is low viscosity. In hindsight I'd recommend an epoxy because the polyester resin is hard to mix with the low amounts of hardener used and it also smells quite strongly until hardened.
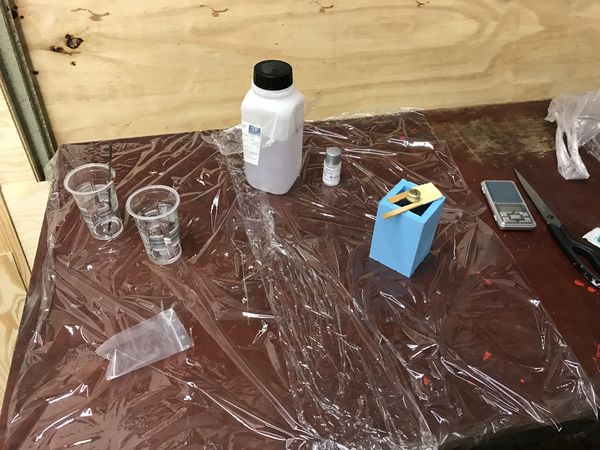
Wear gloves and protect your working area with plastic sheets during the work with the resin.
The pouring is relatively simple and straight forward. Read the supplied instructions of the resin beforehand to get to know the mixing ratios and setting times.
- make sure the mould and object are clean
- it may be useful to use a mould release an the mould to help with the removal in the end
- fix the object in the mould at its desired position
- keep in mind that light objects may float in the resin
- depending on the configuration multiple pouring steps may be needed
- mix the resin and hardener
- keep mixing ...
- transfer the resin into a new container and stir again so no unmixed resin/hardener is stuck to the container wall
- (degassing the resin with a vacuum pump may help remove some bubbles)
- pour the resin into the mould
- let it set
- the leftover resin is a good indicator to check if the resin is solid
- the warmer the room the faster the resin sets but be careful with too high temperatures (e.g. on the heater) as the polymerisation releases heat which can build up.
Sanding/Polishing
The resin dust is not healthy to breathe in therefore wear breathing protection, gloves and goggles (Personal Protection) and vacuum regularly.
The resin needs to be completely solidified before sanding. Placing it on the heater for a few days helps curing it completely.
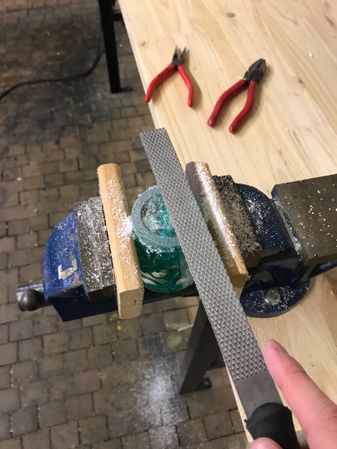
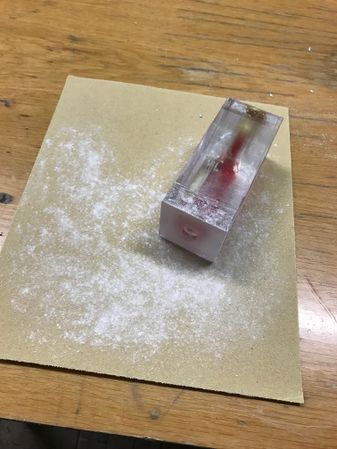
The polyester I used left a thin patina which was still slightly soft after a few days. It made sanding difficult therefore I removed it with a rasp. Afterwards I sanded each surface with 80, 120, up to 600 grid metal sandpaper until the surface was smooth. Removing all the scratches takes a while, but using an electric sander didn't work for me due to the heat causing the dust to clump.
Afterwards you can polish the object with (plastic) polishing paste.
-
Workspace covered with plastic foil. With mould and mixing containers.
-
Bottle in silicone mould.
-
Rasping
-
Sanding
-
Done.
