CNCjs
| SoftwareInfoBox CNCjs | |
|---|---|
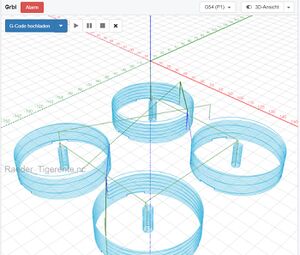
| |
| Type: | G-Code sender |
| Platform: | Windows, Mac, Linux |
| License: | MIT License |
| Source: | github |
| Input Formats: | G-Code |
| Output Formats: | G-Code via serial |
| Users: | all CNC Router users |
CNCjs is a piece of Software developed in Node.js which enables you to send GCode from a Computer to an attached CNC Router. Within the CoMakingSpace, we have tried several G-Code Senders for their usability and finally decided for CNCjs.
Our Installation
Unfortunately, CNCjs did not provide all needed features out of the box. Luckily, it is open source, so we created our own fork of it with a small enhancement. This enhancement was needed in order to solve Issue 57. The code can be found on GitHub as well.
This fork is installed on the Raspberry Pi in the CNC Area. It listens on port 8080 on the host comakingcnc (so use http://comakingcnc:8080 to access it).
CNC-Panel
In order to enable the control of our CNC-Router without the need of using a Computer, we created a panel, which is basically a HAT for the Raspberry Pi.
From a Software perspective, you can find the code on GitHub. If you are interested in the process of creating the panel, please take a look at Issue 67.
It basically uses socket.io to connect to CNCjs running on the same host. When the user presses a button, it sends the needed GCode to CNCjs, which then sends it to the Router.
Functionality
The core functionality of CNCjs is to send GCode to machines which accept the same. You can find a detailed description over on their wiki.
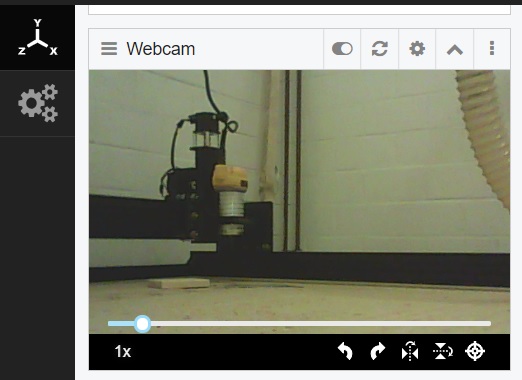
In order to do so, it provides a webinterface. In this webinterface, you can directly control the router, see the picture of the attached camera or upload GCode files for sending them to the Router.
Usage
Connecting
In order to access CNCjs, please open http://comakingcnc:8080 in your browser (please ensure you are in the CoMakingSpace WiFi).
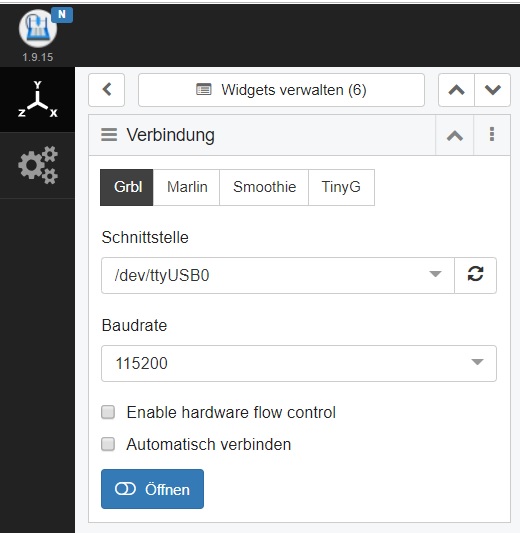
Once you are connected, you need to select the serial connection CNCjs should use. Please use /dev/ttyUSBxx as the serial device:
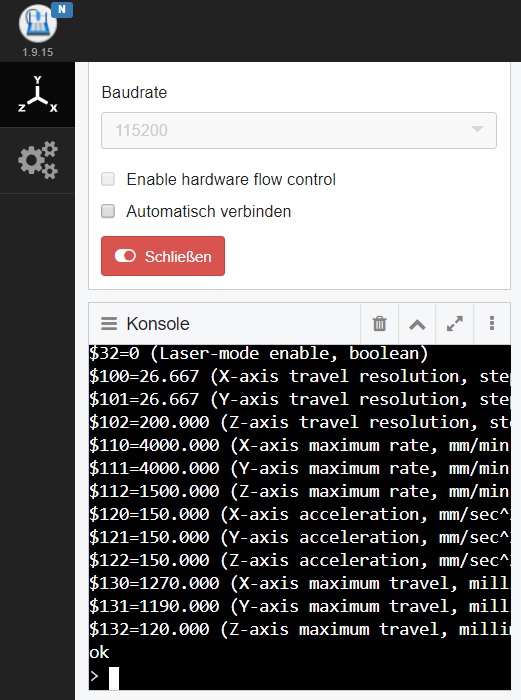
When the connection is successful, the console should indicate the same. In addition, CNCjs immediately sends $$ to the router, which answers with its current configuration:
In order to use the router, you need to use the buttons on the top:

- Unlock/Freigabe (
$X) - Home/Referenzfahrt (
$H)
After this, you can use the Router. Before starting any job, you would now need to set the origin of your workpiece. For this, CNCjs provides the Axes Widget:
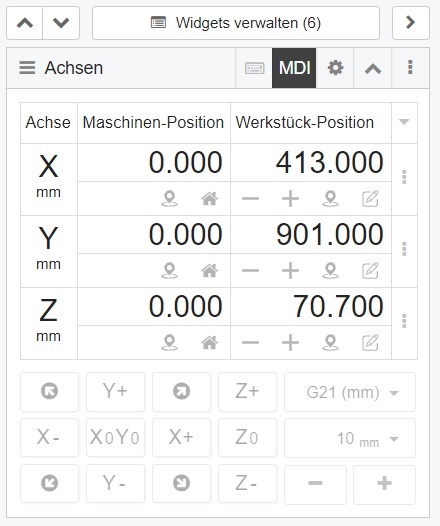
- Use the buttons to move the X and Y Axis to your desired position
- Set X0 and Y0
- Use the Buttons to move the Z-Axis to the top of your workpiece (put a piece of paper between your bit and the workpiece: it should not move)
- Set Z0
Now, you can upload your GCode on the top left corner. CNCjs will display a preview of your job in the middle section. With this, you can do a rough check that your file is correct.
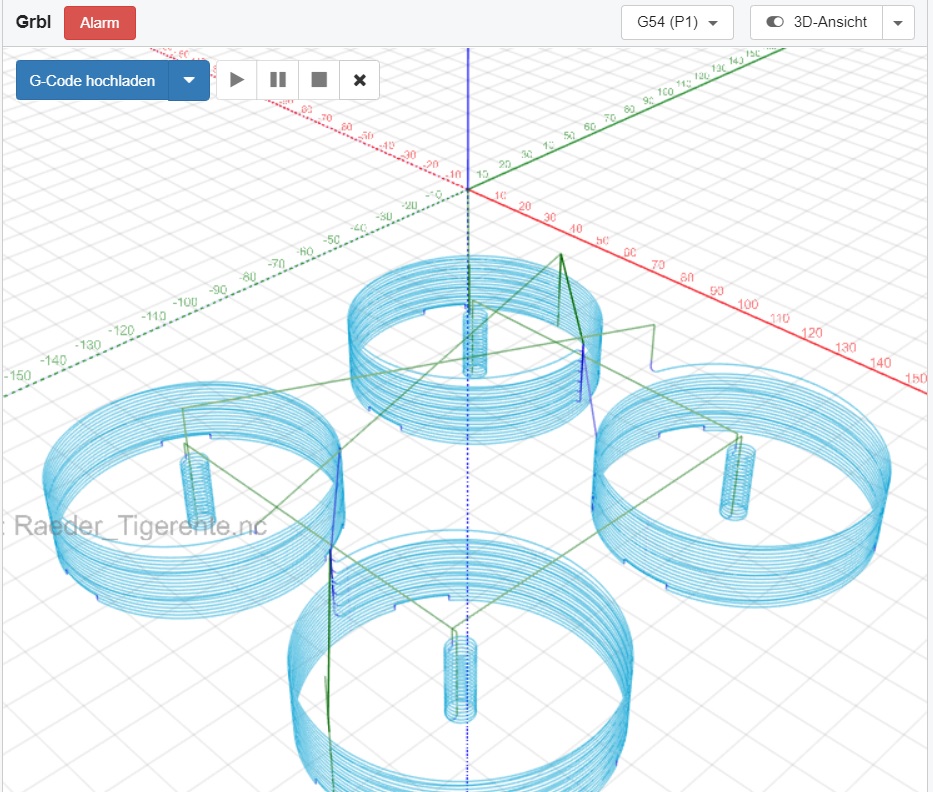
At any time, you can use the camera widget to see the router:
 <
<
Rebooting
The WorkBee electronics are partially powered by the Pi in the panel even if shut off via the emergency button - so you need to shut down the panel first in order to reboot the WorkBee.