Airbrushes: Difference between revisions
oops - should lead to the tool, not category Tag: Blanking |
photo |
||
| (5 intermediate revisions by the same user not shown) | |||
| Line 1: | Line 1: | ||
{{ToolInfoBox | |||
|tool name=Airbrushes | |||
|german=Airbrush-Pistolen | |||
|image=Iwata Neo CN.jpg | |||
|synonyms=DE: Airbrush-Pistolen, Airbrush-Geräte | |||
|type= | |||
|status= | |||
|material=[[Airbrush Paint|airbrush paint]] | |||
|used with=[[Airbrush Compressor|airbrush compressor]] | |||
|location=[[Location::Airbrush Area|airbrush area]] | |||
|access=read this page | |||
|tutors= | |||
|manual= | |||
|donation= | |||
|similar= | |||
}} | |||
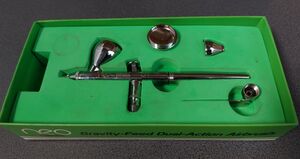
Airbrushes are precision tools to apply [[Airbrush Paint|airbrush paint]], with very fine nozzle diameters ranging between 0.2 and 0.5 mm. | |||
They are "powered" with air from a suitable [[Airbrush Compressor|airbrush compressor]]. | |||
== Cleaning == | |||
Cleaning is '''mandatory''' after every session. Even during a session, be aware that paint can dry quickly and clog the airbrush. If you interrupt your airbrush session even for as little as 5 minutes: please remove any remaining paint AND rinse the airbrush with water and a few drops of cleaning agent, using the dedicated cleaning jar. | |||
At the end of the session (if no one else wants to continue using the [[Airbrush Area|airbrush area]]): please clean the airbrush thoroughly, following these instructions: (This should take around 15 minutes, so don't leave it too late.) | |||
*remove any remaining color from the compartment | |||
*fill the compartment with water and run it through the airbrush (Please use the rinsing jar for this, so to collect all coloured water and residue) | |||
*disconnect airbrush from compressor | |||
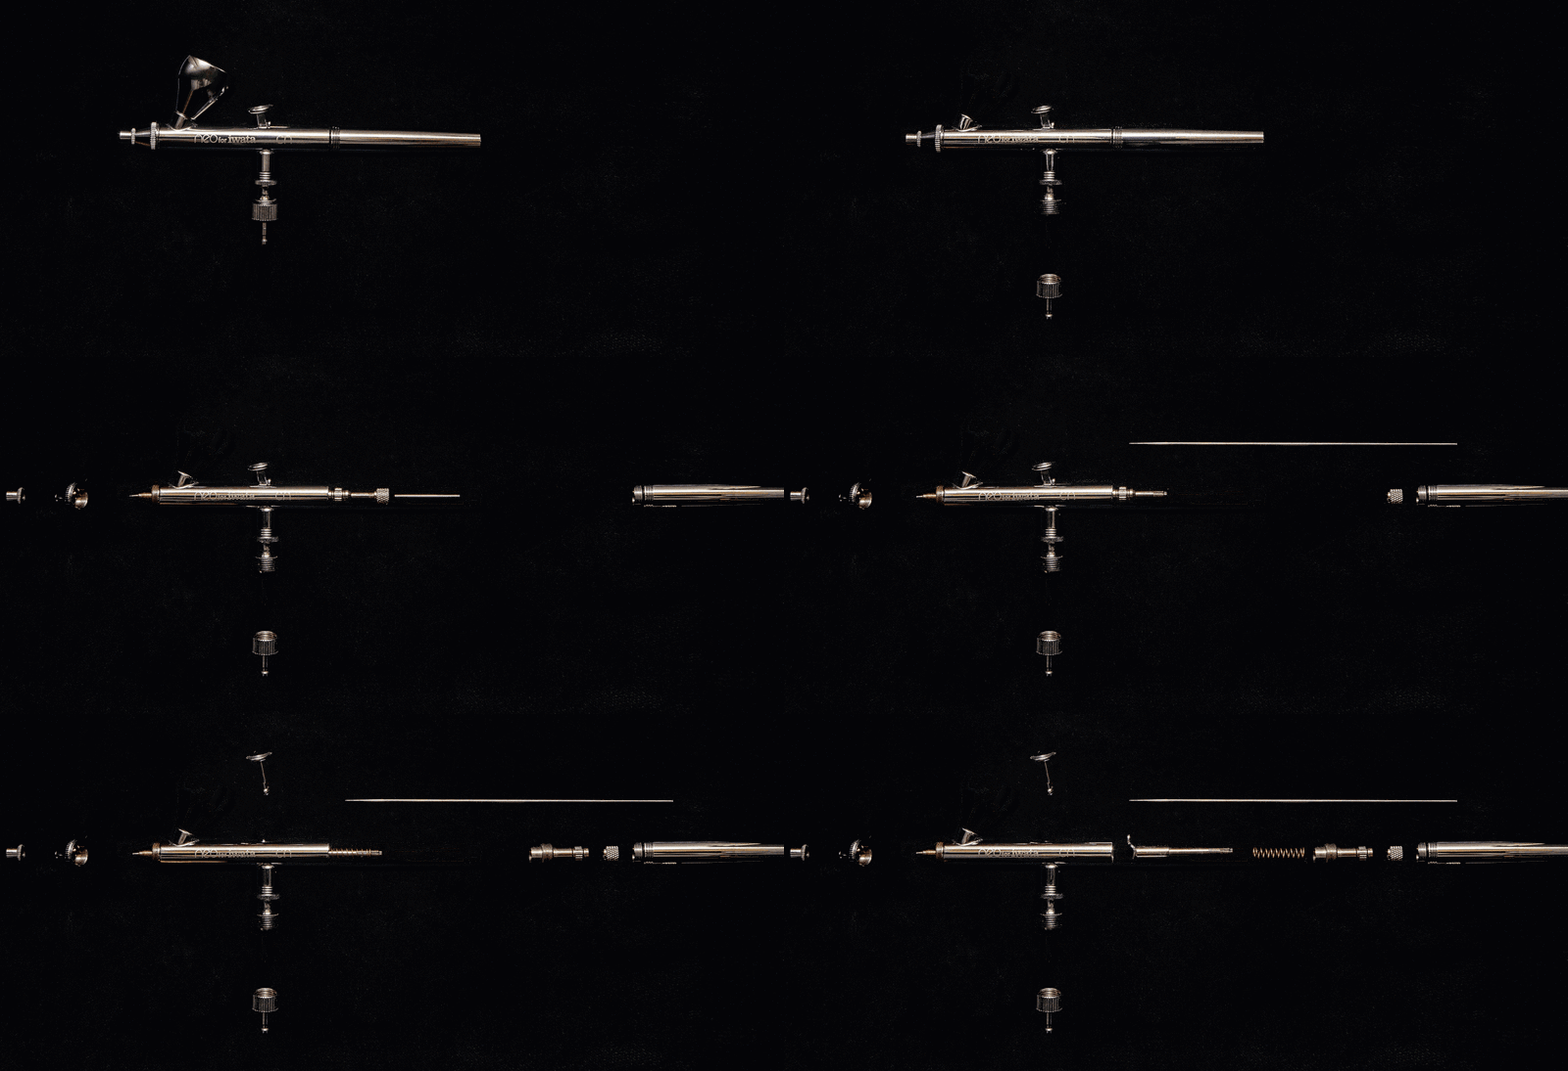
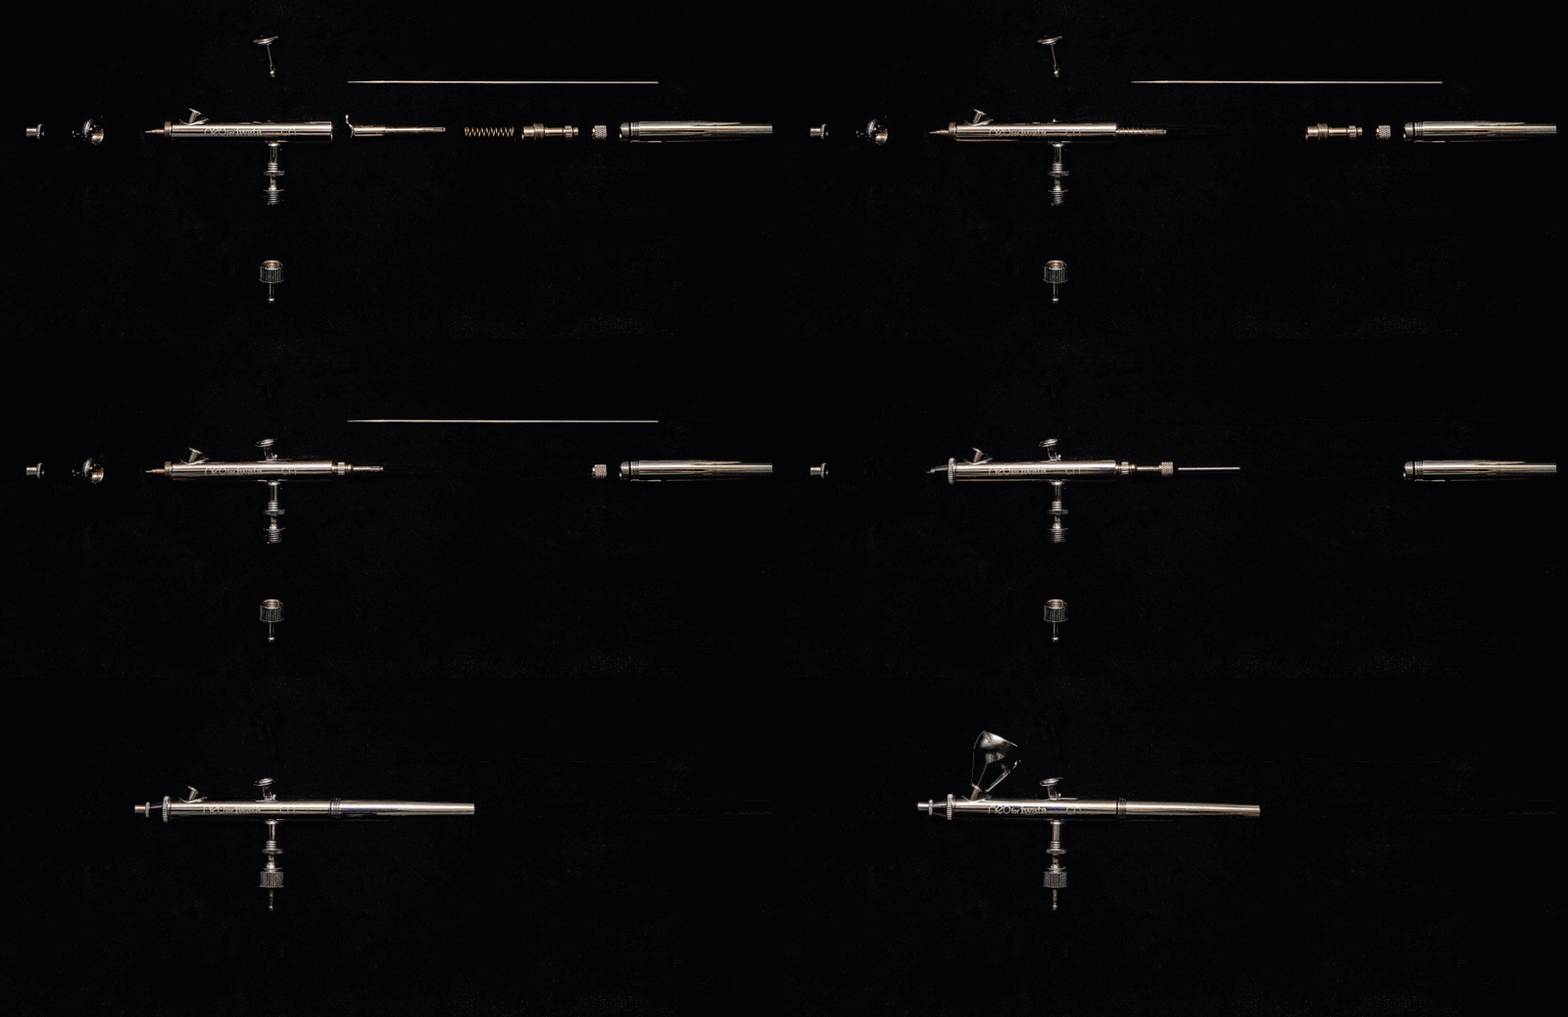
*disassemble the entire airbrush on a large enough and clean surface; make sure no parts fall down, particularly the needle (€15 replacement cost!) – see animated GIF below | |||
* clean all parts, removing ALL visible paint. Please do not use any metal brushes for cleaning. | |||
*reassemble the airbrush and put it back into its case – see animated GIF below | |||
== Assembly/Disassembly == | |||
Animated GIFs (24 seconds each) that show the disassembly and reassembly of our ''Iwata Neo CN'' airbrush: | |||
[[File:Airbrush-Disassembly.gif|thumb|800px|airbrush '''disassembly''' for cleaning]] | |||
[[File:Airbrush-Assembly.gif|thumb|800px|airbrush '''reassembly''']] | |||
[[Category:Airbrushing]] | |||
Latest revision as of 17:25, 17 April 2024
| ToolInfoBox Airbrushes | |
|---|---|

| |
| Synonyms: | DE: Airbrush-Pistolen, Airbrush-Geräte |
| Material: | airbrush paint |
| Used with: | airbrush compressor |
| Location: | airbrush area |
| Access Requirements: | read this page |
Airbrushes are precision tools to apply airbrush paint, with very fine nozzle diameters ranging between 0.2 and 0.5 mm.
They are "powered" with air from a suitable airbrush compressor.
Cleaning
Cleaning is mandatory after every session. Even during a session, be aware that paint can dry quickly and clog the airbrush. If you interrupt your airbrush session even for as little as 5 minutes: please remove any remaining paint AND rinse the airbrush with water and a few drops of cleaning agent, using the dedicated cleaning jar.
At the end of the session (if no one else wants to continue using the airbrush area): please clean the airbrush thoroughly, following these instructions: (This should take around 15 minutes, so don't leave it too late.)
- remove any remaining color from the compartment
- fill the compartment with water and run it through the airbrush (Please use the rinsing jar for this, so to collect all coloured water and residue)
- disconnect airbrush from compressor
- disassemble the entire airbrush on a large enough and clean surface; make sure no parts fall down, particularly the needle (€15 replacement cost!) – see animated GIF below
- clean all parts, removing ALL visible paint. Please do not use any metal brushes for cleaning.
- reassemble the airbrush and put it back into its case – see animated GIF below
Assembly/Disassembly
Animated GIFs (24 seconds each) that show the disassembly and reassembly of our Iwata Neo CN airbrush:

