Project:Cookie Cutters: Difference between revisions
InfoBox photo, section about more complicated designs |
Cookie Caster website has moved |
||
| (2 intermediate revisions by 2 users not shown) | |||
| Line 7: | Line 7: | ||
|materials=[[PLA]] | |materials=[[PLA]] | ||
|tools=[[3D Printer|3D printer]] | |tools=[[3D Printer|3D printer]] | ||
|software=[ | |software=[https://www.cs.technik.fhnw.ch/cookiecaster/ Cookie Caster] or [[Inkscape]] & [[Tinkercad]] | ||
|cost=cents | |cost=cents | ||
}} | }} | ||
| Line 16: | Line 16: | ||
<br clear=all> | <br clear=all> | ||
== Simple Shapes == | == Simple Shapes == | ||
Start by drawing the outline of a cutter on [ | Start by drawing the outline of a cutter on [https://www.cs.technik.fhnw.ch/cookiecaster/ Cookie Caster]. This simple web tool turns any 2D path into a 3D cookie cutter with the desired dimensions and a rim to press it into the dough more easily. | ||
A path can be created by hand using the " | A path can be created by hand using the "Draw" tool, either free-style or with an uploaded picture as a guide. | ||
| Line 45: | Line 45: | ||
[[Category:3D Printing]] | [[Category:3D Printing]] | ||
[[Category: | [[Category:Cooking]] | ||
[[Category:Design]] | [[Category:Design]] | ||
[[Category:Methods]] | [[Category:Methods]] | ||
[[Category:Quick Projects]] | [[Category:Quick Projects]] | ||
Latest revision as of 12:02, 22 May 2023
| ProjectInfoBox 3D Printed Cookie Cutters | |
|---|---|

| |
| Status: | done & turned into a seminar |
| Release Date: | spring 2015 |
| Initiator: | Lukas |
| Materials Used: | PLA |
| Tools Used: | 3D printer |
| Software Used: | Cookie Caster or Inkscape & Tinkercad |
| Approx. Cost: | cents |
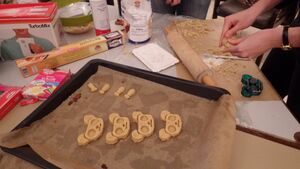
Designing custom cookie cutters is a great start into 3D printing without any prior experience. Besides access to a 3D printer, you only need a laptop and a couple of ideas!
This project is especially well suited for children and it's great fun to test the newly printed cookie cutters right away!
Simple Shapes
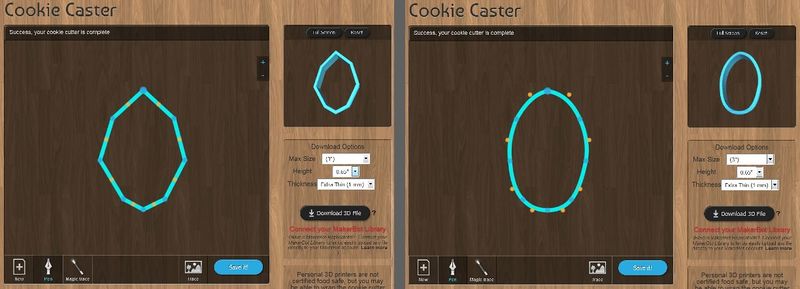
Start by drawing the outline of a cutter on Cookie Caster. This simple web tool turns any 2D path into a 3D cookie cutter with the desired dimensions and a rim to press it into the dough more easily.
A path can be created by hand using the "Draw" tool, either free-style or with an uploaded picture as a guide.

When the basic cutter is done, download the file with these recommended settings (for stable, but sharp walls):
- Max Size: Small (2-3")
- Height: 0.65"
- Thickness: Extra Thin (1 mm)
Now we could already print this file or add internal shapes using Tinkercad.
Make sure to take a look at the walls in the Slic3r preview and activate "detect thin walls", if necessary: they should not have gaps between their shells, and of course no interruptions in a wall of only one shell.
Combined Stamping Cutters
If you want to create "3D" impressions on your cookies, e.g. internal lines or facial features, you can add the stamping parts by hands in a CAD program. Keep in mind that everything needs to be fixed in place by connections with the main cutter!
Alternatively, Thingiverse user "mrbenbritton" has created an OpenSCAD script that can generate complex cookie cutters from a DXF: Thing #33096
