Project:Magnetic Knife Holder: Difference between revisions
m added a few more links, alternate formatting *suggestion* ;-) |
m Category:Cooking |
||
| Line 42: | Line 42: | ||
</gallery> | </gallery> | ||
[[Category:Cooking]] | |||
[[Category:Quick Projects]] | [[Category:Quick Projects]] | ||
[[Category:Woodworking]] | [[Category:Woodworking]] | ||
Latest revision as of 21:54, 7 March 2020
| ProjectInfoBox Magnetic Knife Holder | |
|---|---|

| |
| Status: | Done. |
| Release Date: | January 2018 |
| Initiator: | Patrick |
| Materials Used: | wood (glued laminated timber, beech), magnets, epoxy |
| Tools Used: | cordless drill, chisels |
| Approx. Cost: | around 10€ |
The most important tool in the kitchen should be easily accessed, but knife blocks take up a lot of space and are not very hygienic. Personally I always fancied a magnetic holder, but the good looking ones are quite expensive.
Materials
- some nice wood
- I used some leftovers from our common room tables which were already the right size
- Neodymium magnets
- can be bought from eBay
- 5 min epoxy
- some sandpaper
Making
I sketched all the spots which should contain magnets on the piece of wood and drilled them out with a 7 mm wood drill bit (same size as the magnets). The holes need to be a bit deeper than the thickness of the magnets, so they can pressed in slightly below the surface. Afterwards the magnets were pressed in and some 5 min epoxy was applied onto the magnets to secure them.
Once the epoxy had hardened the excess was removed with a chisel and sandpaper. I applied (coconut) oil onto the wood before mounting to protect it from moisture and bring out the grain of the wood.
Gallery
-
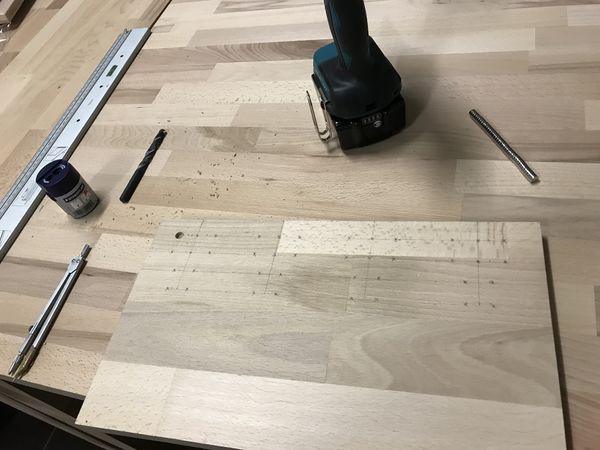 Marking the spots for the holes.
 -
 Drilling.
 -
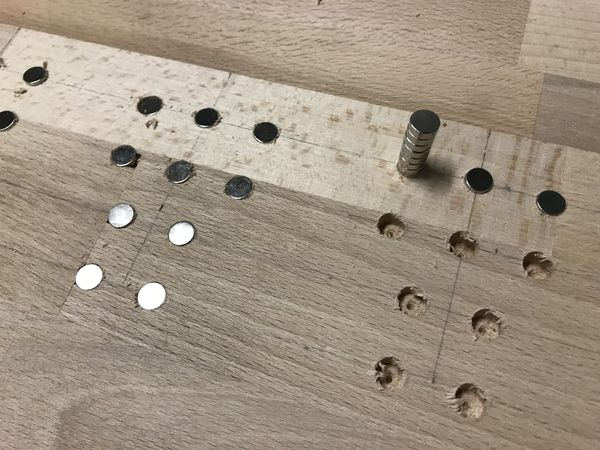 Inserting the magnets into the board. In some instances a hammer was needed.
 -
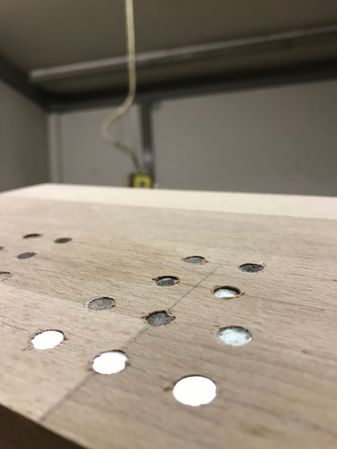 Inserted magnets. Note they are slightly recessed from the surface.
 -
 Mixing the epoxy resin.
 -
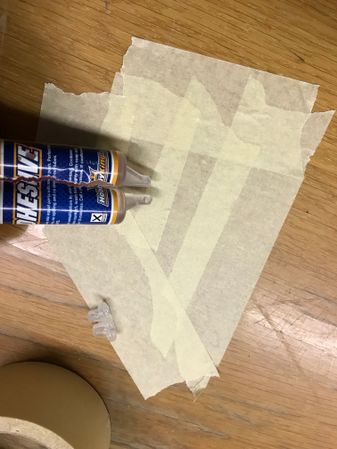
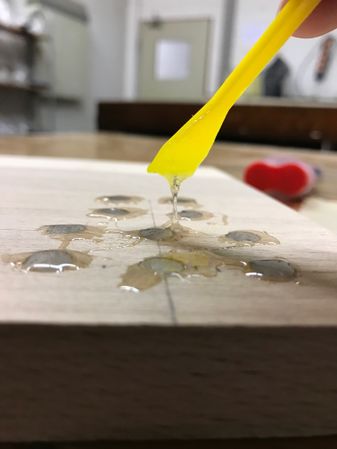 Applying epoxy onto magnets.
 -
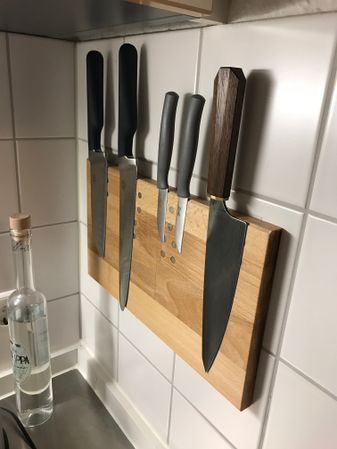 Done.
Done.


