Project:Roubo Workbench
From CoMakingSpace Wiki
| ProjectInfoBox Simple "Roubo" Style Workbench | |
|---|---|

| |
| Status: | nearly done (already usable) |
| Release Date: | Dec 2017 |
| Initiator: | Lukas |
| Materials Used: | wood (spruce planks), threaded rods, lock nuts, wood glue |
| Tools Used: | 10 mm spade drill bit, 20 mm Forstner bit, 19 mm auger bit, clamps, planes, chisels, Ryoba |
| Approx. Cost: | approx. 50 € for the (very cheap) wood; several hours of work |
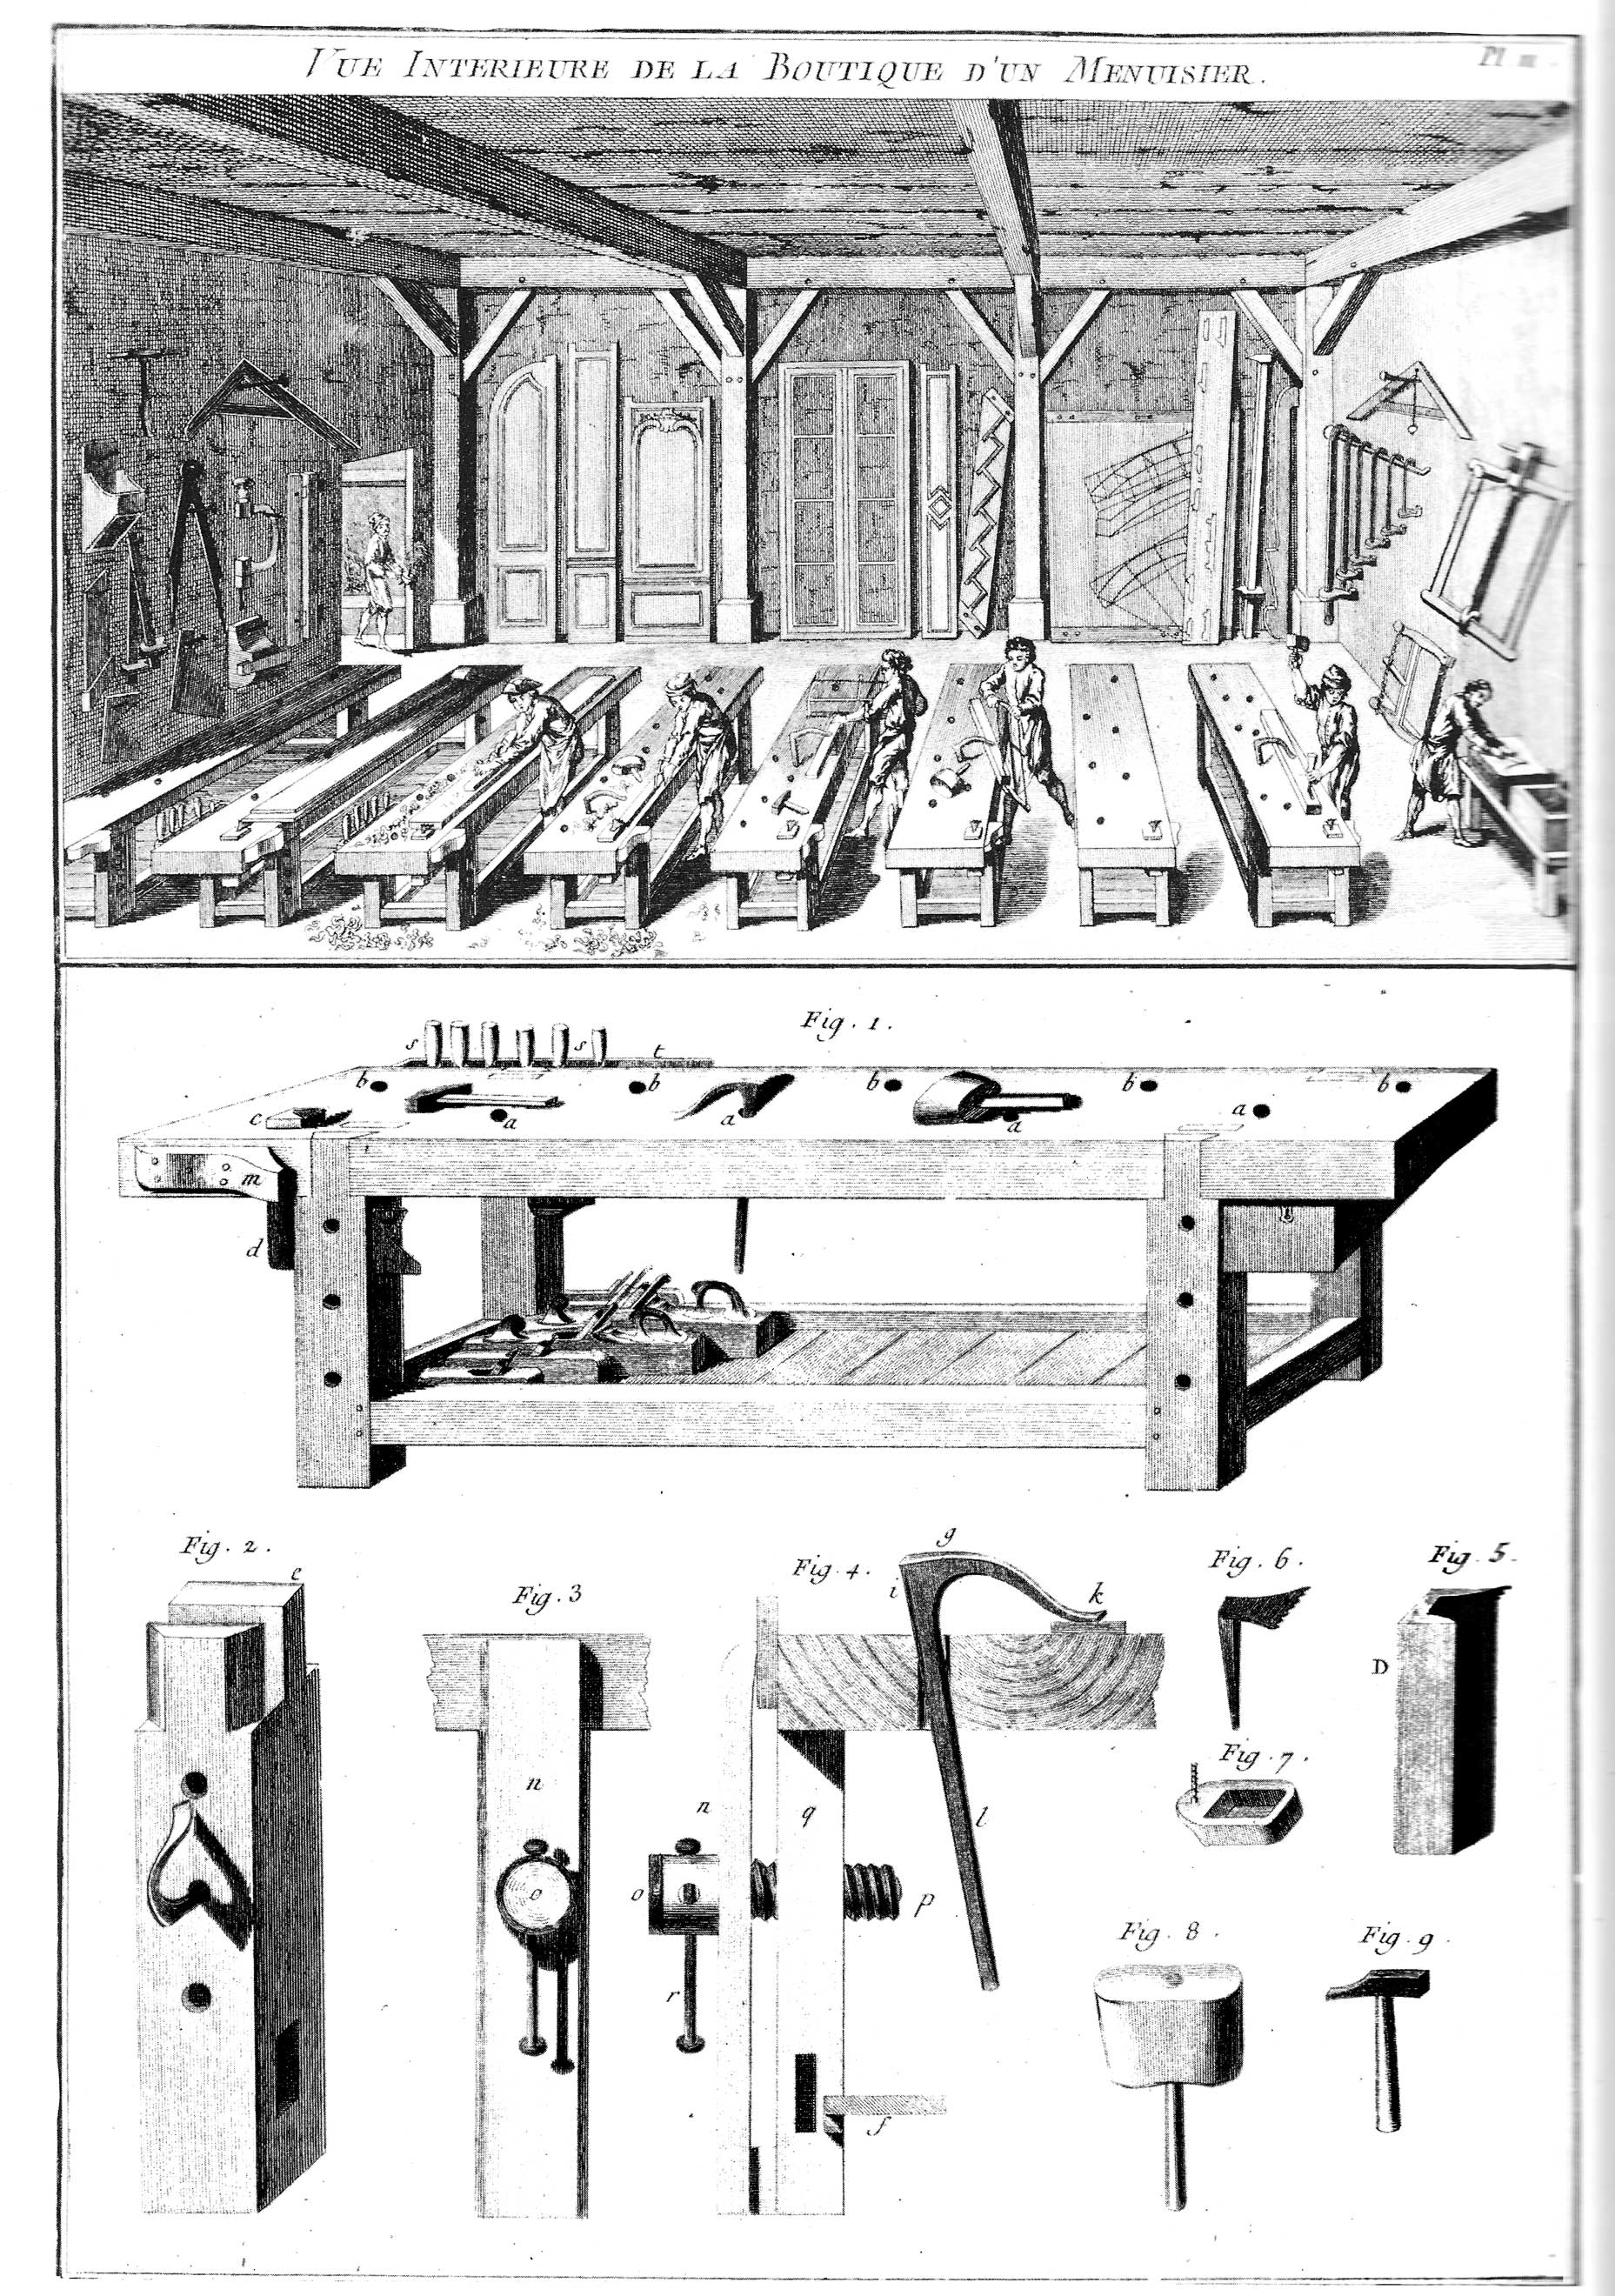
A "Roubo" workbench is a traditional French woodworking bench (Hobelbank) as described by André Roubo in the 18th century. It has many nice features and work holding options so we began building one.
While the following build is largely inspired by the old sketches, many features and construction techniques were chosen based on what was desired and possible at the time.
First Attempt
Progress: nearly done
- legs:
need to be cut to the desired heightleft rather long so we have an alternative to the much lower Hobelbank - top: needs even edges and perhaps additional planing
- poor leg joints and cracks have been partially filled with a glue and sawdust mix - could be continued
- holes for holdfasts will be added as needed, the first one was already drilled when the tenons on the legs needed to be cut
- vise: installed, matching dog holes and wooden jaws to be added soon
Specs
- final plate size: 1800 × 800 × 60 mm
- made of ten 2000 × 80 × 60 mm spruce planks
- 10 mm holes for the rods, outmost planks counterbored with 20 mm Forstner bit to receive nuts
- counterbore should have been the first hole to drill...
- legs (800 × 100 × 80 mm spruce planks) will be connected to each other by a frame at the bottom, perhaps with a storage floor
- the bench may still have to be bolted to the wall for maximum stability, we'll see!
Limitations
At the time of the build, our wood workshop was pretty rudimentary and the ideal solution was rarely an option...
- no jointer (and no jointer plane until halfway in)
- the glue bond between the sometimes curvy planks was reinforced by three M8 threaded rods
- no F-clamps of sufficient length
Room for Improvements
- harder wood
- nicer joinery (after some more practice)
- ...let me know what else!
Gallery
Hover over a photo for more information:
-
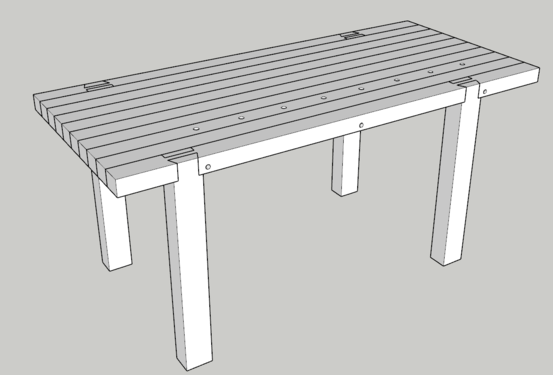 an early draft in SketchUp
 -
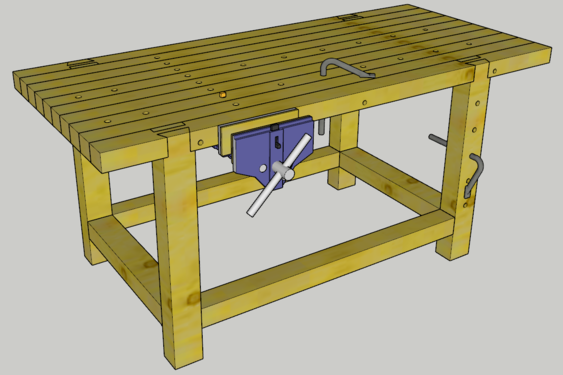 detailed draft in SketchUp
 -
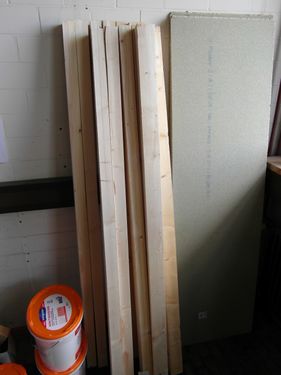 unprepared planks
 -
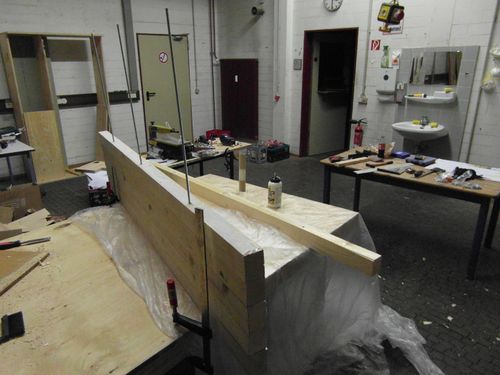
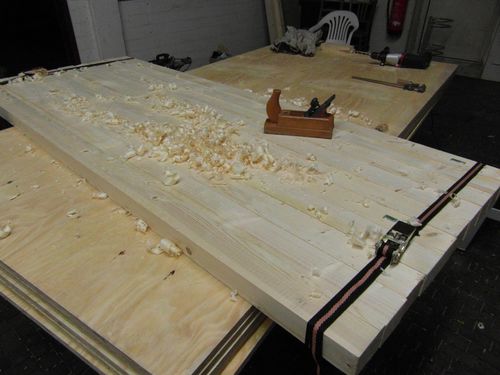 first alignment & rough planing
 -
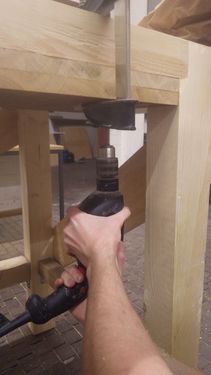
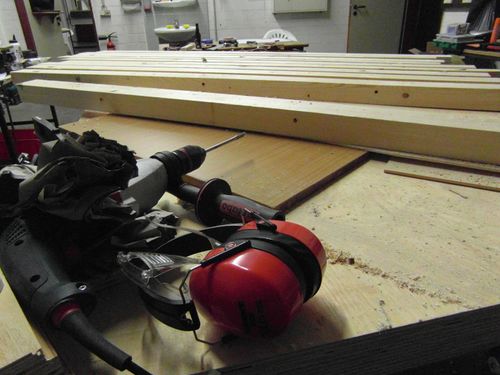 horizontal drilling "jig"
 -
 glue-up, part 1: stacking the benchtop
 -
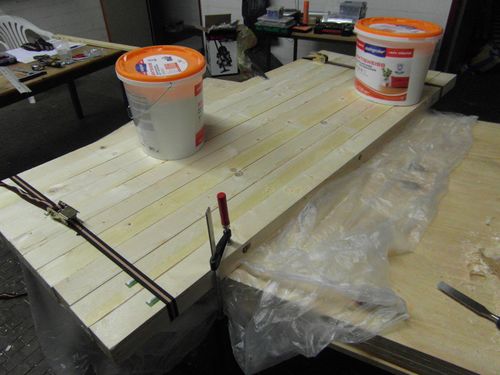 glue-up, part 2: under pressure!
 -
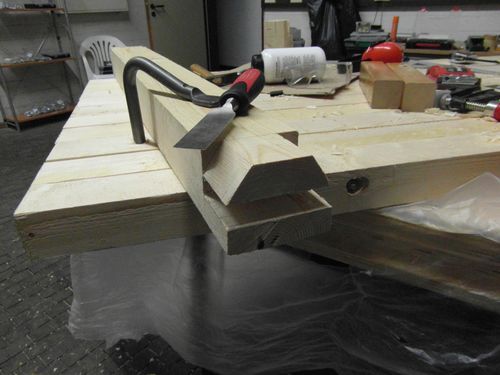
 preparing a leg joint with a Ryoba
 -
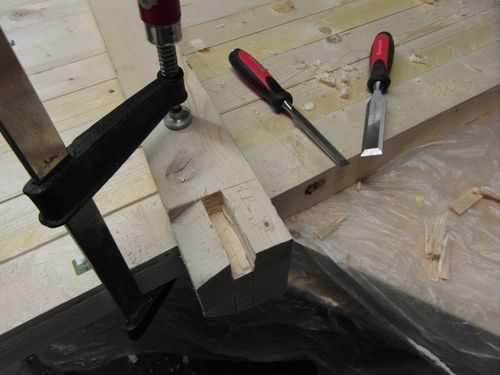 chiseling a piece out of a leg joint
 -
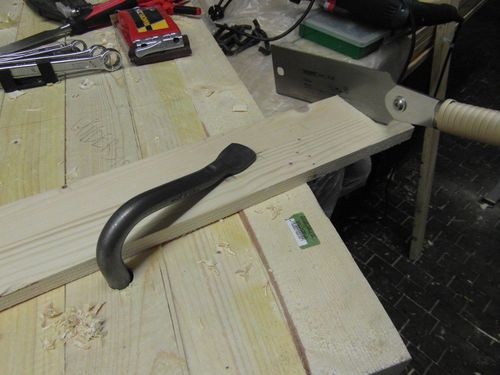 legs are optional - once you have a benchtop, use it!
 -
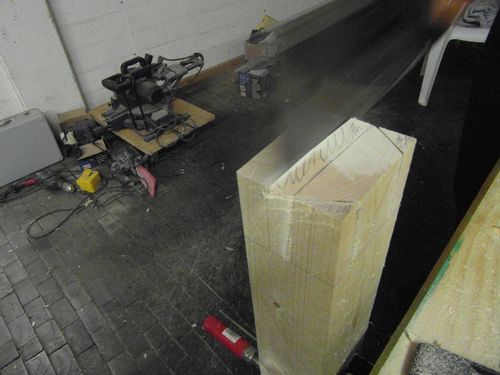
 finished leg
 -
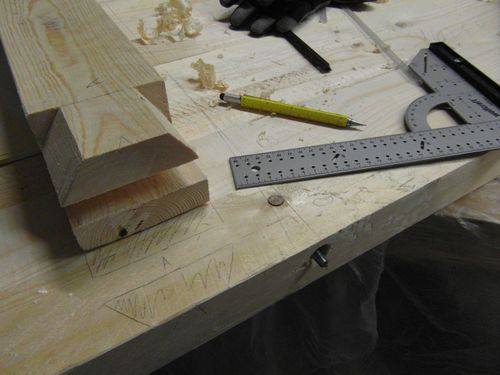 transferring the outlines of a leg joint's tenons
 -
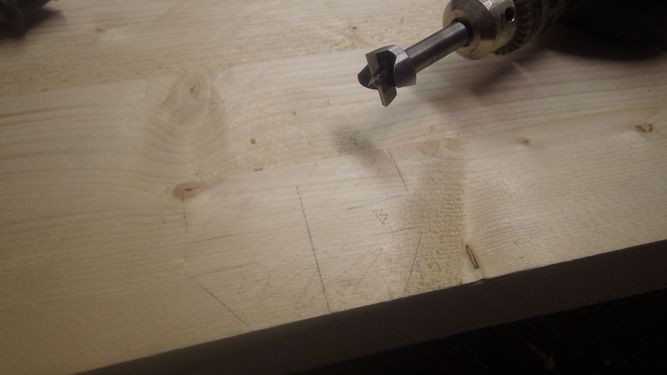 Forstner bits are useful...
 -
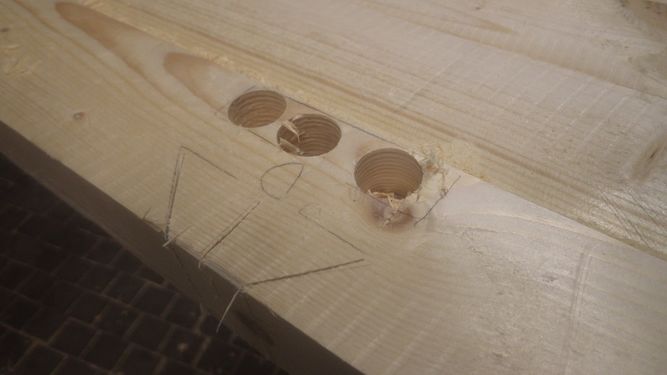 ...for quickly removing material prior to chiseling
 -
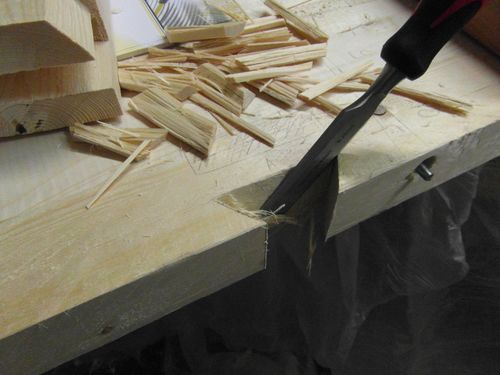 chiseling part of a leg joint
 -
 test fitting a leg joint: the rubbed-off pencil highlights tight areas
 -
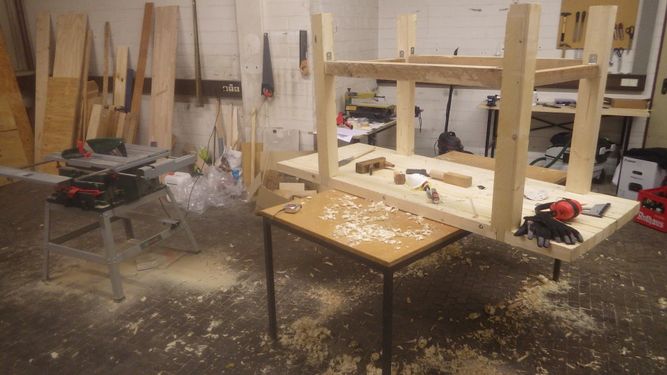 all legs and the horizontal stretchers attached!
 -
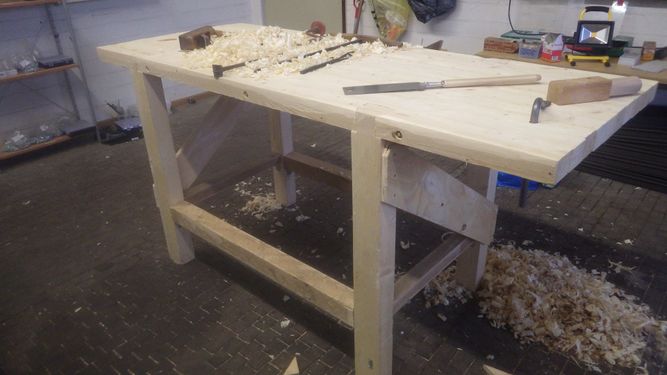
 finally standing on its own legs - time to plane some more!
 -
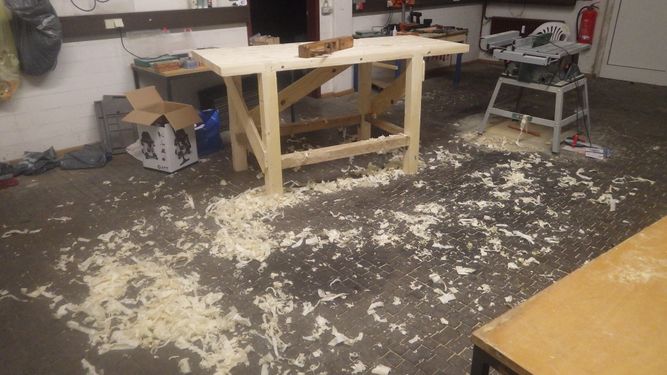
 diagonal stretchers greatly improved stability
 -
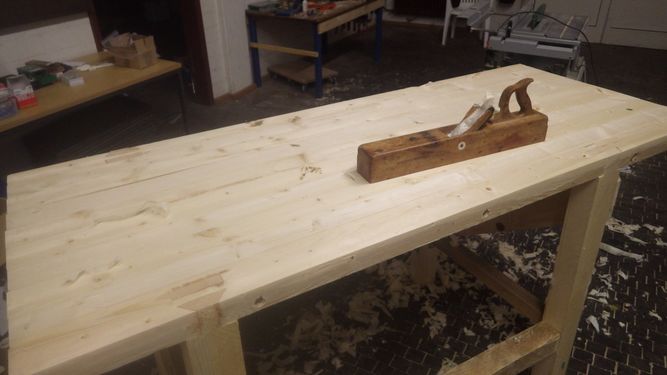 a jointer plane is the proper tool for planing such a large surface
 -
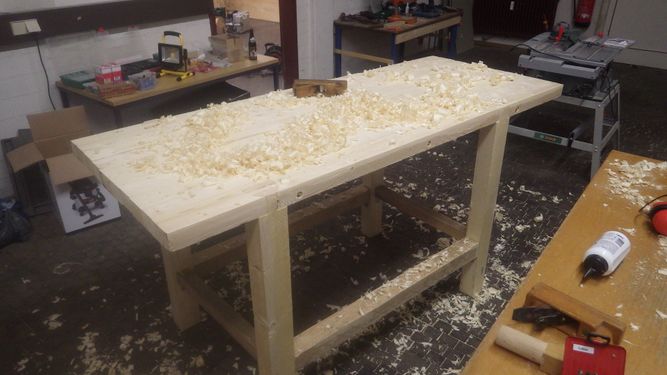
 tons of plane shavings covered our wood workshop when the top was about done
 -
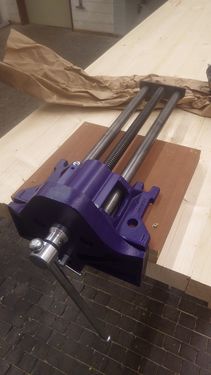 preparing the installation of a large woodworking vise...
 -
 ...by increasing the benchtop's thickness with two additional boards
 -
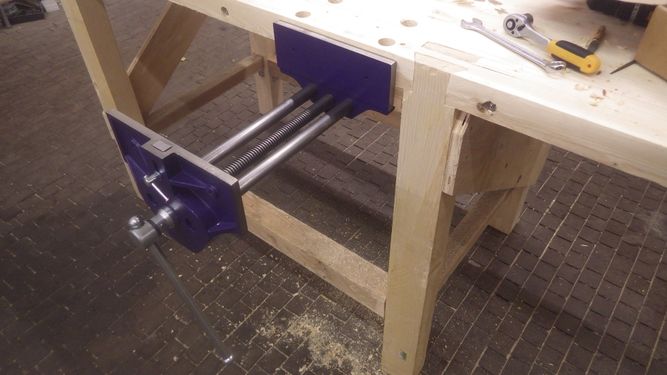 woodworking vise installed and ready to use!
 -
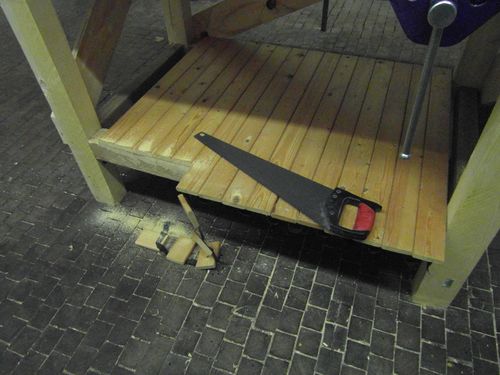 recycling some bed parts as an additional storage level
 -
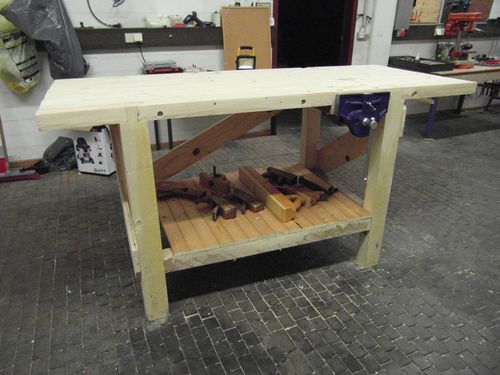 looking rather complete - all major steps finished!


