Project:Lumberjack Cake Stand
| ProjectInfoBox "Lumberjack Championship" Inspired | |
|---|---|

| |
| Status: | completed, now serving as an outdoor side table |
| Release Date: | May 2018 |
| Initiator: | Lukas |
| Materials Used: | Robinia log, baltic birch plywood, some scrap wood, wood screws, coconut oil |
| Tools Used: | Japanese saws, scroll saw, eccentric sander |
| Approx. Cost: | 50 € |
I wanted to make a one-of-a-kind weddding cake stand and took inspiration from the "Lumberjack Championships", where one discipline consists of chopping a wedge out of a tree trunk, jamming a spring board in there, jumping up on the board and cutting the next wedge until the contestant reaches the top to chop that off.
Luckily, I found just the right piece of Robinia on a forest hike and used it for this project after drying it for about half a year.
Approach
After the tree trunk had dried for about half a year, I cut slots into the bottom with Japanese saws and bevel edge chisels where the feet would go. These were just simple pieces of scrap plywood to increase the footprint and make sure the stand would not tip over.
Once the feet were screwed in and adjusted to the size of the table the whole thing would be used on, I started cutting wedges out of the "tree" with the Japanese saws. Unlike after the chopping of the actual Lumberjack Championship, I ended up with a solid piece of wood after each cut that I numbered and used to hold the baltic birch plywood boards in place. An alternate (and perhaps easier) method here could have been the use of a chainsaw for a single straight cut of each board's thickness, but that was not the aesthetic I was aiming for.
The plywood boards were also numbered and a screw hole was drilled through each wedge-board pair and into the matching place in the trunk. Although everything had held up well just by wedging thus far (tested up to approx. 7 kg), it would have been so bad if one of the boards would slip with a cake on it that the screws were added to be safe.
Finally, the boards were thoroughly sanded with an eccentric sander and finished with coconut oil (and topped off with cakes after transport & assembly!)
Gallery
- steps of the build
-
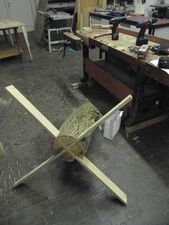
 first prototype out of firewood and a breakfast board
 -
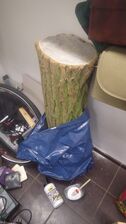 Robinia log with its top face covered with a wood glue and water mixture for uniform drying
 -
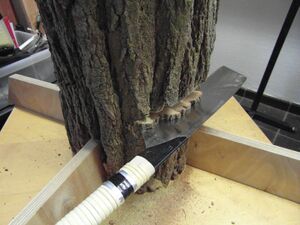
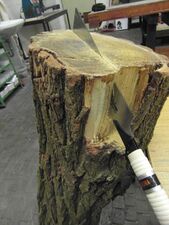 cutting grooves for the feet with a Japanese saw
 -
 chopping out the excess with a bevel edge chisel
 -
 the first foot fits in nicely
 -
 cutting the second foot groove
 -
 both feet fitted and screwed in
 -
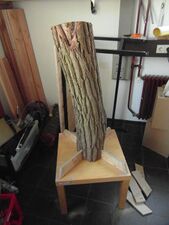 feet cut to fit on the table the stand would be used on
 -
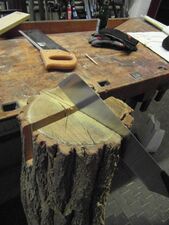
 cutting out the first wedge
 -
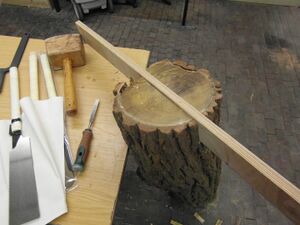
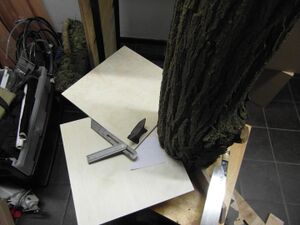 test-fitting the first board and setting the angle for the second cut
 -
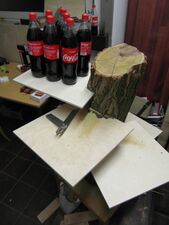
 cutting more wedges...
 -
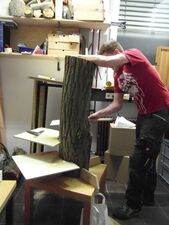
 successful strength test!
 -
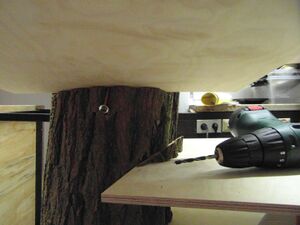 adding screws to be safe - might also have kept holding up without them
 -
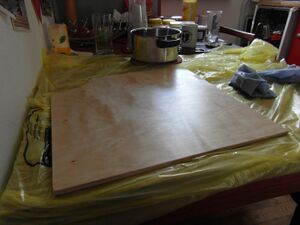 one of the boards after sanding and application of coconut oil
 -
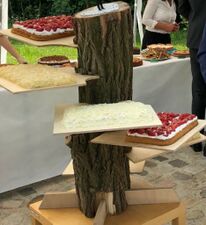 finished piece with the cakes on it
 -
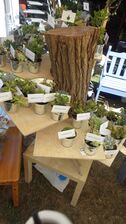 use as a plant display after a friend's wedding


