Project:Laser-engraved Photo for Members Wall
| ProjectInfoBox Laser-engraved photo for members wall | |
|---|---|

| |
| Status: | done |
| Initiator: | Micha |
Here's how I created a laser-engraved photo for the Members Wall. If you have any questions or are missing some information, feel free to reach out to me via the wiki: User:Micha
There's already some information on laser-engraving photos elsewhere in the wiki: Laser Engraving Photos That information wasn't fully applicable to our current laser cutter and was missing some information I needed as a dithering noob, though. So here's what worked for me.
Note that all screenshots and pictures were taken from a privacy-enhanced version of my original project. I plan to enhance this project page with a couple more of them.
Step-by-step guide:
- Follow guide on Members Wall page to create word document
- Add black-and-white photo
- Turn the Word file into a JPG (there is probably a better way to do this 🤓):
- remove table borders in Word (the following step will mess these up, somehow),
- select everything and copy-paste "as a picture" into PowerPoint (on an empty slide),
- in PowerPoint, you may want to add a new border,
- select everything, then right-click and "Save As Picture..."
- Follow steps on Laser Engraving Photos, especially, use Gimp to:
- Use the Rectangle Select Tool (R) to select just the picture.
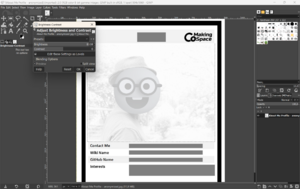
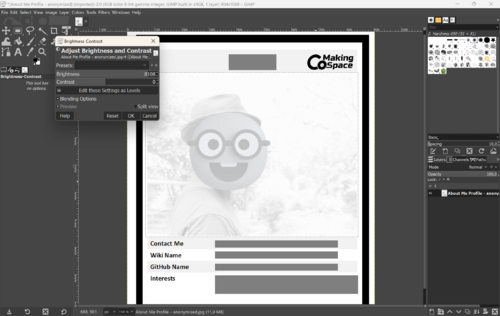
- Make it very bright, via the menu: Color->Brightness-Contrast. You may need to apply and re-open the tool multiple times:
- Go to Filter->Enhance->Sharpen (Unsharp Mask): increase the amount to get sharp lines but not black areas.
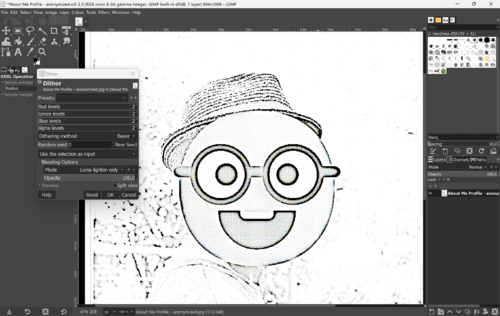
- Go to Colors->Dither: set R/G/B levels to 2; experiment with Dithering Method, Blending Mode (should be (almost) binary, basically just black and white pixels)
- Save and drop resulting JPG onto laser file share, etc.
- Experiment with laser cutter to engrave on Poplar Plywood. Test with a small section of the image, e.g. the eyes. If things are too dark, maybe brighten the image more.
These are the settings I used:- Engrave, Speed = 500, Power = 100
- Cut, Speed = 15, Power = 100
Big thanks to Lukas for a looooot of help and getting me back on the right track.

