Project:Laser Engraved Stamps: Difference between revisions
mNo edit summary |
m release date |
||
| Line 1: | Line 1: | ||
{{ProjectInfoBox|project title=Laser Engraved Stamps|image=Laser engraved stamps.jpg|status=done|initiator=[[Luzian]]|team=[[Martin]], [[Patrick]]|materials=}} | {{ProjectInfoBox|project title=Laser Engraved Stamps|image=Laser engraved stamps.jpg|status=done|date=October 2021|initiator=[[Luzian]]|team=[[Martin]], [[Patrick]]|materials=}} | ||
Revision as of 06:08, 6 October 2021
| ProjectInfoBox Laser Engraved Stamps | |
|---|---|

| |
| Status: | done |
| Release Date: | October 2021 |
| Initiator: | Luzian |
| Team: | Martin, Patrick |
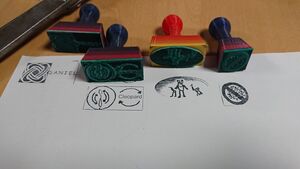
As a preparation for the Türöffnertag 2021, Luzian had the idea to let the kids create custom stamps with our laser cutter.
Material
The stamps are made of special laser rubber. The holders can either be 3D printed with a custom design created by Patrick or be made out of wood.
Designing the Stamp
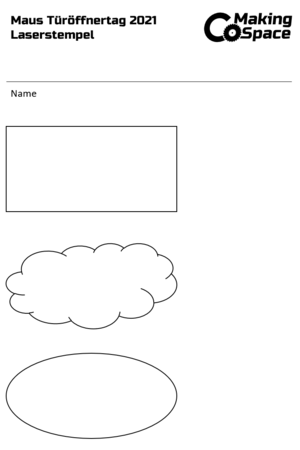
In order to enable the kids to design their own stamps, we have created a template where they can draw the design on:

This template can be printed and - after designing the stamp - scanned.
Preparing the Image
After scanning the template with the stamp design, it needs to be prepared for the laser cutter. For this, 3 steps are needed:
- convert it into a 2-bit image (the laser can only produce black or white. no grey-scales are possible.
- invert the colors
- horizontally mirror the image
Laser the Stamp and Test It
The last step follows the regular preparations for engraving pictures with the laser cutter. The needed settings can be found on the page "Laser Cutter Material Settings".
Further Reading
- Trotec (laser cutter manufacturer) on stamp rubber and recommended settings