Material:Fill-In Paint: Difference between revisions
written by Frank |
licensed CC-BY-SA-4.0 Frank Andre |
||
| Line 30: | Line 30: | ||
* [https://euro-industry.com/main.php?index=details&cat=92&prod=23197370 Euro-Industry (online shop)] | * [https://euro-industry.com/main.php?index=details&cat=92&prod=23197370 Euro-Industry (online shop)] | ||
'''This article was written by Frank Andre and is licensed under [https://creativecommons.org/licenses/by-sa/4.0/ CC-BY-SA-4.0].''' | |||
[[Category:Laser Cutting]] | [[Category:Laser Cutting]] | ||
[[Category:Paints & Lacquers]] | [[Category:Paints & Lacquers]] | ||
Revision as of 15:06, 5 September 2017
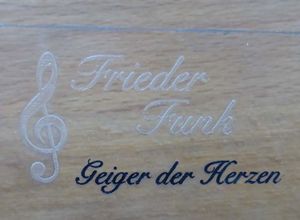
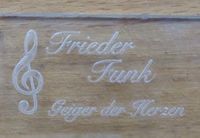
When engraving acrylic glass, contrast between the material and the engraved text is often not optimal, e.g. engraving transparent acrylics results in diffuse white text on a transparent background which gives only moderate visibility and readability.
The situation can be highly improved by coloring the engravings using fill-in paint.
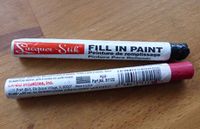
Application is quite easy:
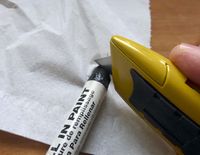
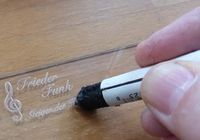
1. Cut off the layer of dried paint at the end of the paint stick.
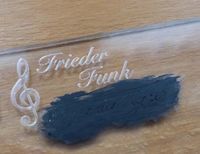
2. Rub the paint on. Take care to fill all the fine grooves of the engraving.
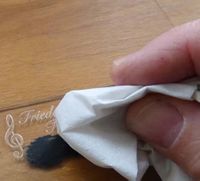
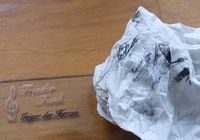
3. Take a soft cloth or paper to gently rub off the excess paint. If the result is not perfect at the first go simply repeat steps 2 and 3 until you are satisfied.
4. The paint takes some time to become dry and hard. I suggest to wait at least 24 hours.
 |
 |
 |
 |
 |
 |
Sources
- Markal (manufacturer)
- Gravierbedarf.de (online shop)
- CNC-plus.de (online shop)
- Beschriftungstechnik Tobsch (online shop)
- Euro-Industry (online shop)
This article was written by Frank Andre and is licensed under CC-BY-SA-4.0.