Uploads by Lukas
From CoMakingSpace Wiki
This special page shows all uploaded files.
| Date | Name | Thumbnail | Size | Description | Versions |
|---|---|---|---|---|---|
| 23:43, 4 March 2019 | TAC 06.JPG (file) | 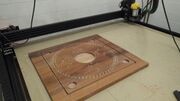 |
441 KB | Project:TAC back to pictures of the 4-player game: undecorated version completely routed | 1 |
| 23:41, 4 March 2019 | TAC 05-2.JPG (file) | 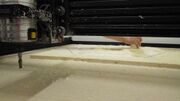 |
423 KB | Project:TAC we took care to remove the sawdust in between routing passes to avoid overheating the end mill (dust extraction was still a work in progress at the time) | 1 |
| 23:38, 4 March 2019 | TAC 05-1.JPG (file) | 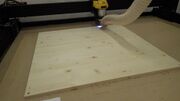 |
344 KB | Project:TAC partially routed 6-player board on the WorkBee | 1 |
| 23:35, 4 March 2019 | TAC 04.JPG (file) | 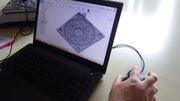 |
321 KB | Project:TAC on to the full game - design in Fusion 360 | 1 |
| 23:34, 4 March 2019 | TAC 03.JPG (file) | 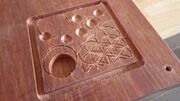 |
623 KB | Project:TAC (partially) failed practice piece: one of the tool changes caused the CNC router to move along the X axis - always home after a tool change! | 1 |
| 23:31, 4 March 2019 | TAC 02.JPG (file) | 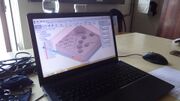 |
371 KB | Project:TAC design of a practive piece with all the needed shapes in Fusion 360 | 1 |
| 23:30, 4 March 2019 | TAC 01.JPG (file) | 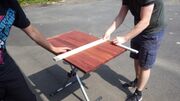 |
563 KB | Project:TAC preparing to cut a practice piece from one of our stock boards | 1 |
| 16:53, 3 March 2019 | Scrolled Westeros.JPG (file) | 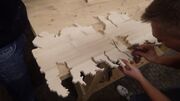 |
375 KB | the "Game of Thrones" continent of Westeros cut out on the scroll saw - keep in mind that large shapes like this require spiral-toothed blades! | 1 |
| 16:39, 3 March 2019 | Sawblade cleaning 5.JPG (file) | 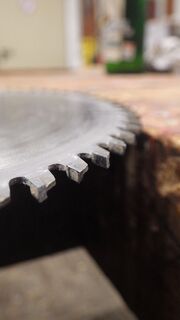 |
297 KB | how to clean circular saw blades, step 5: done! now try whether the blade cuts well again, otherwise please report it :-) | 1 |
| 16:38, 3 March 2019 | Sawblade cleaning 4.JPG (file) | 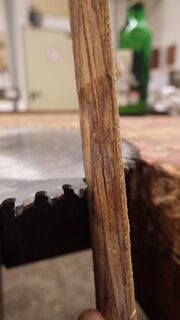 |
380 KB | how to clean circular saw blades, step 4: clean the tooth faces with something narrow but stable, e.g. a thin strip of scrap wood | 1 |
| 16:36, 3 March 2019 | Sawblade cleaning 3.JPG (file) | 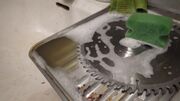 |
440 KB | how to clean circular saw blades, step 3: scrub off the gunk with the rough side of a sponge | 1 |
| 16:35, 3 March 2019 | Sawblade cleaning 2.JPG (file) | 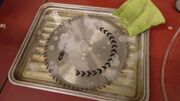 |
538 KB | how to clean circular saw blades, step 2: let the blade soak in the water/cleaner solution for a while | 1 |
| 16:32, 3 March 2019 | Sawblade cleaning 1.JPG (file) | 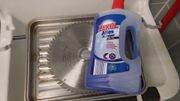 |
444 KB | how to clean circular saw blades, step 1: prepare an appropriate-sized container with (hot) water and cleaning agent | 1 |
| 00:21, 3 March 2019 | Birch tealights 12.JPG (file) | 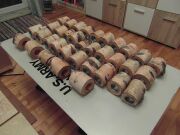 |
376 KB | Project:Tree Trunk Tealights further drying - important: insert the steel cups early so the logs shrink around them, not too far! | 1 |
| 00:19, 3 March 2019 | Birch tealights 11.JPG (file) | 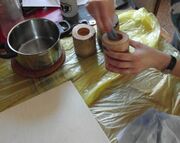 |
774 KB | Project:Tree Trunk Tealights after shaping, the ends were finished with coconut oil | 1 |
| 00:16, 3 March 2019 | Birch tealights 10.JPG (file) | 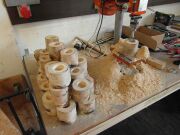 |
405 KB | Project:Tree Trunk Tealights more drilling...so good to have a drill press available! | 1 |
| 00:08, 3 March 2019 | Birch tealights 09.JPG (file) | 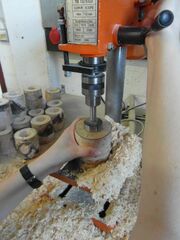 |
372 KB | Project:Tree Trunk Tealights after the logs finally seemed dry enough to stop supporting mold, holes could be drilled with a large Forstner bit | 1 |
| 10:55, 24 February 2019 | Birch tealights 08.JPG (file) | 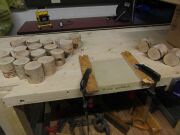 |
291 KB | Project:Tree Trunk Tealights there was still a bit of new mold after all the efforts, but it was easily sanded off by hand on a clamped-down piece of sandpaper | 1 |
| 10:53, 24 February 2019 | Birch tealights 07.JPG (file) | 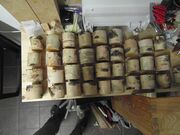 |
5.62 MB | Project:Tree Trunk Tealights another week of drying on my CoMaking bench, this time more evenly spaced... | 1 |
| 10:49, 24 February 2019 | Birch tealights 06.JPG (file) | 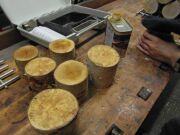 |
365 KB | Project:Tree Trunk Tealights applying some leftover hard wax oil to cover the cut faces against new mold formation | 1 |
| 10:46, 24 February 2019 | Birch tealights 05.JPG (file) | 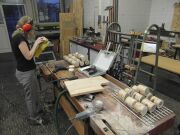 |
408 KB | Project:Tree Trunk Tealights we proceeded with sanding off the mold and applying some leftover hard wax oil to cover the cut faces against new mold formation | 1 |
| 10:44, 24 February 2019 | Birch tealights 04.JPG (file) | 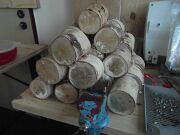 |
406 KB | Project:Tree Trunk Tealights after the cut pieces were left sitting on my CoMaking bench for a week, a lot of mold had formed again -.- | 1 |
| 10:41, 24 February 2019 | Birch tealights 03.JPG (file) | 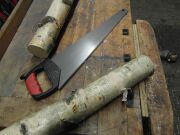 |
432 KB | Project:Tree Trunk Tealights where the logs were too thick for the rather small chop saw, manual labor with a crosscut saw was necessary | 1 |
| 10:39, 24 February 2019 | Birch tealights 02.JPG (file) | 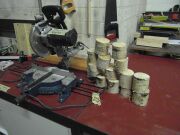 |
406 KB | Project:Tree Trunk Tealights I used the chop saw to cut the logs into approx. 8-10 cm long pieces | 1 |
| 10:35, 24 February 2019 | Birch tealights 01.JPG (file) | 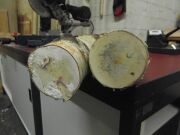 |
350 KB | Project:Tree Trunk Tealights the store-bought birch logs were a lot wetter than expected and started to grow mold within a few weeks... | 1 |
| 17:14, 15 February 2019 | Project gallery.png (file) |  |
254 KB | {{NavGal}} of our documented Projects as of 2019-2-11 | 1 |
| 02:25, 3 February 2019 | Lumberjack cake stand 15.JPG (file) | 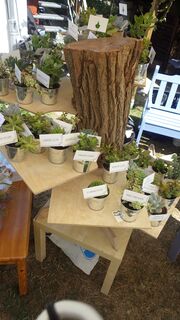 |
586 KB | "Lumberjack Championship" inspired wedding cake stand used as a plant display after another wedding | 1 |
| 02:18, 3 February 2019 | Lumberjack cake stand 14.JPG (file) | 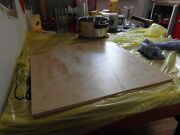 |
312 KB | one of the boards for my "Lumberjack Championship" inspired wedding cake stand after sanding and application of coconut oil | 1 |
| 02:15, 3 February 2019 | Lumberjack cake stand 13.JPG (file) | 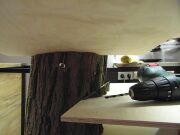 |
365 KB | drilling screw holes into the wedges of my "Lumberjack Championship" inspired wedding cake stand - just to be safe, ''might'' also have been stable without them | 1 |
| 02:13, 3 February 2019 | Lumberjack cake stand 12.JPG (file) | 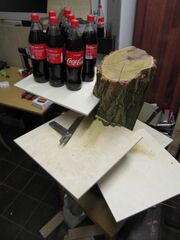 |
324 KB | testing the strength of my "Lumberjack Championship" inspired wedding cake stand | 1 |
| 02:09, 3 February 2019 | Lumberjack cake stand 11.JPG (file) | 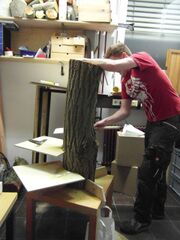 |
392 KB | cutting more wedges out of my "Lumberjack Championship" inspired wedding cake stand... | 1 |
| 02:08, 3 February 2019 | Lumberjack cake stand 10.JPG (file) | 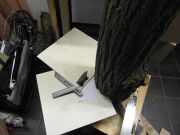 |
317 KB | test-fitting boards and setting the angle for the second wedge to cut out of my "Lumberjack Championship" inspired wedding cake stand | 1 |
| 02:06, 3 February 2019 | Lumberjack cake stand 09.JPG (file) | 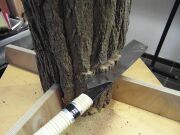 |
420 KB | cutting the first wedge out of my "Lumberjack Championship" inspired wedding cake stand with a Japanese saw | 1 |
| 02:04, 3 February 2019 | Lumberjack cake stand 08.JPG (file) | 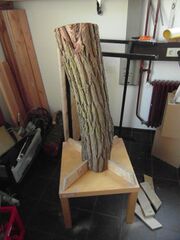 |
398 KB | feet of my "Lumberjack Championship" inspired wedding cake stand shortened to fit the table it would be used on | 1 |
| 02:01, 3 February 2019 | Lumberjack cake stand 07.JPG (file) | 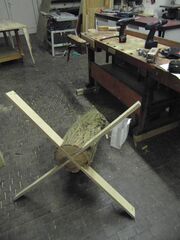 |
430 KB | feet of my "Lumberjack Championship" inspired wedding cake stand fitted & screwed in | 1 |
| 02:00, 3 February 2019 | Lumberjack cake stand 06.JPG (file) | 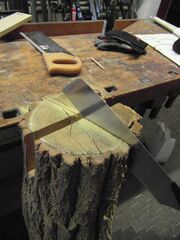 |
420 KB | cutting the groove for the second foot of my "Lumberjack Championship" inspired wedding cake stand with a Japanese saw | 1 |
| 01:59, 3 February 2019 | Lumberjack cake stand 05.JPG (file) | 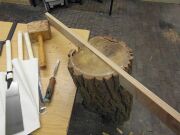 |
371 KB | first foot of my "Lumberjack Championship" inspired wedding cake stand fits in nicely | 1 |
| 01:58, 3 February 2019 | Lumberjack cake stand 04.JPG (file) | 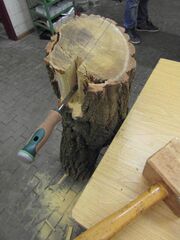 |
410 KB | chopping grooves for the feet of my "Lumberjack Championship" inspired wedding cake stand with a bevel edge chisel | 1 |
| 01:56, 3 February 2019 | Lumberjack cake stand 03.JPG (file) | 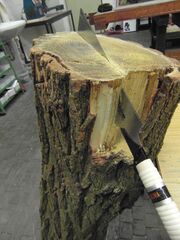 |
435 KB | cutting grooves for the feet of my "Lumberjack Championship" inspired wedding cake stand with a Japanese saw | 1 |
| 01:51, 3 February 2019 | Lumberjack cake stand 02.JPG (file) | 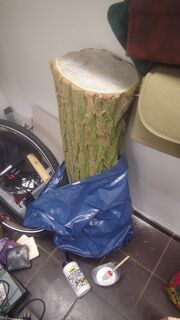 |
497 KB | ''Robinia'' log for my "Lumberjack Championship" inspired wedding cake stand after getting its top end sealed with a wood glue and water mixture for uniform drying | 1 |
| 01:47, 3 February 2019 | Lumberjack cake stand 01.JPG (file) | 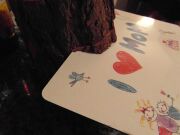 |
294 KB | first small-scale prototype of my "Lumberjack Championship" inspired wedding cake stand out of some firewood and a breakfast board | 1 |
| 01:43, 3 February 2019 | Lumberjack cake stand 00.jpg (file) | 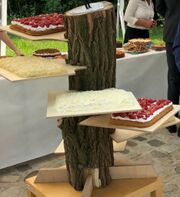 |
95 KB | finished "Lumberjack Championship" inspired wedding cake stand with cakes on it | 1 |
| 00:08, 2 February 2019 | Clear lacquer.JPG (file) | 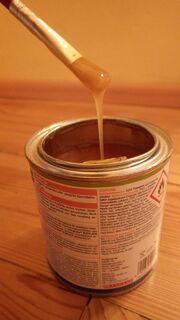 |
494 KB | a can of clear laquer with a dripping paintbrush | 1 |
| 17:56, 28 January 2019 | Pliers-style saw set.JPG (file) | 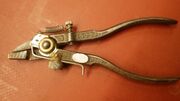 |
481 KB | A pliers-style saw set | 1 |
| 00:18, 27 January 2019 | Lukas at saw.jpg (file) | 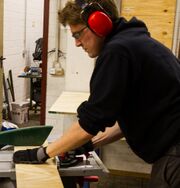 |
221 KB | Lukas. == License == All rights reserved - no derivatives or unauthorized reproduction! | 1 |
| 20:02, 26 December 2018 | Wax wrap Vader.JPG (file) | 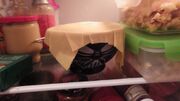 |
436 KB | first test of self-made beeswax wrap as an alternative to aluminum or cling foil ''(Frischhaltefolie)'' | 1 |
| 21:49, 18 November 2018 | Bierkastentisch 06.JPG (file) | 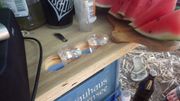 |
417 KB | unerwartete Bonusfunktion des Bierkastentisches - die Grifflöcher sind perfekte Schnapsglashalter! | 1 |
| 21:42, 18 November 2018 | Bierkastentisch 05.jpg (file) | 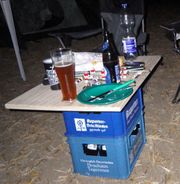 |
352 KB | Bierkastentisch in Benutzung (vergleichsweise aufgeräumt) | 1 |
| 21:40, 18 November 2018 | Bierkastentisch 04.JPG (file) | 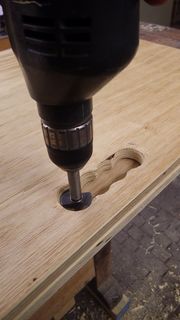 |
414 KB | Sorgfältig angeordnete Bohrungen mehrmals zu messen, ist nervig - am besten das erste Stück als Bohrschablone verwenden (hier für Griffe am Bierkastentisch)! | 1 |
| 21:37, 18 November 2018 | Bierkastentisch 03.JPG (file) |  |
546 KB | frisch gebohrte Grifflöcher im Bierkastentisch | 1 |