Project:Cookie Cutters
Designing custom cookie cutters is a great start into 3D printing without any prior experience. Besides access to a 3D printer, you only need a laptop and a couple of ideas!
This project is especially well suited for children and it's great fun to test the newly printed cookie cutters right away!
Instructions
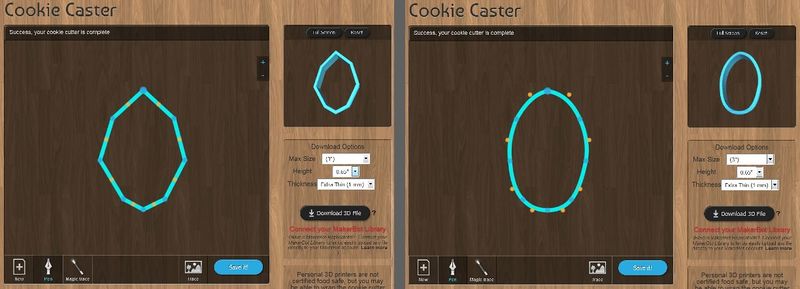
Start by drawing the outline of a cutter on Cookie Caster. This simple web tool turns any 2D path into a 3D cookie cutter with the desired dimensions and a rim to press it into the dough more easily.
A path can be created by hand using the "pen" tool and the "add/delete points" (+ and -) buttons in the top right hand corner or by automatically tracing a picture of your choice. Using this so-called "magic trace" function can be very quick if used on a silhuette or clip-art image but will prevent you from changing single points or curves later on.
When the basic cutter is done, download the file with these recommended settings (for stable, but sharp walls):
- Max Size: Small (2-3")
- Height: 0.65"
- Thickness: Extra Thin (1 mm)
Now we could already print this file or add internal shapes using Tinkercad.

